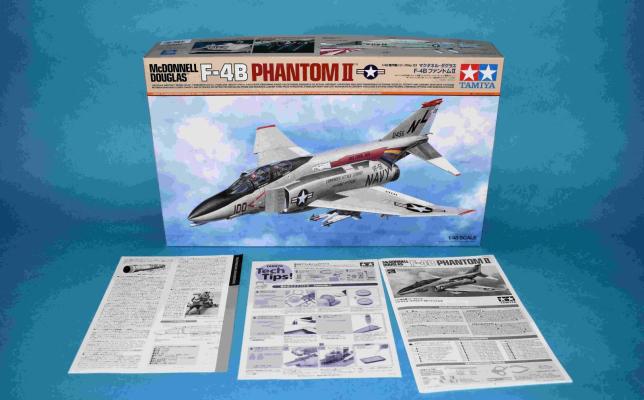
To start part 2, I started with the unique horizontal stabilizers. These are molded in a single piece (check out part one for a picture. This slots into the bottom of the fuselage with a rubber grommet and the two moving parts are actually separate allowing the entire thing to be posed. The fit is so good; I assembled the parts and left them off until later to ease painting.
I assembled the tail next and it consists of four parts. Since I was doing the VF-111 plane and its tail was white, I was worried about masking it off; no need to , the fit is so good, it also can be added later making painting easier. I did add the outer wing panels at this time and did have to do a little bit of filling with Perfect Plastic Putty.


