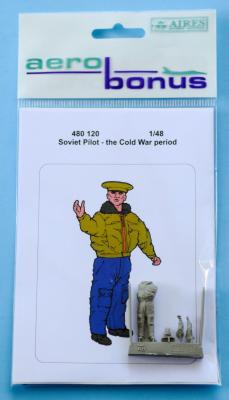
A perfect addition to your diorama or display base is this Aires Aerobonus figure. This Soviet Pilot figure is designed to be used with any Cold War aircraft (La-9, La-11, La-15, La-250, Yak-15, Yak-23, MiG-9, MiG-15, MiG-17, MiG-19, MiG-21, Su-7, Su-9, Su-11, Su-13, etc.). Aires Aerobonus provides you with a resin figure with separate arms and head on one pour stub with side bars to protect the figure. Of note is the re-sealable packaging that Quickboost uses that makes the parts easy to review and then stuff back into the package securely. The supplied instructions provide color drawings for painting.
Welcome to the IPMS/USA Reviews site!
Introduction: The primary organization of the IPMS/USA Review website is by IPMS/USA National Contest Class. Within each Class there are sub-menus by kits, decals, books, etc. The Miscellaneous Class is for items that are not class specific or that cross two or more classes.
IPMS/USA Members: We encourage you to submit reviews, both here and to the Journal. To volunteer for membership in the IPMS/USA "Reviewers Corps" and submit your own reviews, please read the Guidelines For Submitting Product Reviews.
Manufacturers, publishers, and other industry members: IPMS/USA is pleased to offer your company the opportunity for product reviews. All product reviews are performed by IPMS/USA members, and are posted in the publicly-accessible section of our website. With very few exceptions, we perform full build reviews of new kit releases, aftermarket products, and supplies. If you would care to provide product samples for review, please contact John Noack, IPMS/USA 1st VP.
To learn more about IPMS/USA, please see our About Us page.
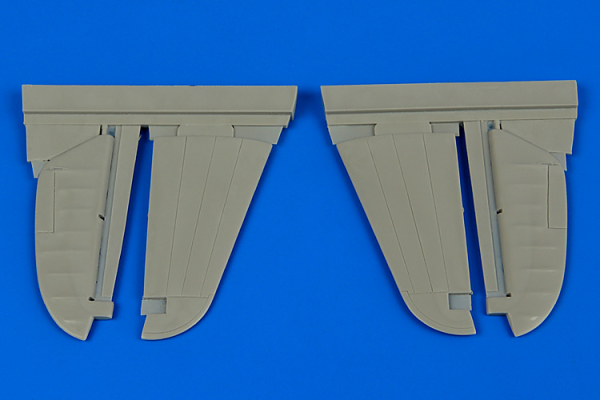
Aires is known as the producer of excellent after-market and detail items, and this product lives up to that standard. Designed for use on the Hasegawa P-40M/N this product provides for both of the horizontal stabilizers and control surfaces. There are four parts in all, cast in a durable resin material.
Looking at the accompanying images, note that the image labeled, ” 2 Parts 1” shows the parts after having been removed from the package. One will notice some “flash” between the parts and the part carrier. Not to worry, that flash is easily removed with a sharp blade or a pair of cutters. All four parts were removed and cleaned up in under 5 minutes without the use of sandpaper. Study the image labeled, “3 Aires Parts Removed from carrier” to see one set of parts after having been cleaned up.
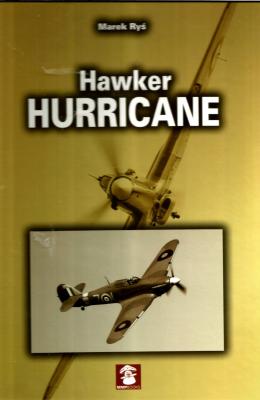
Authored by Marek Rys and illustrated by Thierry Vallet, this book, in the “Yellow” series is a comprehensive text and photographic/image guide to the Hawker Hurricane. The publication is a a revised and expanded edition of the book, “Hawker Hurricane”, (ISBN # 8389450321)
The book thoroughly covers the development and technical aspects of the Hurricane, one of the most well-known of the British fighters of World War II. This story is told in excellent text accompanied by period B&W photographs, excellent color images of surviving airframes, extracts from official manuals and a superb collection of 1/72nd scale plans of all versions of the Hurricane from the Mk.1 of 1936 to the Mk. IV of 1943.
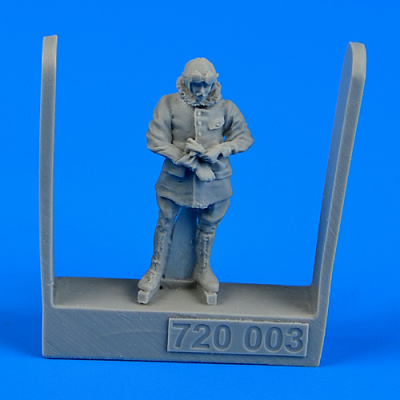
A perfect addition to your diorama or display base is this Aires Aerobonus figure. This German or Austro-Hungarian Pilot figure is designed to be used with any German or Austro-Hungarian WWI aircraft (Albatros D.III / D.V, Berg D.I / D.II, Fokker E.III / E.IV, E.V, D.VII, Oeffag D.III, Pfalz D.III, D.XII, Phonix D.I / D.II / D.III, Siemens-Schuckert D.III / D.IV, etc.) Aires Aerobonus provides you with a resin figure with side bars to protect the figure. Of note is the re-sealable packaging that Quickboost uses that makes the parts easy to review and then stuff back into the package securely. The supplied instructions provide color drawings for painting.
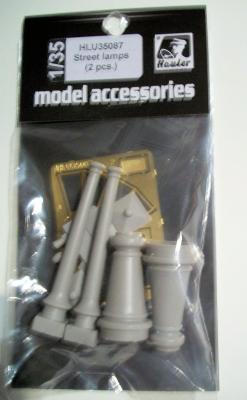
This Hauler set allows you to make two nice 1930’s European style Street lamps.
In the box is:
- 3 x Resin groups of parts
- 1 x Photo Etch sheet
- 1 x Film sheet
- 1x Instruction sheet
The parts are all is very crisp and well molded with great detail.
Construction
The build starts by removing the excess resin from all the resin parts using a razor saw.
The next stage is the main body of the street lamp. Then the Photo Etch lamp top which is a little tricky and need to be annealed before bending to shape.
Summary
These would be an excellent little addition to any diorama.
Thanks go to Hauler for providing this kit to review and IPMS USA for allowing me to review it for them.


