
Panzer IV Tank
History
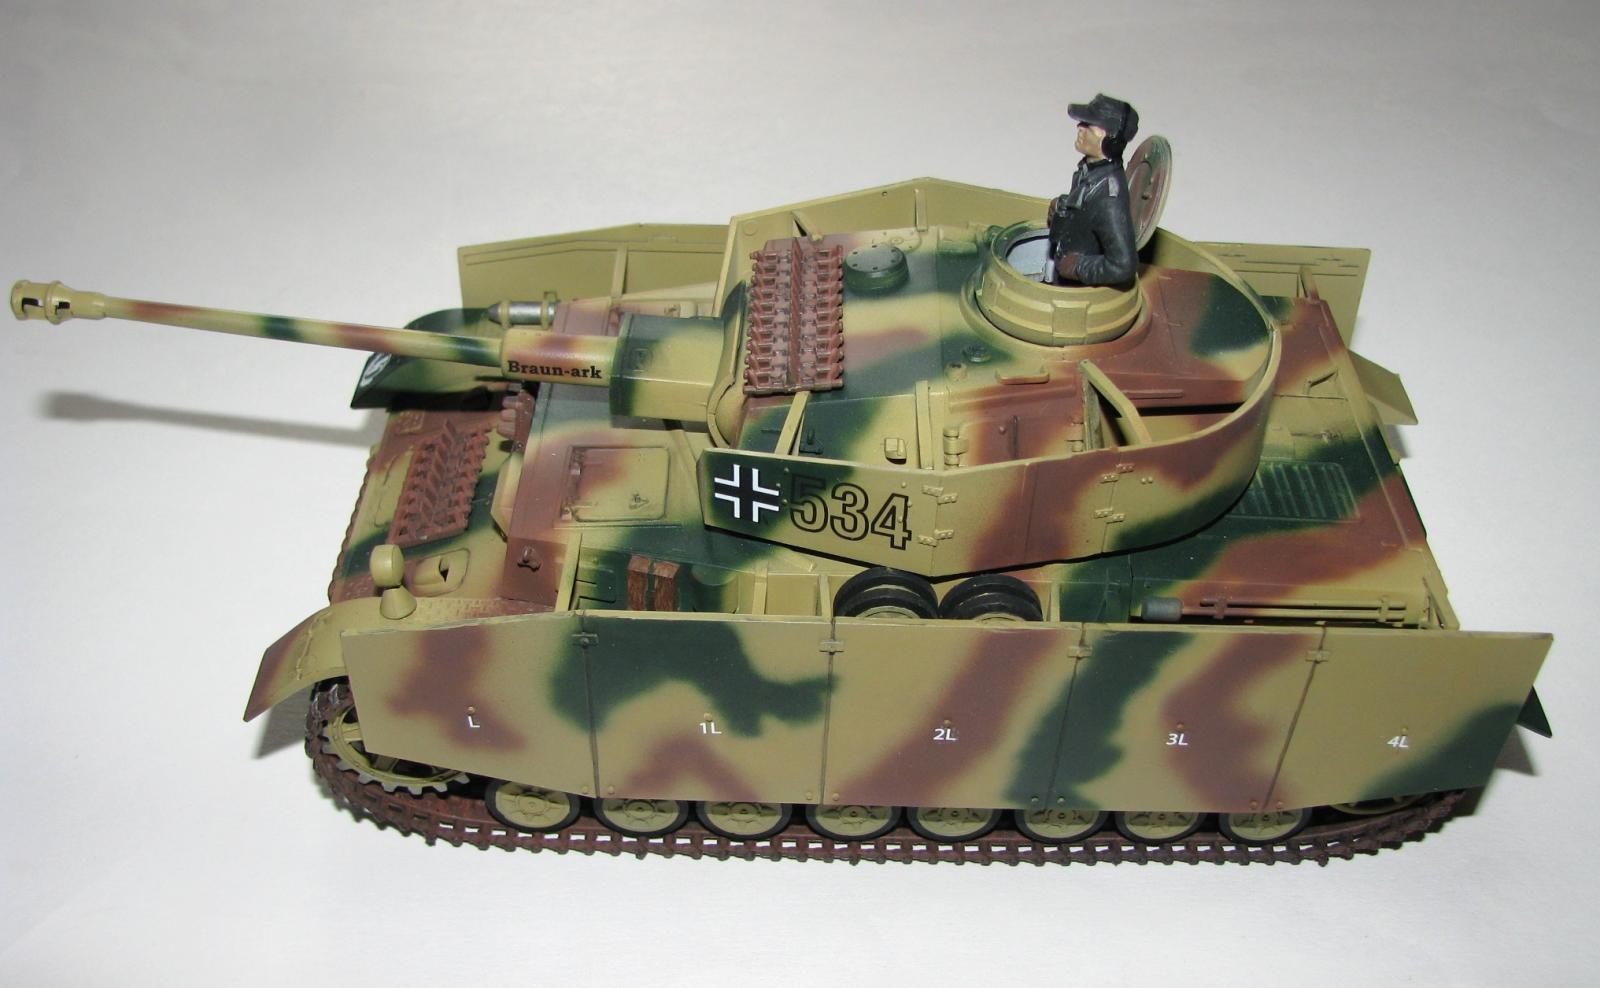
During WWII, the use of tanks revolutionized the way war would be fought. It was known as “Blitzkrieg”, and the German Panzer tank was the key vehicle in this new style of war. The Panzer medium tank had a number of major modifications during the course of the war. The MK IV featured a 75mm main cannon and two 7.9mm machine guns. However, the MK IV was not heavily armored and suffered greater losses as the war developed. The PZKW was conceived in 1934 and went into limited production by 1936. The MK IV version went into full production in 1943 and reached large production numbers. After the first version of the PZKW, the MK IV became the basis for numerous armored vehicles, ranging from self-propelled guns to munitions carriers and bridge-layer tanks. Its poor armor protection was supplemented by armor skirts on the sides and around the turret.
The Kit
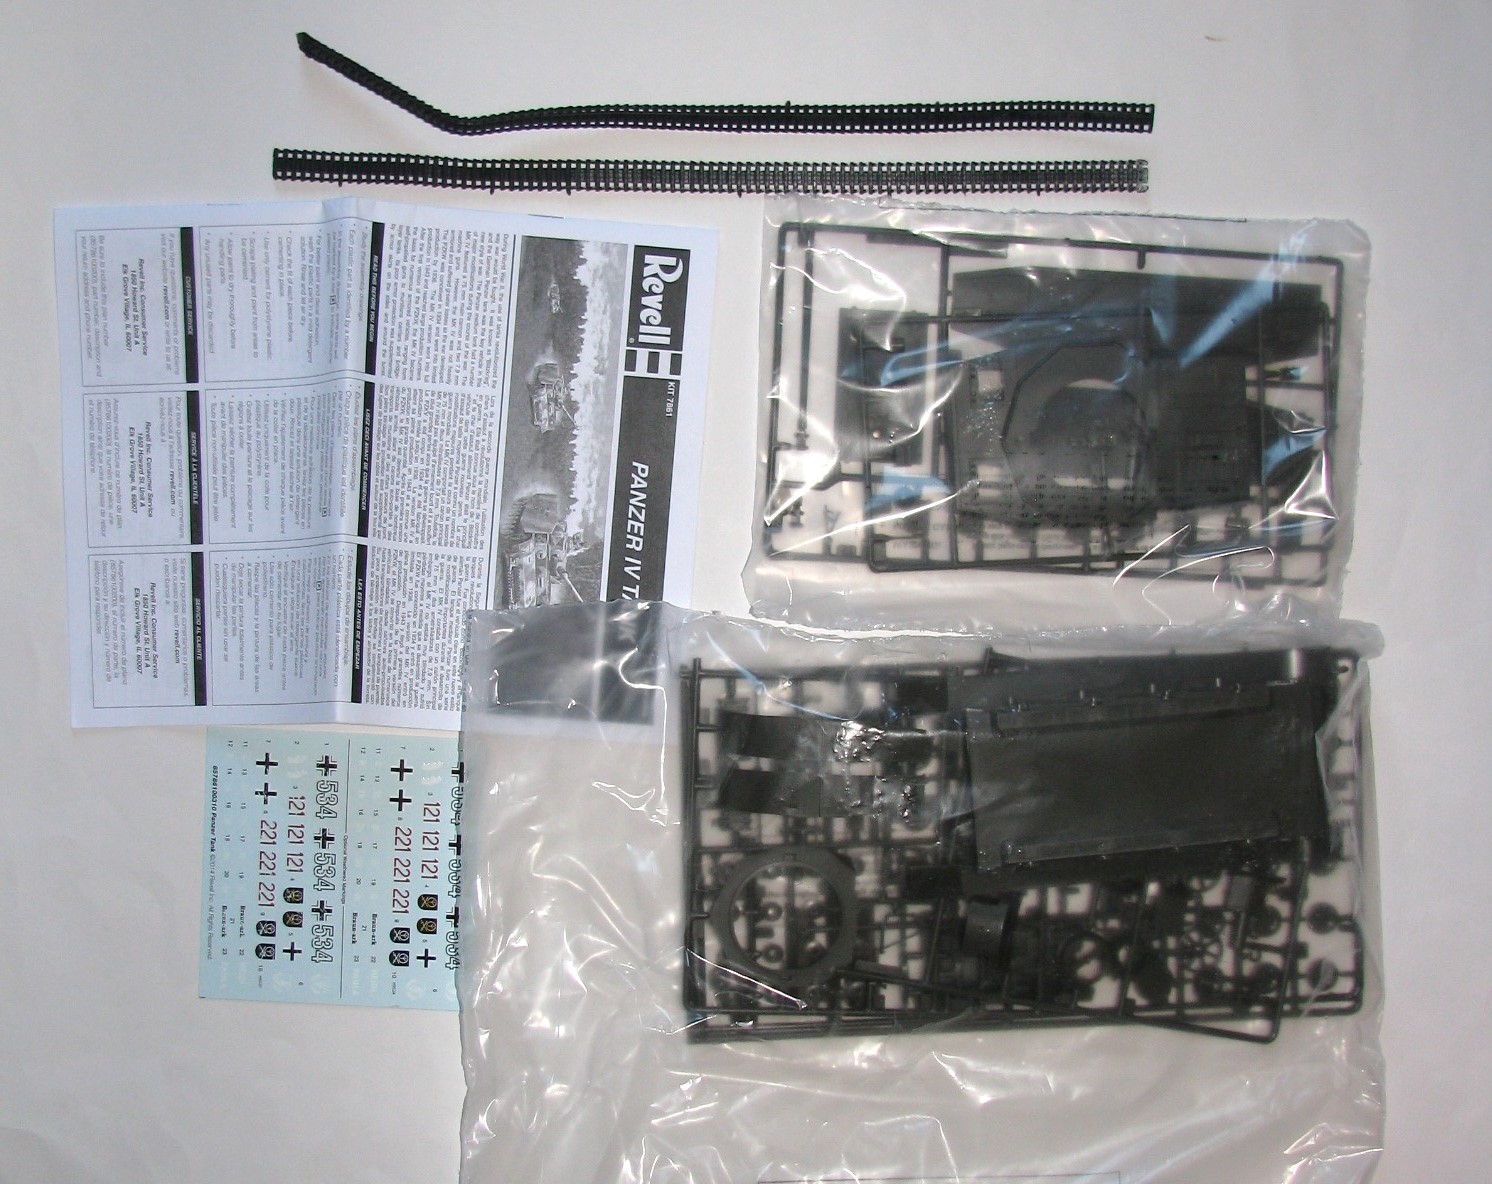
Upon opening the box there are 2 bags containing 6 sprues of green styrene, 2 vinyl tracks, decals, and a 12 page instruction booklet. This kit dates back to 1970 so don’t be surprised when you encounter a little flash. Actually there was not much on my copy and the plastic is pretty crisp with few sink marks and even fewer pin marks. The decals are in register and there are two styles. One is nice, crisp, freshly painted, and the other is a “weathered” look.
Construction
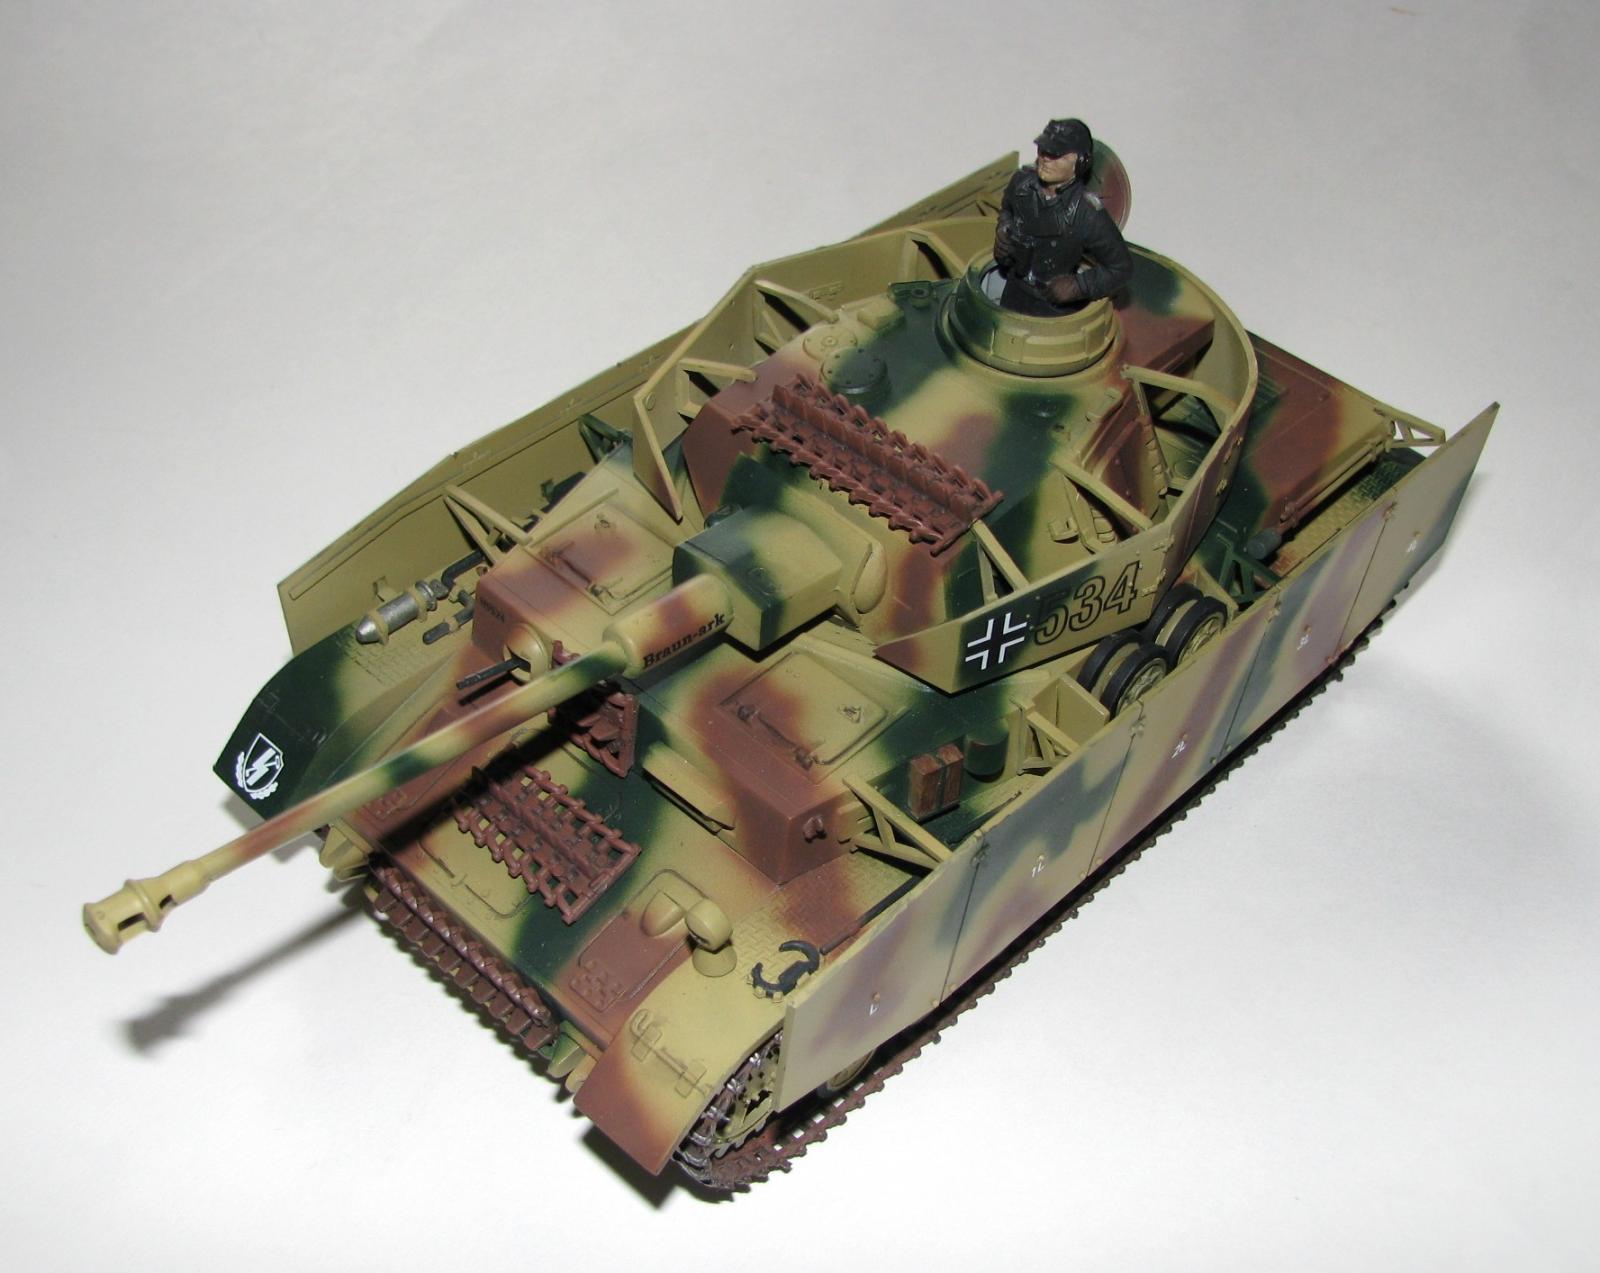
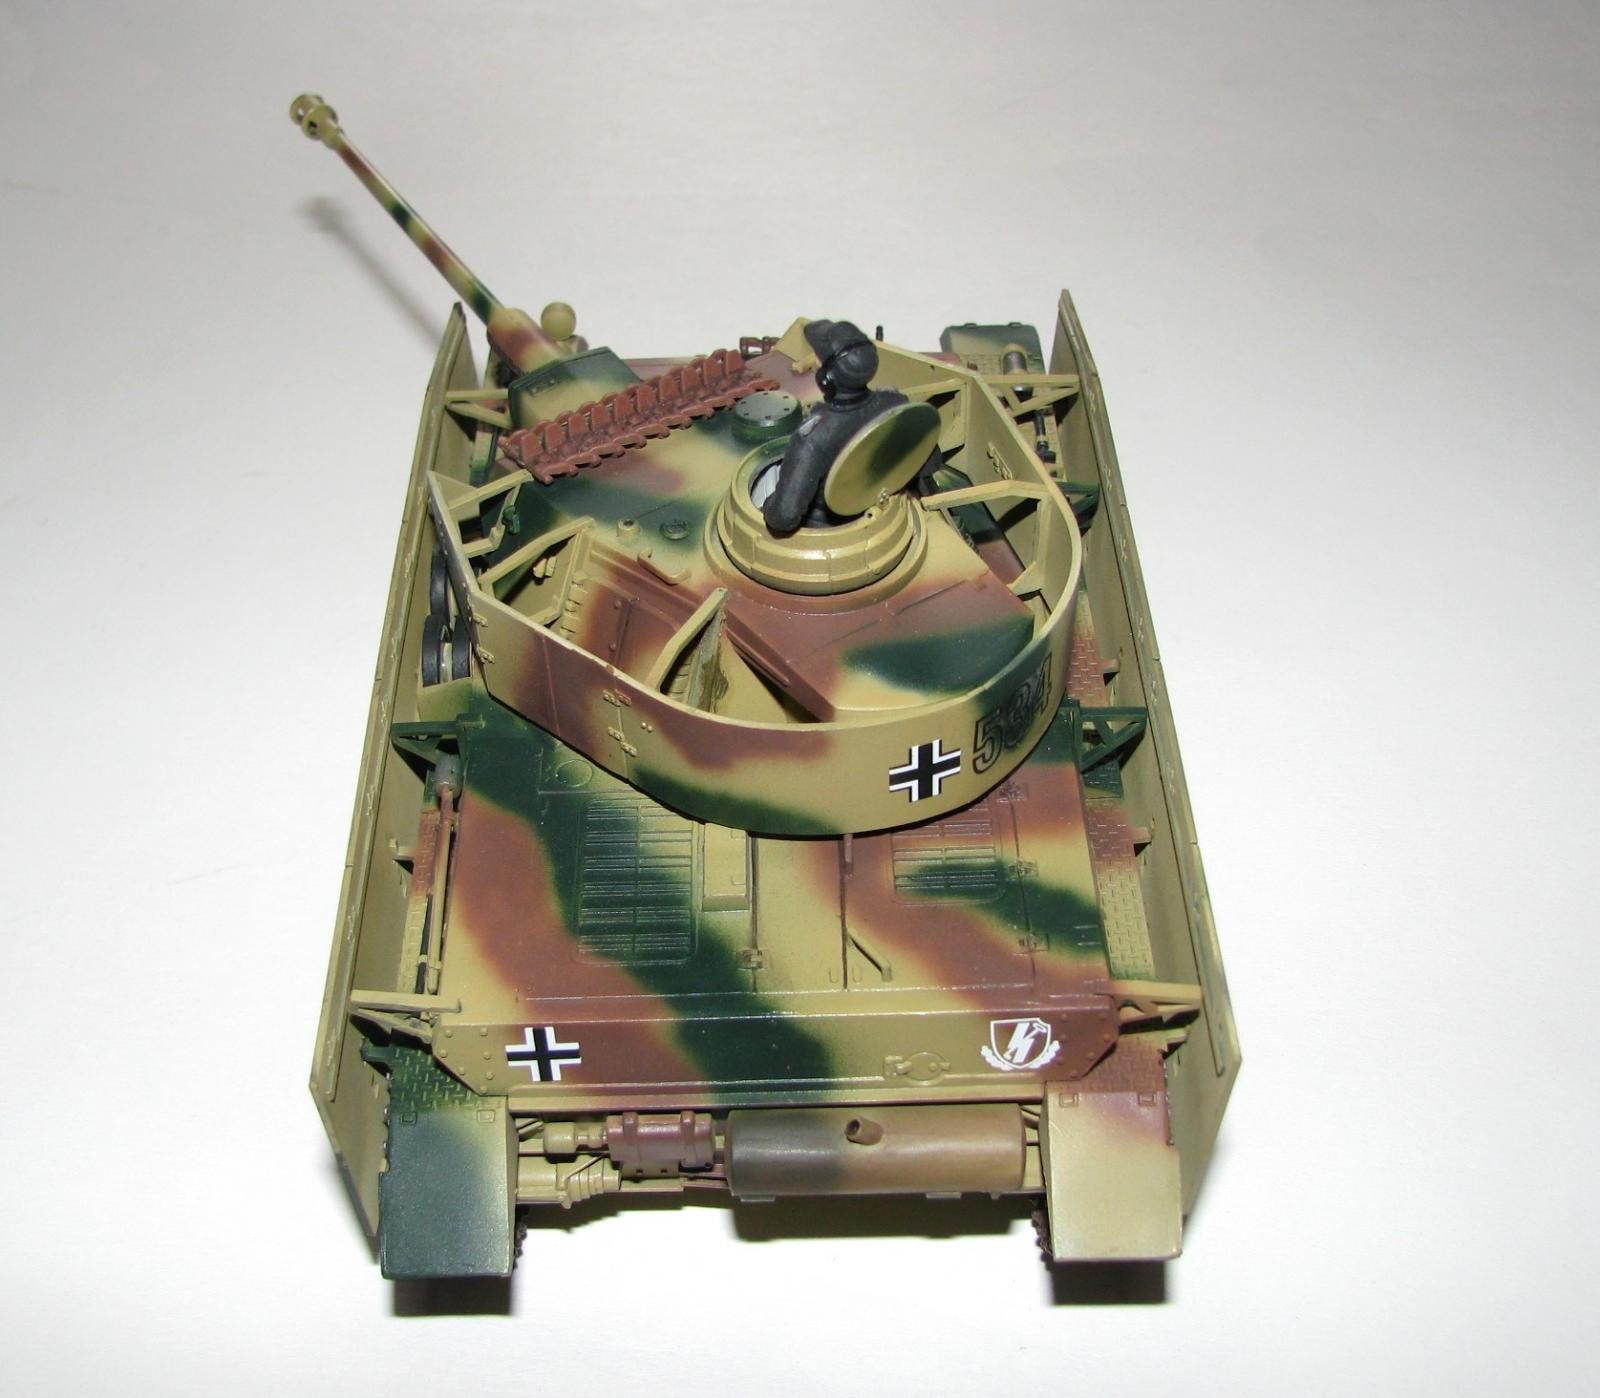
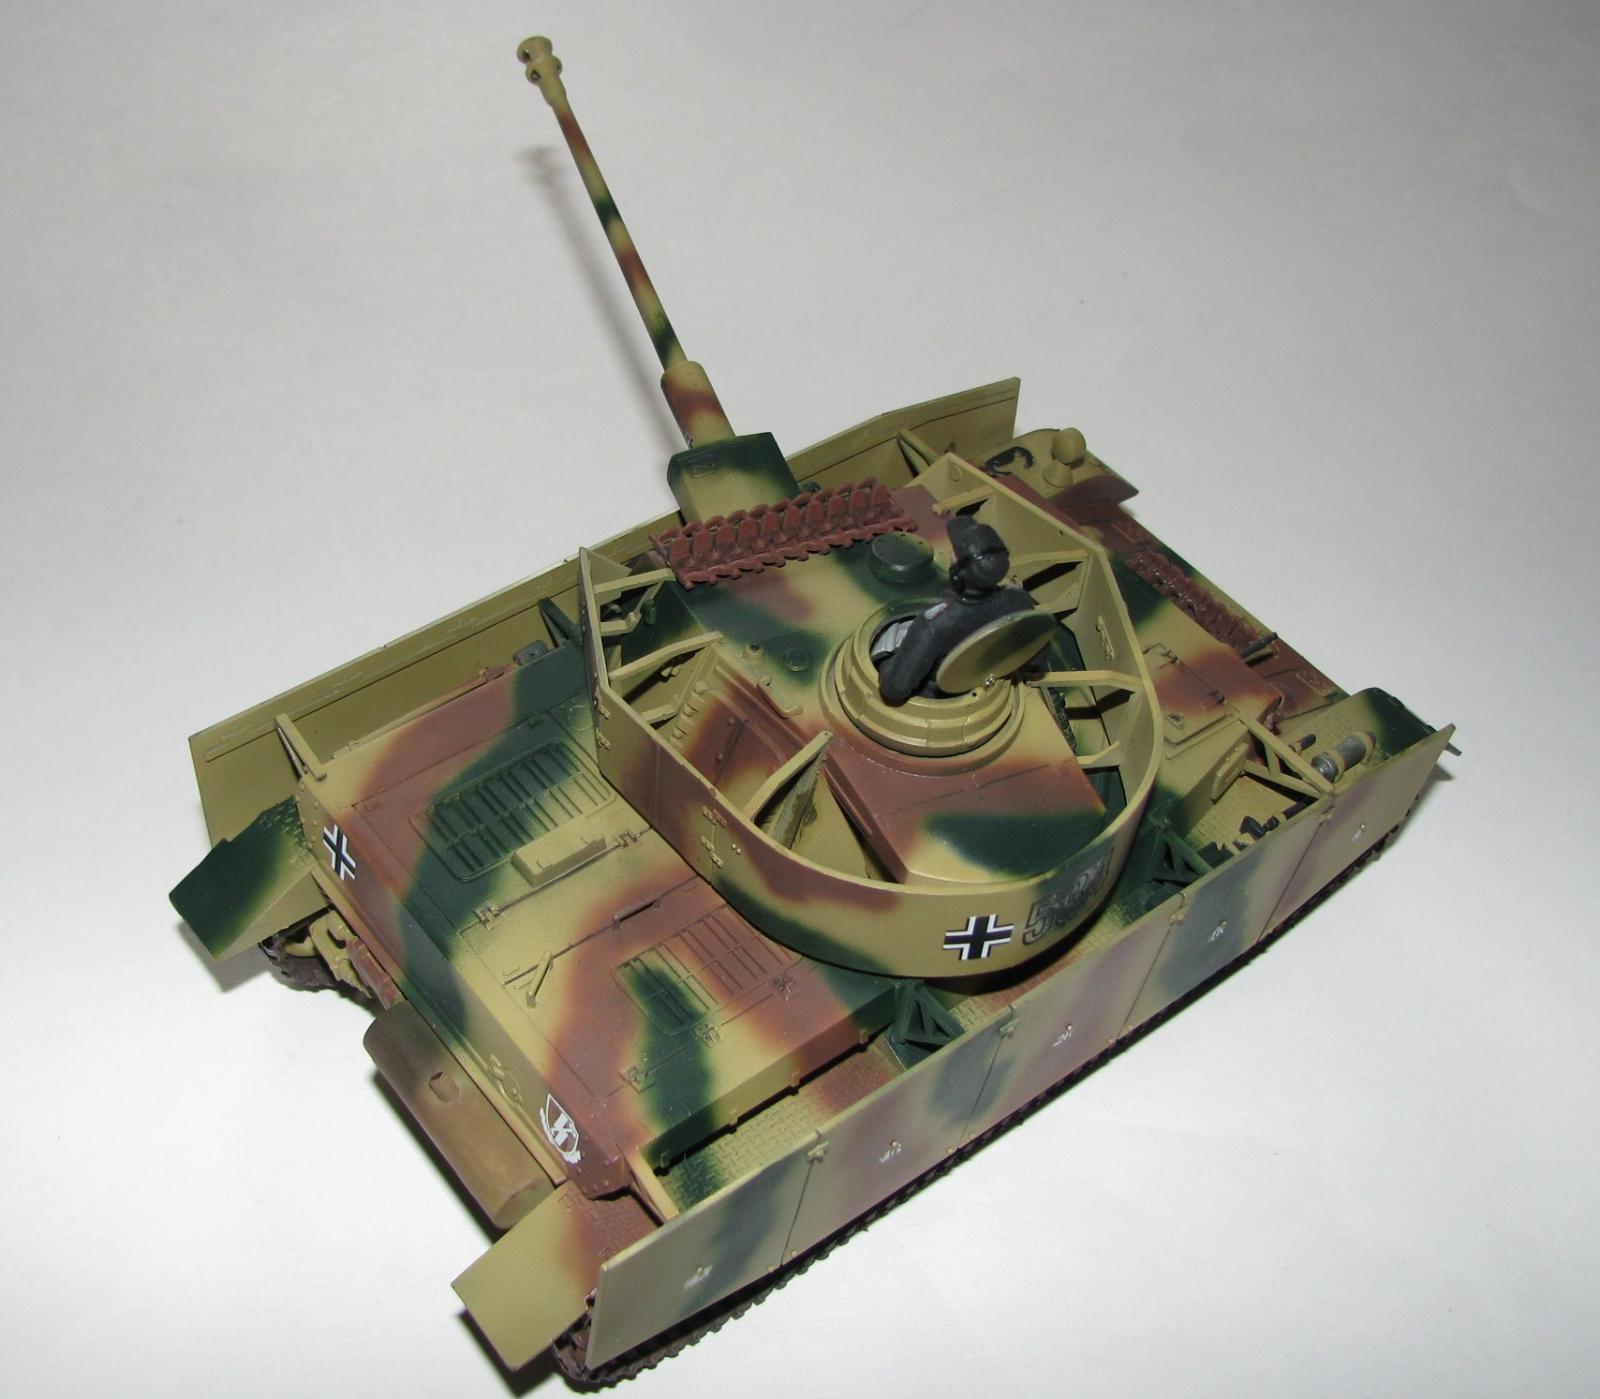
This kit is pretty basic and really easy to construct. There are 8 steps, each broken down into 2 or more sub-steps. Starting with the road wheels & suspension the lower hull went together in a snap. Moving on to the upper hull, there are a couple parts (#31 & 48 on both sides) that the instructions don’t give a clear picture where to exactly place them. Why does this matter? You’ll find out later when you attach….or try to attach the skirts!! About those skirts….you get an extra piece with “battle damage” if you wish to use it. You will need to cut the original part to add these, but they do look pretty cool!
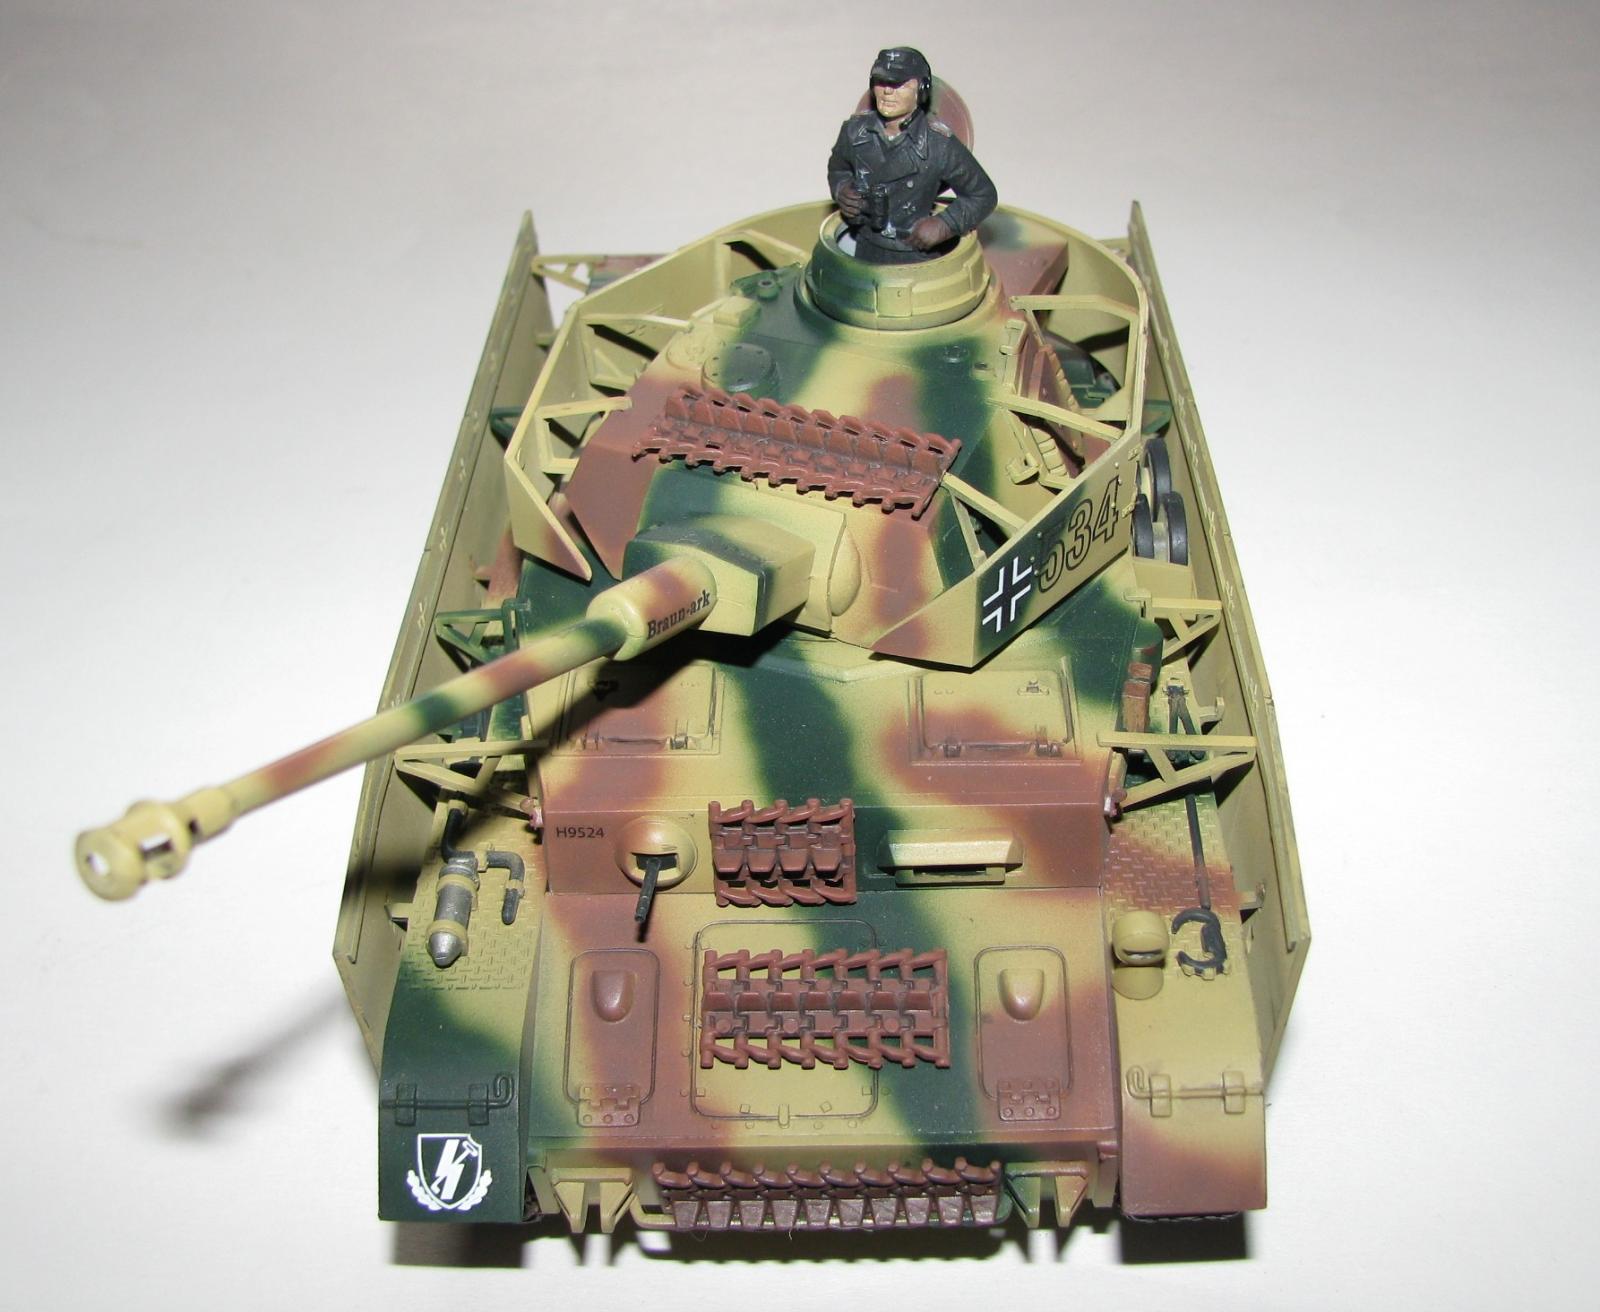
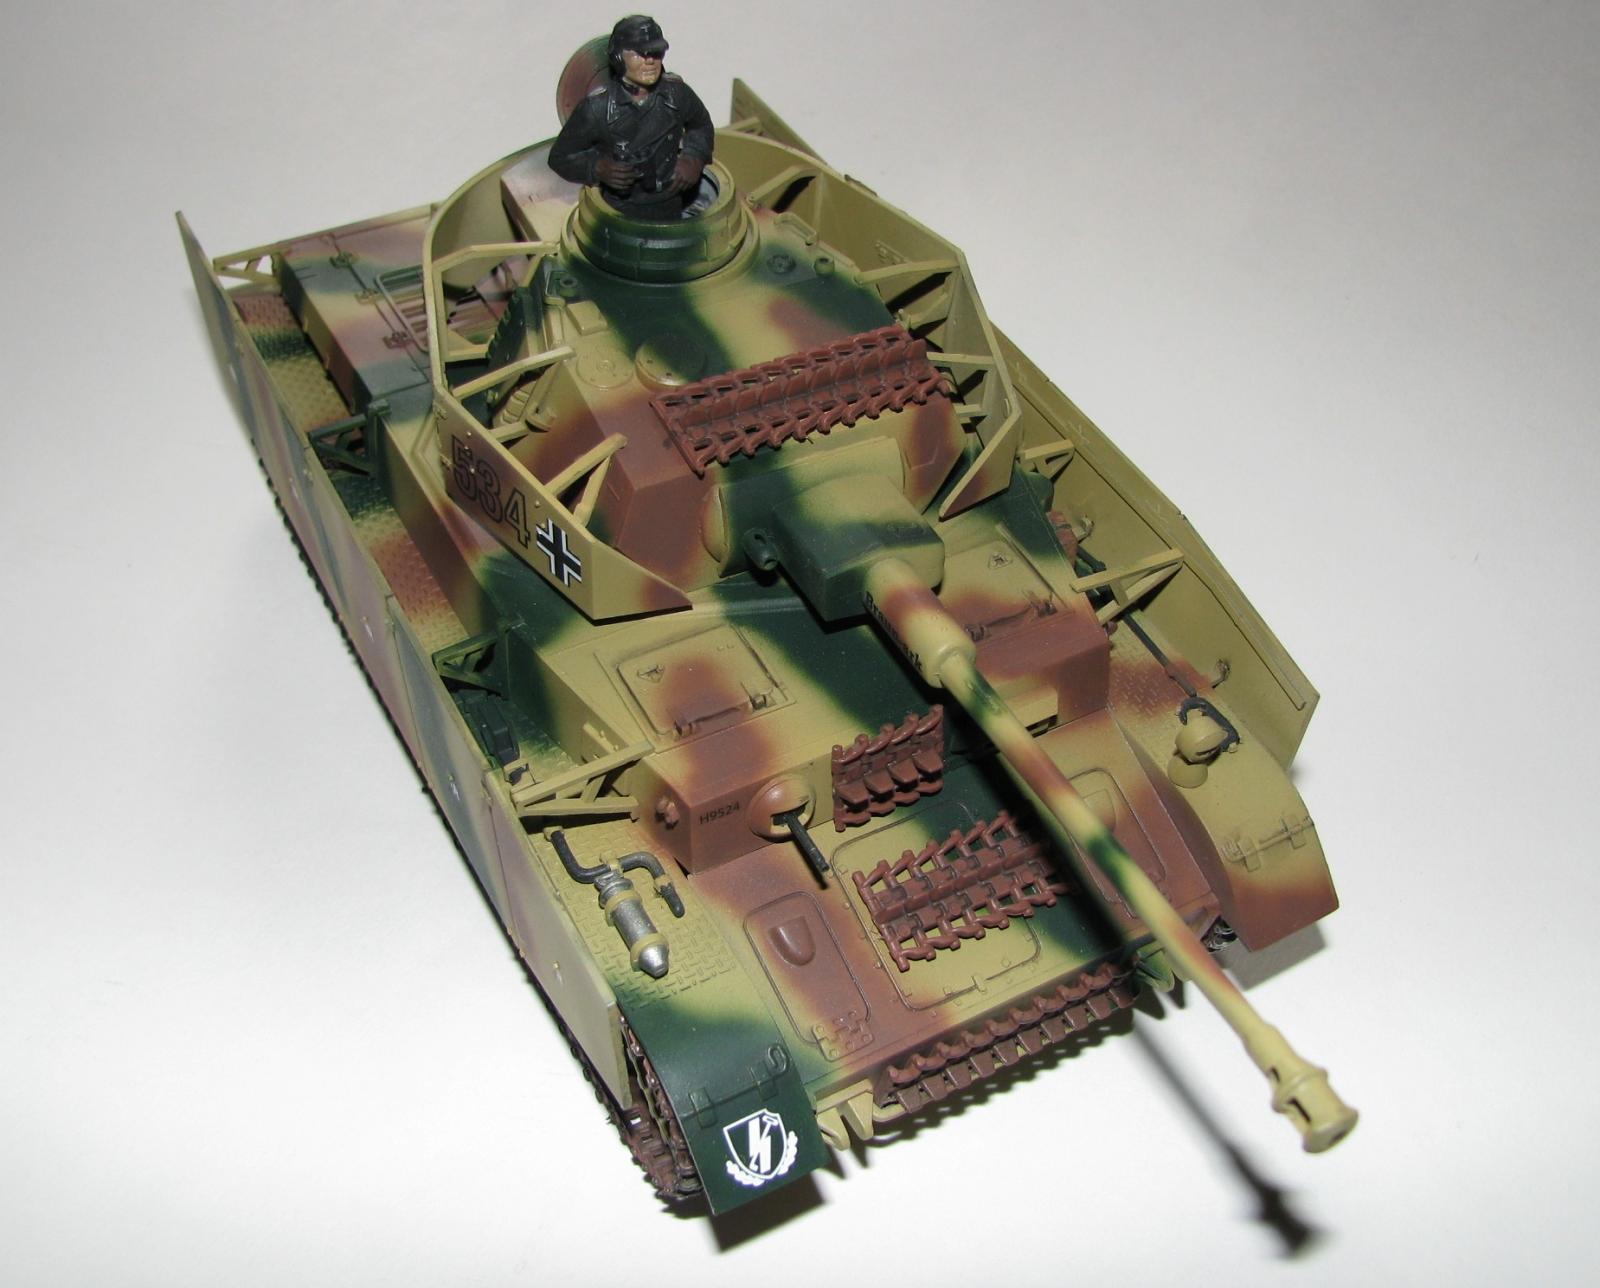
The turret was a pretty simple build and went together well until I tried to add the shield. I built it as shown in the instructions and it did not want to go on the turret. I ended up taking the two halves apart and adding them separately which of course left a gap at the rear (Evergreen to the rescue!!). I decided to only add one figure (commander) as my figure painting skills are even worse than my kit building skills. I must say for a figure that came out in 1970 they still look pretty good.
Finishing
I used Tamiya acrylics to finish this kit except on the tracks (as I was not sure how acrylic paint would adhere to them). A mix of Testors Model Master Enamel Rust and Insignia Red was used on the tracks, with a dry brushing of the old Testors “square” bottle” Steel on the raised surfaces. The decals are a little thick but went on and snuggled down with the help of Solvaset.
Conclusion
Is this the best Panzer Iv kit? Probably not. Is this the most accurate Panzer IV? No. Is this the most detailed Panzer IV? Nope. BUT…I had a lot of fun building this kit as it took me back to my younger days, and due to the ease of construction, it is still a great kit to start younger modelers. I highly recommend this to anyone that wants a less expensive armor kit to build and practice weathering on, or to give to a younger relative to get him/her started in modeling.
I would like to thank Revell for providing this kit, the review corps for letting me build it, and all of you for reading it.


Comments
Add new comment
This site is protected by reCAPTCHA and the Google Privacy Policy and Terms of Service apply.
Similar Reviews