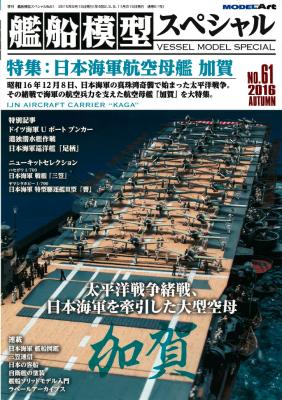
Model Art Issue 61 is typical of other Model Art magazines in that it is written entirely in Japanese, with occasional English words, usually in article titles or in captions. The Vessel Model Special is a quarterly issue that focuses on naval subjects. Each issue leads off with either short articles on a finished build or an in depth step-by-step ‘how to’ on the build and painting. The finished model photographs are of high quality in brightness, color, and depth of focus. Advertising comprises the inside covers (and back cover) along with another four pages showing what is available and new, always useful for building up that wish list. I counted nearly 600 photos (mostly in color) along with ten 1/700 scale drawings. You will find throughout this journal, period photographs of the real ships and aircraft involved in battle. Additionally there are a lot of color scrap drawings highlighting details in the Ship Construction series.
What's New
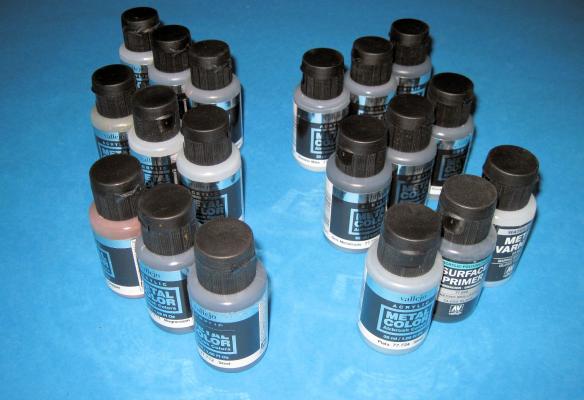
Vallejo has introduced a series of eighteen metallic colors in their Metal Colors line. This also includes a glossy black primer and a gloss protective varnish. Each bottle is 32ml (1.08 ounces) and has an excellent pour dropper which is angled. MSRP is $10.99 per bottle.
The colors reviewed are:
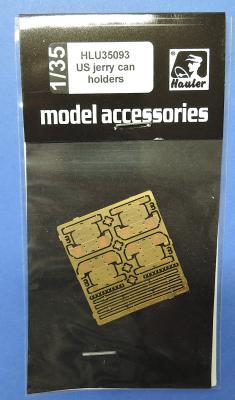
This is a nice set of jerry can holders that can replace the usually over-scaled plastic holders on military vehicles. The photoetch comes on one small fret that is about 1 ½ in. x 1 5/8 in. Four holders are provided with the photoetch. Each holder consists of seven parts: the holder, four bolts, and two straps for the jerry cans.
The bolt heads are actually six-sided hexagons and are microscopic. I soldered the first bolt head into place, but the solder obscured the shape of the head. The subsequent bolt heads were glued into place with superglue, which worked much better.
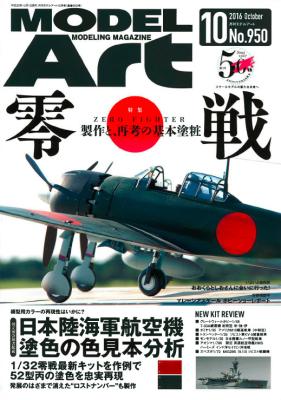
Model Art Issue 950 is typical of other Model Art magazines in that it is written entirely in Japanese, with occasional English words, usually in article titles or in captions. The Model Art magazine is a monthly issue that has evolved from their first issues in 1966 that focuses on all modeling subjects. I’ve attempted to capture the contents below, but please be aware of translation difficulties. There are about 40 pages of advertising, out of the 160 pages, showing what is available and new, always useful for building up that wish list. Nearly all the articles are supported with color photos. A few of the ongoing series are supported with black and white drawings and photos
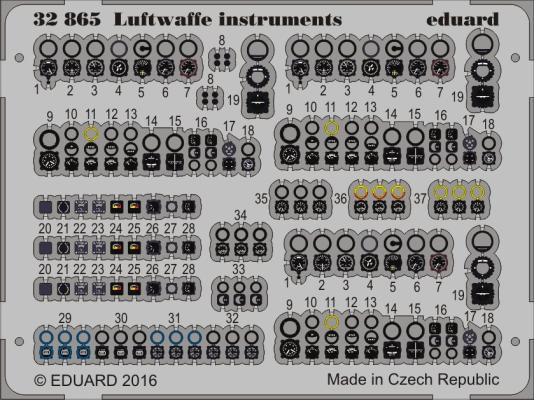
Eduard continues to bring out superb sets meant to help modelers detail kits. This set consists of 100 individual instruments meant for 1/32 WWII Luftwaffe planes. There are multiples of each instrument. The printing on the instruments is awesome and clear.
The instructions show the needed folds and the like. This set will require the modeler to research and determine which instrument goes where. These will let you replace or fabricate a new instrument panel easily. To test them, I sprayed a piece of styrene with RLM 66 paint. I then added the instruments and folded them. You’ll note in the pictures that I got a little heavy-handed with the glue. Once attached, I folded and glued the needed instruments flat. This gives them a nice three-dimensional look. Once glued, I flat-coated the instruments and then added a drop of Kristal Kleer to the instruments to look like the glass.
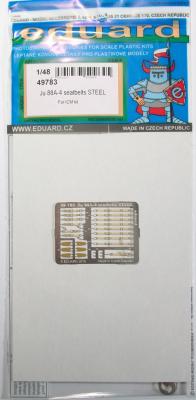
This is a photoetch steel seatbelt set for the ICM Ju88A-4 which has no seatbelts and really needs them. This set is colored and also made of steel which means they are better for forming. They are very realistic and accurate and really make the cockpit stand out.
In the packet is:
- 1 colored photoetch steel sheet
- 1 instruction sheet
Summary
This is a fantastic set for the set for a kit that needs them.
Thanks go to Eduard for providing this set to review and IPMS USA for allowing me to review it for them.
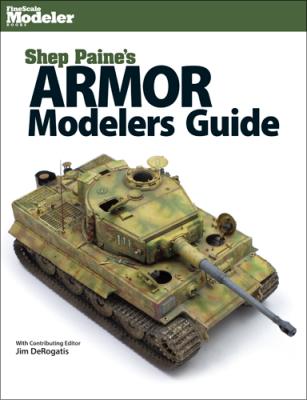
The Introduction is appropriately named ‘The Legacy of Shep Paine’ written by Jim DeRogatis. These four pages offer a wonderful view into the late Sheperd Paine’s life’s work and modeling history. Many of us older modelers first became aware of Sheperd’s work through his tip sheets that came with select Monogram kits of the 1970's then later with Tamiya kits during the 1980's. Shep was also an avid military historian and collector of military artifacts.
The book's contents are divided into two sections, 'The ‘Basics’ by Sheperd Paine and ‘Projects’ featuring eight projects by different modelers. The ‘Basics’ covers all the bases from the fundamentals in chapter one of ‘Assembling Armor Kits’ including a helpful ‘Parts of a Tank’ tutorial.
Researching the subject, its uses, its environments are explained by Shep in ‘Doing Research’ chapter two. Shep also addresses working with scale drawings and evaluating conflicting references.
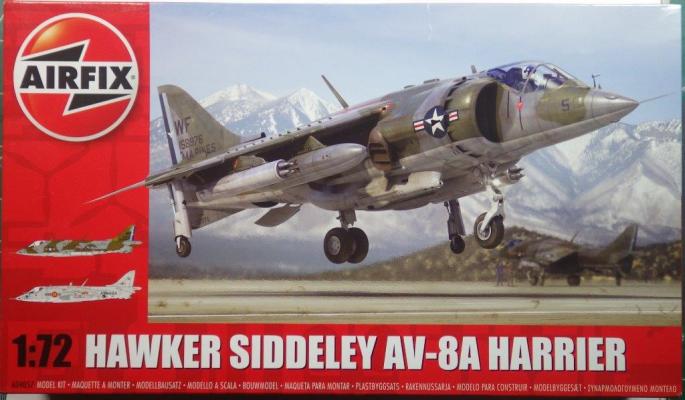
Following its successful introduction into service with the Royal Airforce, the Harrier generated considerable interest for export orders to other countries. The largest demand for the vertical take-off and landing aircraft came from the United States Marine Corps, who saw the excellent potential to provide close air support while operating from the decks of the smaller amphibious landing ships supporting the Marines. Starting in the early 1970s, the Harrier entered service with the USMC. The AV-8A Harrier was used by the Marines until 1979, when it was replaced by the AV-8C, and today the USMC flies the AV-8B Harrier II.
Thanks to Eduard for providing more of their excellent aftermarket parts for IPMS USA to review, and to IPMS leadership for sending it to me!
This set is simple to use; Kabuki tape masks for all the clear bits! Included are masks for all the windows, canopy parts, and gun turrets, and wheels. One benefit of these sets is the ability to mask off VERY tiny windows; in this case, all the 1/8” round porthole windows, and some of the intersecting canopy window bits. These can be less than 1/16” across, and are VERY difficult to mask; same with the turret frames, because of the complex curves. Eduard utilizes multiple small tape masks to make sure you cover all the areas without wrinkling, which leads to paint creep under the tape.
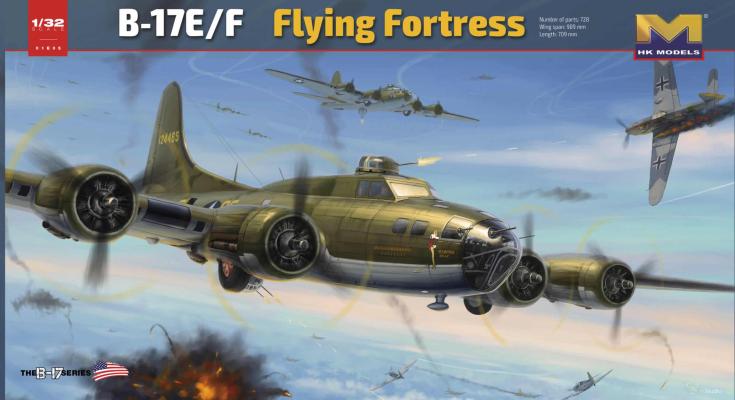
Beginning with the rest of the fuselage assembly (from Part I of my review), the fit of the two fuselage halves was good, but my alignment of the bomb bay catwalk and structure must have been a little off, since it’s slightly closer to one side. I installed most of the glass except for the radio hatch and nose; the waist and nose glass had to be sanded to fit. I used Micro Mask to mask the windows since I couldn’t find an aftermarket mask set for the E model. Some spots must have not been covered, because it was a lot of work to clean off overspray.

