
WWII US Military Vehicles
This rather imposing triple kit package of the G7117, Studebaker US6-U3, and Studebaker US6-U5 trucks, comes in an average sized box with a nice artist rendering of the three trucks on the outside, with several pictures and a detailed description of what you get inside. Inside there are three stuffed plastic bags containing the individual, and the three instruction manuals that correspond to them. The sprues at first glance look well packaged with cushioning tape wrapped around the delicate parts, no etched fret, but a well rendered Decal Sheet for multiple marking options.
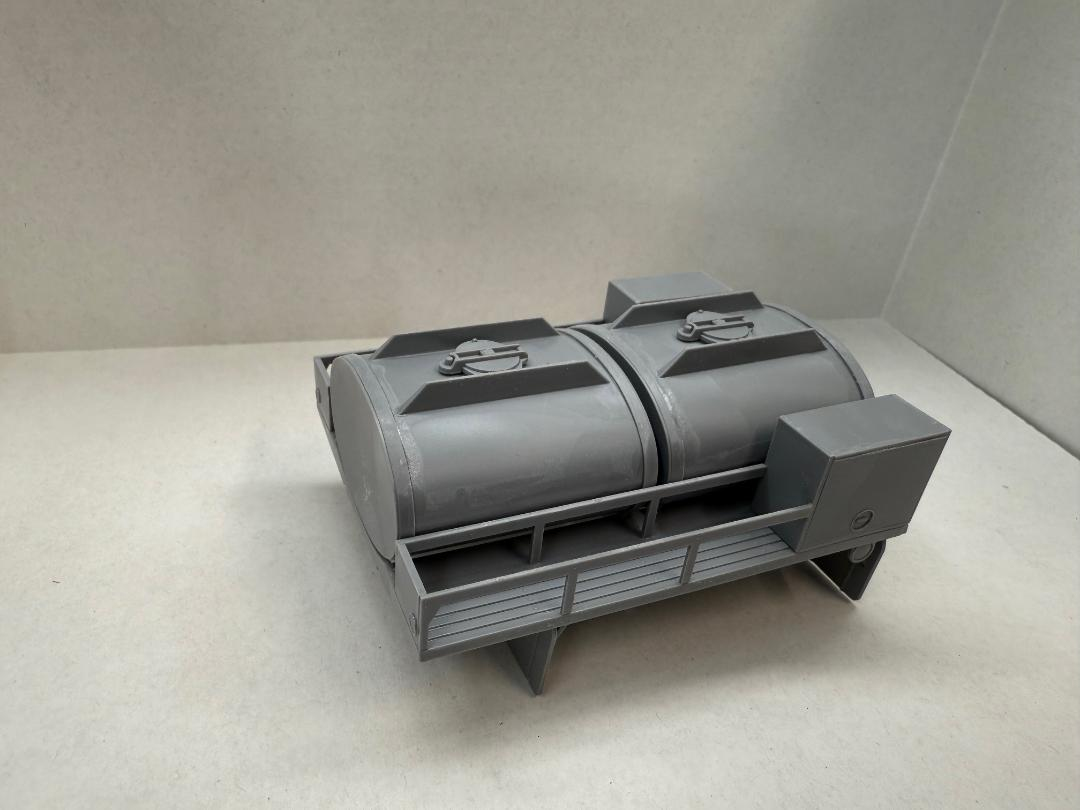
Starting with the Studebaker US6-U5 Fuel Truck
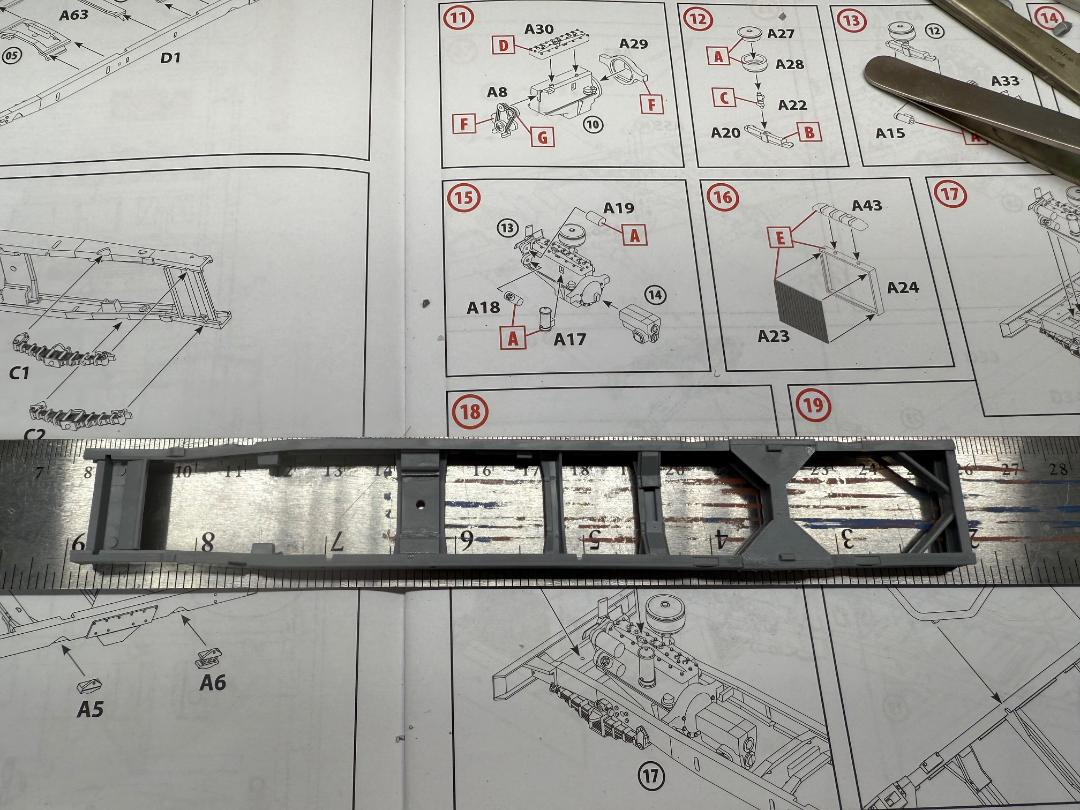
At first glance the plastic is easy to work with and isn’t too brittle to snap small parts when they’re snipped off. Two sprues, [A] & [B] have no number call outs next to the parts, and you have to reference the diagram at the start of the instruction manual, although it’s not a huge problem it can become a little irksome flicking back and forth.
There are a couple of ejector pin marks that must be removed for Part A70 is to sit square.
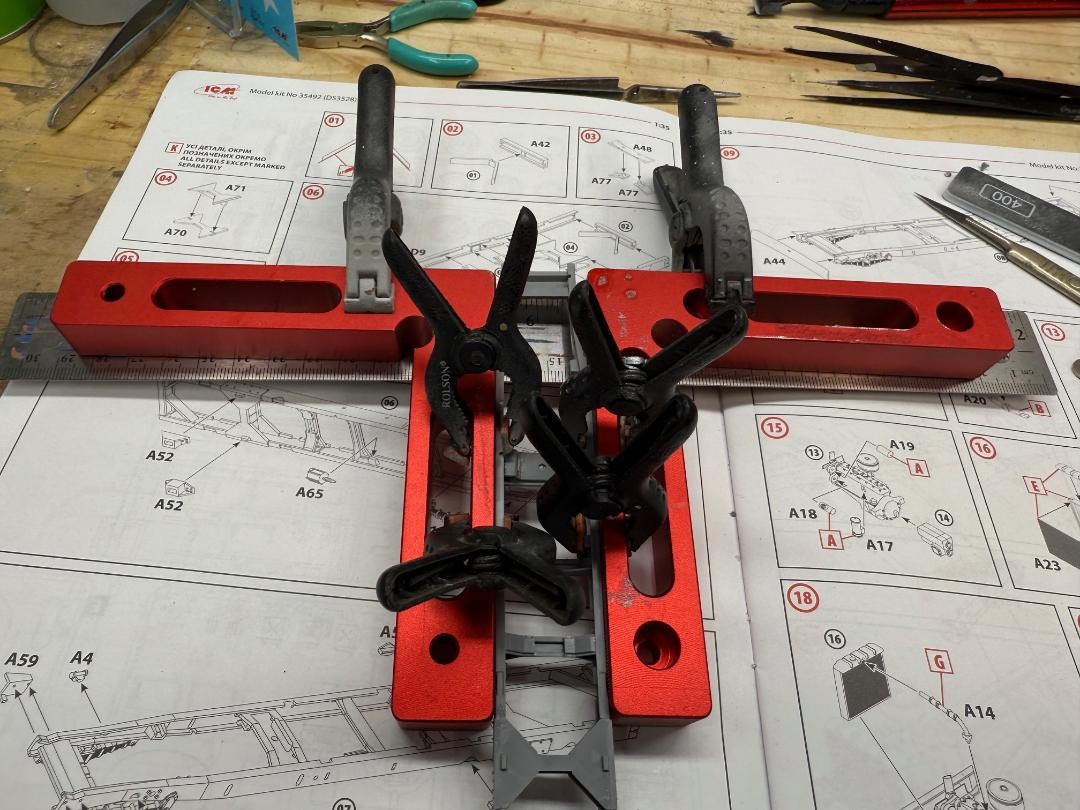
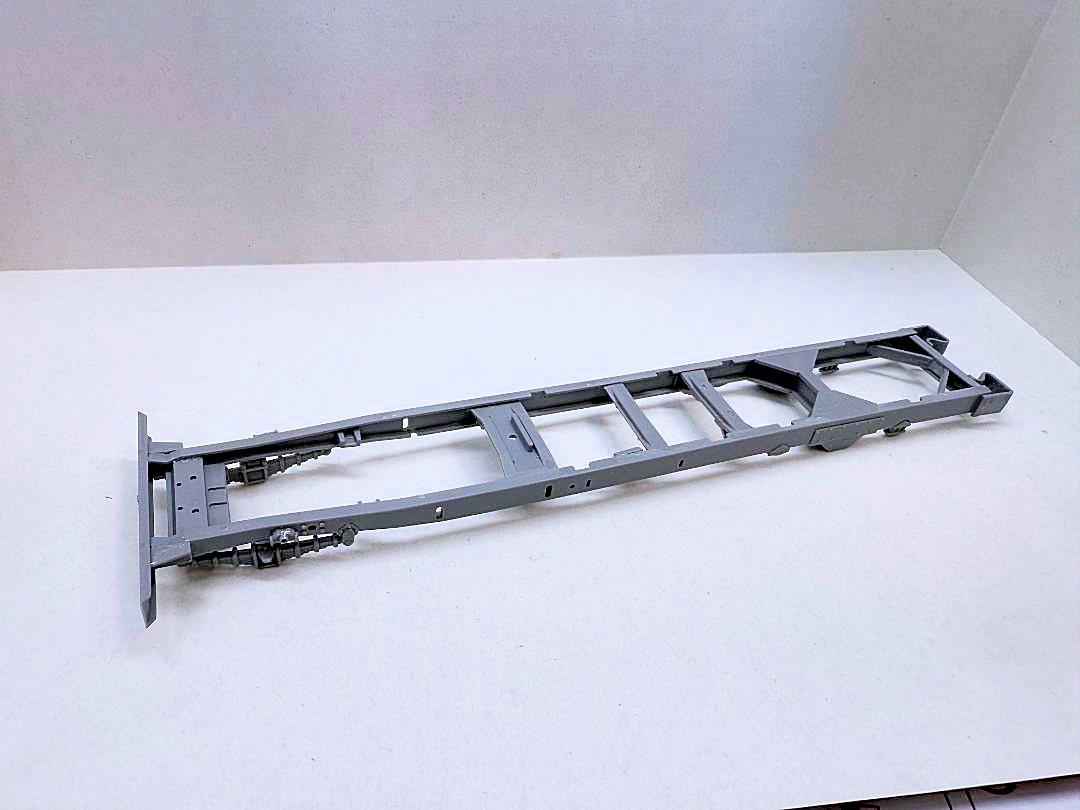
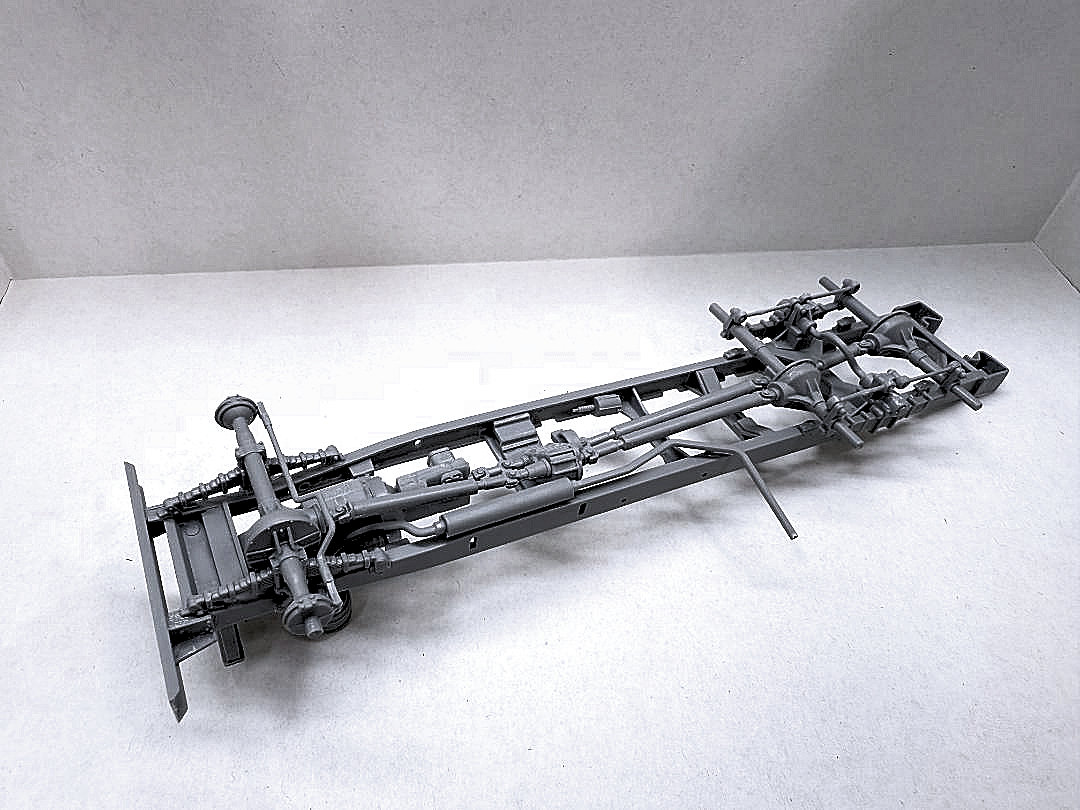
On my sprue, the frame rail Part D1 was bowed out, but when the cross members and Part D9 are attached it rectifies the problem. To make sure the frame is square I clamped it into two machine squares and a steel rule.
Some minor issues occurred with Parts A59 & 60, as there were no locating pins, but studying the instructions helped locate the correct position.
Part A6 needed some considerable clean up where the sprue gate connected, so it would fit flush to the frame.
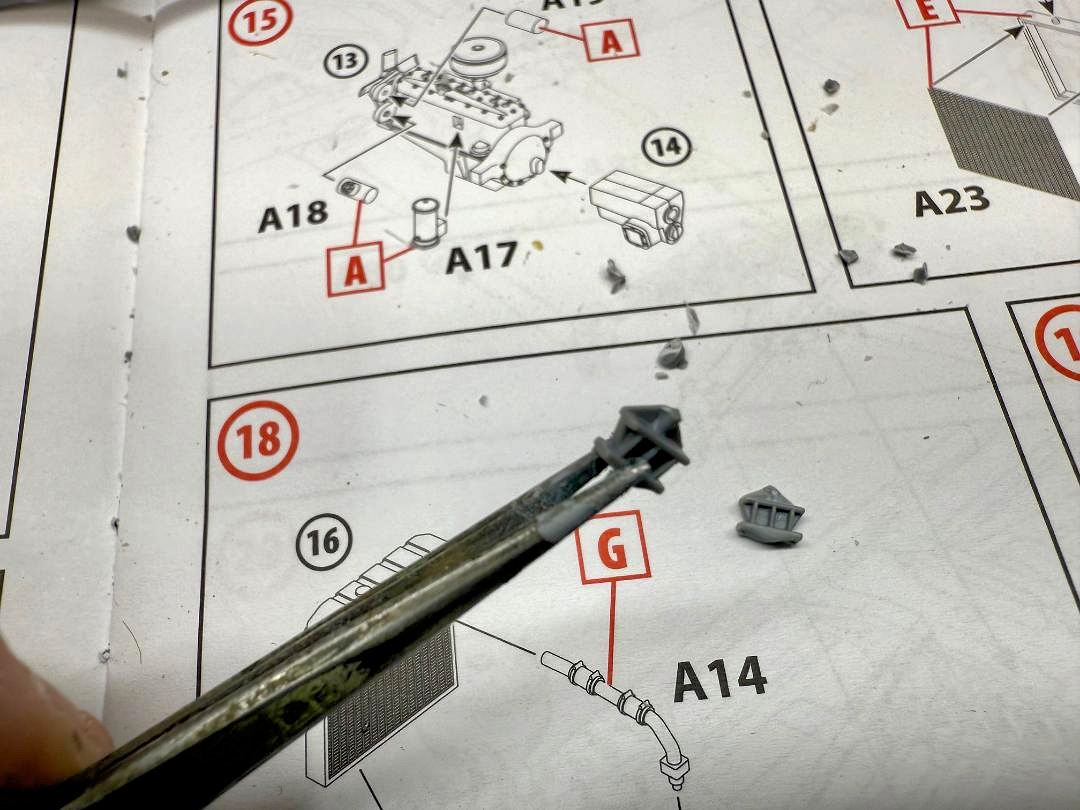
Part A44 is shaded out on the parts diagram, but is needed at build section 9, so do not discard it. Part A12 is a little short to fit neatly into Parts A20 &13.
There are several parts that have bold seam lines that need careful cleanup, along with this there are some large sprue gates, it’s not a big issue but it does lead to the risk of damaging some of the smaller parts.
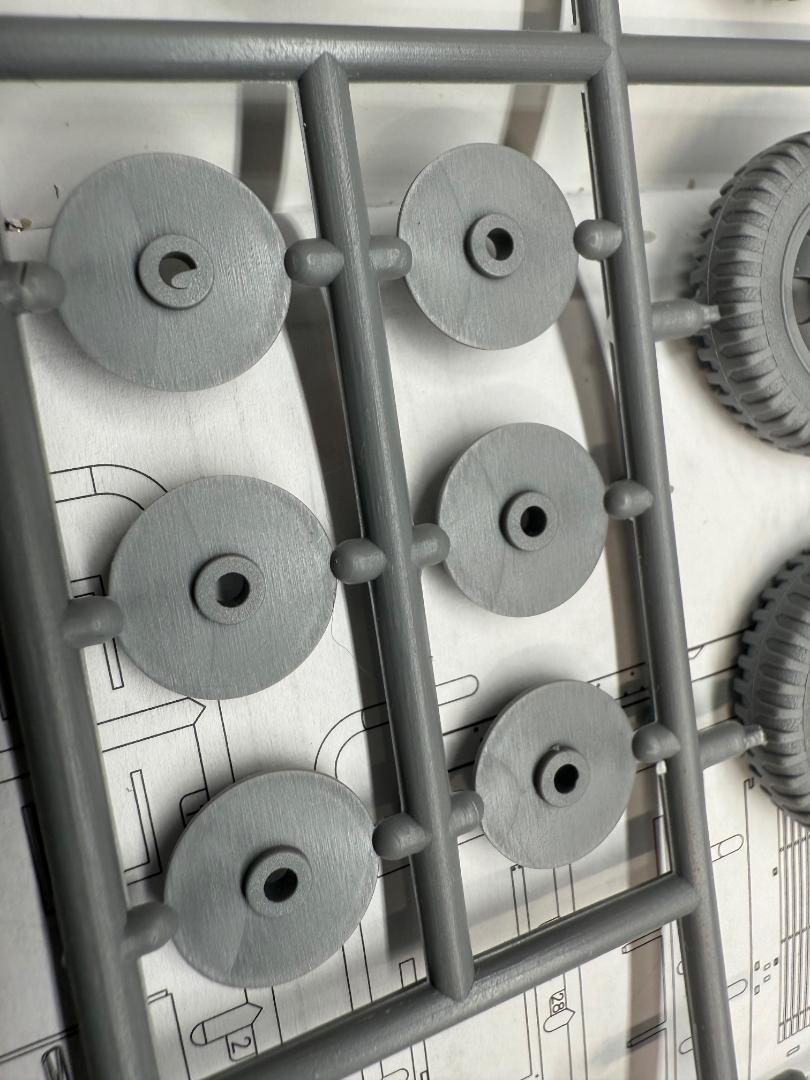
Wheels go together very well; there are three ejector pins in the inside that have to be removed so the sidewalls sit flush with the tire.
Building the truck bonnet and side panels will be easier if you use part B18 as a placement guide, part B18 has two sink holes by the window opening, that need to be filled or will be obvious after building.
Parts E30 & 31 are mislabeled on the instructions and are D30 & 31.
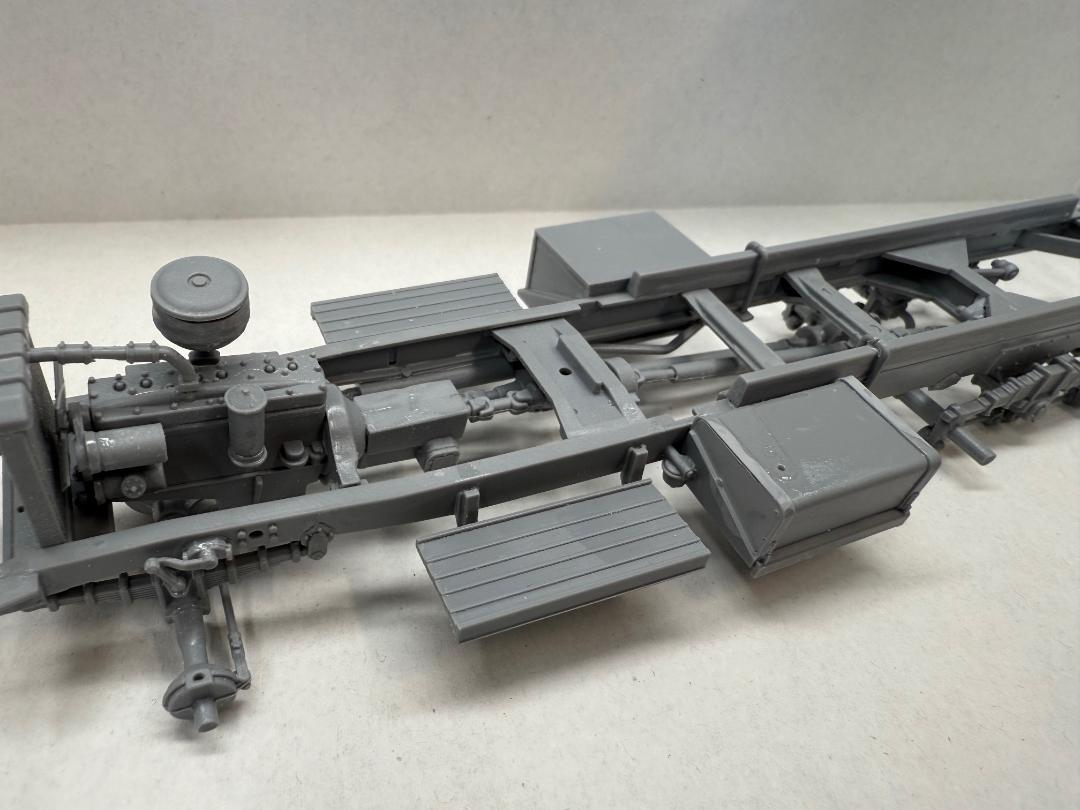
All the sub-assemblies fit well together to make a solid representation of the actual vehicle.
Studebaker US6-U3 Utility Truck
Build up was identical as the Fuel Truck until you build the ‘Flat Bed’, with the same unnumbered sprues problem, this time it was [D] & [E].
Parts D4 & 5 have several large pins that are caused by plastic overpour, they need to be removed before they can be fitted to D7, D7 is very delicate, and care must be taken to keep aligned.
Placement of the ‘Flat Bed’ is very positive and sits well on the frame.
Finished as Option 1, US Corps of Engineers, this required two flat pieces of plastic card to be cut for the large front decals, this must be sourced from the spares box.
All the sub-assemblies fit well together to make a solid representation of the actual vehicle.
G7117 US Military Truck
Although it is a different design than the two previous trucks the building is practically the same.
Sprues have no flash and are soft enough plastic to make clean up very easy.
Although the parts are very well detailed there is pin on most of them that must be cleaned off to make parts mate flush.
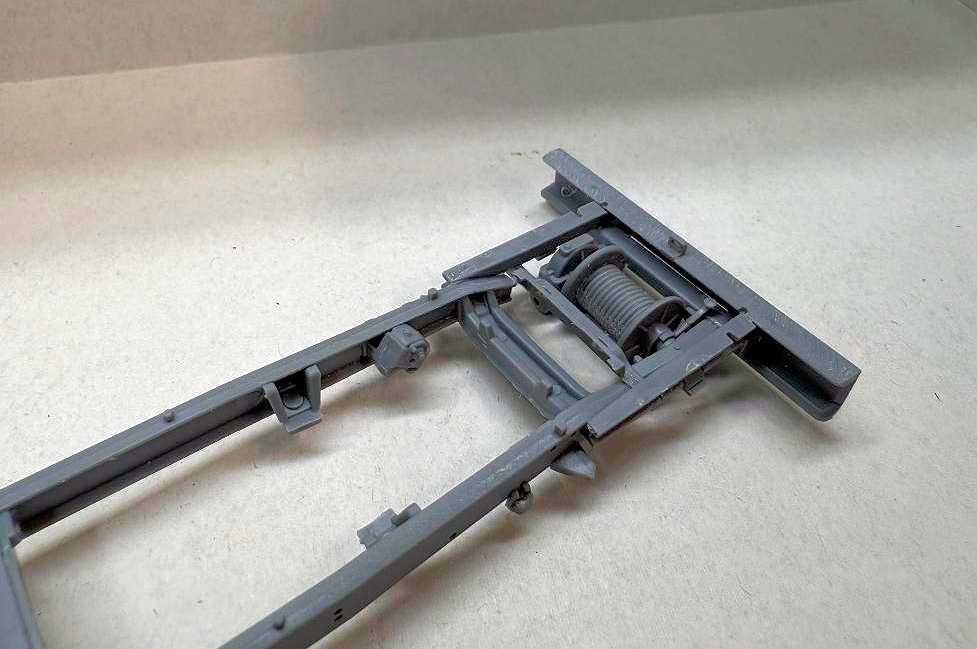
An interesting part of the building was the removal of 14mm of the chassis and the fitting of the winch assembly, with the use of a small jig to aid with alignment.
The Winch Assembly is a very nice representation and well detailed, my part F8 unfortunately shattered into oblivion while taking it off the sprue, so I replaced it with piano wire bent to shape.
As with all the trucks in this set the cab is fully detailed and gives the option for doors to be left open.
The finishing options offer a US Navy finish, this has the least number of decals, and I chose this because I’ve never done this before.
It is a very enjoyable build that has the right level of complexity for any level of builder to enjoy.
Conclusion
I was very impressed by the level of detail offered by all these kits, with full engine, and interior, chassis with air tanks and fuel system that lends itself to super detailing for those that, along different options for the two flat beds to have open frames, seats up or down and tarpaulin on or off, make these a true diamond for the connoisseur of WWII US Military Truck builders.
I painted it with ICM Paint Set 3005 for WWII US Vehicles and applied the decals. The decals are possibly the nicest I’ve used in a long time, very well printed and solid white with no colour bleeding through, they are very thin making them fragile but sit in well onto the model.
The remarks I have made are in no way a negative opinion, they’re just observations on the building process that I experienced. This in mind it’s a simple build and anyone from novice to experienced builder will gain enjoyment from the build.
In conclusion, this is a very nice kit and shows the quality that ICM are becoming renowned for, and I’m looking forward to building many more kits from them.
Thanks go to ICM for providing these kits for review and IPMS/USA for trusting me with them as my first review.


Instructions

Decals and Glass

Ejector Pin Marks

Assembly
Assembly
Assembly
Assembly
Assembly
Assembly
Assembly
Assembly

Assembly

Assembly

Assembly

Assembly

Assembly

Assembly

Assembly

Assembly
Assembly

Assembly

Assembly
Assembly

Assembly

Finished

Finished

Finished

Finished

Finished

Finished

Comments
Add new comment
This site is protected by reCAPTCHA and the Google Privacy Policy and Terms of Service apply.
Similar Reviews