
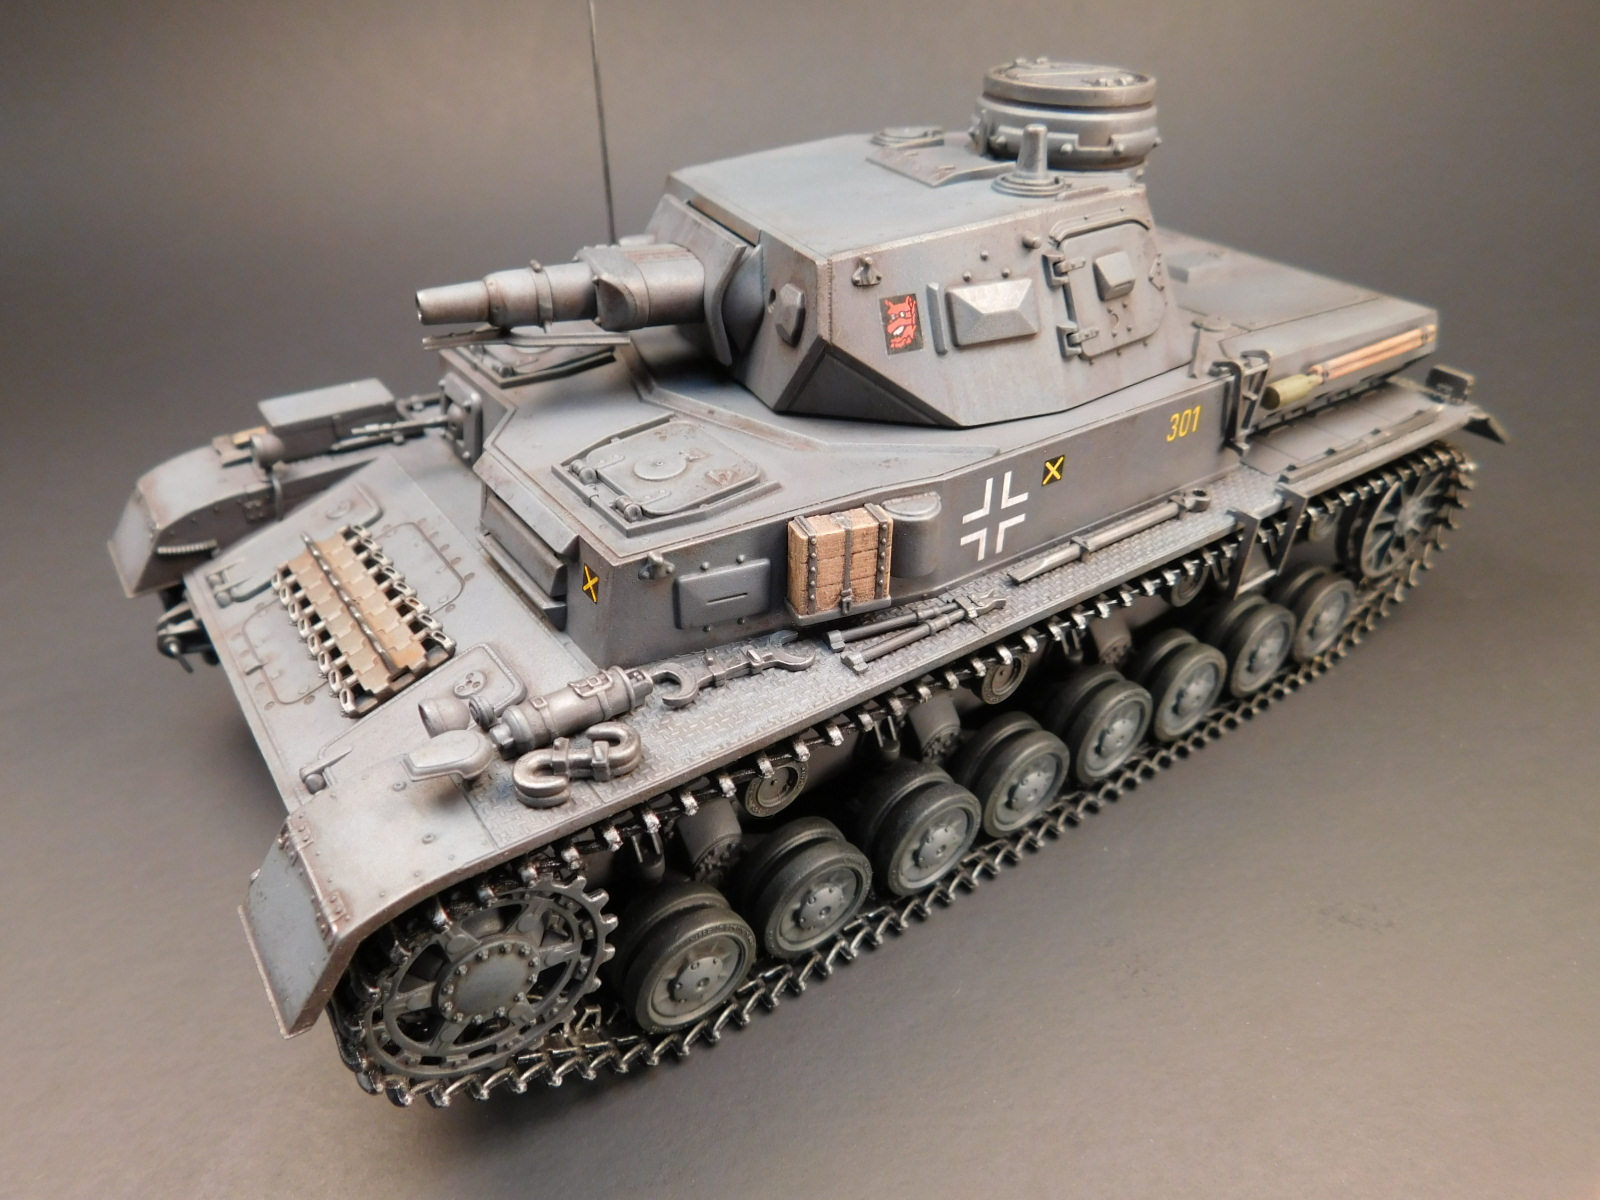
Panzer Kpfw. IV Ausf. D
This kit is the first armor kit in the 1/35 Platz line from Dragon. They have taken the Panzer IV from their Girls Und Panzer line, re-boxed it and gave it new decals and instruction sheet. The molding is from 2012 and has about 175 parts, with DS tracks. This is quite a reduction in parts then from other Dragon kits. Slide molding technology allows Dragon to mold past subassemblies into one or two pieces. The box is overall white with just a black strip and one picture of the tank, no real box art like other Dragon kits.
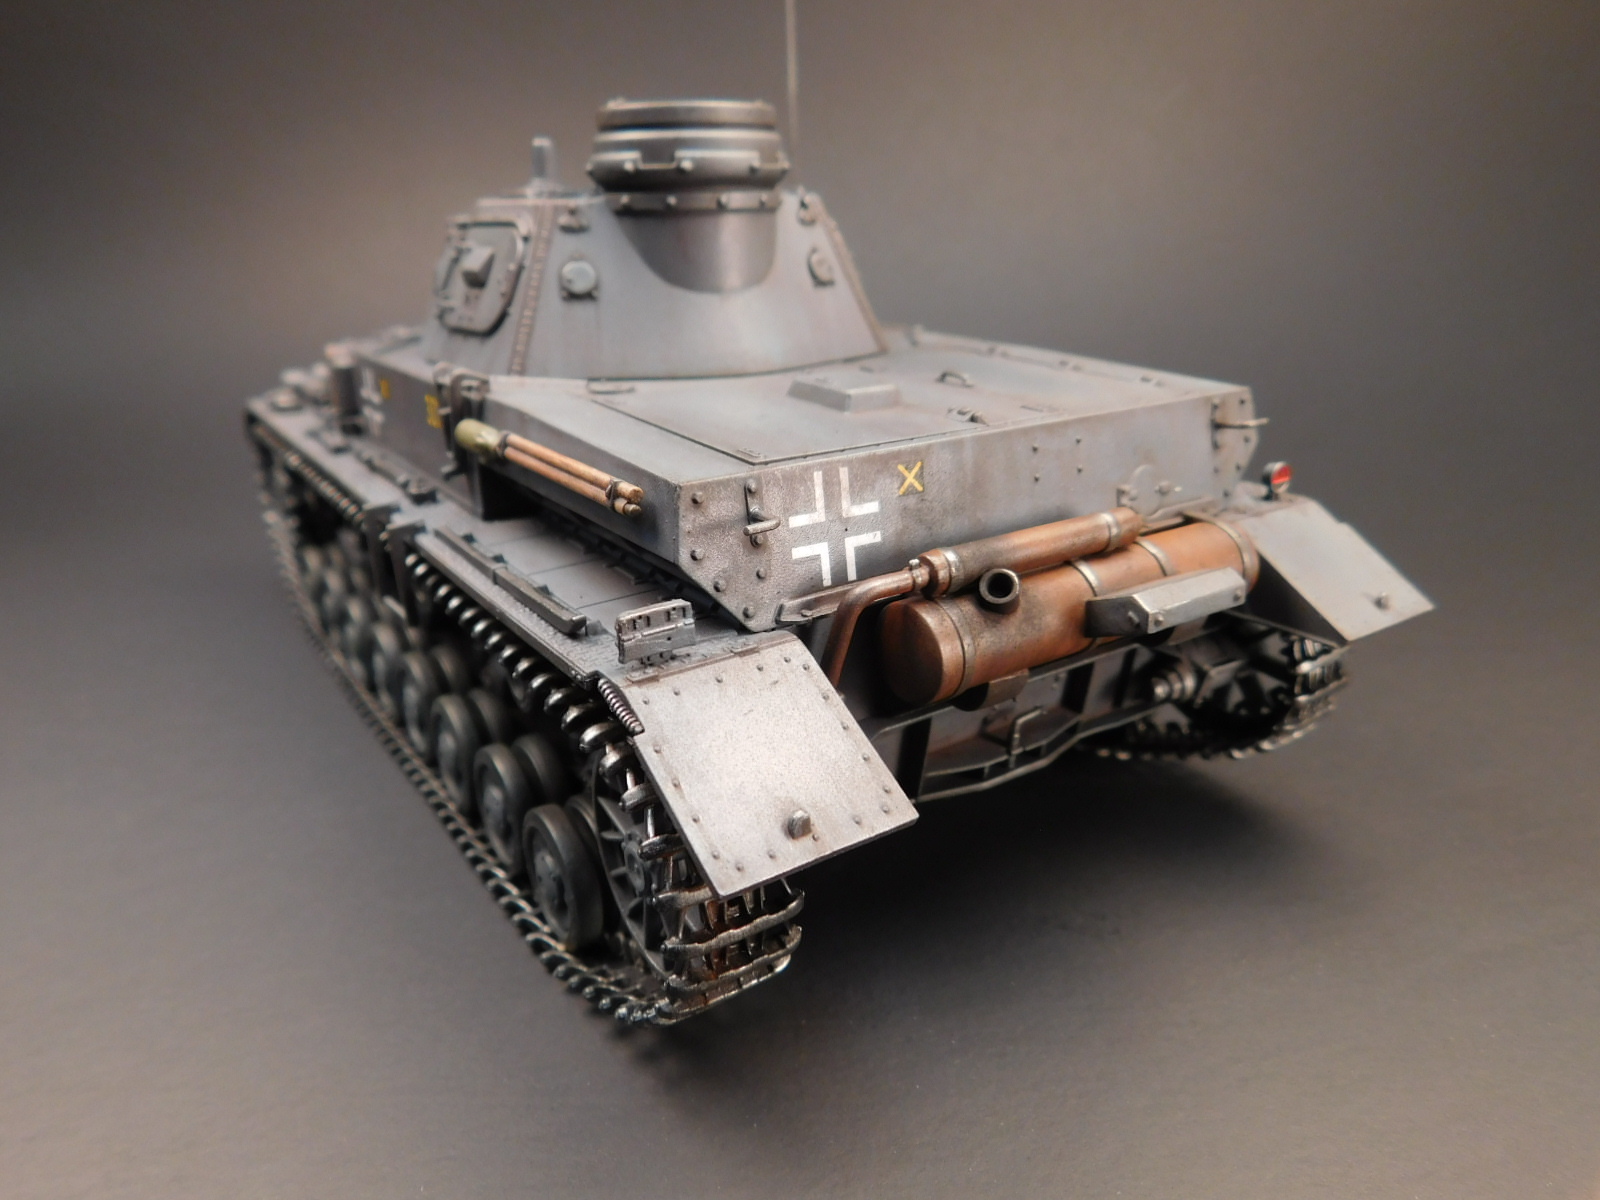
This kit consists of only five sprues with almost all the parts being used– very rare for a Dragon armor kit. There is no photo etched, tow cable or clear parts. The small decal sheet only has two options, both from the summer of 1941 Balkans campaign. The instruction sheet is typical Dragon trifold, but is only six pages, with four pages for the 12 construction steps. These instructions are surprising good and clear for Dragon. There was only question I had was on the rear, lower hull plate where the muffler mounts. The exact location of the muffle is questionable and these is no detail picture of it to see what it should look like after assembly.
Construction
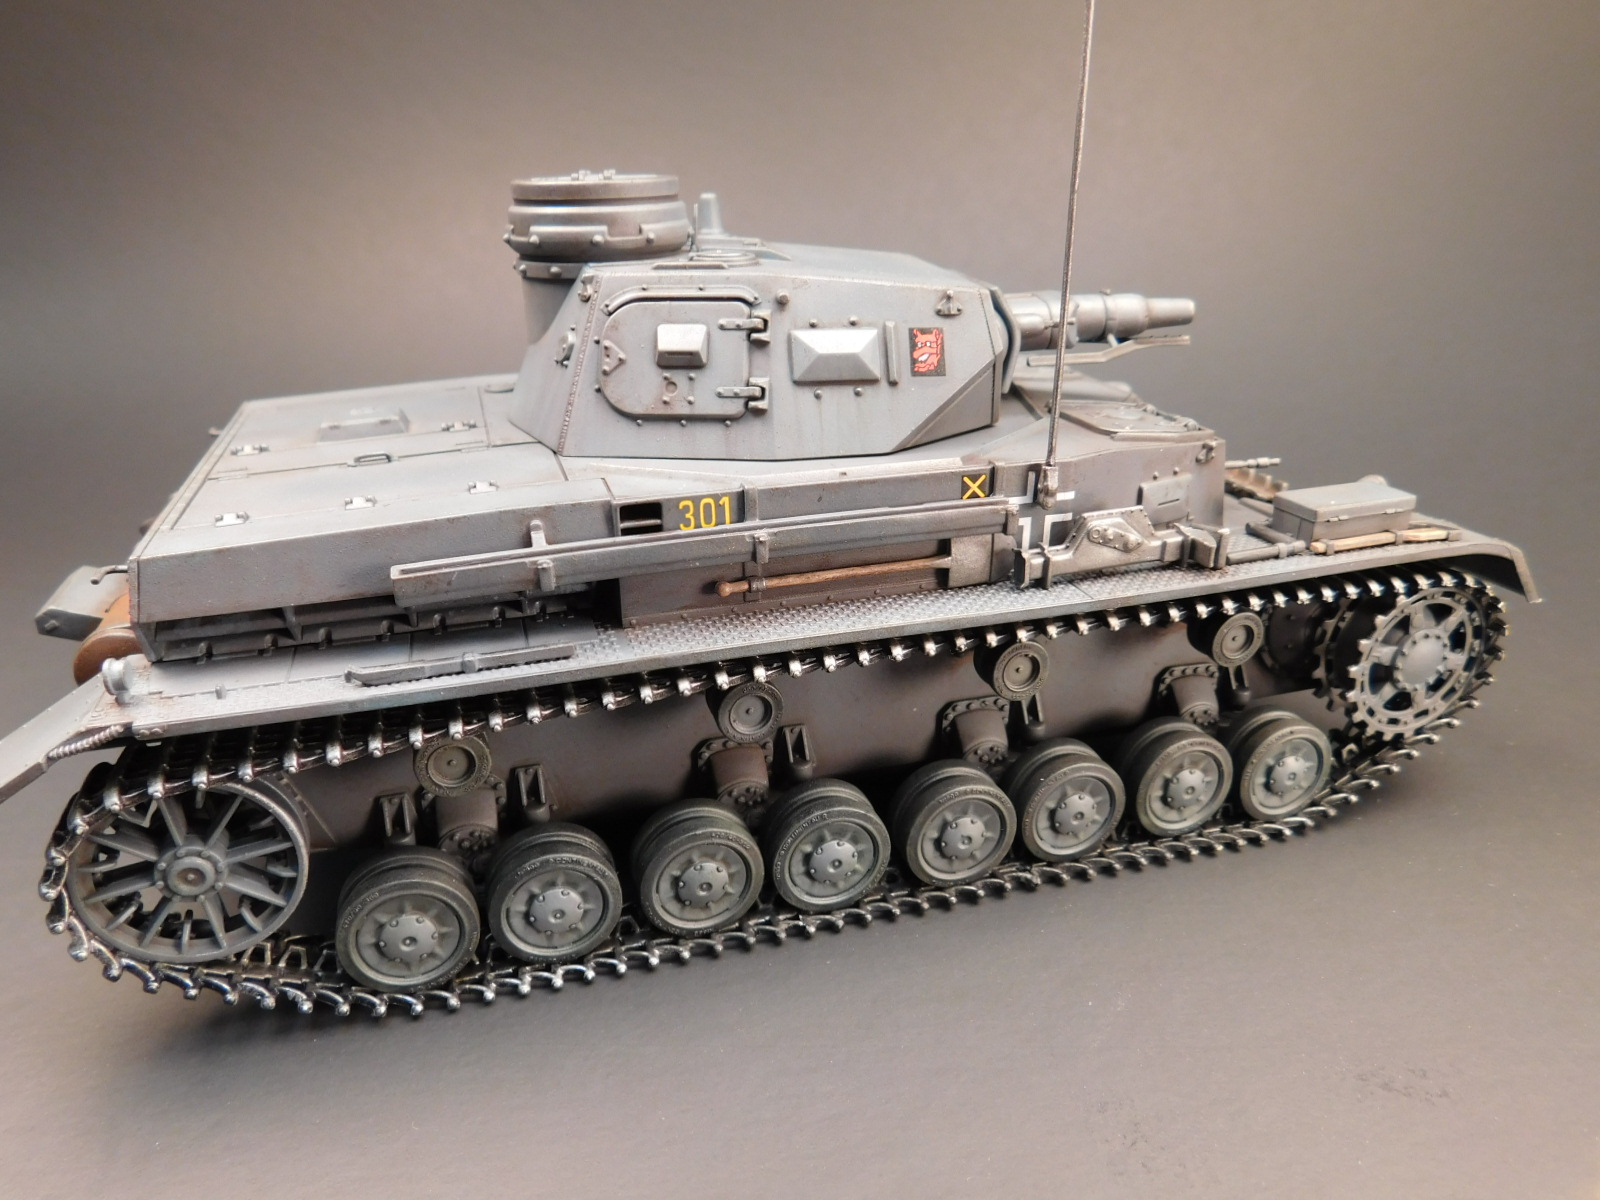
Assembly starts with the suspension and here we start seeing the simplified construction. In past Dragon Panzer IV kits, the roadwheels were six to eight parts, but here they are just two parts - the front and back. Same with the idle wheel and drive sprocket. The correct sprockets are molded onto the side of the C sprue, so it looks like these added for this kit. The original sprockets are still included and these are the only part (beside tools) not used. I glued the wheels together and then clean off the molding seems, which was not too heavily molded. When working on the rear exhaust plate, be careful cutting off the tow pintle, part A26. Part of the mounting strap is attached to the sprue gate and I cut it flush with the pintle in error. Also, when mounting the rear plate to the hull, slide it down from the top. The tow pintle needs to fit into a hole on the hull. I did not notice this and bent the pintle out.
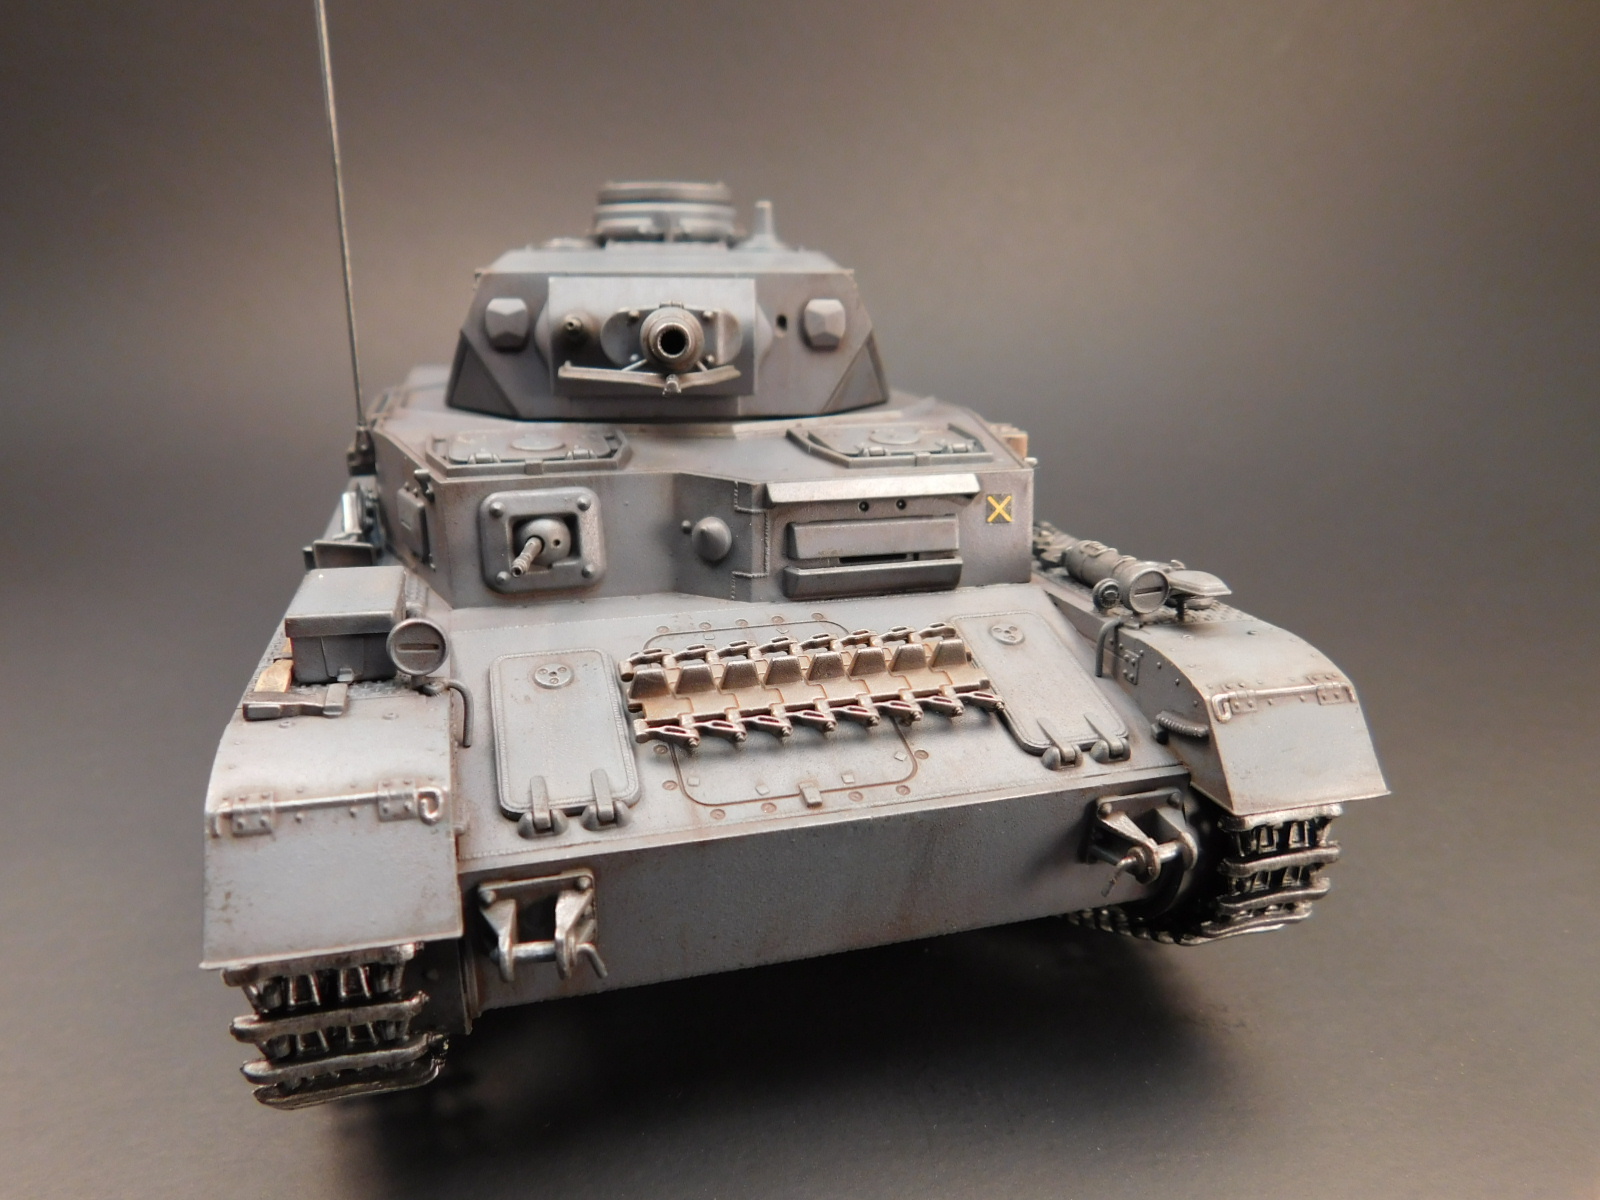
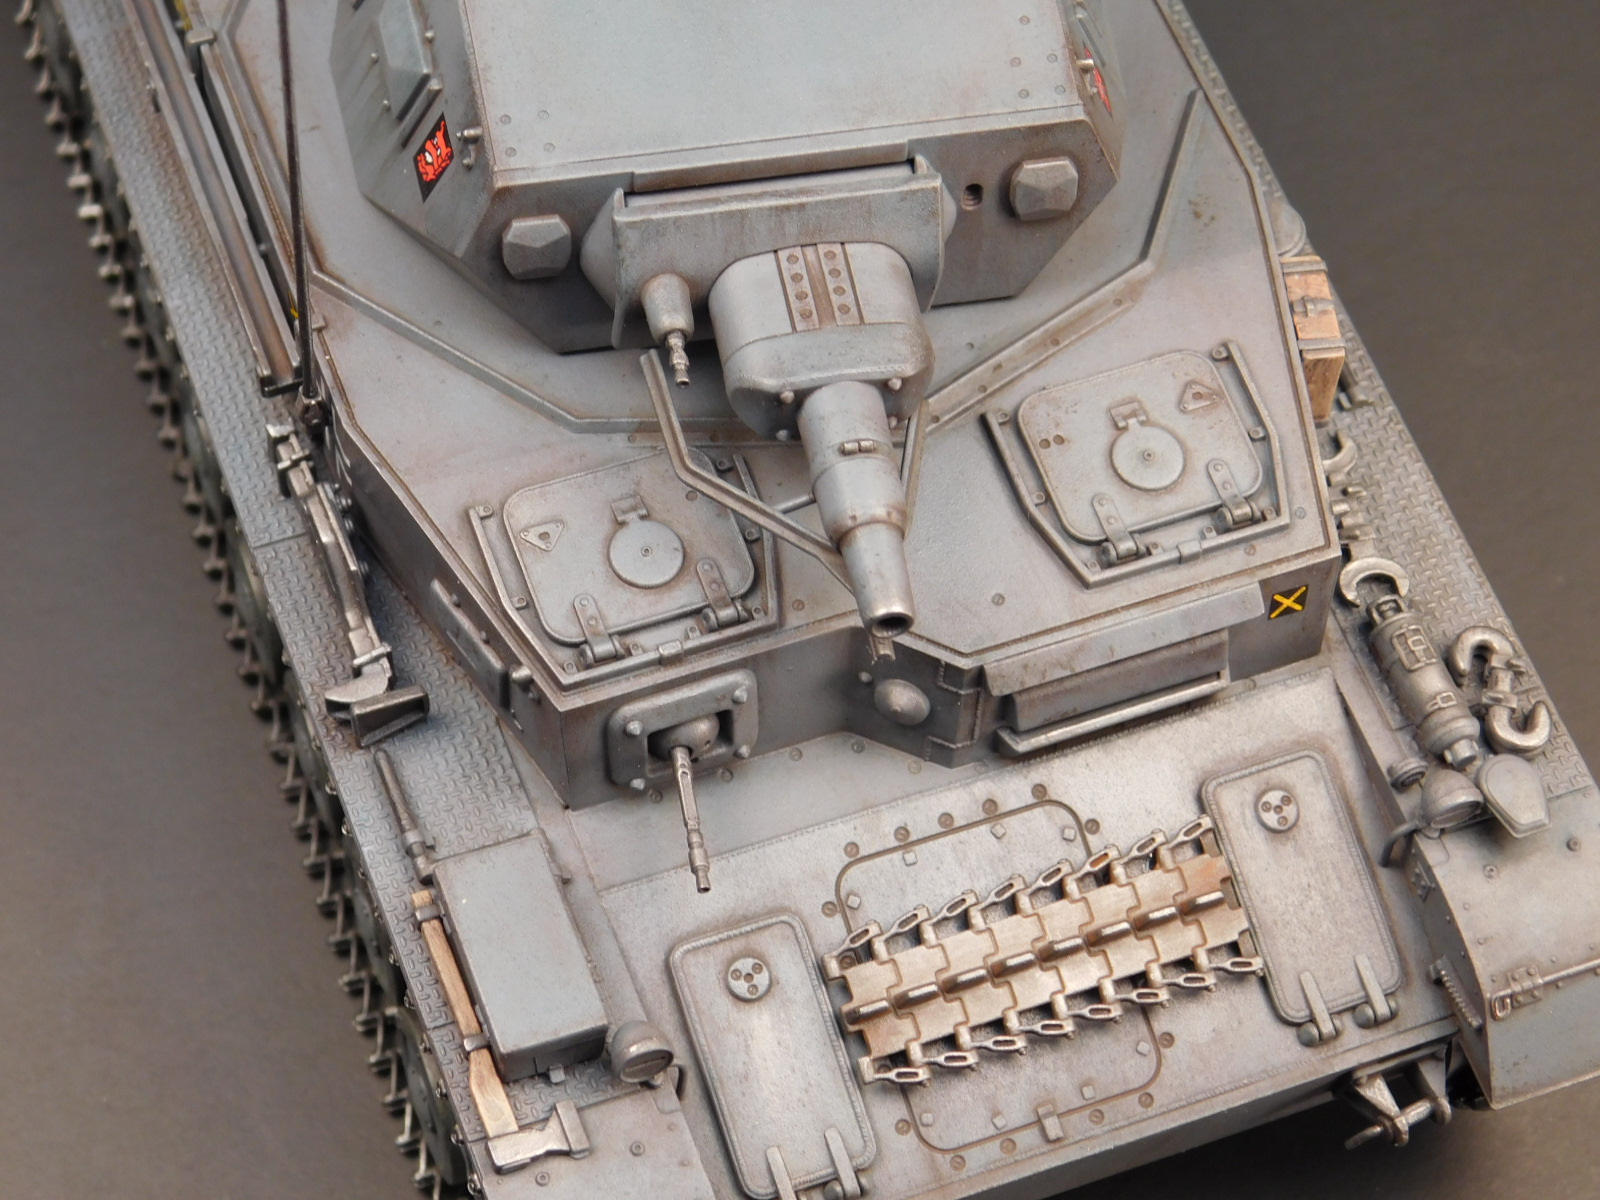
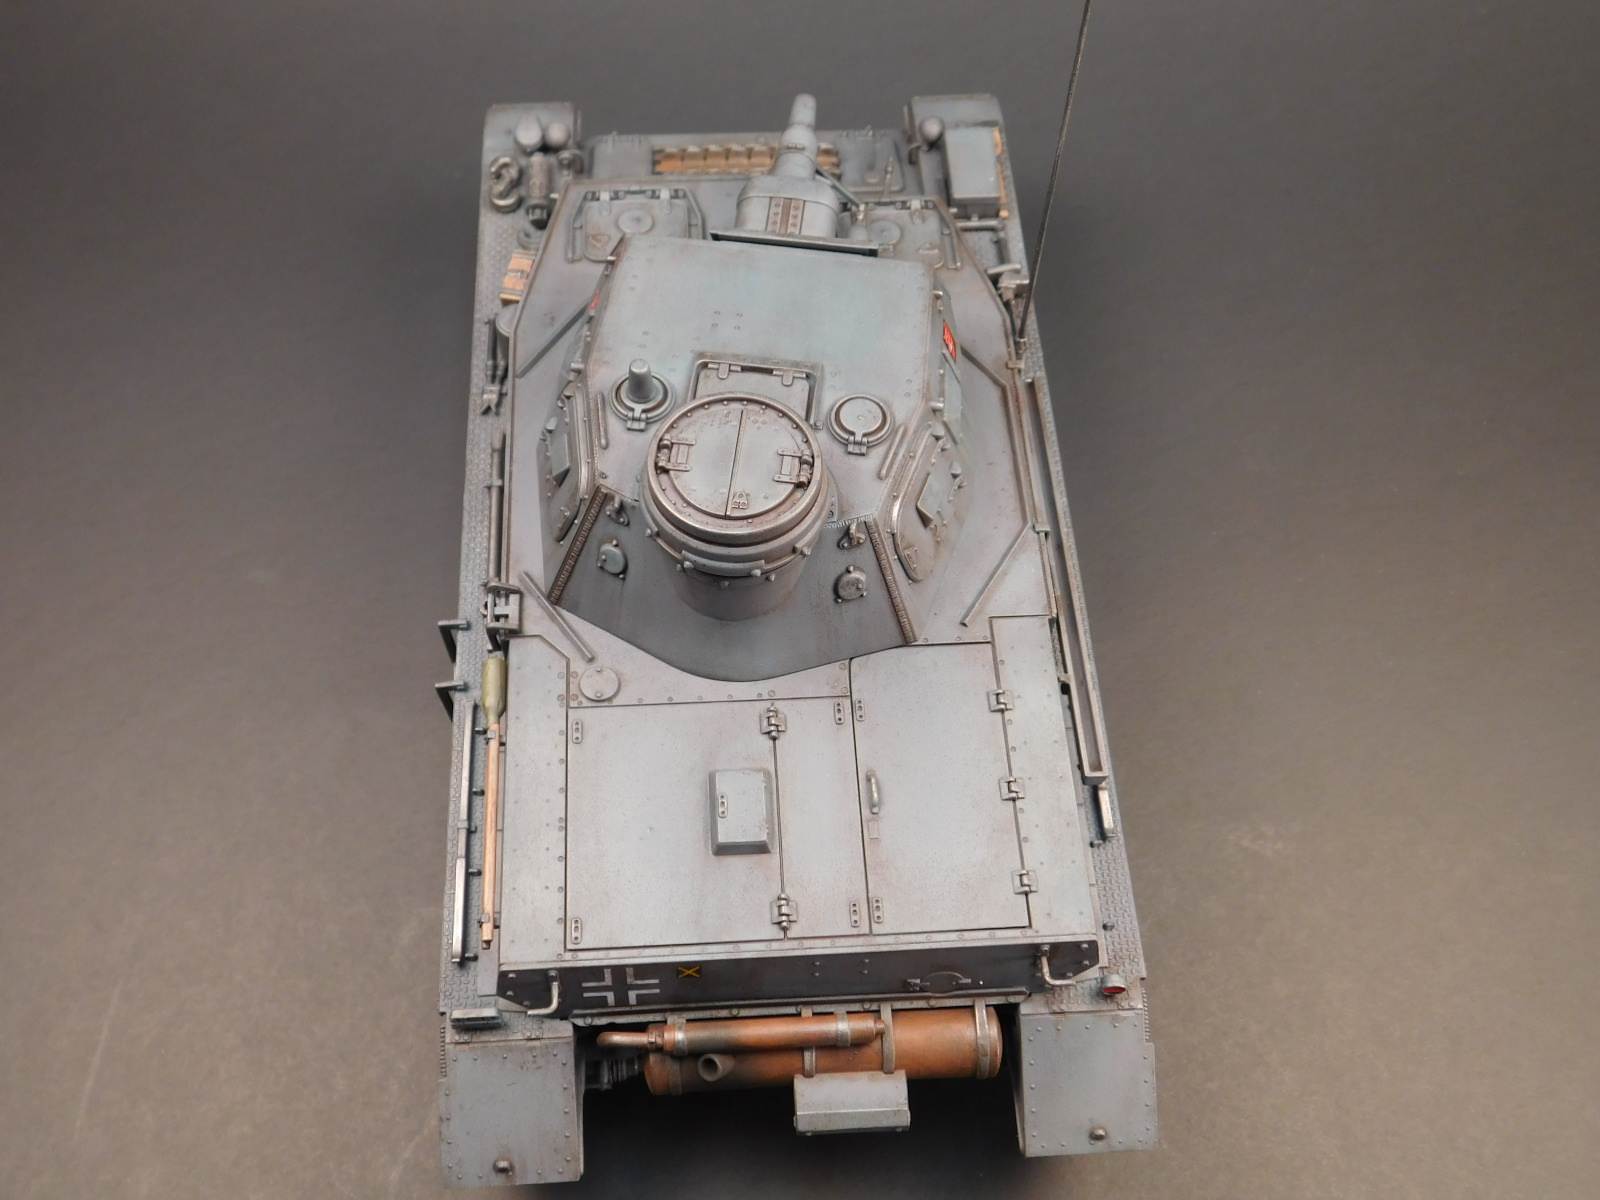
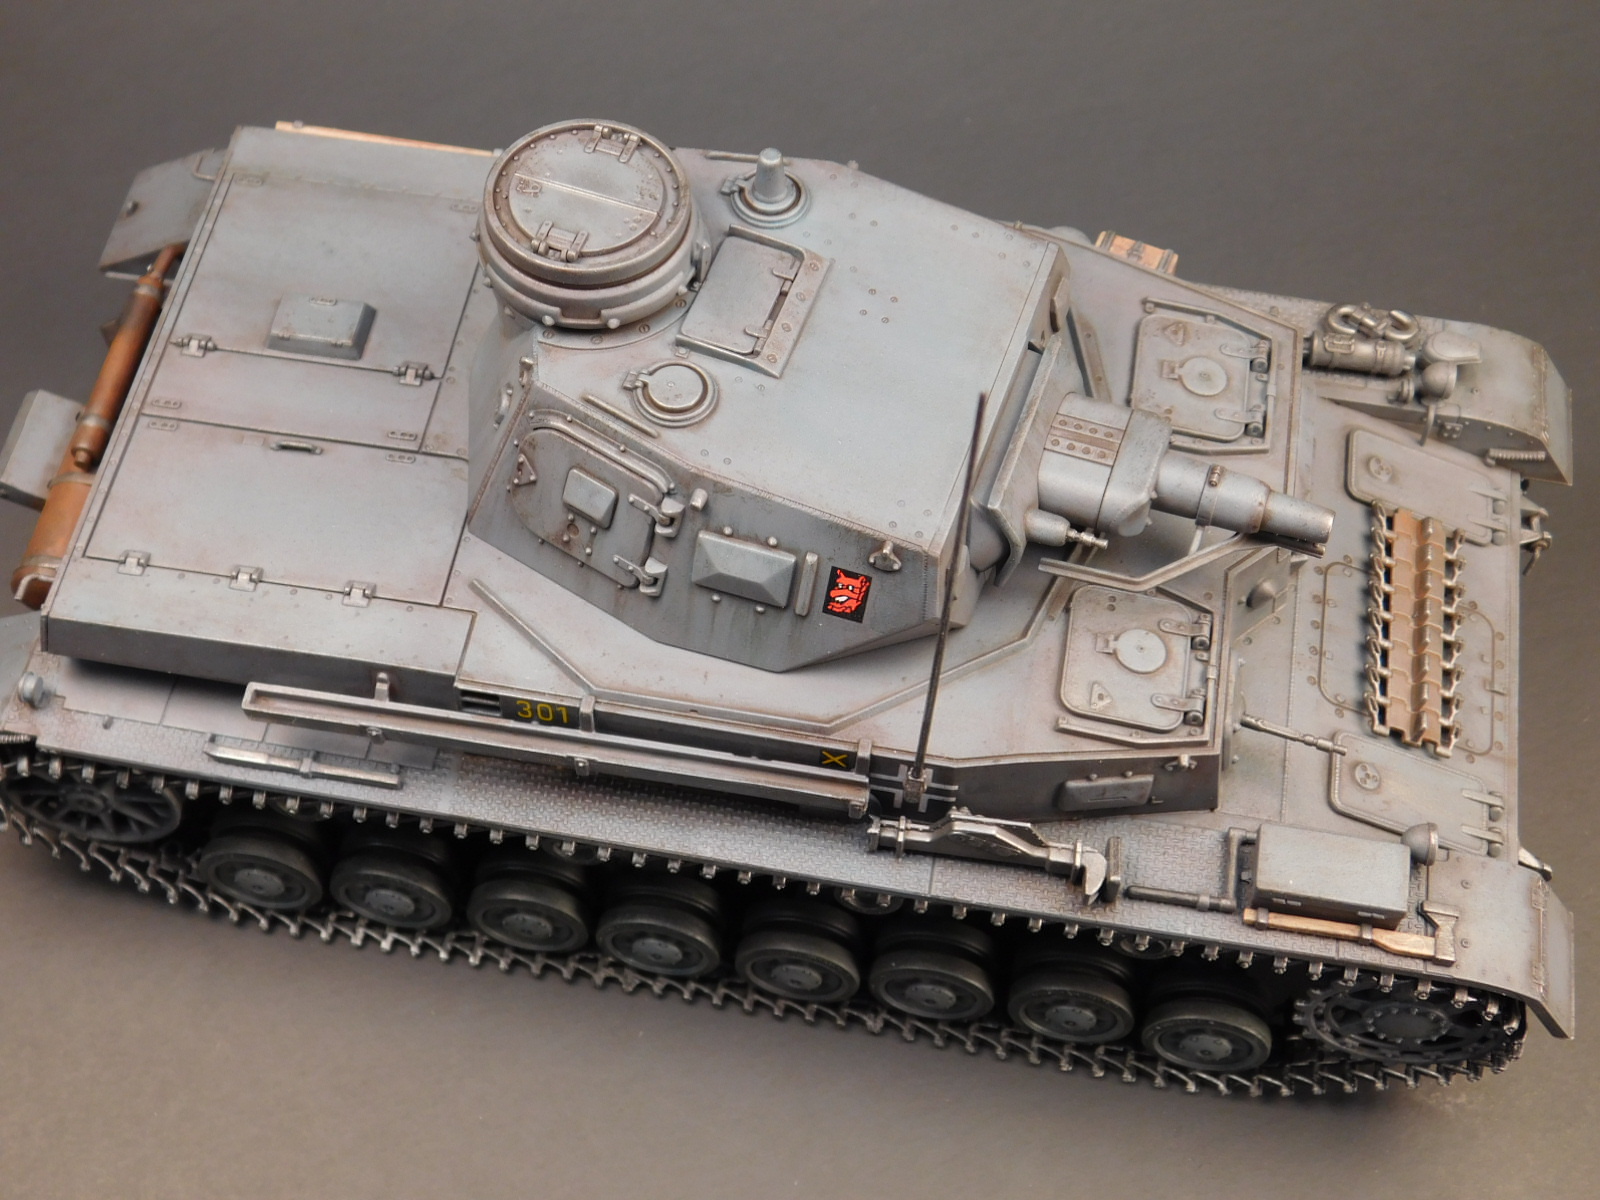
The next step is building up the fenders with the tools. The H sprue has all the tools and lights on it and this appears to be from past Dragon kits. Only about half the tools are used. I keep off the small, bent pins (part C15) on the rear engine deck and the front tow shackle pins (A5 and A6). These are very thin pins and I was worried I would break them during constructions. I did break the front two pins a couple times while painting and weathering. One of the rear engine deck hatches (part A19) seems a little under sized. I had to carefully place this as to not show a gap around it. All the other hatches fit perfectly, so not sure about this one. The grab handle on the hatch was just a sold fin, so I cut it off and replace with one from a past panzer kit.
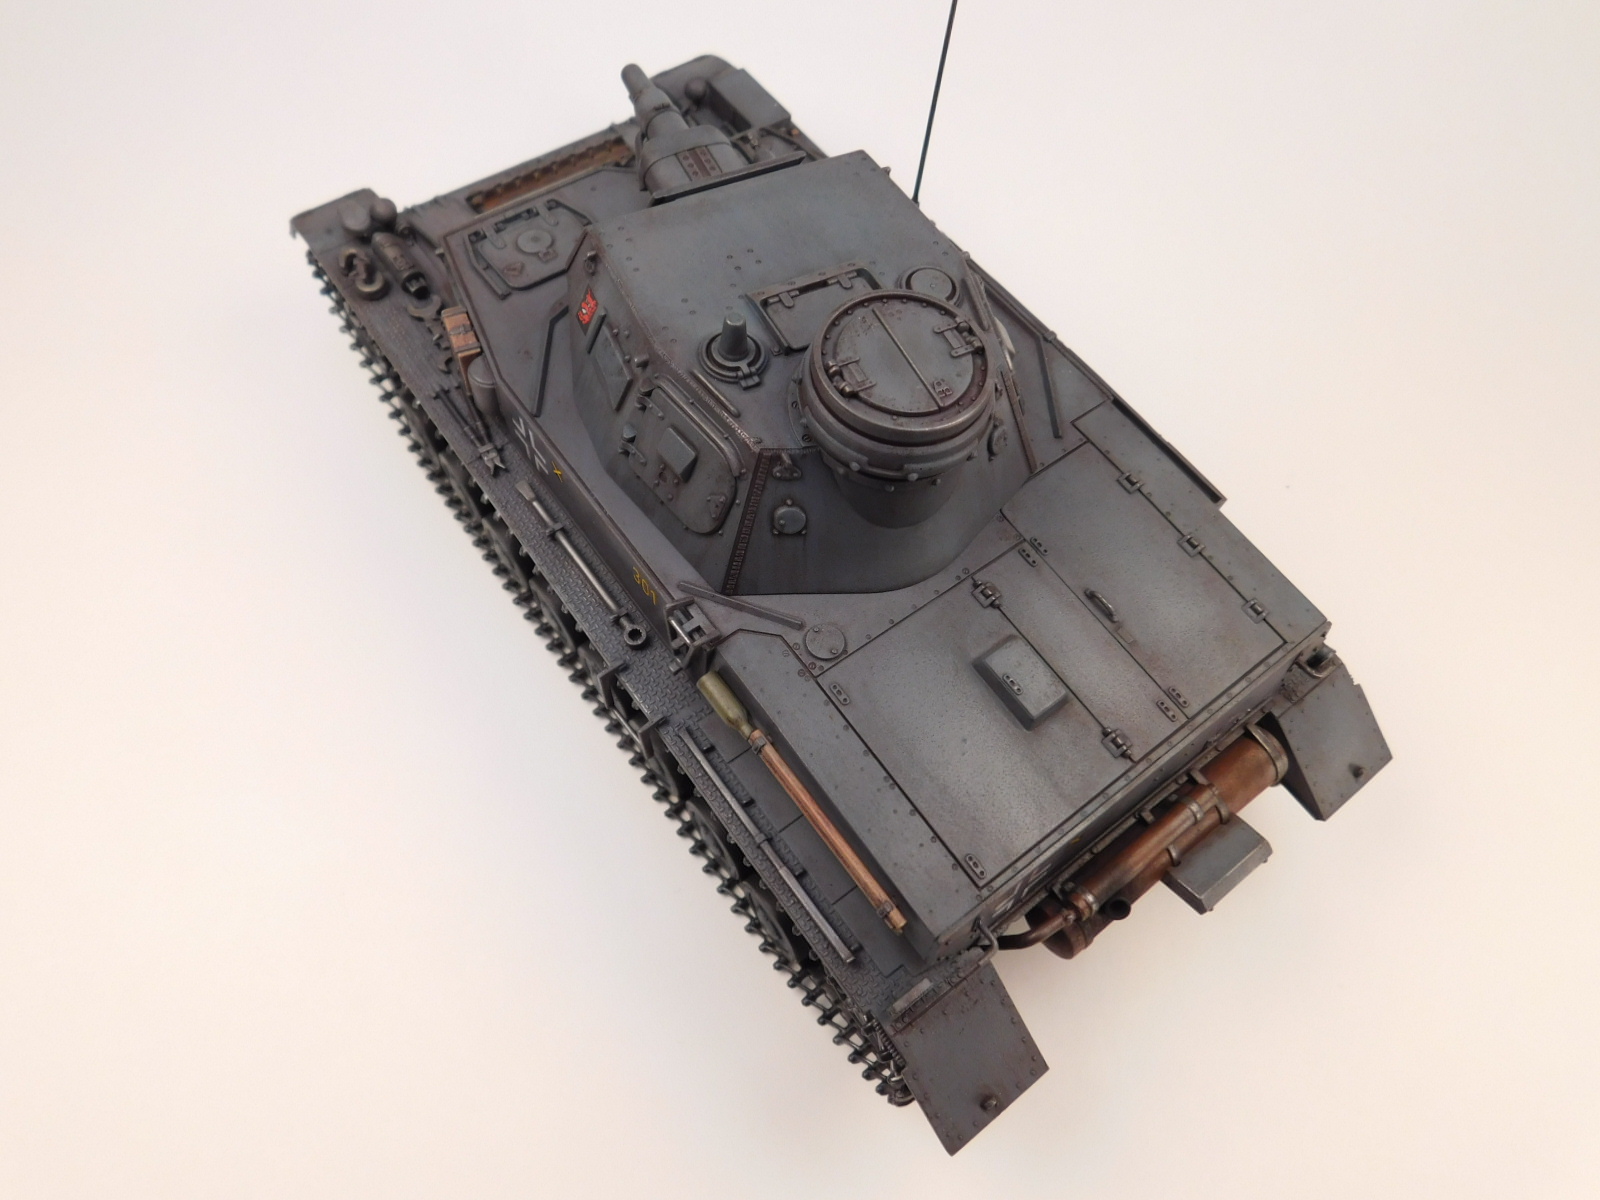
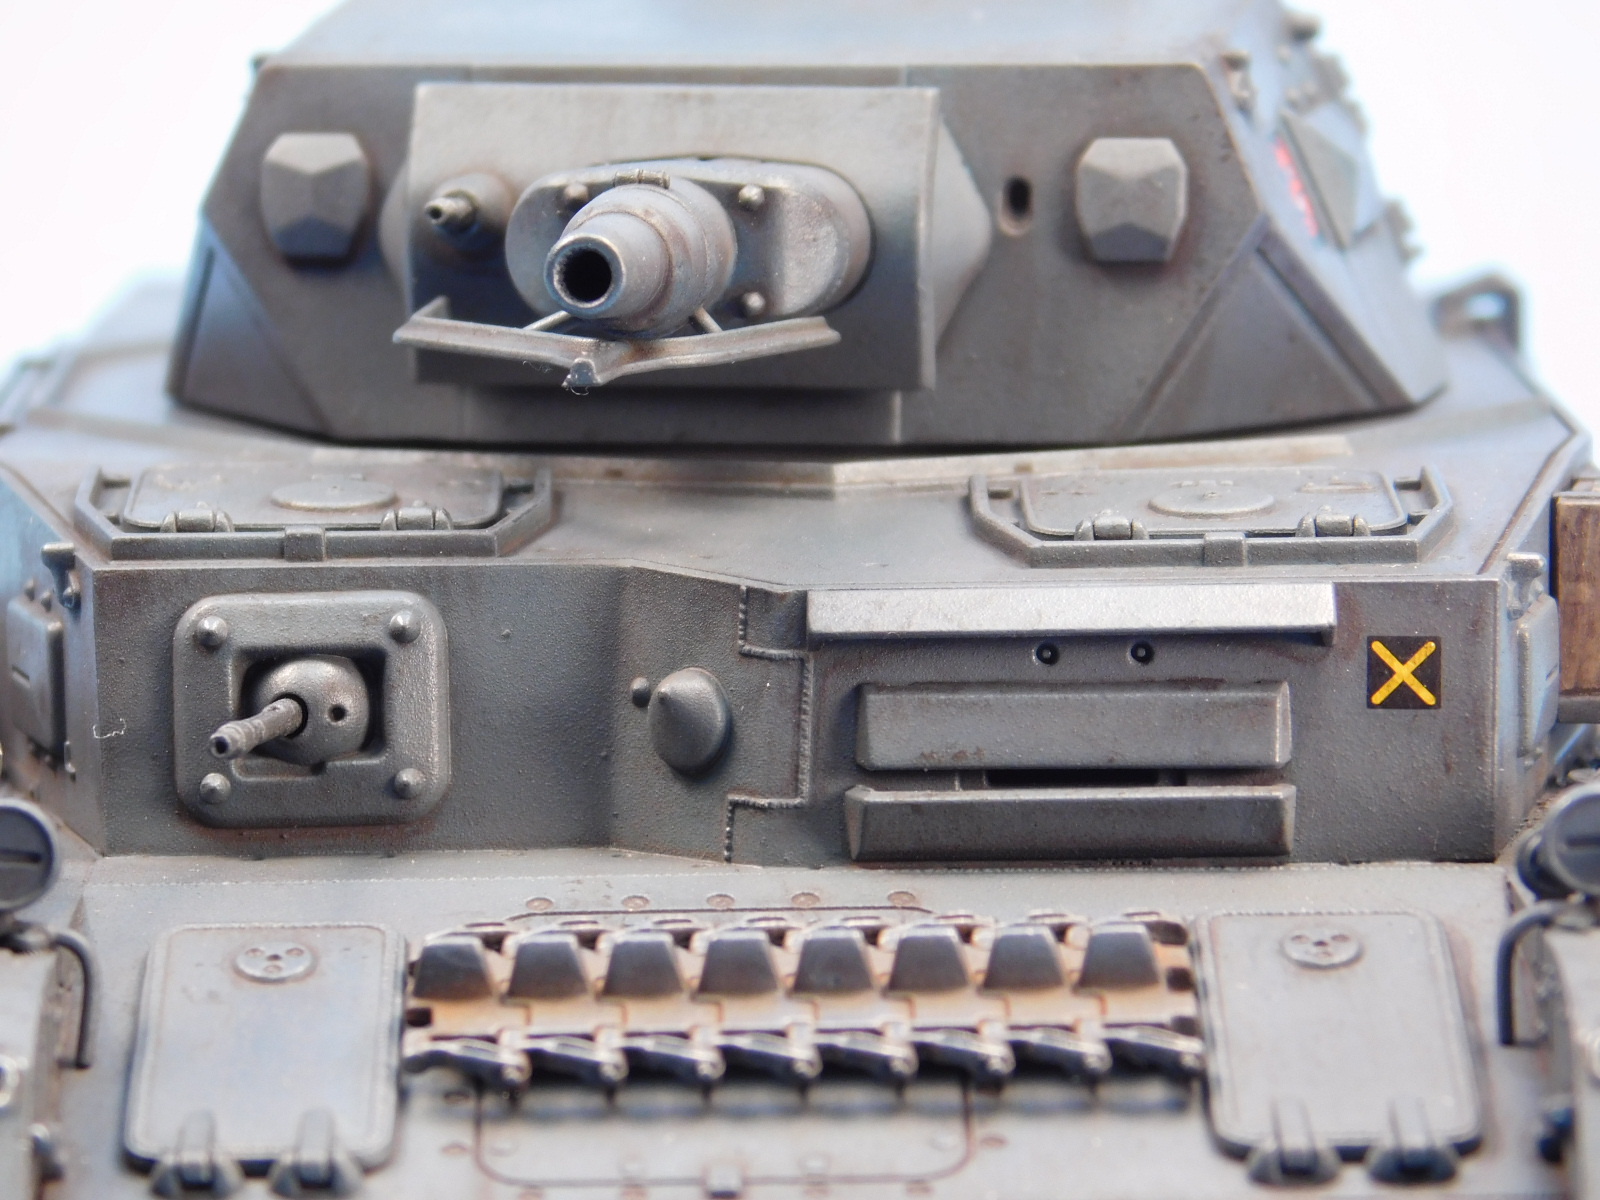
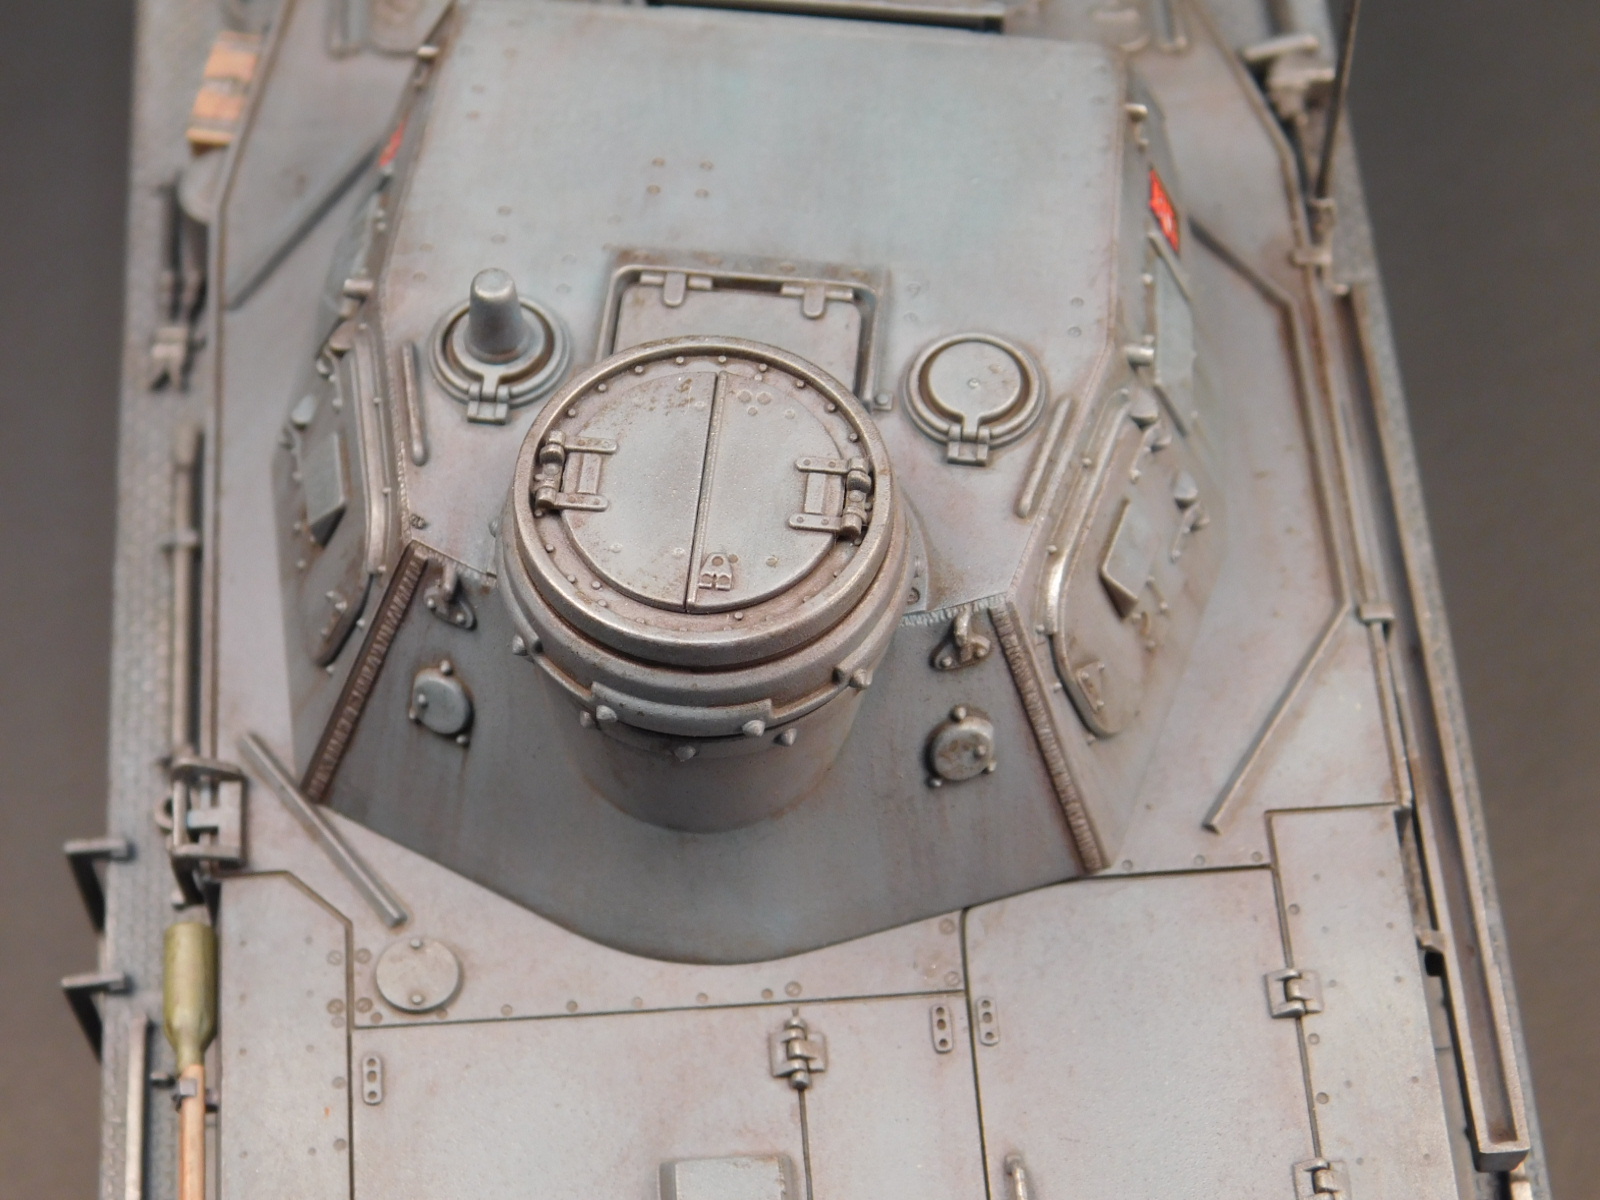
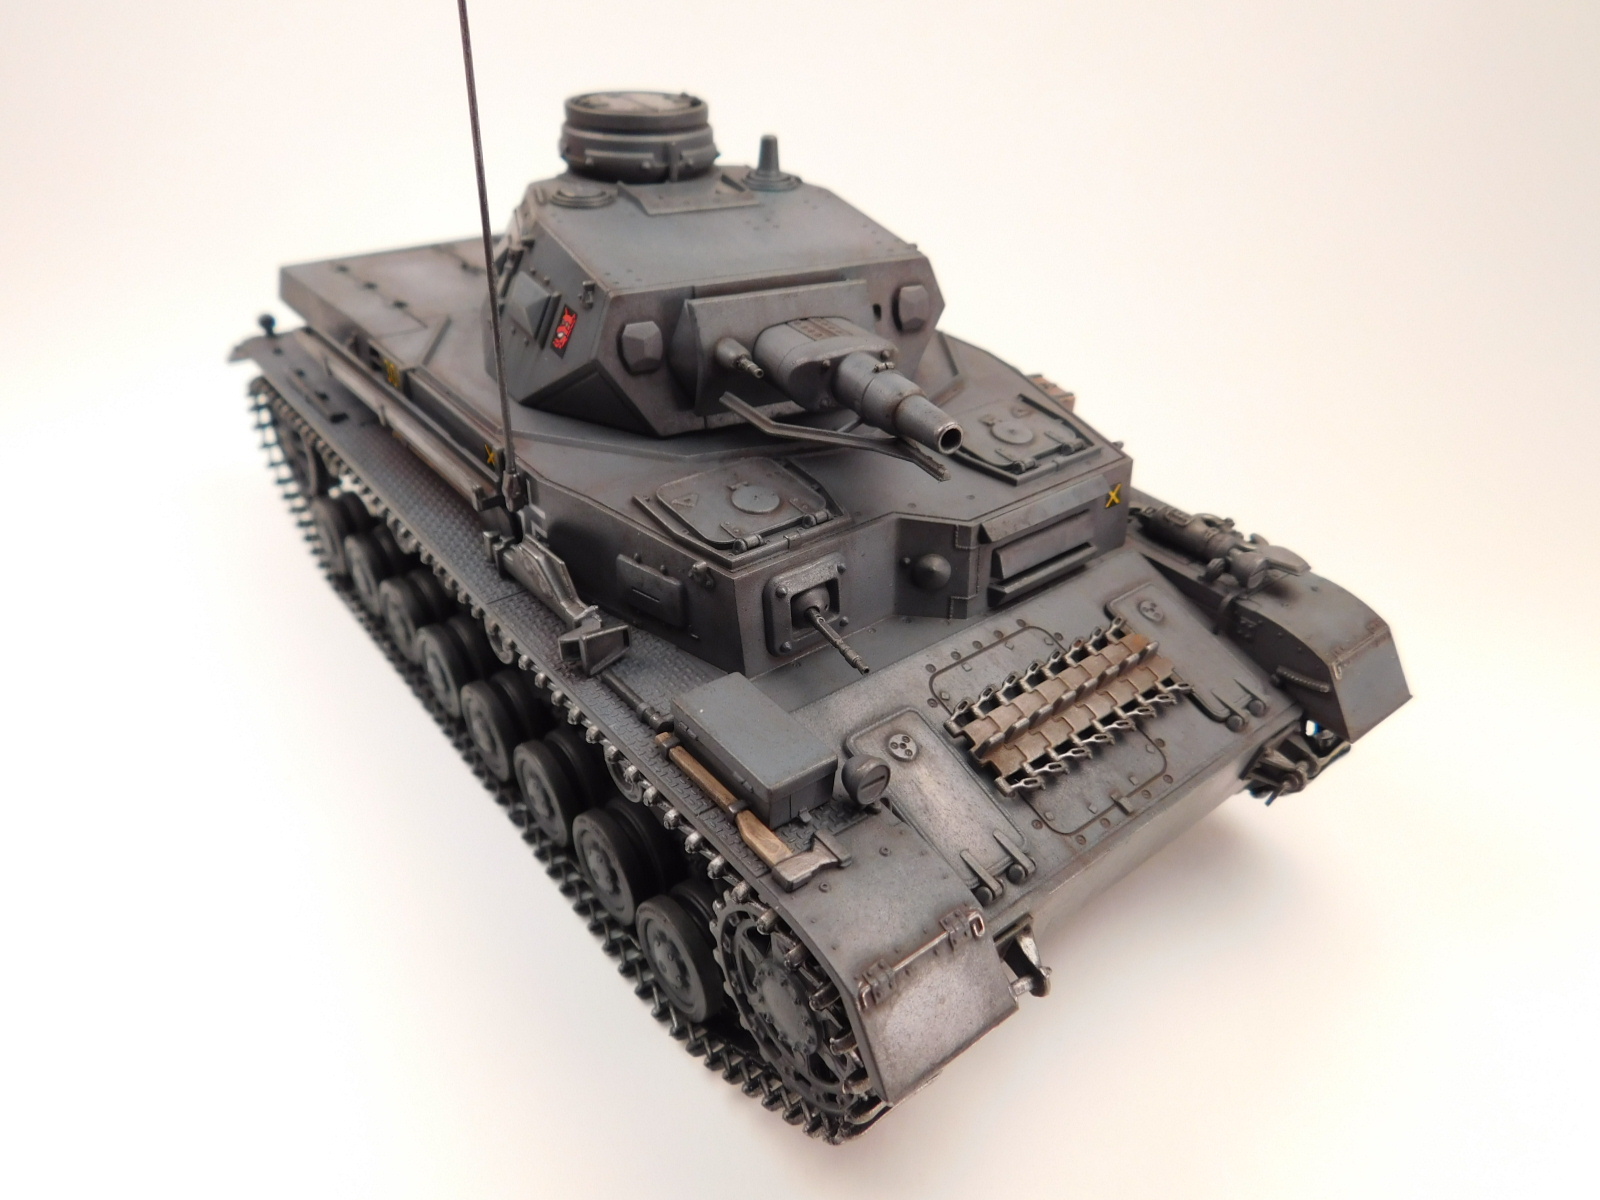
The turret builds up very quickly. The short barrel is one piece and has nice rifling inside. The machine guns are also slide molded with hole barrels. The fit for all the turret parts was great and I built this in well under an hour. There are no interior parts at all, except on the inside of the hatches have some details. The turret just presses into the hull with two little nubs holding it in place. The fenders are a little tricky to mount. I glued the rear onto the lower hull, let it dry, then bent the front down onto the hull. The upper hull needs to be pressed down in the front to match up to the lower hull. There will be a little gap on both sides of the upper hull and the fenders. I used a small amount of super glue to fil this gap. The side antenna looks very good for being plastic and I decided to use it instead of replacing it was brass rod as I usually do.
I painted the tank in the early war German grey and weathered it up like it was in a summer environment. The decals are little thick, but I had not problems or silvering issues with them. There are three balkenkreuz (crosses) on the decal sheet, but the instructions only show two being used. I added one to rear after doing some internet research. I also added the division insignia to the front and back since four are included, but only two shown used. The DS tracks are pretty tight, so getting any sag out of them will be very difficult.
Conclusion
I am very impressed with the lever of detail combined with the easy of construction. I had this kit built in about 10 hours over seven days, the fastest I have ever built a Dragon kit. This kit really felt like a new Tamiya kit with very good fit and not way too many parts. The box states that the next kit in this new line will be a Tiger. There are 11 kits in the Platz Girls Und Panzer line right now, so I can see Dragon re-boxing these with new decals and instructions for the Western market.
I would like to thank Dragon USA and IPMS for the opportunity to build this new release.


Comments
Add new comment
This site is protected by reCAPTCHA and the Google Privacy Policy and Terms of Service apply.
Similar Reviews