
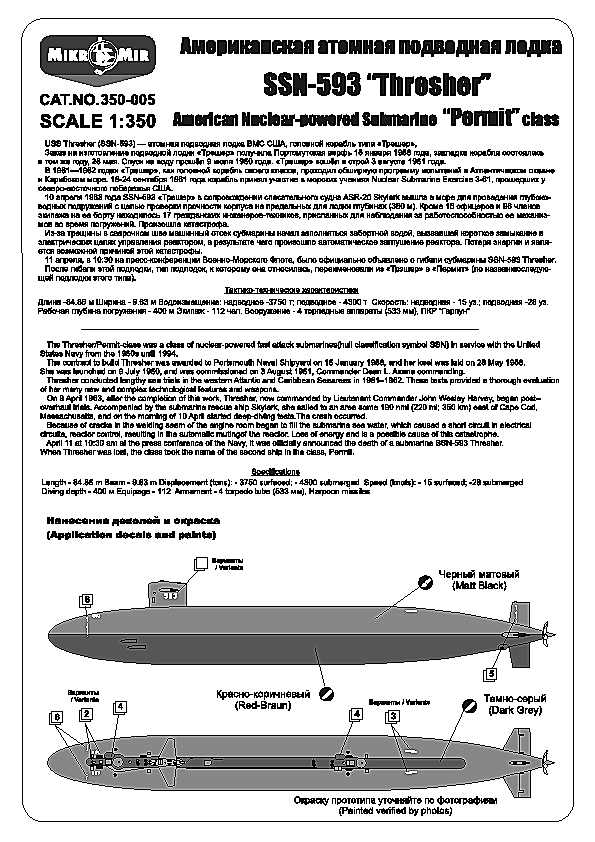
USS Thresher (SSN-593)
I have always had an interest in submarines after visiting the USS Cod in Cleveland. When the USS Thresher came up for review from MikroMir, I jumped at the change. The USS Thresher was the first of the new (in 1961) Permit class subs and had all the modern equipment for the time. She was 279 feet long and nuclear powered. Sadly, she was the first of the nuclear subs to be lost at sea during driving trials when she imploded about 350km east of Cape Cod on April 10, 1963.
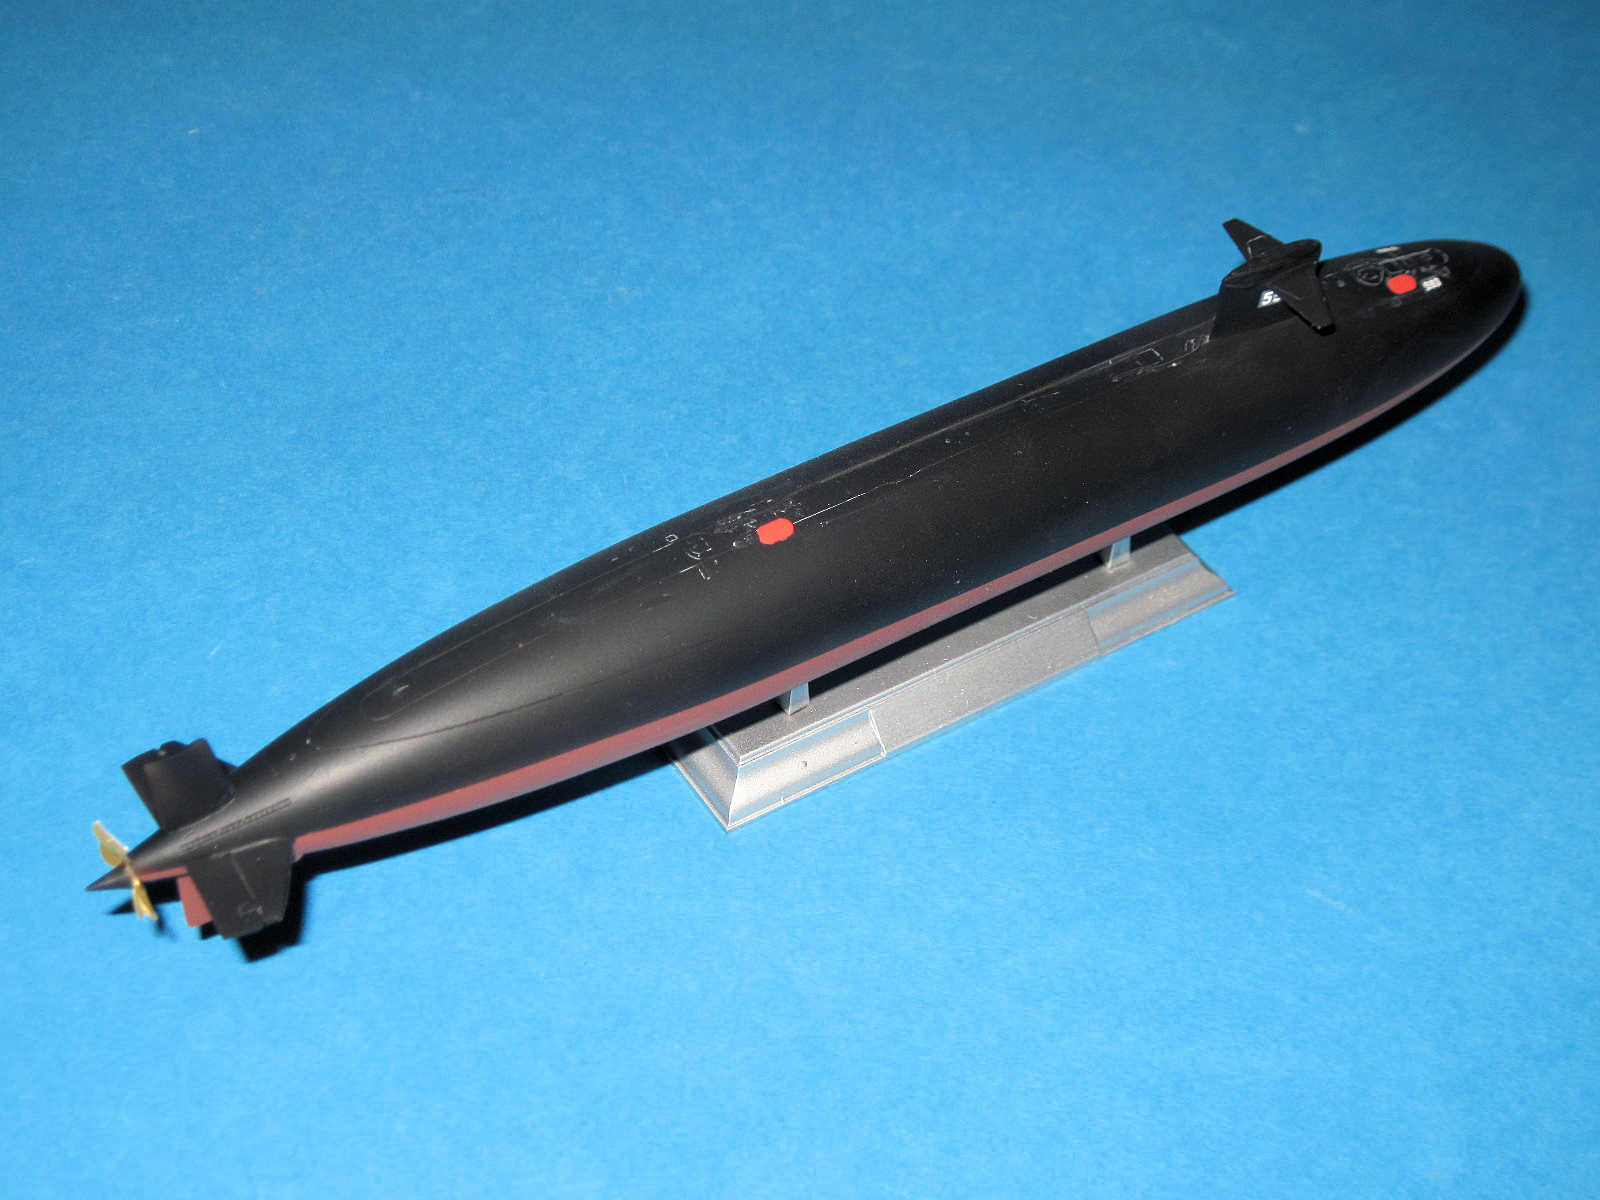
MikroMir’s kit of the Thresher consists of two hull halves split upper and lower, a small PE fret with the propeller and other parts, decals for all subs in this class, two base parts and lastly, a small gray sprue containing the scopes, diving planes and the rest of the parts. Parts are nicely engraved and flash free. I have attached a copy of the instructions also.
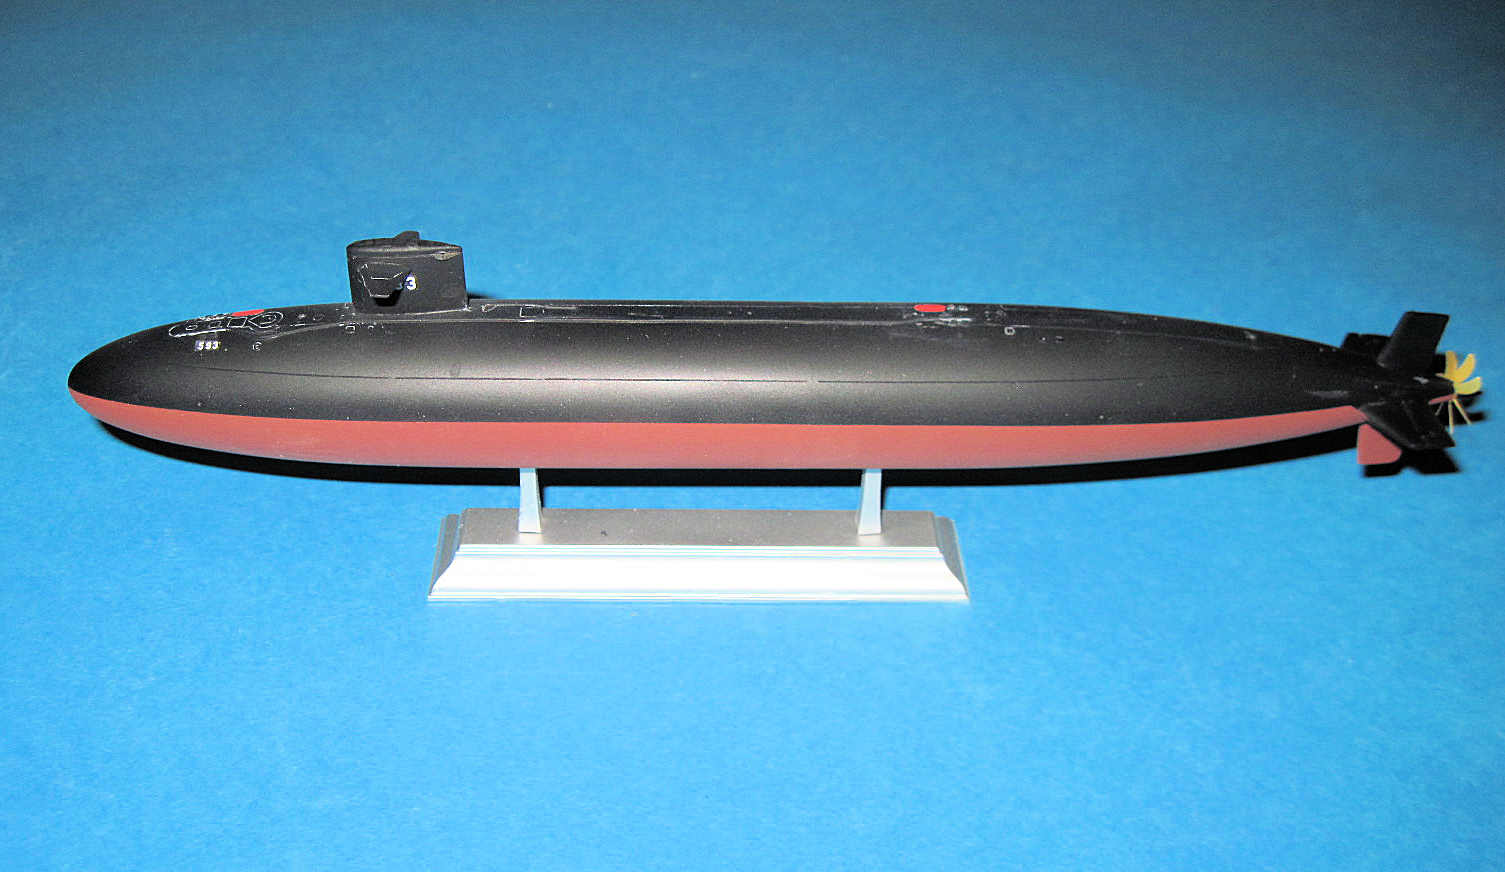
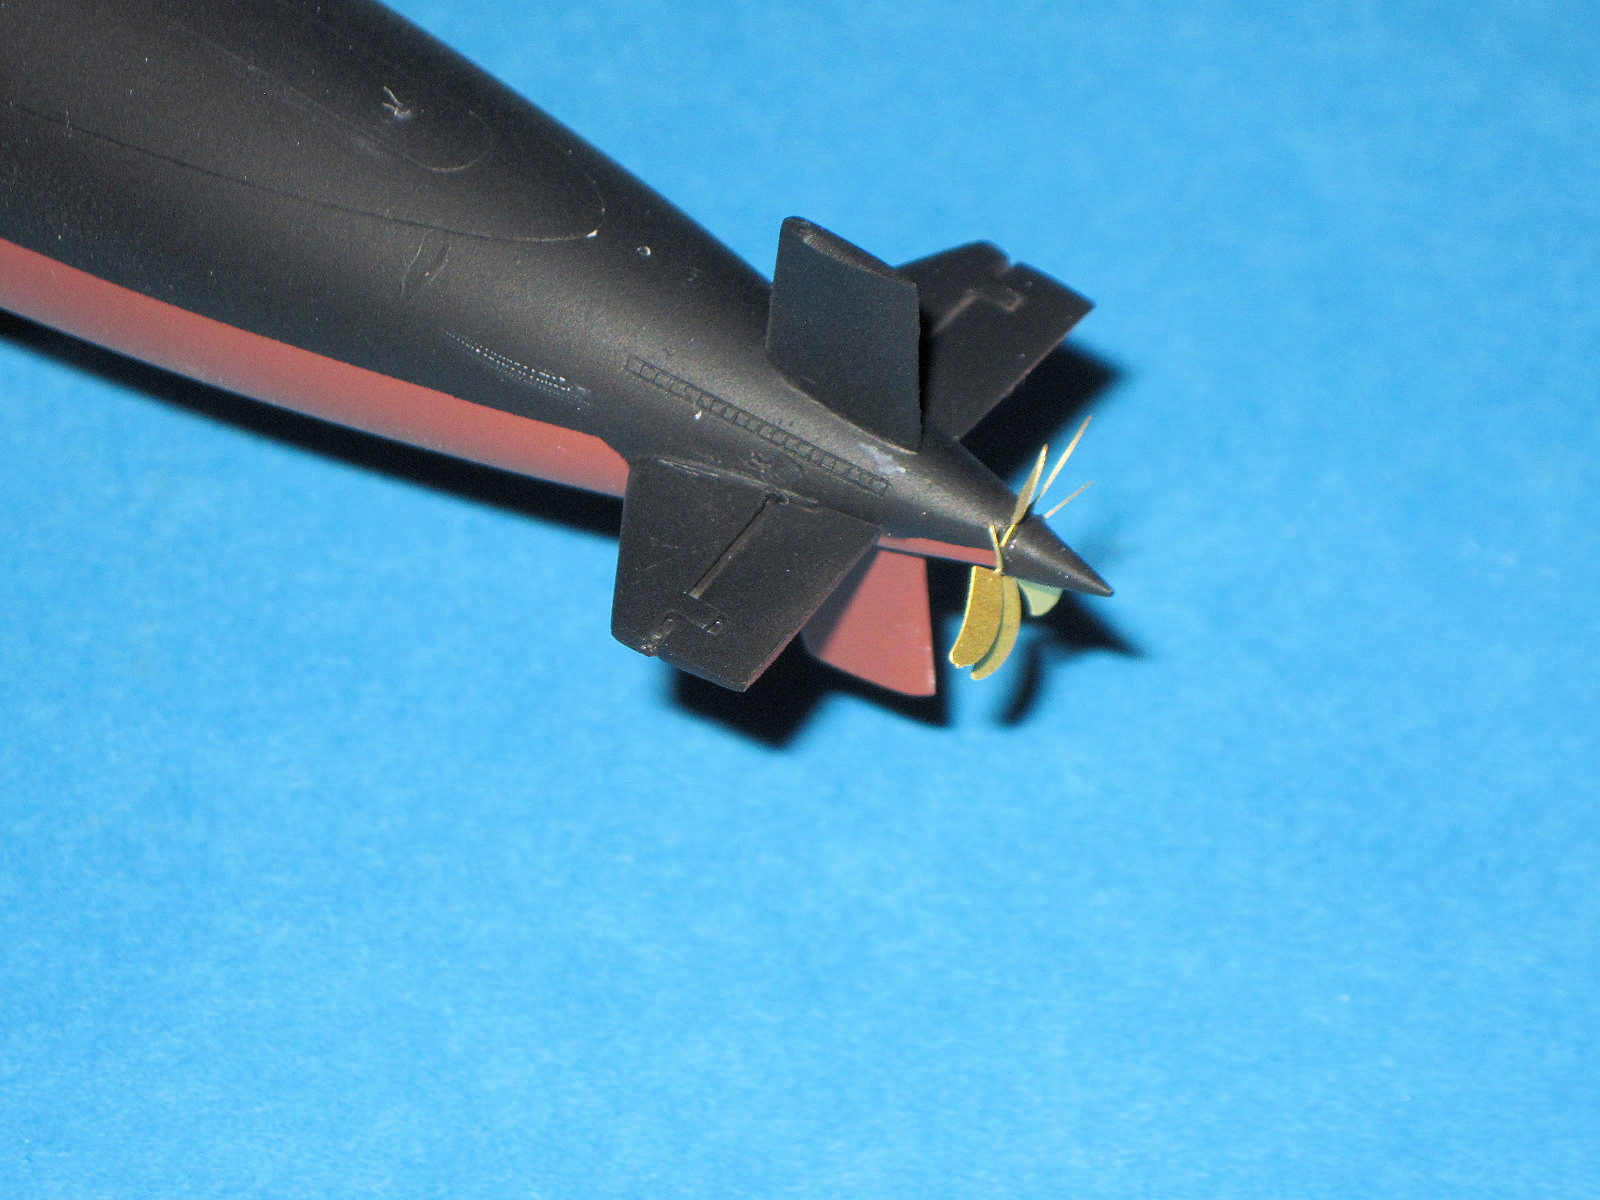
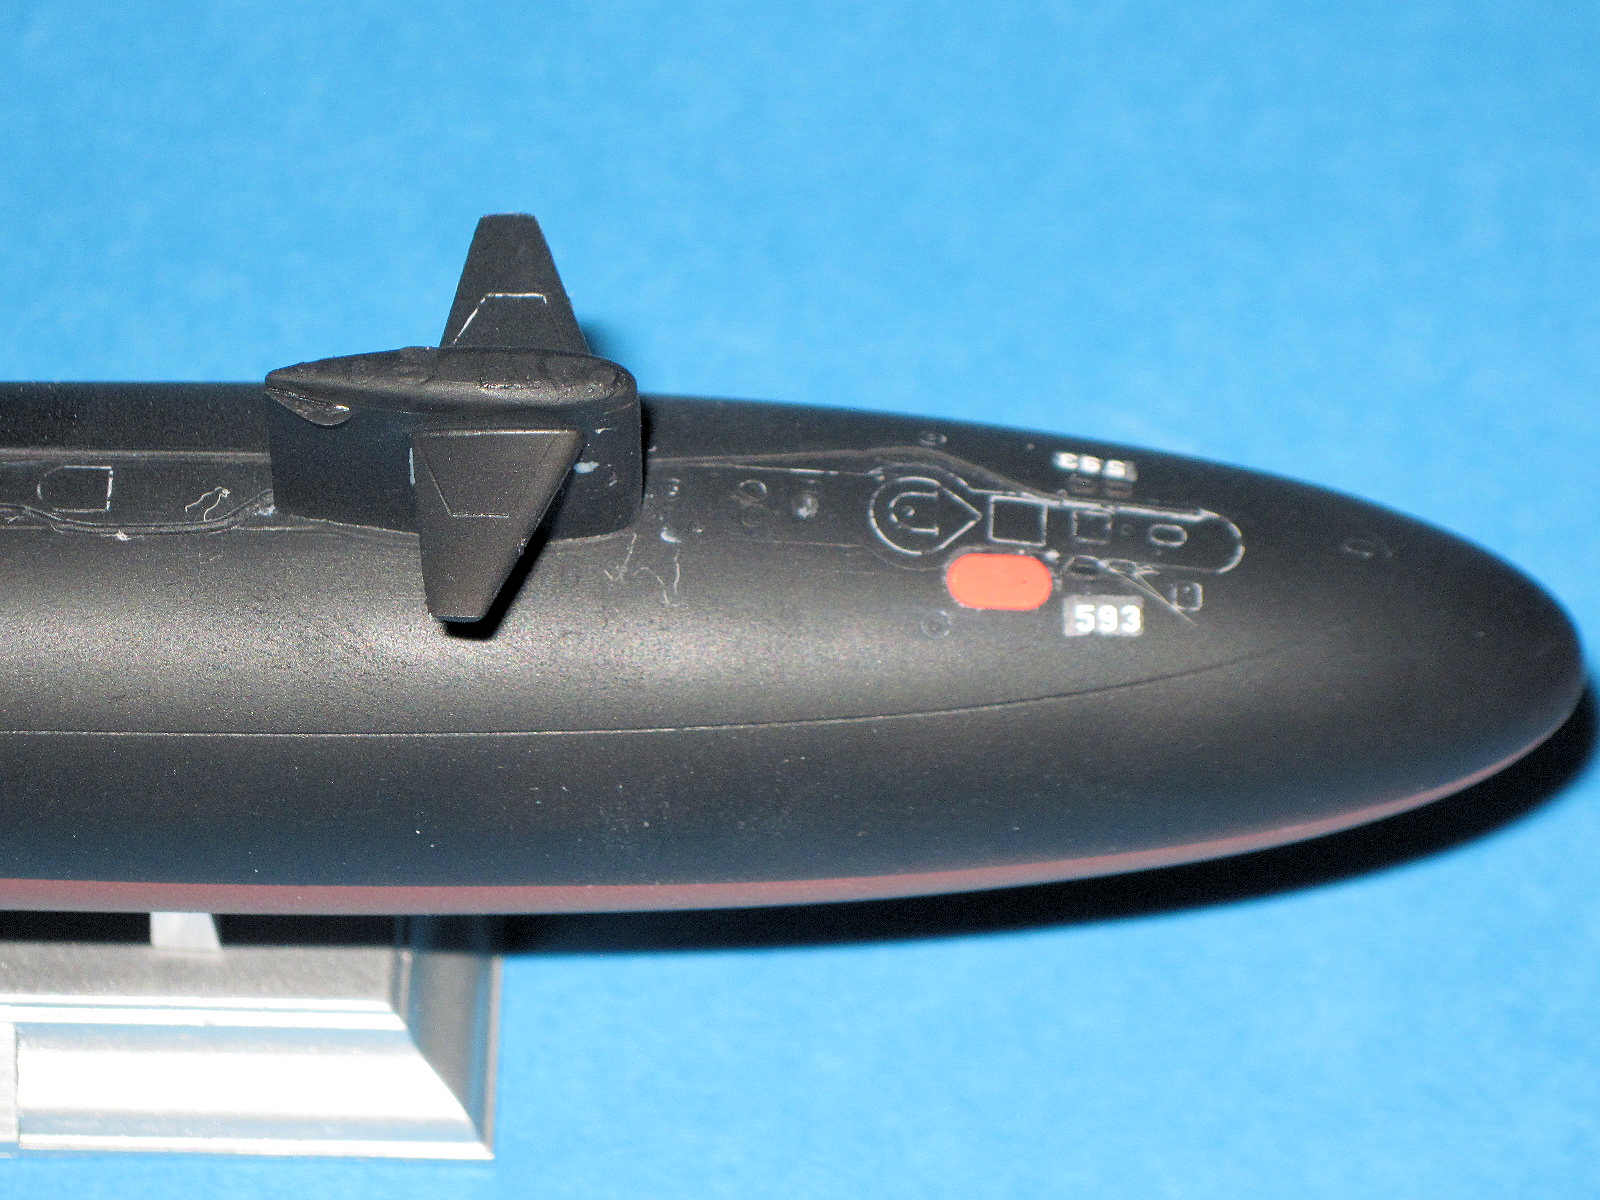
Construction starts with the hull. I slowly joined it along the length and clamped tight. I used Tamiya as it allowed some push and shove as needed. Fit is good but there was some filling needed along the main seam. The conning tower was built next and added. There is a full array of antennae’s and scopes but I wanted mine to look as it was when it was lost at sea so the scopes were left off. Lastly, the diving planes and rudders were added along with the PE parts for the conning tower. A few rounds of sanding and it was ready for paint. Note that I left off the PE propeller and its conical shaped part. This looks good bare so I didn’t want to get paint on it.
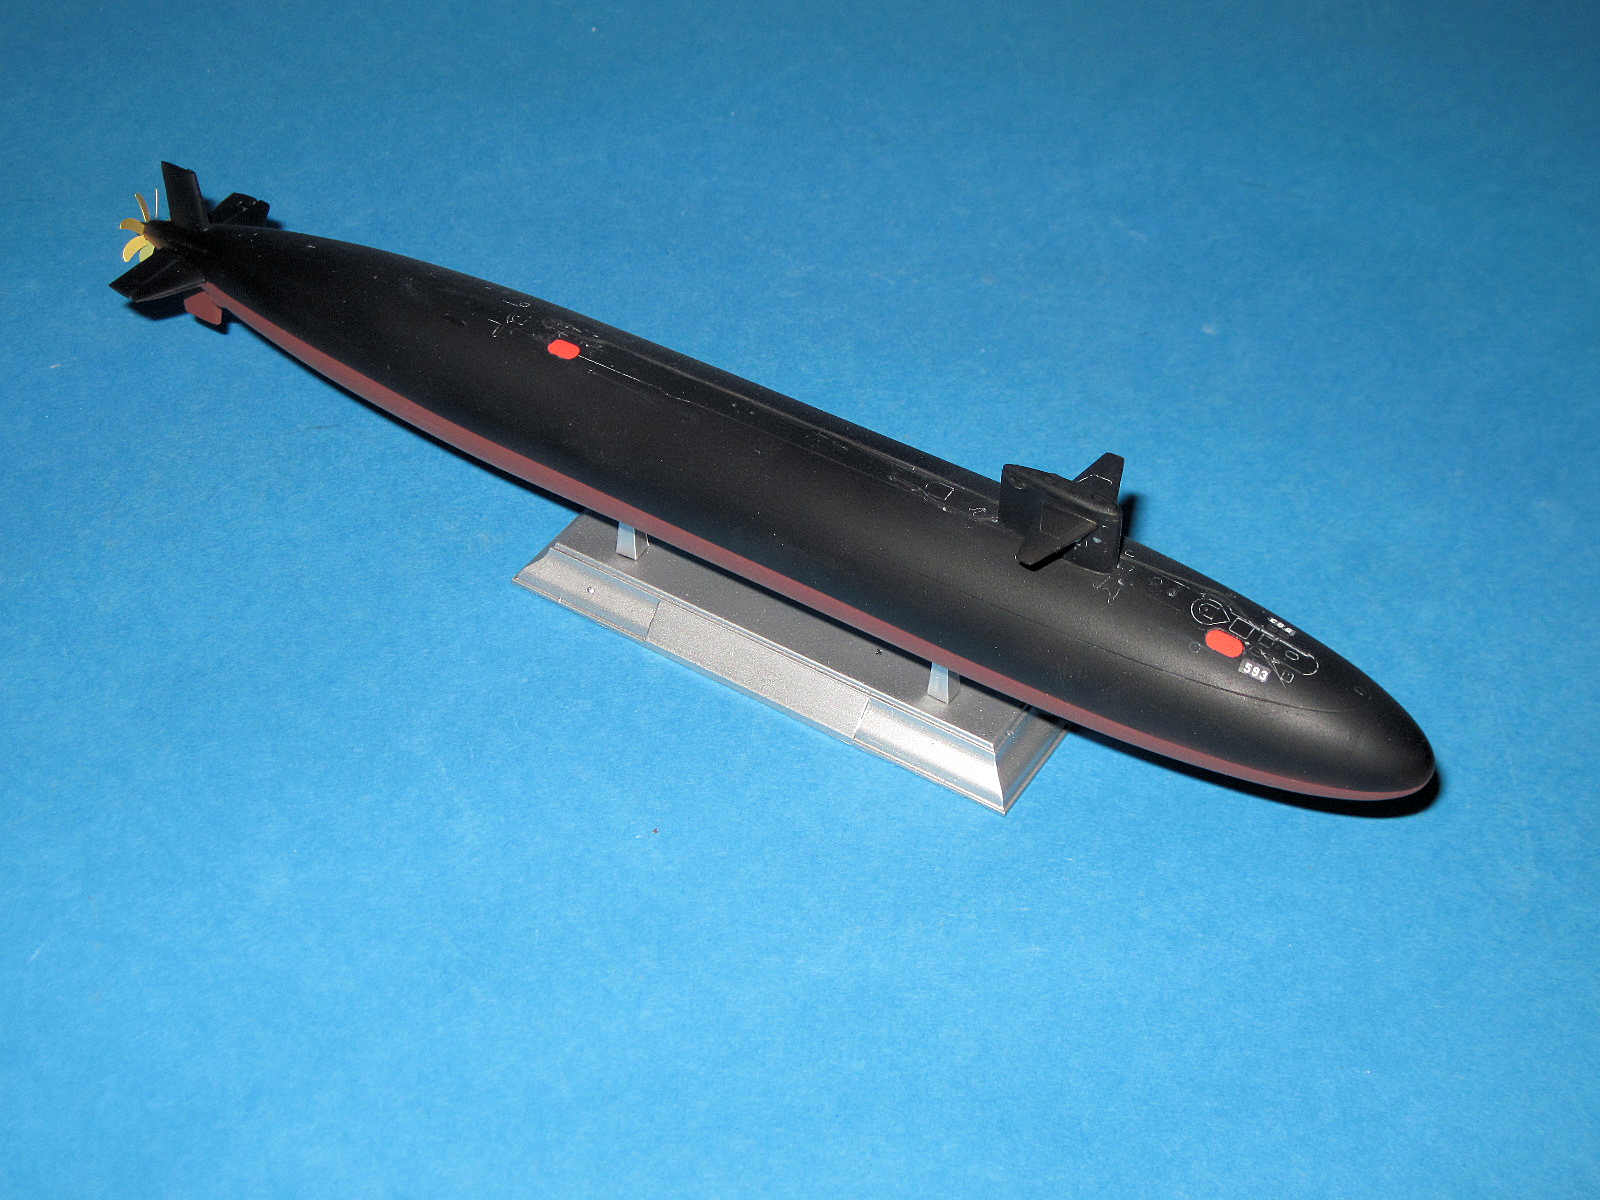
Paint color is listed as hull red on the bottom and black on top and that is what I used. I gloss coated and was ready for decals. This was the only issue I had during the build. Some of the decals shattered upon water and others would not stick. In the end, I got about ½ of the needed decals on the sub but did manage to get the hull numbers and name. I quick flat coat and a couple washes to bring out the wonderful detail and another flat coat and I was ready for the propeller. I added it flat and glued on the after section. I then carefully bent the blades into position slowly. Once satisfied, the base was added and the kit was done.
Outside the decals, this is an excellent kit and a great reminder of the sacrifices those and many other sailors have made over the year. Recommended and for a great price!
My thanks to MikroMir for the opportunity to review this kit.


Comments
Thresher Kit Review
The Thresher was the lead ship of the class, and it was the Thresher class until she was lost. It was only at that time that it became the Permit class as that was the second ship of the class. Thanks for the heads up on the decals, I'll use MicroFilm on them first before decaling. There are two engraved lines that goes around the top piece of the hull. One that is clearly visible in your photos supposedly is the demarcation line between black and hull red. I have seen some models painted that way and others painted the way you did. Could somebody please find the Navy directive on how post WW II subs are supposed to be painted. I have had no luck at all. The second engraved line, much thinner than the first, is for the walkway on the top of the hull and should be deck gray as the instructions call for.
Thresher model
Nice build. Be aware that all US nuclear submarine singles screws turn in a clockwise direction as viewed from the rear. The direction of the screw skewed blades on your model is backwards.
Greetings
Thanks for the info
Dave
Add new comment
This site is protected by reCAPTCHA and the Google Privacy Policy and Terms of Service apply.
Similar Reviews