
T-34/76 Model 1943 "Formochka" with Commander's Cupola
The Russian T-34 was the mainstay of the Red Army during World War II, with about 50,000 produced. The Russians produced numerous variants of the T-34 throughout the war. This Dragon offering is the T-34/76 (for 76mm gun) with the pressed steel turret. This turret was made out of 45mm steel, which actually had better protection then the 52mm turret it was based on. The commander’s cupola was added in the summer of 1943, so this kit falls into that variant timeframe. Many of the sprues are from earlier Dragon T-34 kits and we only use about half the parts. We get 24 sprues with 644 parts, including 85 photo etched parts, three clear parts, a wire tow cable, and two bags of Magic Track links. The joy of stocking your parts box is included with this kit.
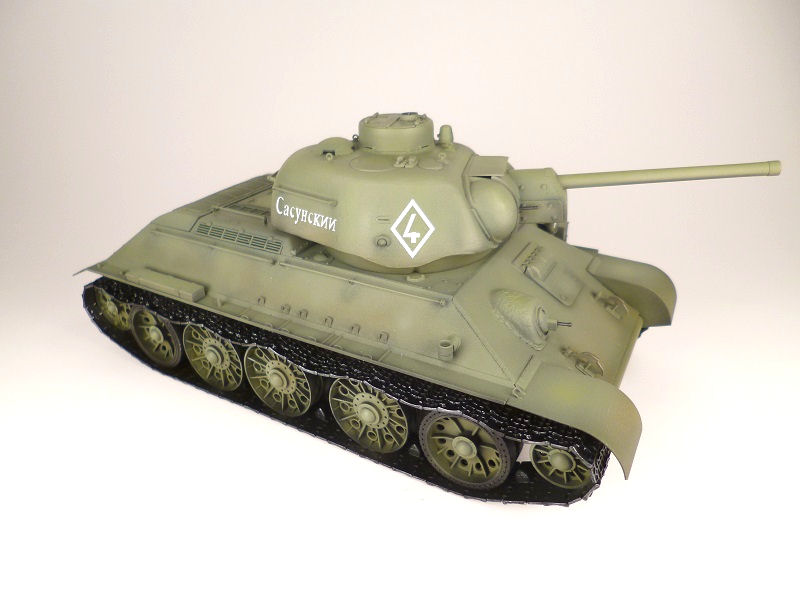
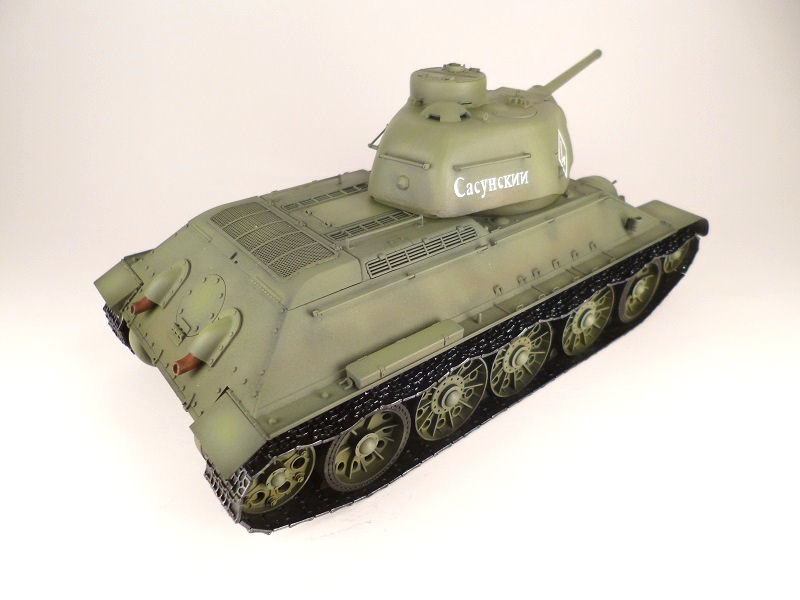
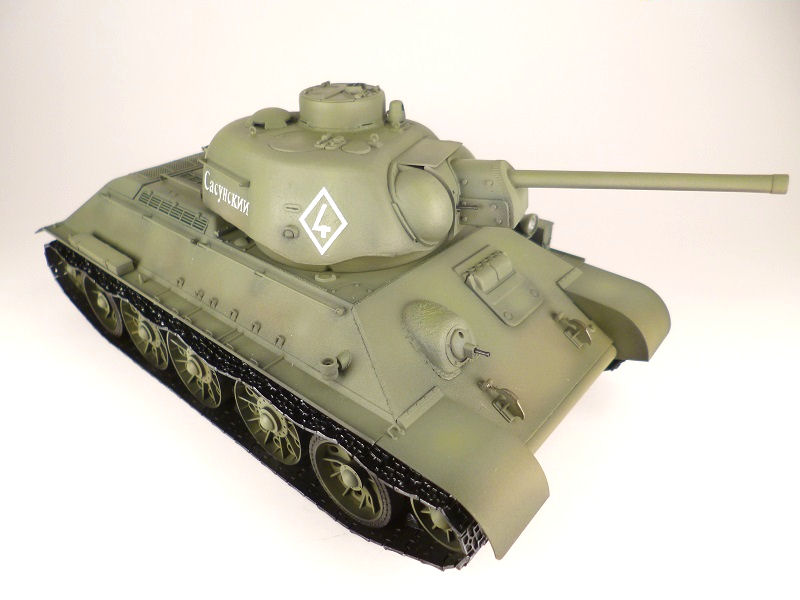
The instructions start us working on the road wheels and lower hull. The mixture of two rubber-tired wheels and three steel wheels gives this tank a unique look. When installing the rubber tire road wheels, do not put them flush against the suspension arms, or this will cause an alignment issue with the tracks later. They fit too far inboard. I installed the steel wheels and idlers first, then added the rubber wheels to get the alignment correct.
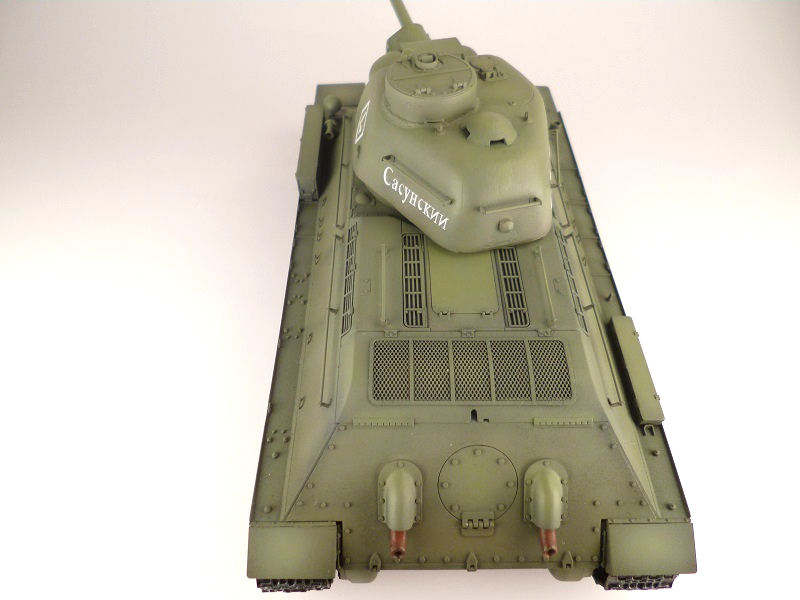
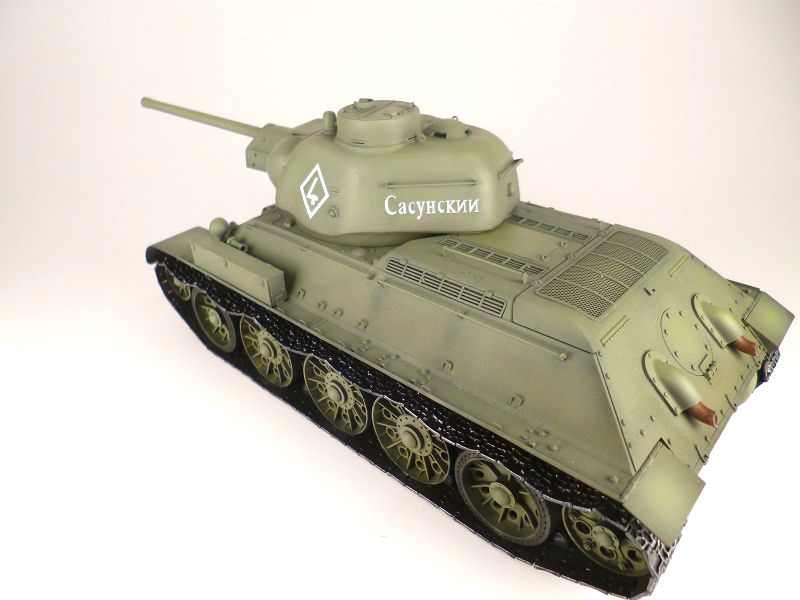
There is a fit problem with part L5, the rear lower hull plate, where it fits to the hull. I had to sand down the connections inside by the rear idlers for a good fit. An accuracy concern is the PE engine screen. The instructions and the box show part P18 to be a square-edged screen, and the part is square-edged, but the PE part is rounded. I used the PE screen as it look so much better than the plastic one, and it shows the engine louvers which are also PE parts. A little work on PE part MA1 is needed to relocate the mounting holes for the correct size and placement. There is a gap between this PE engine cover assembly and the upper hull, but it is uniform and looks like it might be accurate.
The rear engine cover, part L9, did not fit to the rear hull, and some cutting was needed on the lower hull to get it to fit. I added the PE rear fenders later, or they would have gotten in the way of installing part L9. The exhaust is in two parts and they did not line up very well. I reworked them and applied Mr. Surfacer to retexture them and cover the seams. There is a one-piece exhaust in the extra pieces, but I did not see these until later. They look to work fine instead of the recommended exhaust.
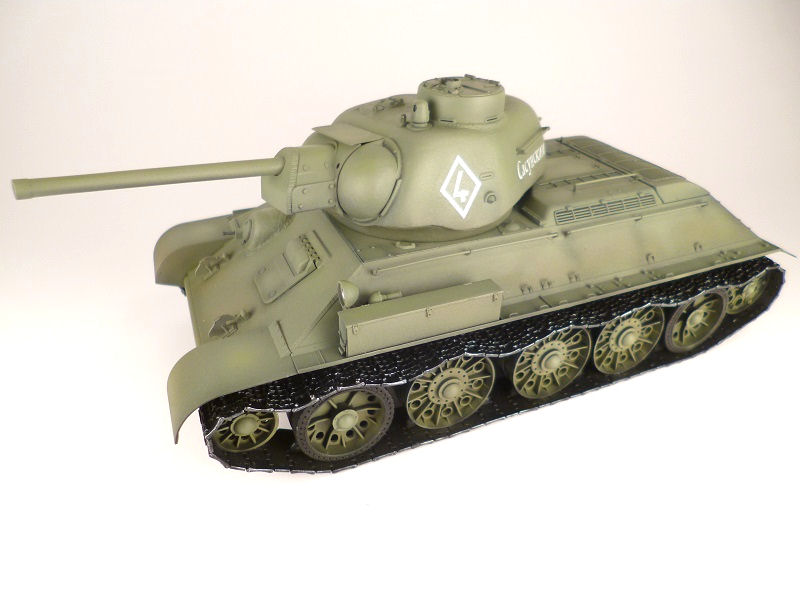
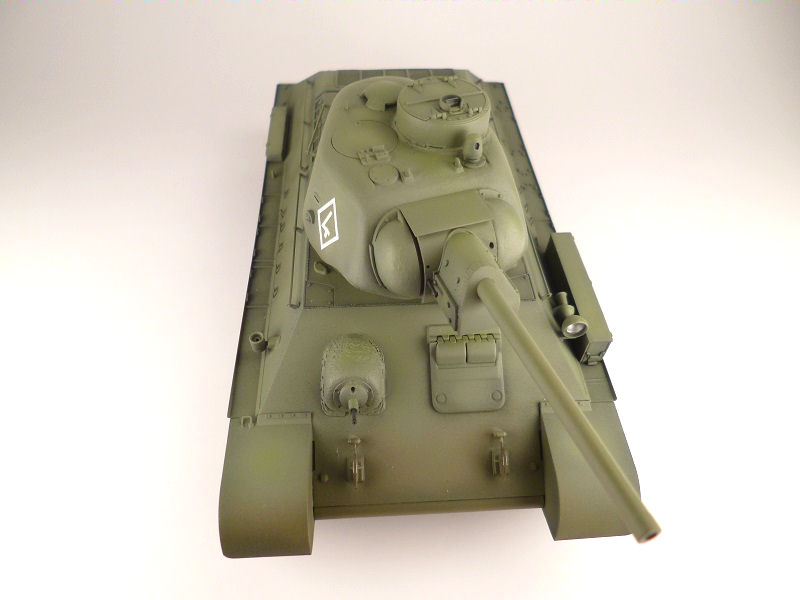
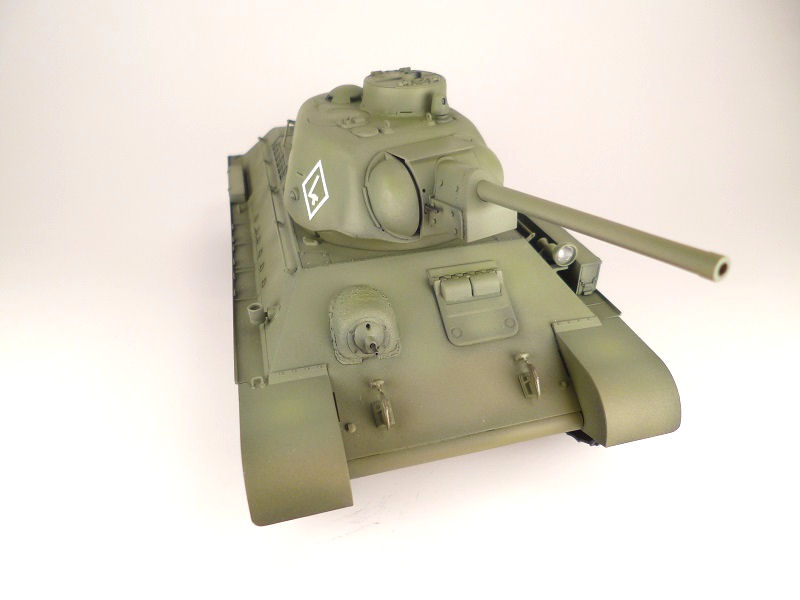
The commander’s cupola is a bit smaller then the hole in the turret, so I used some sprue to fill in the welds. Also, the instructions do not show it, but you have to glue parts D6a and D6b together to make the cupola. There are three options for turret periscopes, with two options requiring the removal of the cover over the loader’s periscope hole. The turret has faint slide molding seams on the texture; I lightly sanded them down. The bottom of the turret has a gap around the front, but it’s on the bottom and not too noticeable. The co-ax machine gun needs the barrel drilled out. The slots for the tabs for the turret are not cut out on the upper hull.
Moving onto the hull again, the front armor plate, part C3, is about 1/8 inch too long, which will not let the front fenders mounts. Both ends need to be trimmed down. The tow cable ends are not part F13 as shown, but part F9. Parts C16 and 17 are not shown on the instruction. You can also replace these with PE part M8. These are small covers next to the turret ring. The grab handles are a mixture of plastic rods and PE brackets. These are very fiddly to assembly and get aligned on the hull and turret. The box art shows a saw on the right side, but I sure could not find this anywhere in all these spare parts.
The decals are nice and thin, but I had a little silvering problem with the triangle four. There is a lot of carrier film between the triangle and the number and it required five applications of setting solution to get the air bubble out. There is one paint scheme, good old 4BO Green, and two decal markings. One is a white 4 in a triangle and the other is a huge 46 and the patriotic slogan AAbnII Cayhcknn, which I think means “bow ties are cool.”
I want to thanks Dragon Models USA for the review sample and IPMS/USA for the review opportunity.


Comments
Add new comment
This site is protected by reCAPTCHA and the Google Privacy Policy and Terms of Service apply.
Similar Reviews