
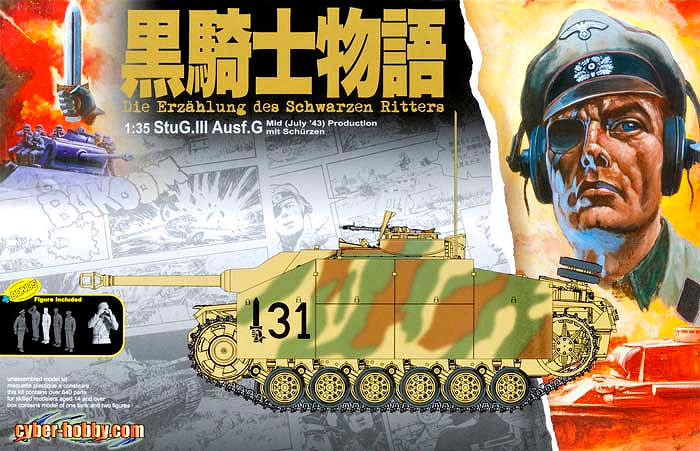
StuG.III Ausf.G Mid Production mit Schuren, "Black Knight" Series
“Die Erzählung des Schwarzen Ritters” is the story of a German Oberleutnant during World War II. It is, however, a fictional story that was the basis for a comic book series alternatively known as The Story of the Black Knights. For a more in-depth background, and a look at the first release in the Black Knights series, check out a previous review.
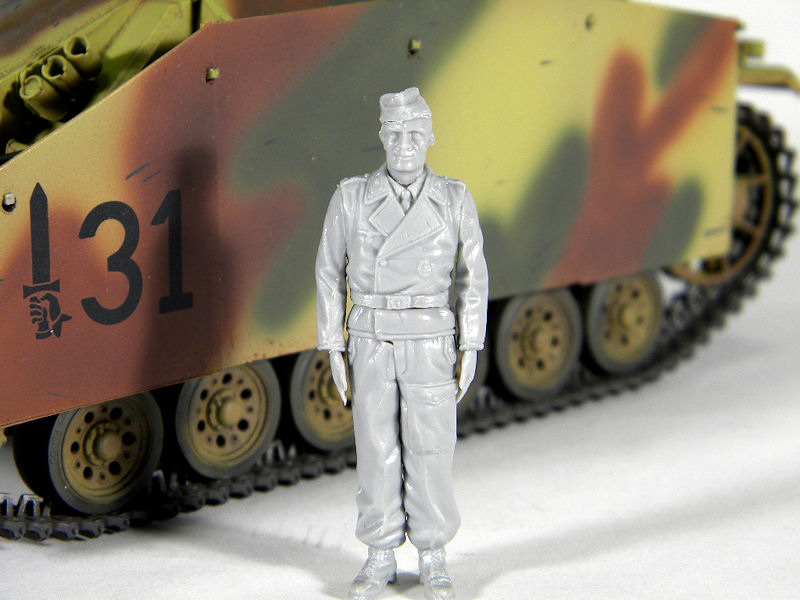
This release is the second in the Cyber Hobby Black Knights series, and was followed by a Hetzer and a Panther Ausf. G. The fifth, and final, release has not yet been announced. As with the other kits in the series, the StuG III Ausf. G kit is nothing more than a standard StuG III with side armor. The only thing that distinguishes this from any other StuG III Ausf. G is the distinctive unit markings for the Black Knights. The kit is a Dragon premium edition StuG, with aluminum armor, Magic Tracks, photo-etched parts, and all of the other features of a premium kit. Special to this kit is the addition of a very nicely done MP40 as well as the half figure of the Oberleutnant and a second full figure standing at attention. The standing figure is part of a set of five, with a figure coming from each of the Black Knights kits.
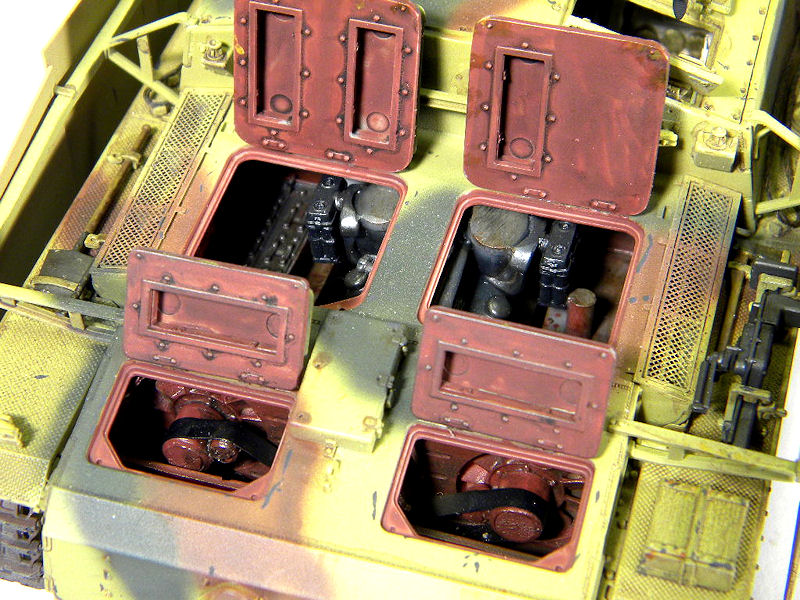
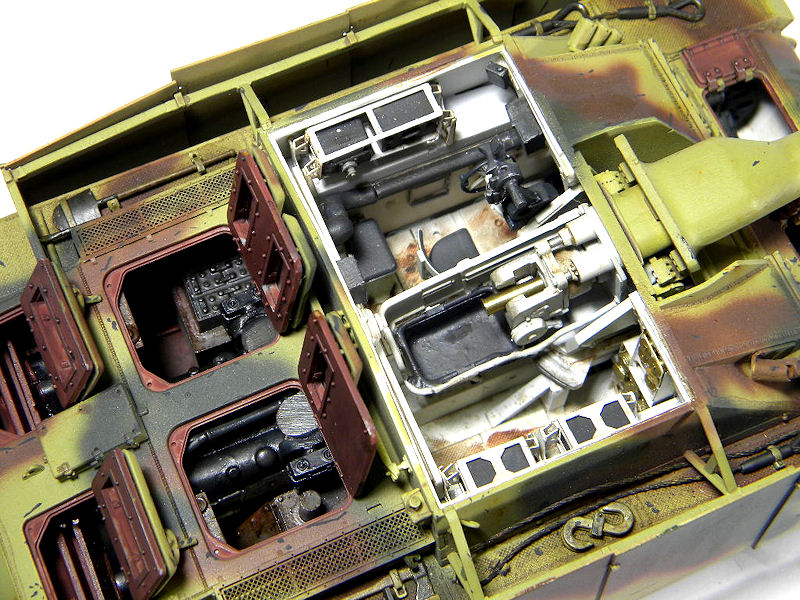
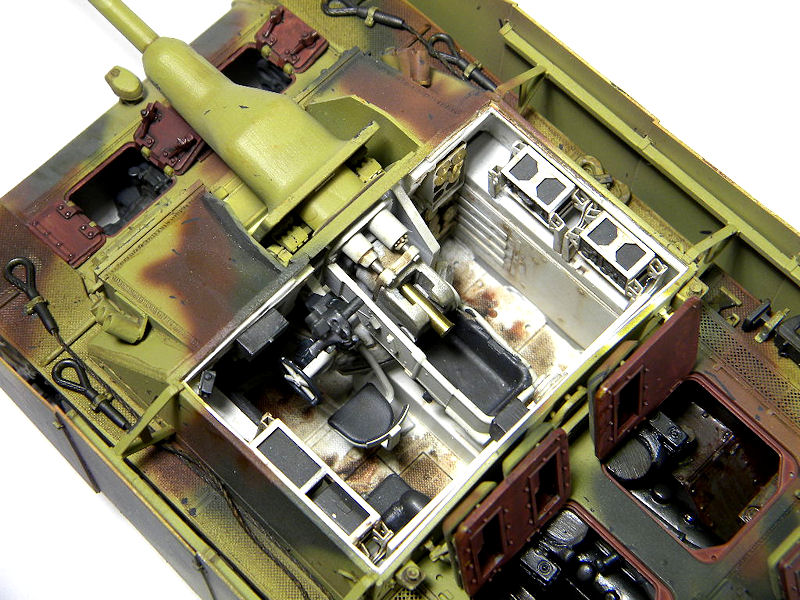
Since the Dragon base kit includes a very nice partial interior including the gun mount and breach, fighting compartment floor and firewall, and details such as radios, I decided very early on that I wanted to model the StuG with a full interior, and open all of the separately molded hatches. For this, I acquired a Verlinden StuG III full interior. Now, I had heard from fellow modelers that this set, while being very accurate, had some fit issues with the base kit [at the time being the Tamiya or older Dragon kits]. So for this build, I decided to mix the kit and resin parts. I opted to keep the kit torsion bars, floor, firewall, and gun breach. Everything else came from the Verlinden set. I began with basic test fitting and found a lot of material had to be removed, and some rebuilt, especially in the engine compartment. The Verlinden kit included torsion bars molded in. These had to go. Once everything was in and fit, interior painting commenced. Finding references on the StuG’s interior colors, including the engine, is not an easy task. Luckily, a club member had just the right books to lend me. Once painted, everything was weathered and put back into the hull. I did note some minor fit issues on the air cleaners and the ammunition storage racks, but nothing that couldn’t be fixed. With the interior finished up, my attention turned to adding the last exterior details prior to paint.
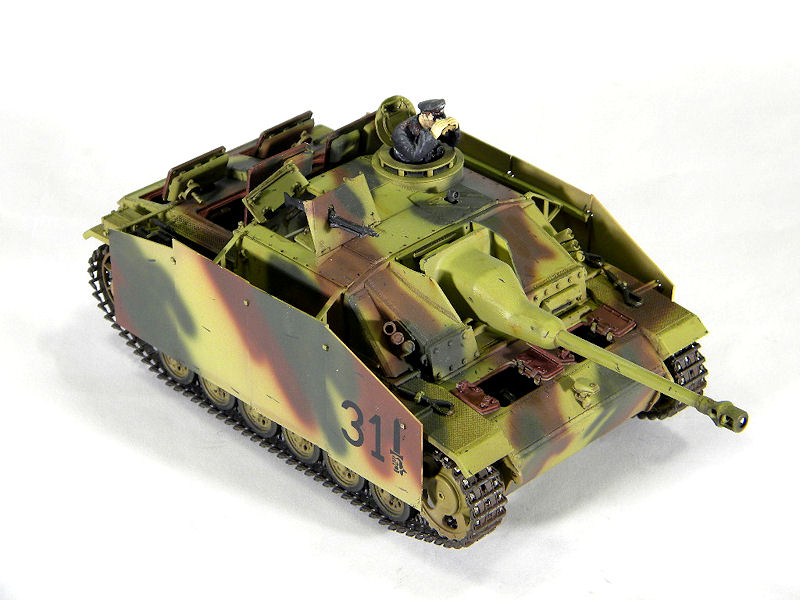
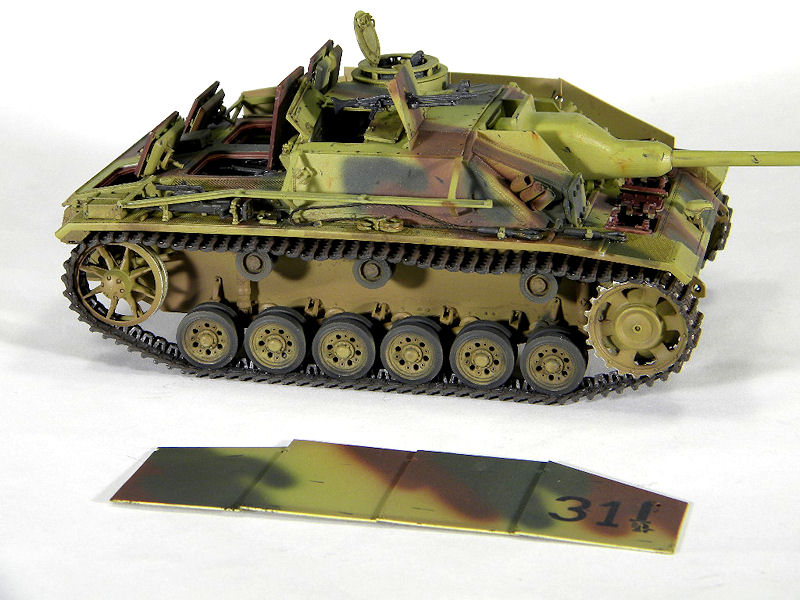
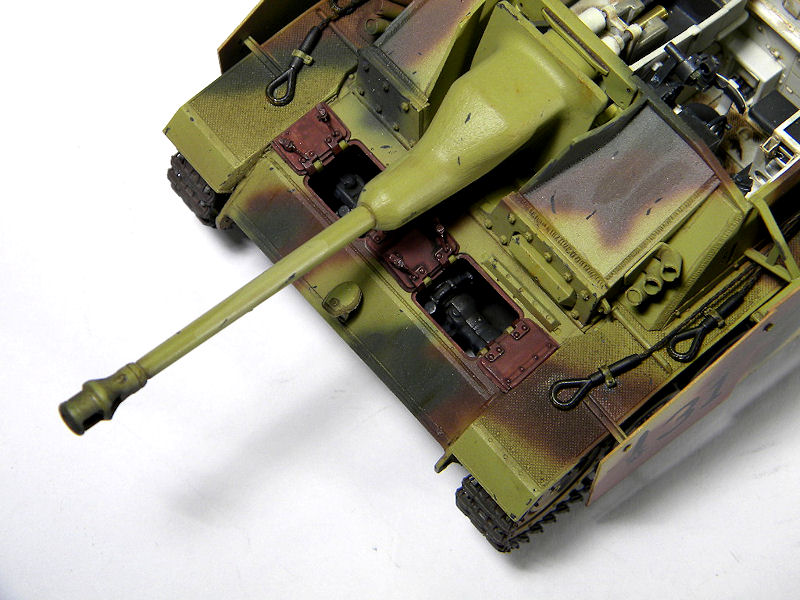
The paint scheme was painted freehand using my Badger Velocity. I decided to go with light weathering, consisting of a little dust on the running gear and hull and a basic wash. Details were then picked out by hand, and the hatches and various tools were added. The kit includes a length of braided wire for the tow cables. The size is about right, and it wasn’t too stiff. To weather it, I clamped the wire in a pair of pliers, then applied a butane torch. I made sure to let each section get near white hot before moving on. This helped soften the wire for shaping, and changed the color just a bit. To further this, I reheated the wire and then dipped it while still hot into bluing solution (used by gunsmiths). I had mixed a little solution with some salt, and after about 4 applications (heat, then dip), I applied low heat a final time to dry the wire and burn off any remaining bluing/salt. This gave the wire a darker color and created natural rust. Once everything was in place and lightly weathered, the StuG received a flat coat and then the tracks were added. When I originally built the tracks, I let them set up a bit and then wrapped them onto the running gear. The next day, they were taken off and painted in German grey followed by various browns and rust colors. A day later, I went to put them back on to find the tracks were now roughly a ½ link too short. Some gently persuasion and the tracks were good. Final detailing included the decals on the armor plates, addition of the clear vision blocks and periscopes, as well as the installation of the MG.
My overall opinion of the StuG III kit is a good one. As with any Dragon premium kit, it’s hard to find fault. The fit was great, and the detail is superb. As for the Cyber Hobby special edition figures and decals, they go together great and have a good level of detail. The Verlinden set is also a good set to work with, although its instructions could use some improvement and I was left with a lot of leftover parts. Overall, I would say if you want a well detailed StuG III, with a full interior, I highly recommend using the Verlinden set on the Dragon/Cyber-Hobby kit.
My thanks to Dragon USA for providing the review sample and to IPMS/USA for allowing me to review it. Happy modeling.

Comments
Add new comment
This site is protected by reCAPTCHA and the Google Privacy Policy and Terms of Service apply.
Similar Reviews