
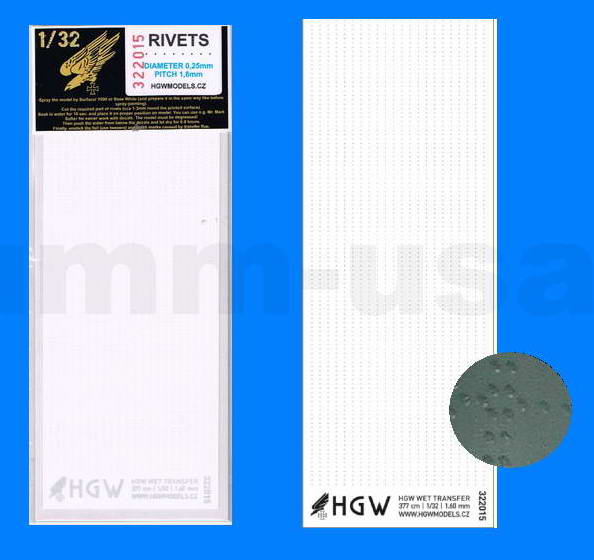
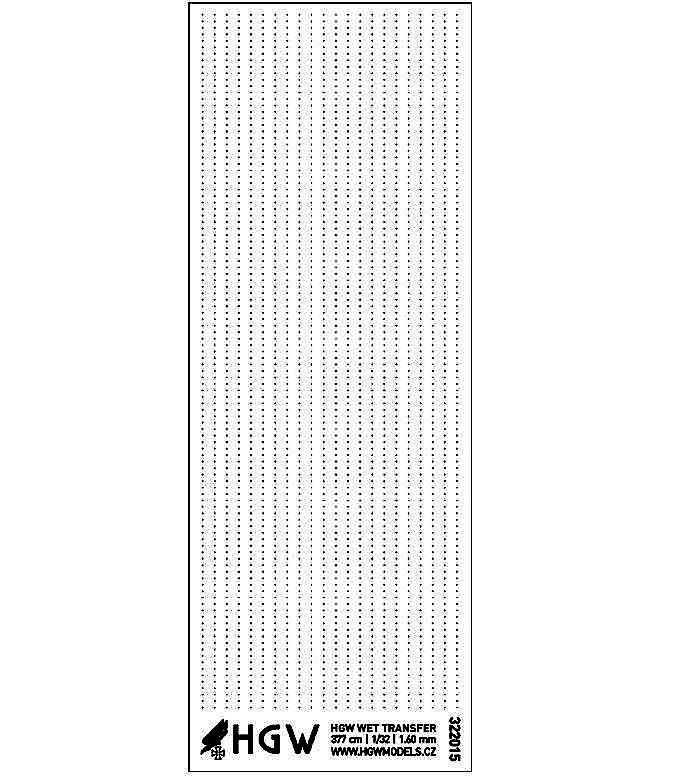
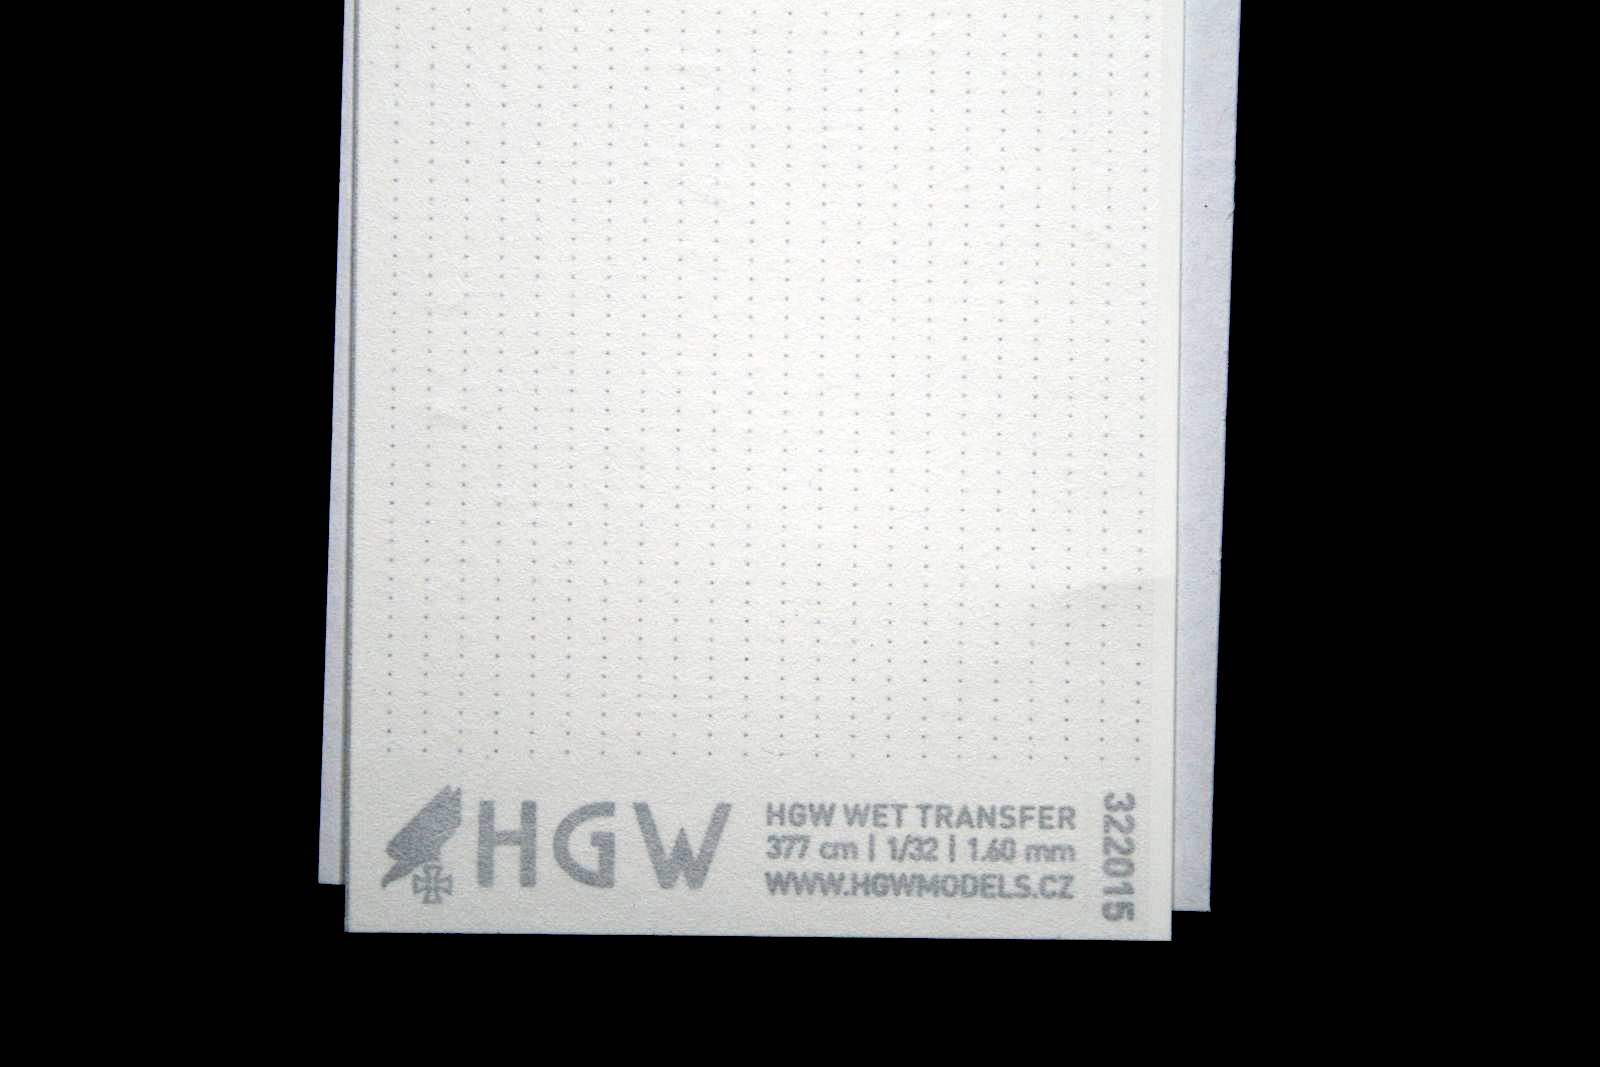
Rivets - Single line 1.60x0.25 (Raised) 1/32
Rivets on models have been limited to just two choices, “positive” (raised) and “negative” (embossed) styles, that is if they are represented at all. They both have their advantages and disadvantages but nearly all builds you will need to add rivet detail. In nearly all cases, the method to add rivet detail is to emboss or dimple the surface which is complete opposite of what the rivet looks like in real life. If your approach is to represent a raised rivet, adding raised features can be a challenge. HGW Models now offers an ingenious method to add reality to rivets but note that is will take a little practice to get the right effect.
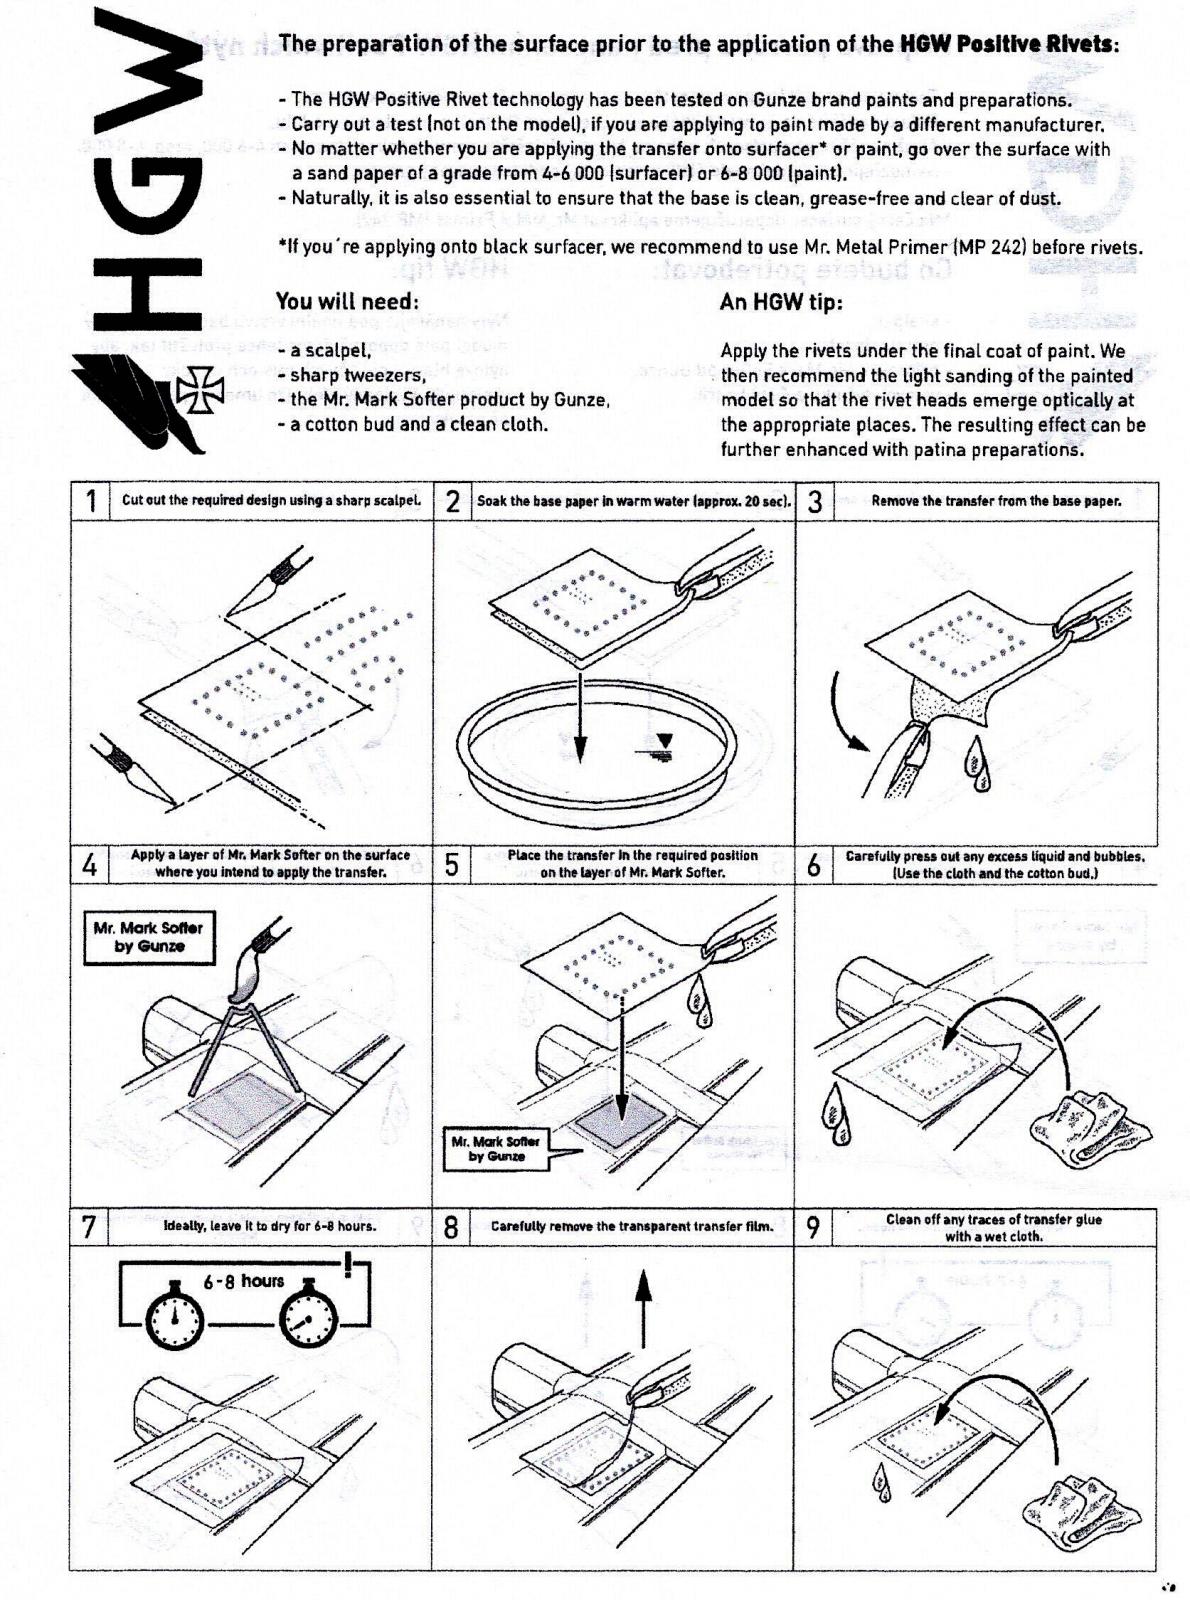
First impression is a little overwhelming and you need to start planning and possibly purchasing supplies to ensure the application goes smoothly. The instructions show a nine panel (step) instruction guide which can be daunting, however you will also need to read the tips and supply list before you read the application guide. Since this was my first time using this type of decal, I was confused on exactly how this product should be used and when it needs to be applied. After a few test applications and reading online tips, I finally figured out how the product works.
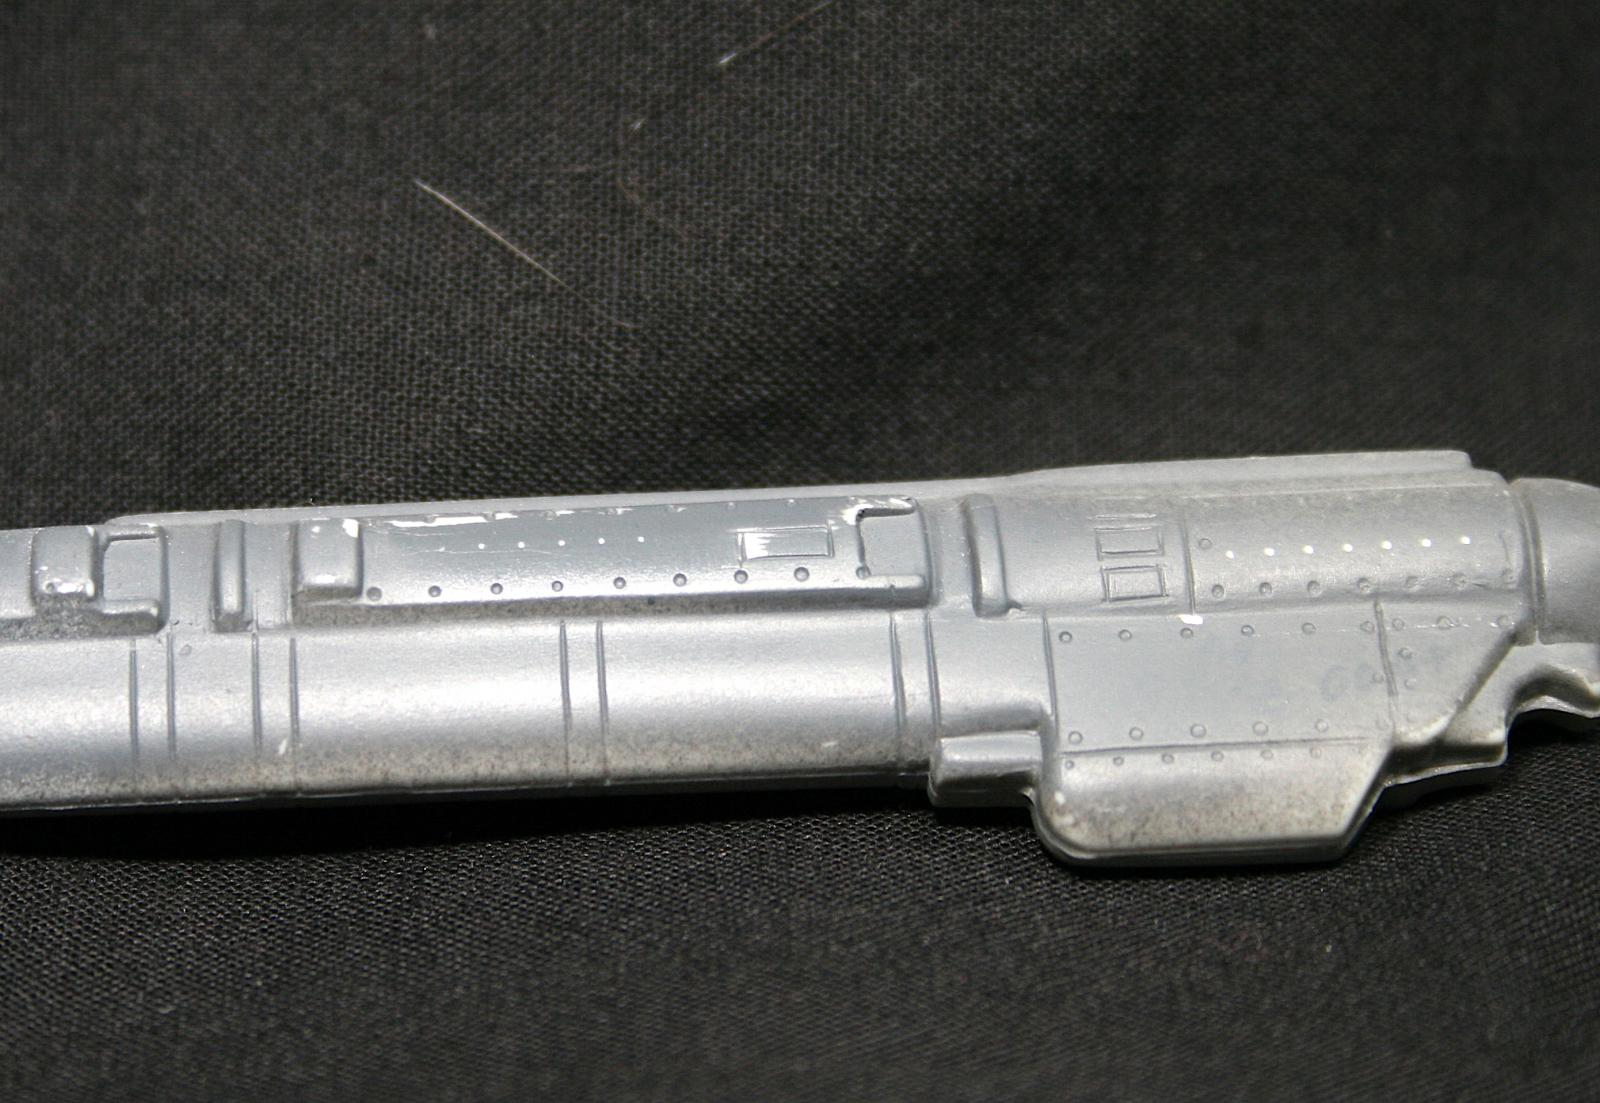
The product is actually a hybrid of a water slide decal and dry transfer all rolled into one with outstanding results. Preparing the model’s surface is extremely important and the key is to note when to apply your rivets. The instructions indicate to apply the rivets under the final coat of paint and you need to be careful on applying that final coat. Since there is not a traditional carrier film, the decal goes on like a normal water slide decal but a backing film similar to dry transfers stays attached to the rivet detail. Depending on the decal sheet, you need remove the excess water and let the decal set for hours. In this case, I needed to allow six to eight hours before removing the backing film. Once the film is removed, the only thing left is rivet detail and zero carrier film. After the rivets are applied, paint a very light coat of final paint color slightly covering the rivet. This is where testing methods will really help. Depending on how visible the rivet is below the paint, you can burnish or buff (instructions mention sanding) the paint to remove slight amounts of paint revealing the rivet shape and color. After some practice the affect you are looking for will appear and realistic rivet detail can be achieved.
HGW Models is a company that I have just recently heard of but once I started looking at their product line, I was asking myself why I have not used their products before. Check their web site for descriptions of decal application and galleries of models with this style of decal. I soon plan on ordering stencils for a few upcoming builds and look forward to using HGW Model decals in the near future.
I would like to thank HGW Models and Unique Master Models for this review sample.

Reviewer Bio
David Horn

I have been building models since at least 8 years old and with a brief break after high school, model building started again late in college. My preferred subjects are aircraft of all eras and scales but a majority of my builds are 1/48 scale. I am the son of a USAF navigator who flew tactical airlift in Vietnam then his last 8 years he served at Altus AFB where he retired. My love of aircraft comes naturally and try to build subjects that I have a personal connection to. My day job parallels the hobby where I design full flight simulators ranging from small corporate jets, military fighter jets to the C-17. I hold a commercial pilot certificate and fly as a volunteer with the Civil Air Patrol. I really enjoy flying cadets, passing on the love of flight and inspiring future aviators.
Comments
Add new comment
This site is protected by reCAPTCHA and the Google Privacy Policy and Terms of Service apply.
Similar Reviews