
PV-1 Ventura
Many, many thanks to Danielle Rogers of Revell and to the IPMS/USA Reviewer Corps for allowing me to share my experiences in building a new kit release. It is an honor and privilege!
First Impression
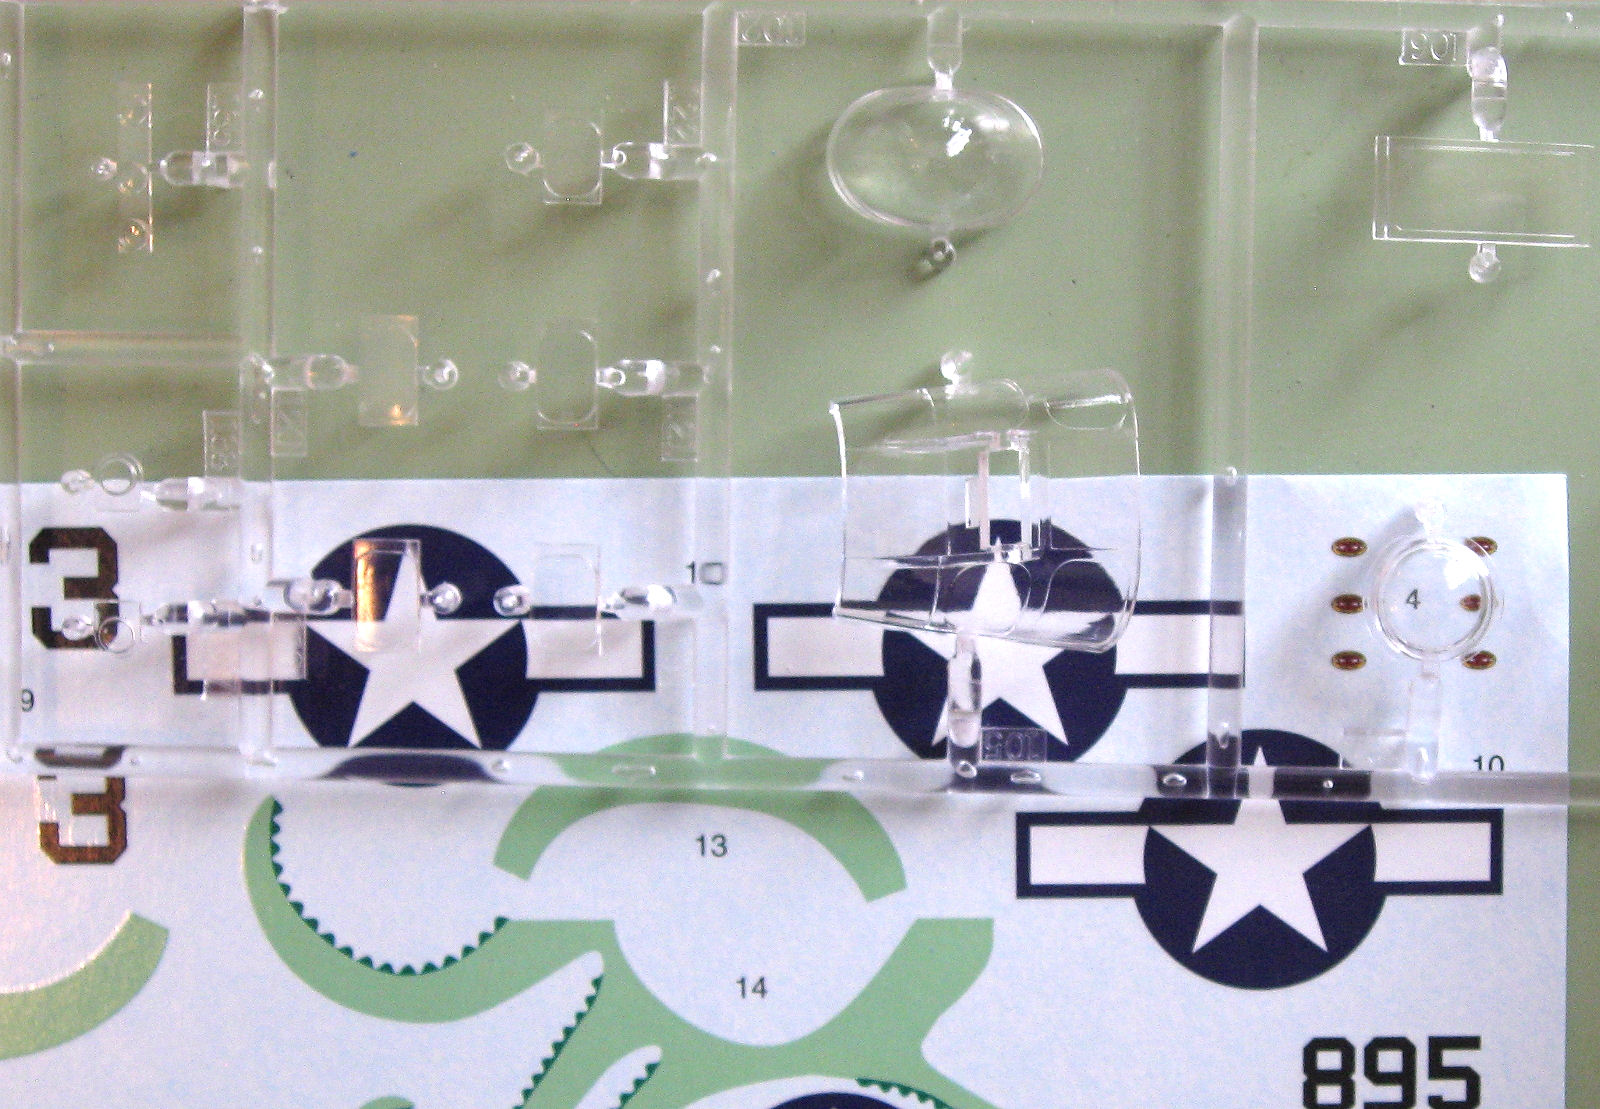
The PV-1 comes tightly shrink-wrapped in a large light-gauge cardboard box (17 x 11 x 3.5 inches) with excellent color artwork. Inside the box, loosely packed bags of sprue, black-and-white instructions, and a decal sheet with a loose protective cover were found. No loose parts were observed on the sprue trees, and the clear parts were unscratched in the bag. The sprue attachment points are nicely engineered mostly to be in places that are hidden after construction, or are easily fixed. In my opinion, the molding is much better that some of the classic Revell kits, with very minimal flash. Overall, the molding appears to be better than the SB2C and PBY kits offered by the same company that I built in the past. The parts have finely engraved panel lines and subtle indented rivets. Extra parts are included (parts 84, 139) and the nature of the parts suggests that another version of the aircraft will be repackaged in a later release. The profiles of the wings and tail planes appear to be just the right thickness, but I did not measure them for scale.
Instruction Sheet
A particularly nice feature of the black-and-white instruction sheet is the actual name and description of each kit part. I found this cross-reference fairly helpful at different times during construction when I was searching for parts. The recommended construction sequence is well illustrated in English, French and Spanish. The paint codes are easy to match to the specified paint schemes, although the distinction between the flat sea blue (FS34042) and semi-gloss sea blue (FS25042) are difficult to determine on the decal placement and painting guides. A PDF instruction file is available on the item website referenced above. The instructions presented no difficulties.
Construction
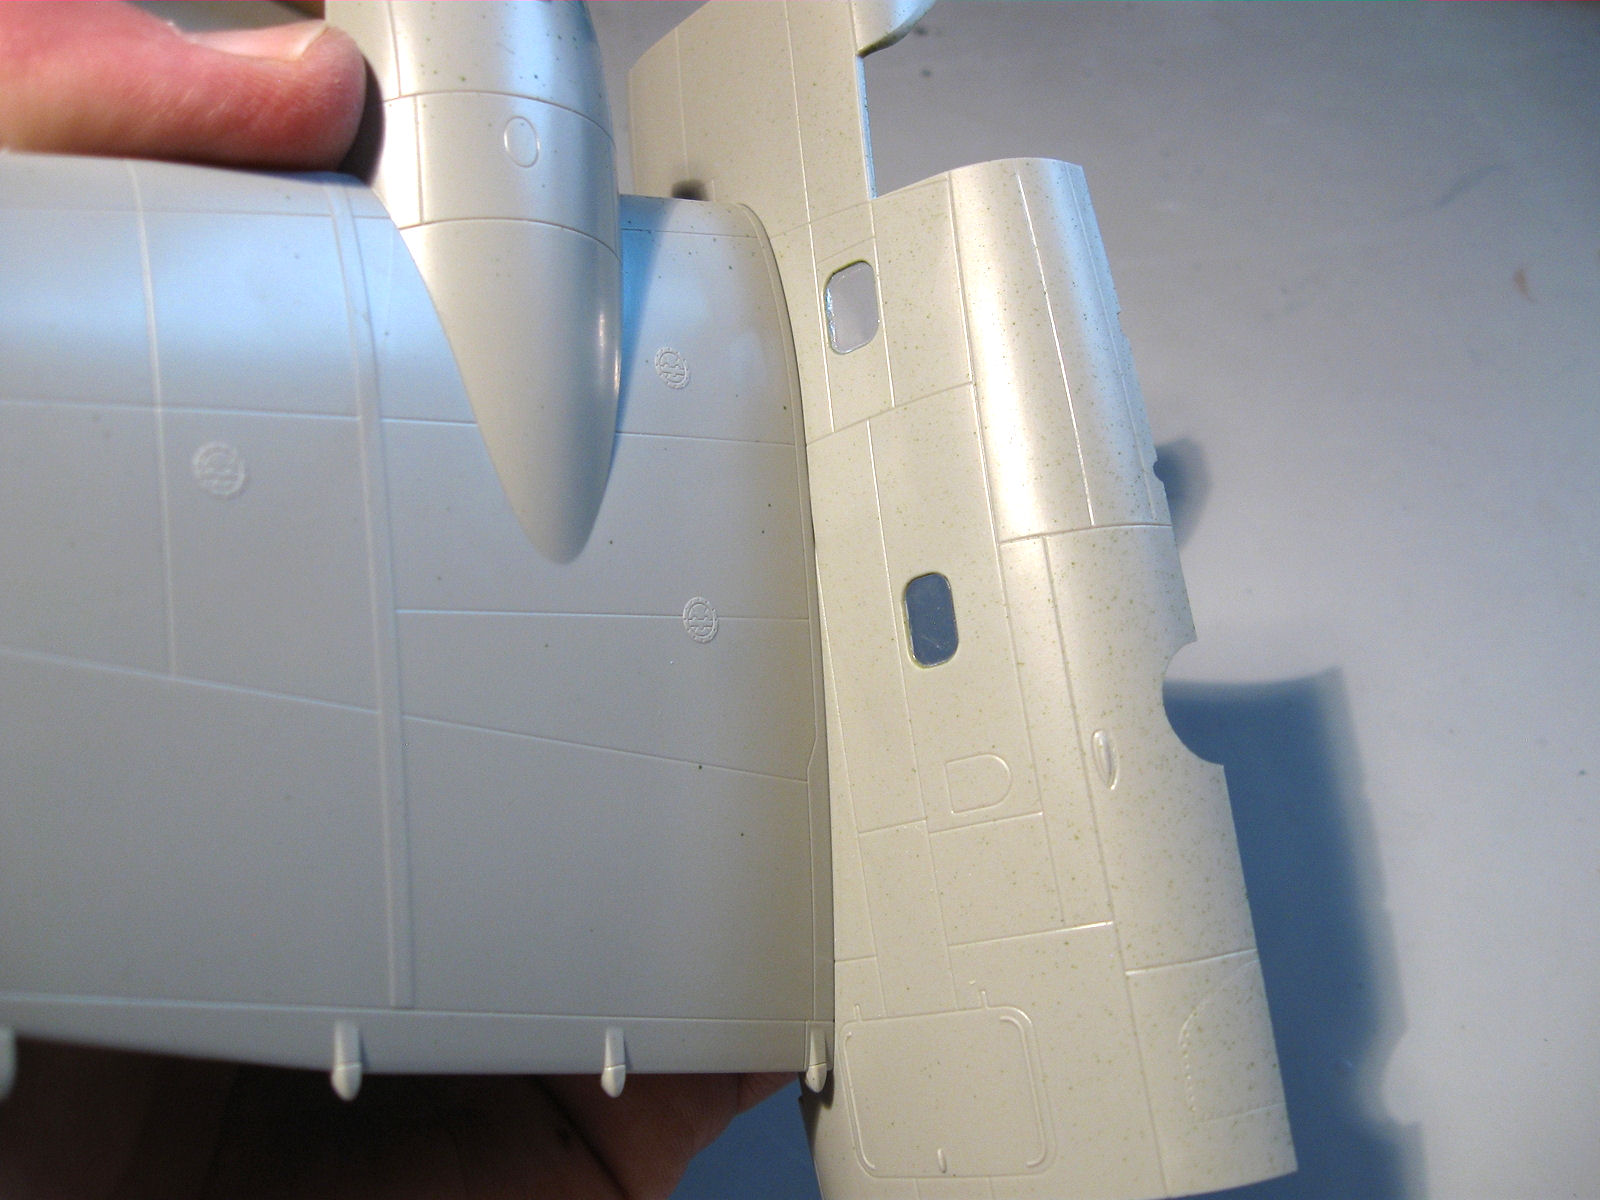
The parts have very little to no flash, and fit quite well. I was delighted to see that many panel lines matched up with part joins. The windows fit in only one way in some cases, with occasional small amounts of flash in the window openings and on the clear part. The flash and fit issues were quickly resolved with a quick and light pass of a file. The wing root fit is excellent. The kit has recessed wing root sockets which make the joint both strong and snug, with a tight fit. Those darn wing roots are a frequent nemesis in my modeling adventures, but not on this kit!
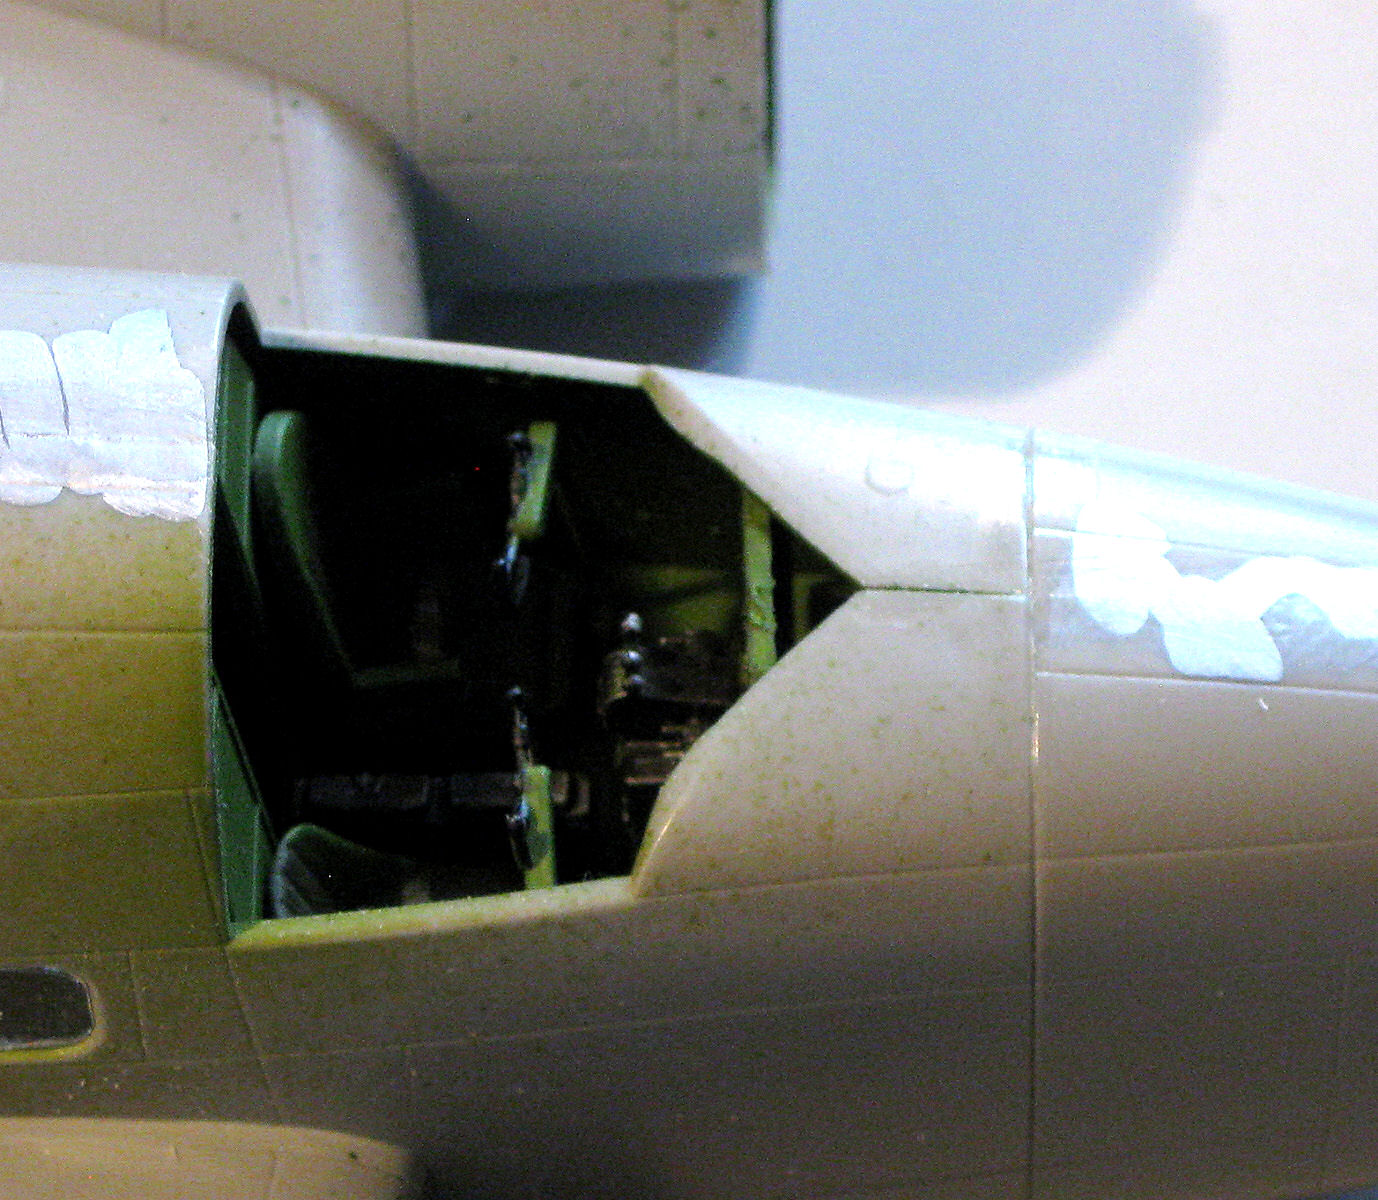
The cockpit parts fit snugly and appear to be correctly configured. One odd feature that I could not verify is the triangular open space just forward of the instrument panel. I don’t believe I missed a part, and the opening seems cleanly shaped, so perhaps there a cover or similar feature that could be added. I could not verify this idea with any references.
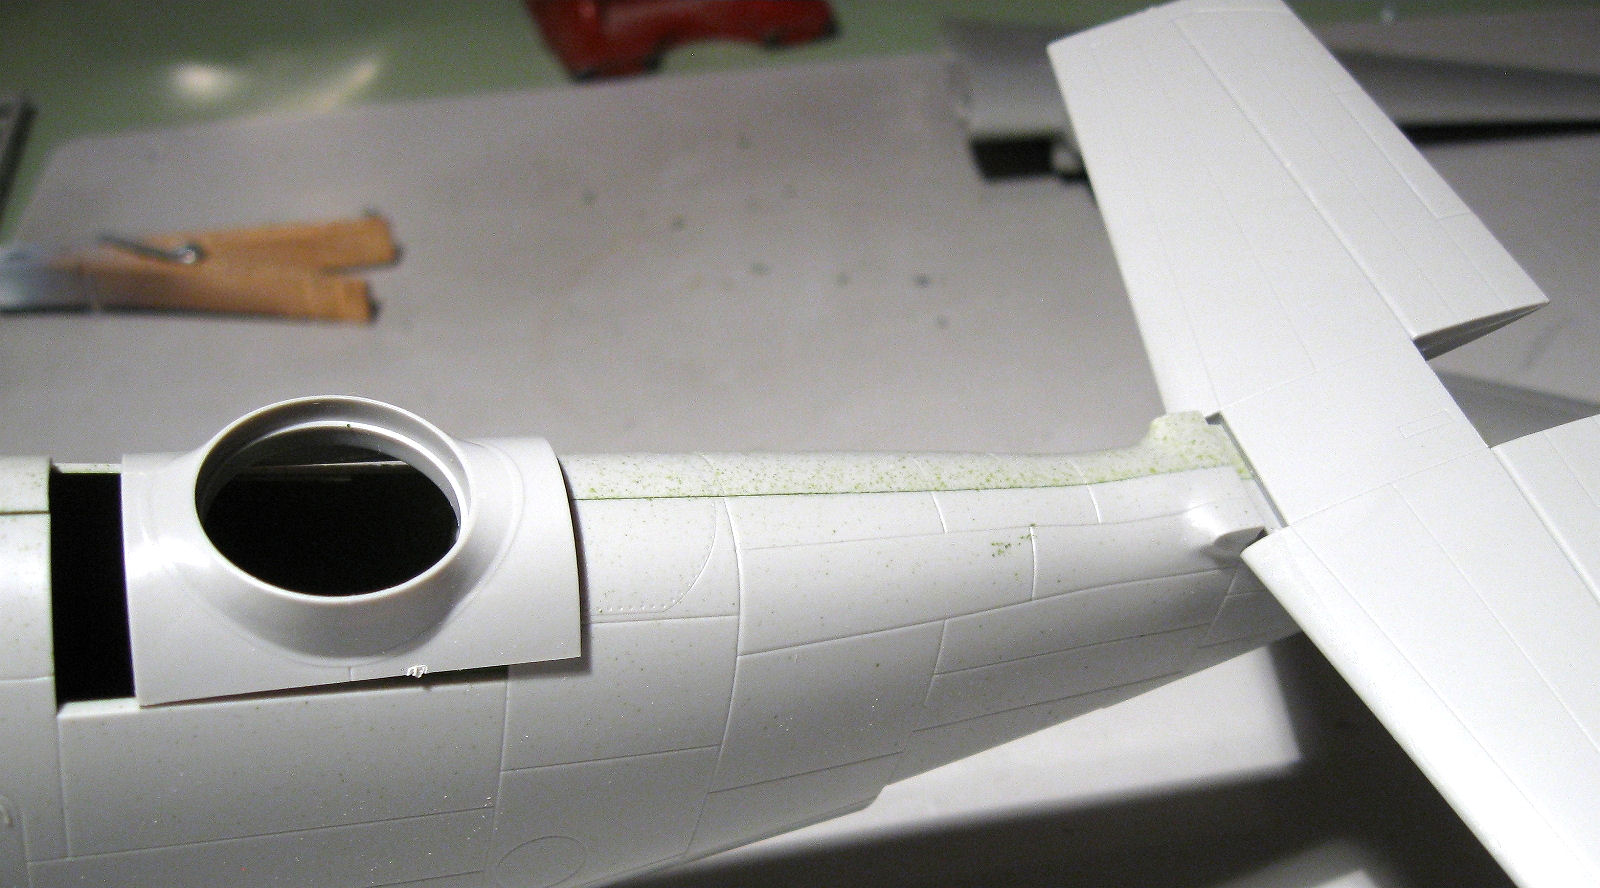
I modified the construction sequence a bit to accommodate using Tenax or Micro Weld assembly techniques. The cockpit and clear interior parts were assembled and attached per instructions. I assembled and attached the wings to the fuselage halves, and assembling the horizontal tail plane and the nose fuselage (parts 60 and 61). I used the tail plane, the nose fuselage, and the top turret insert to hold the fuselage halves together. The tight fit of the tail planes, the turret insert and the nose fuselage section assembly held the fuselage halves and the wing spar together quite snugly for cement application. A happy discovery was finding a seam gap in front of the canopy on the top of the fuselage. Had I glued the fuselage halves together first, followed by the nose assembly, I would have had considerably more fitting and tweaking to produce a smooth contour. As it turned out, the slight gap in the fuselage halves was easily filled. Do be careful of the nav dome; I accidentally popped it into the fuselage after assembly. Since the dome has an interior ledge or rim, I found myself being very creative trying to reinstall the part from the inside of the assembled fuselage.
Since I have a bad habit of breaking off little things, I did not install the nose guns (part 67) until after painting. This required cutting the receivers off the barrels so I could slide the barrels in later but, since I was not showing any interior detail, this was not an issue. However, if you use the clear nose (and the extra parts for the bombardier station), you may need to consider this. I also modified the top turret and tunnel guns so that the guns could be placed after painting. By trimming off a couple of small tabs, I was able to squeak the guns in through the tunnel and attach the guns and top turret dome later. The fit of the vertical tail planes is excellent. This allowed me to paint and assemble the surfaces before gluing them on, avoiding some of that tricky masking in tight places. The wing tanks have recessed attachment points, another cool feature for painting first, adding later, and reinforcing the join.
The gear doors also have strong positive attachment points. So far, does it seem like this kit is well-constructed for transportation? I believe it is! The canopy was slightly warped inward on the lower aft corners. I was able to fix this fit issue by gluing a couple of plastic strips as canopy “rails” to flex the canopy outward. The kit tires and wheels seem to be a little light on the tread depth, and the hub details seem to be a bit lacking. I used aftermarket wheels (see related review). The kit props looked a bit odd, perhaps too tapered. I thought they should be more paddle shaped, and was able to verify from online USN photos that the props are not correct in the kit. I replaced them with aftermarket props (see related review). The bomb bay doors don’t seem to fit well when closed, and a closed after-market bay was used (see related review). The 1000 and 500 lb. bombs included in the kit are very nice, and the actuating arms for the folded bomb bay doors appear to be accurate details. The cowl flaps were also modeled open, mostly since I think they look great open (see related review).
Not having the vertical planes, the guns, the gear doors, and the wing tanks attached before painting certainly simplified the process. Masking the canopies with Tamiya yellow tape was not difficult.
Decal Sheet
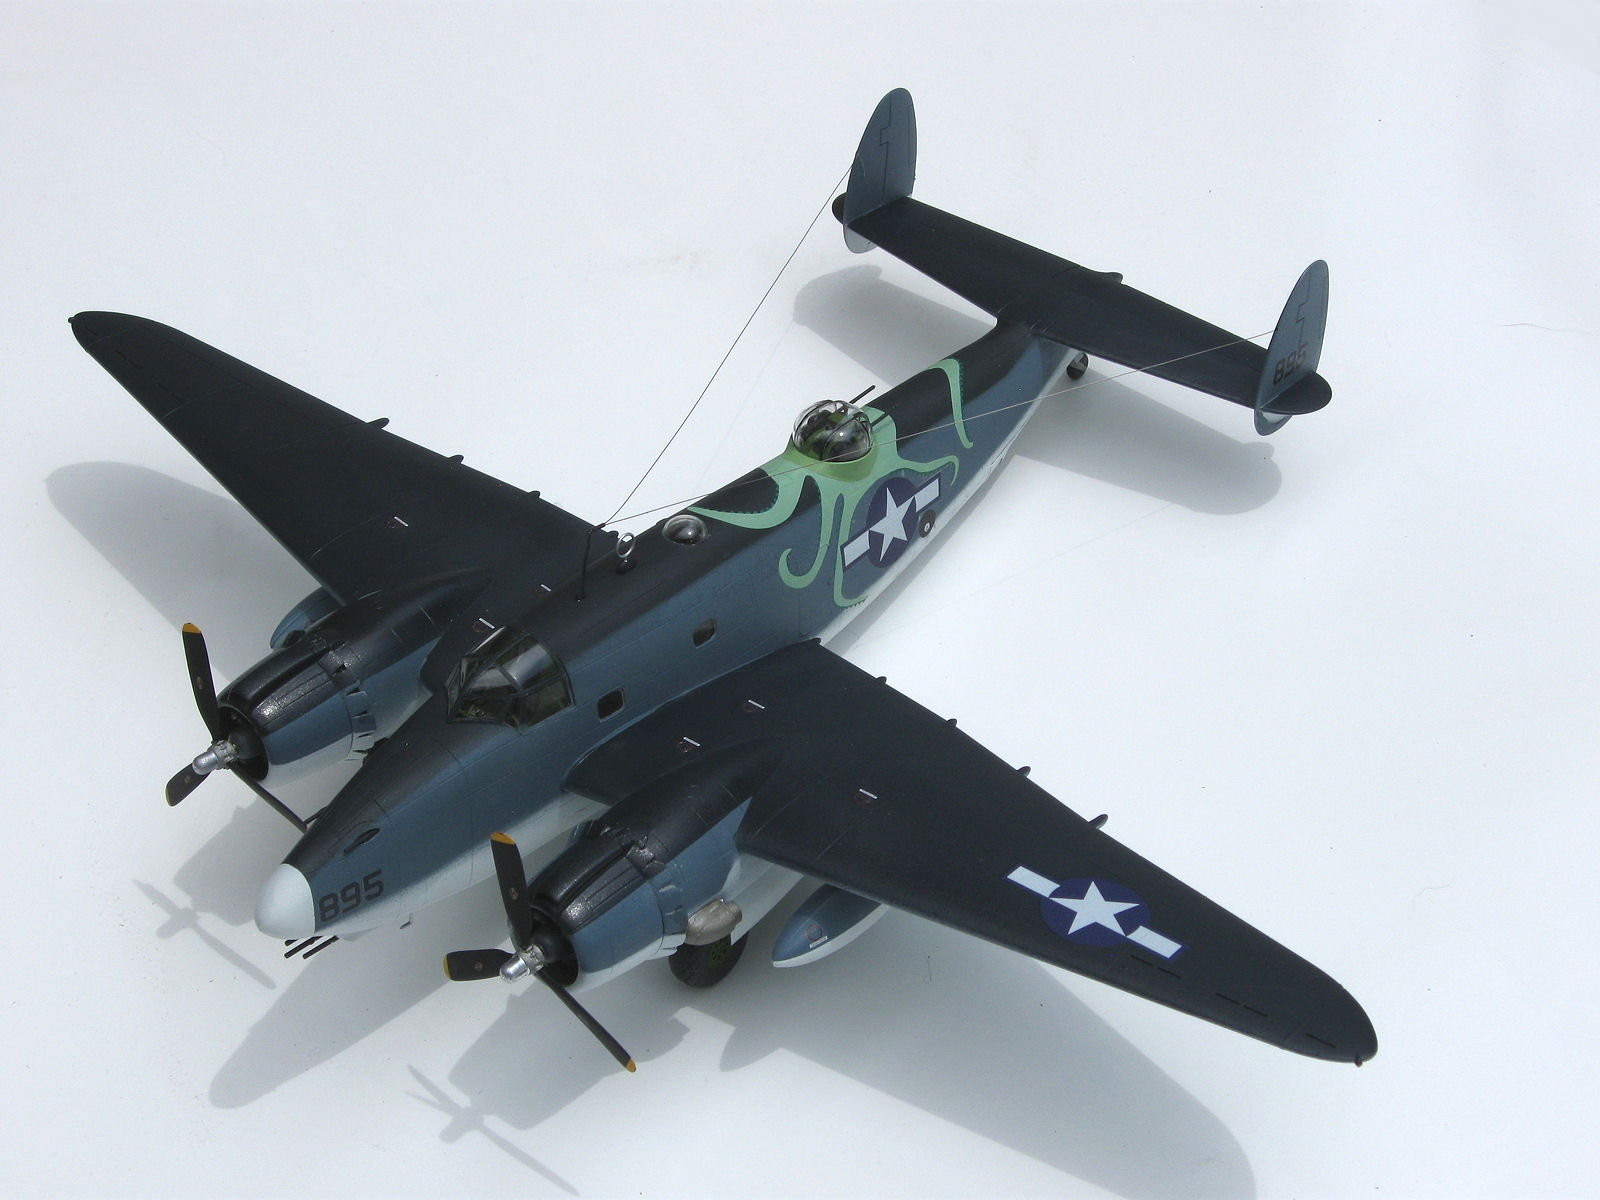
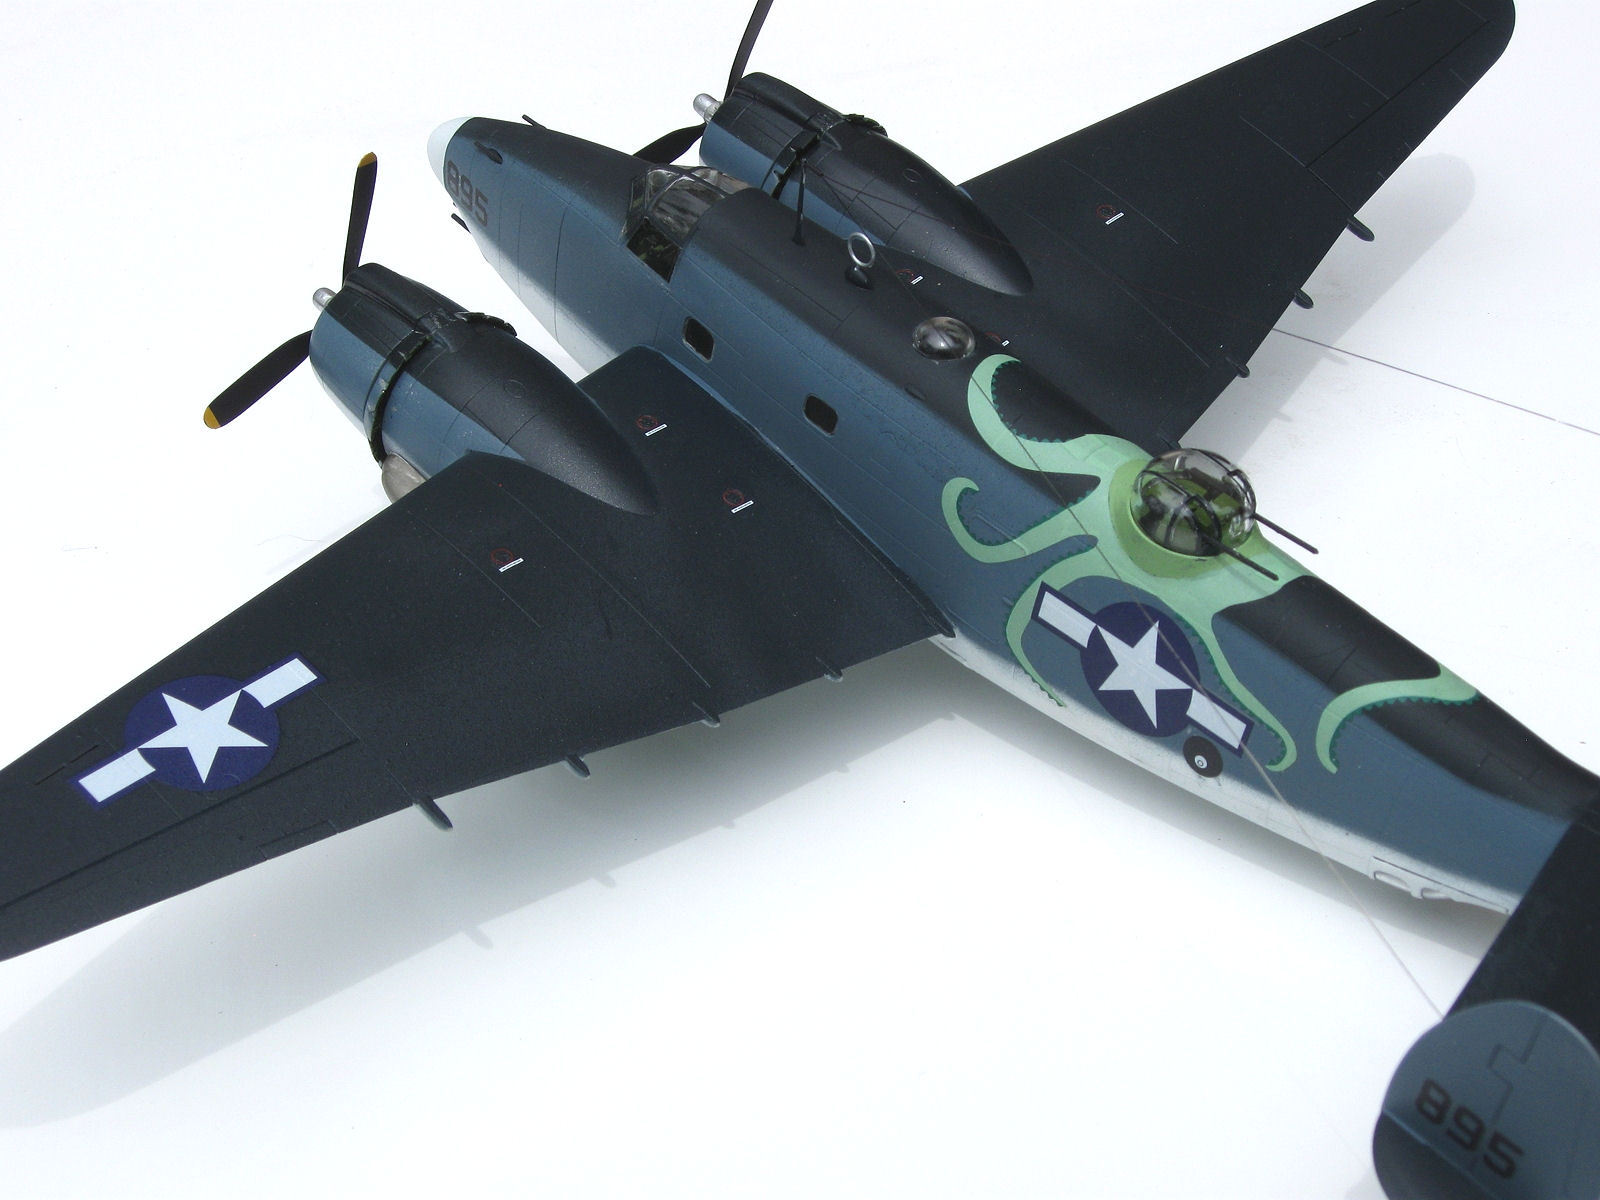
The decal sheet provides marking for three aircraft. I elected to paint up BuNo 48895 with the cool octopus centered on the top turret. The aircraft is reported to be from VP-133, 1945, based at Iwo Jima. Choosing this paint scheme also allowed me to skip deicer boots. A very minor typo is that there was no VP-133 in 1945, but the squadron was actually VPB-133 from 1 OCT 44 to 15 MAY 46 (USN squadron lineage). Stencils for one aircraft are provided.
The decal went on well with Microsoft solutions. The darn octopus markings do not match up well from port to starboard. I needed to trim up the turret “collar” decals and paint the gap areas with a custom paint mix to complete the octopus effect. The resulting patch is acceptable, but is not contest quality.
Conclusions
I am thrilled with the result of this kit. While it may appear that there are problems, truly there are very few issues, all of them pretty minor. Even without the aftermarket parts referred to in the review, the kit will build up into a beautiful replica. I had a ball with this one!
References
The Naval History and Heritage Command website has quite a few excellent photos of PV-1s available online. The Emil Buehler collection at the National Naval Aviation Museum also has some excellent online resources.
Many, many thanks to Danielle of Revell and to the IPMS/USA Reviewer Corps for allowing me to share my experiences. I hope that some will benefit from my thoughts, and be better for it.


Comments
Add new comment
This site is protected by reCAPTCHA and the Google Privacy Policy and Terms of Service apply.
Similar Reviews