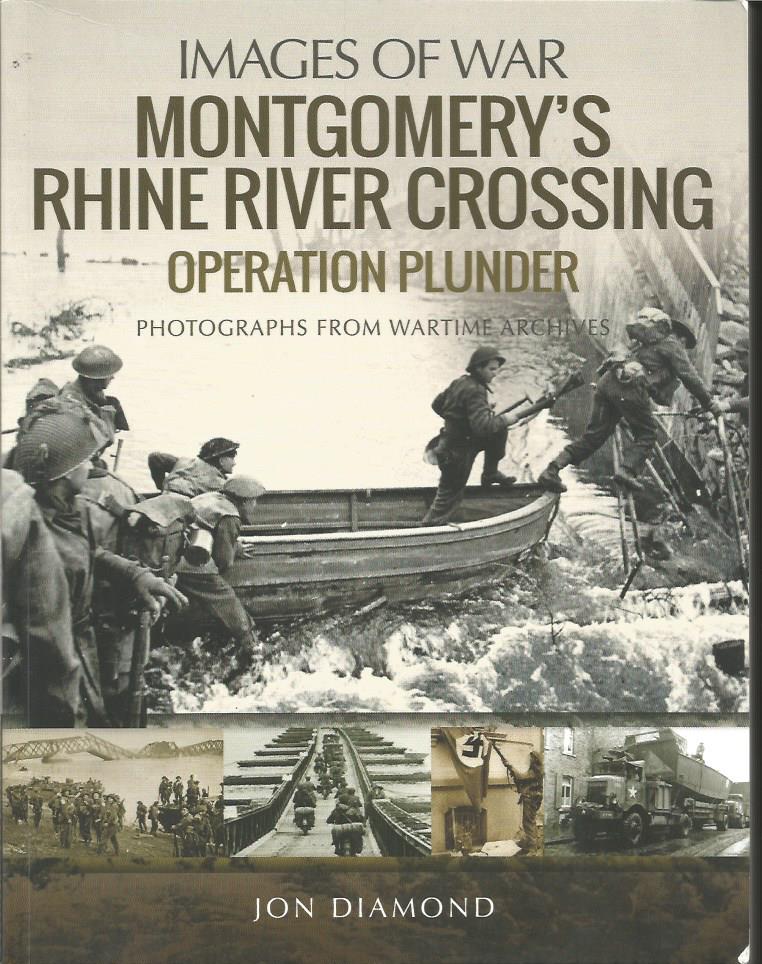
Montgomery’s Rhine River Crossing Operation PLUNDER
Overview as found on the website: After the Normandy break-out, the Allies’ headlong dash east came to a halt in the autumn with the ill-fated MARKET GARDEN operation and over-extended supply lines short of the Rhineland. After repulsing the Nazis’ daring Ardennes offensive, Montgomery’s and Bradley’s Army Groups cleared the Reichwald and Rhineland and closed on the Rhine.
With both sides aware of the strategic significance of this physical barrier the stakes could not have been higher. Eisenhower’s plan involved a vast airborne assault by General Ridgway’s XV11 Airborne Corps (codename VARSITY) and the simultaneously coordinated river crossing by Monty’s 21 Army Group codename PLUNDER with Dempsey’s British Second Army and General William H. Simpson’s US Ninth Army.
This superbly illustrated and researched book describes the March 1945 assault crossing involving naval amphibious craft, the air and artillery bombardment and diversionary attack by the British 1st Commando brigade at Wesel. In concert with VARSITY and PLUNDER, Patton’s US Third Army Group crossed further south.
As a result of this triumph of strategic planning and tactical execution, the fate of Hitler’s ‘Thousand Year Reich’ was finally sealed
About the Author
As presented on the Operation PLUNDER flyer and website, Jon Diamond MD is a kidney specialist in the USA with a deep interest in the Second World War. He is a keen collector of photographs. His Stilwell and the Chindits, War in the South Pacific, Invasion of Sicily, Invasion of the Italian Mainland: Salerno to Gustav Line, 1943-1944, Onto Rome 1944; Anzio and Victory at Cassino and Beyond Rome to the Alps; Across the Arno and Gothic Line, 1944-1945 and Op Plunder The Rhine River Crossing are all published by Pen and Sword in the Images of War series.
Table of Contents
- Chapter 1 - Strategic Prelude to the Campaign
- Chapter 2 - Terrain, Fortifications and Weapons
- Chapter 3 - Commanders and Combatants
- Chapter 4 - Clearing the Rhineland
- Chapter 5 - The Rhine River Crossings and Airborne Assault
- Epilogue and References
A Closer Look
- Chapter 1 - In two pages of well written text, the author summarizes the strategic position of the Allied forces and identifies the points in the three-phase plan set forth by the Supreme Allied Commander. A map (page 8) helps the reader to get a sense of the geography of the opposing forces, and the locations of the various towns and cities that are mentioned. On the next 28 pages, black and white photographs draw the attention of the reader to the view of the campaign as seen by individual combatants or small groups of soldiers as they either attacked or defended various locations seen on the map as the Allied forces drew near the Rhine, crossed it, and began to push the Axis forces away from the river.
- Chapter 2 - The fighting was (as is always the case in combat) by the terrain, the fortifications located on that terrain, and the weapons at hand. The author describes the terrain as quite varied as one follows the course of the Rhine. In one location, the Rhine passes through a gorge with cliffs approaching 600 feet. In another location the Rhine is a quarter of a mile wide with floodplains that could expand up to one mile wide. Weather has a major impact on the ability of the forces to relocate, receive supplies, and establish lines of transport and communication. In many of the images in this chapter the reader will notice the mud, which was in abundance as the winter snow disappeared. The Siegfried Line is detailed by the author. He addresses the construction of the wall, and how the Axis planned to use it, as it had passed its prime as a defensive barrier. The author describes some of the weaponry used such as the Hobart’s “Funnies”, the Panther and Tiger tanks verses the Allies M4 Medium. The 56 pages of black and white photographs focus primarily on the foot soldier and the armor in use. For the reader who is also a modeler who focuses on armor or figures, this chapter is an excellent resource.
- Chapter 3 - In this chapter the author provides a discussion regarding those in charge of the Allied and Axis forces, as well as 40 pages of photographs of those leaders and of the soldiers they led. Of course, there is a brief mention of the intense rivalry between Patton and Montgomery. And again, for those who are modelers, and especially for figure painters, the images are rich in detail showing the various uniforms and bits of gear carried by the combatants.
- Chapter 4 - This chapter covers the time span of February thru March 1945, as the Allied forces pushed the Germans back and out of the Rhineland. Operations Veritable, Blockbuster, and Grenade are highlighted. Attention, in detail, is given to the capture of the Ludendorff Railway Bridge, a major event in the effort to take control of the Rhineland.
- Chapter 5 - This, the final chapter of the book, focuses on Montgomery’s set-piece battle plan. Those operations revolving around the crossing of the Rhine are described including the Plunder, Widgeon and Varsity operations.
This book is highly recommended due to the excellent maps, large number of black and white images, and detailed coverage of the subject. Thanks to Casemate for providing this copy for review by IPMS.


Comments
Add new comment
This site is protected by reCAPTCHA and the Google Privacy Policy and Terms of Service apply.
Similar Reviews