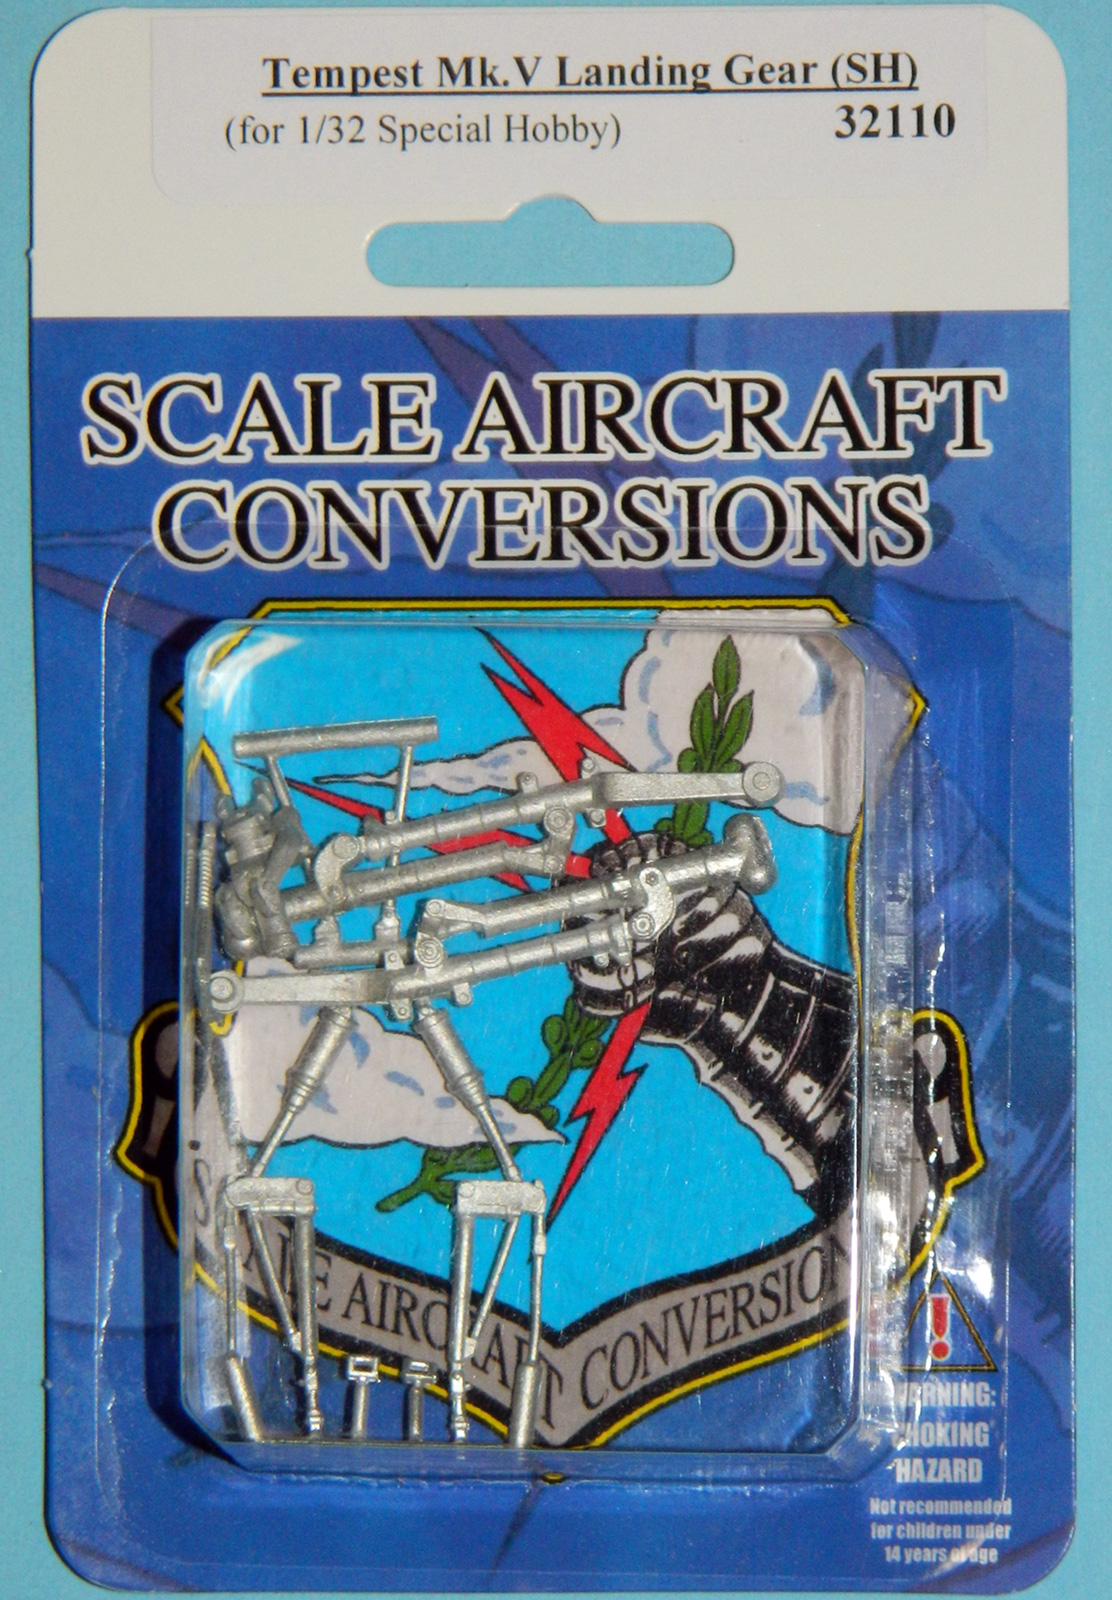
Metal Landing Gear for Hawker Tempest
More metal gear from Ross at SAC; another winner set… THANKS VERY MUCH for sending IPMS USA another of your expansive line of metal landing gear, and thanks also to IPMS USA leadership for sending it on to me to review….
This is the SAC-standard metal landing gear improvement over the kit plastic. Airfix newest releases are just fantastic, and easy to work with, but the landing gear, being part of the new plastic as well, tends to be a bit “soft”. This SAC set has 11 parts; two main struts, two retraction links with extension rams, four gear strut arms, and a tail wheel and strut combo. The tail wheel and strut turn three parts into two, and adds requisite strength to this very vulnerable area on most models
This set takes a bit of care to install, because the Tempest has “raked forward” main gear struts. The trademark shock strut assembly is the main gear, and the engineering of this complex gear on the Special hobby kit requires a lot of attention to make sure everything fits into place. Once the two plastic trunnion parts are installed and cured, the SAC struts slip into place. There is no real positive attachment here, you just have to make sure both legs are (1) fully inserted and (2) at the correct angles and camber. It’s a Mark 1 eyeball situation, and tack gluing the gear doors on the strut will ensure you have the correct angles.
The gear struts and drag link fit right into place… superglue and finished. Same for the retraction/extension arm; all were a direct replacement for the kit parts. The scale appearance of all the struts and retraction arms makes this a kit where modeling skills are required… but we finally have a decent Tempest model in a large scale.
Included are miniscule uplock brakets; I hit the strut with accelerator, then used tweezers to tip the part into superglue then attach to the strut
The one-piece SAC tail wheel strut mounts into place in the fuselage tail wheel well, then the one-piece metal fork can be attached to the strut just like the uplock brackets. Once cured, it’s all secured, After the model is finally painted, you can carefully bent the tail gear fork open, insert the resin or plastic tail wheel, and use pliers or fingers to trap the wheel in place around the axle pips. The resin main gear wheels can also then be added as the last step, carefully bending the gear for camber/fit as required..
The photos tell the story; the SAC gear fits perfectly into place, and I know have a rough-field gear that will shrug off my attempts to break it. The other benefit is I can bend the gear into place to ensure appropriate camber and castor on the tires after installation. All around user-friendly!
SAC gear makes the difference for many kits like this. An easy “10” rating, thanks again to Ross at SAC for staying at the front of the landing gear requirements with all the new releases, and IPMS USA for providing the forum to review them…


Comments
Add new comment
This site is protected by reCAPTCHA and the Google Privacy Policy and Terms of Service apply.
Similar Reviews