
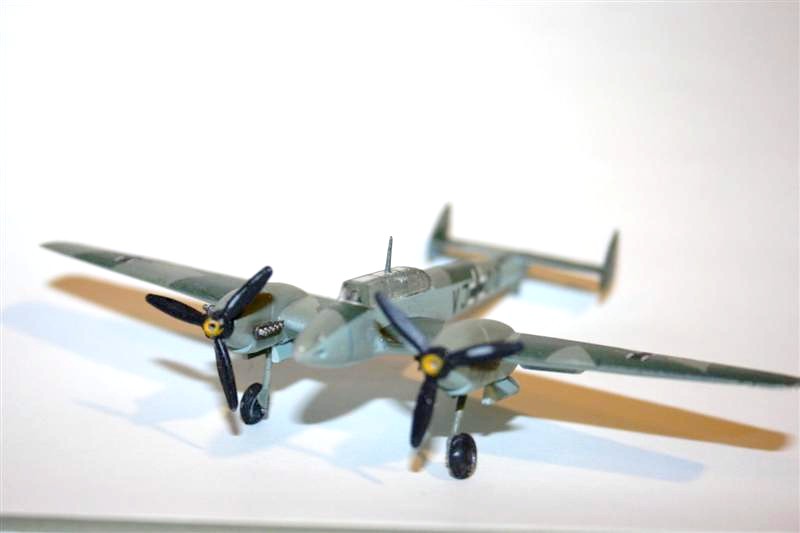
Messerschmitt Bf-110C Zerstorer
The Aircraft
In the early 1930s there was a general consensus, particularly among the bomber cadre that Giulio Douhet was right, and that the bomber would always get through to the target, no matter what. On the other side of this discussion were the fighter jocks, who KNEW that shooting down bombers would be simple, and that their superior aircraft, skill and airmanship would always overcome whatever stratagems and defenses the bomber barons could devise. The answer to these arguments was a compromise, a fighter with enough range to accompany the bombers and enough firepower to defeat the enemy fighters.
Most major air forces came to this conclusion also. The results were:
- Germany: Bf-110
- Britain: Beaufighter
- USA: P-38
- Netherlands: Fokker G1
- Japan: Ki-45 (Nick)
- USSR: Pe-2
Except for the P-38, these planes had maneuverability issues, usually caused by the fact that the engines couldn’t provide the power needed to move a large aircraft around in a dogfight. Even the P-38 couldn’t maneuver with the Japanese single-engine fighters.
The Bf-110’s performance in the Battle of Britain made the Luftwaffe actually assign single-engine escort fighters for these escorts.
The 110 remained in service throughout the war. For night fighting, the early radar sets required a good load capacity, and the Zerstorer could carry the equipment and extra antennas. When they encountered unescorted bombers in daylight, the Bf-110 was an effective weapon.
The Kit
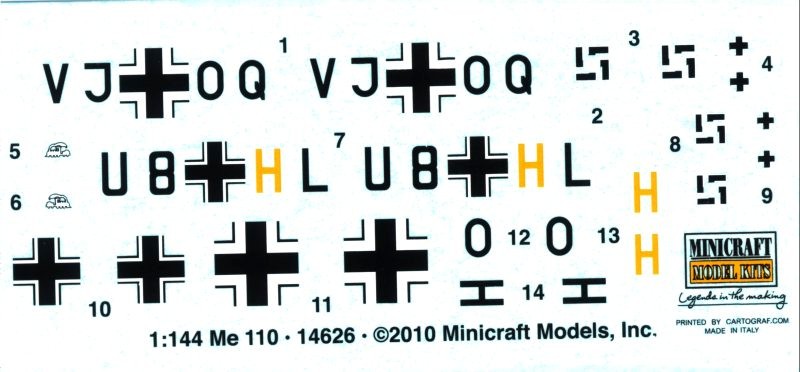
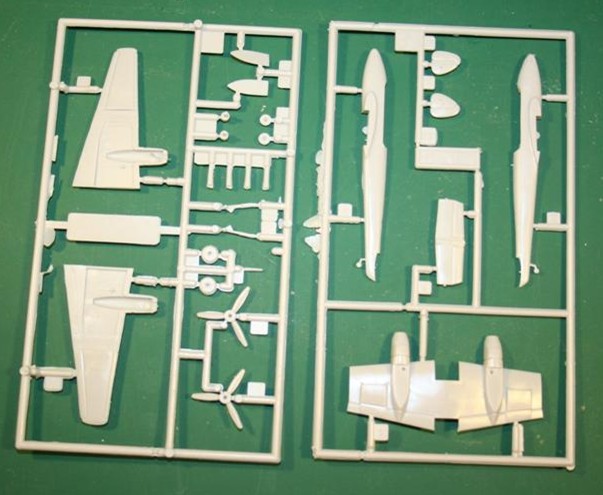
The kit consists of 2 sprues in light gray plastic with the canopy in a separate plastic bag to prevent scratches and other damage. There are markings on the decal sheet for 2 aircraft, Rudolf Hess’s C from his May 12, 1941 flight to Scotland and one from ZG-26, Battle of Britain Summer-Fall 1940.
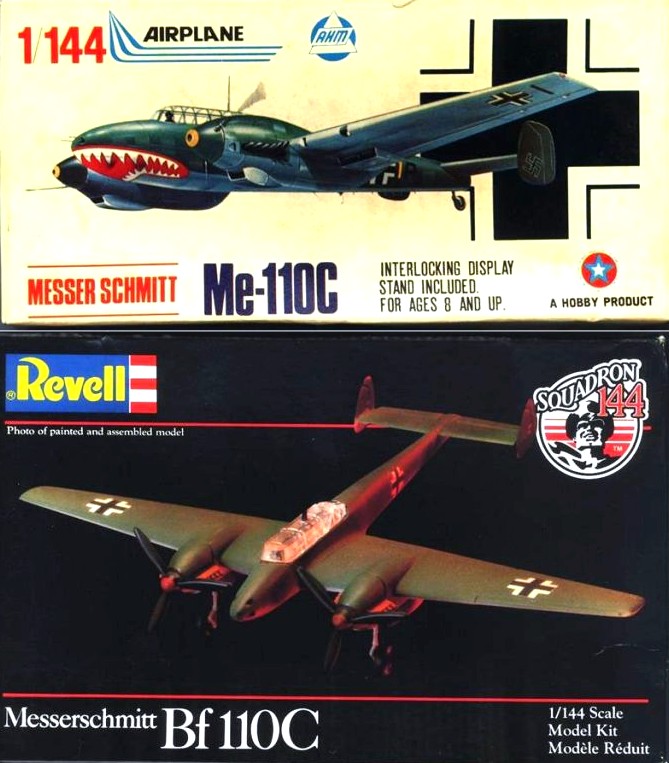
This kit has been released before by Crown, AHM and Revell. It’s not a 21st Century kit from a new mold, but it’s arguably the best 1/144 Bf-110 available.
Construction
This simple kit has four steps. There are 6 steps in the instructions, but 2 of them are for in-flight, 2 are for gear down, and 2 are common to both.
- Wings and props
- Fuselage
- Fuselage/wing and exhausts
- Landing gear or gear doors
The in-flight configuration has the gear up and no prop blades. Hubs without blades are provided. Gear down cuts the main gear doors in half, provides prop hubs with blades and main gear legs and wheels. I deviated from the instructions to make painting easier by leaving off the props and painting them separately, then adding them after decals to prevent damage.
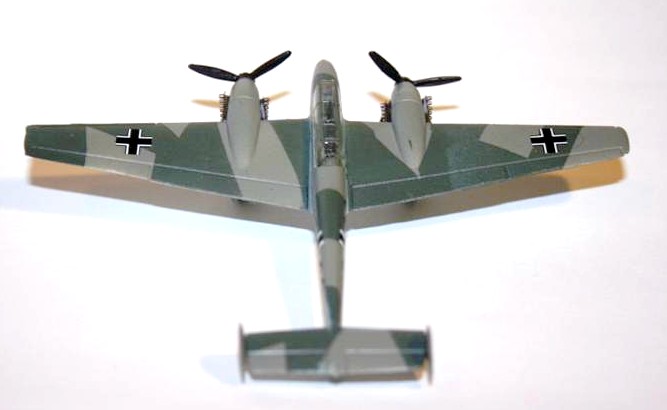
One great feature of this kit is that the bottom of the wing center section is one piece, with the wing tops including the lower outer wing panels. This gives good alignment of the wings with (hopefully) proper dihedral and makes the wing leading and trailing edges suitably thin. Also, this reduces the amount of putty required to make everything fit. The fuselage is wide enough that there’s no unsightly gap between the wing roots and the fuselage side. Only a little scraping and sanding was required to get a good-looking joint there, no putty. The same applies to the fuselage, horizontal stabilizer, and vertical stabilizer joins.
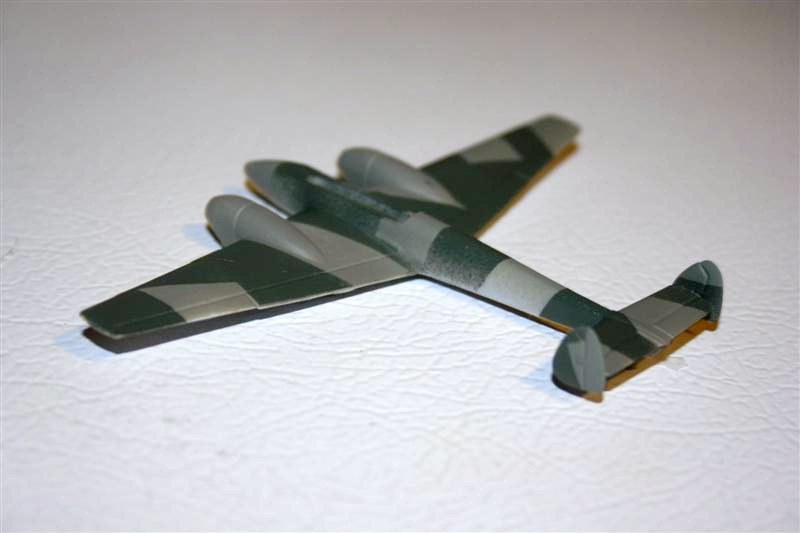
Painting
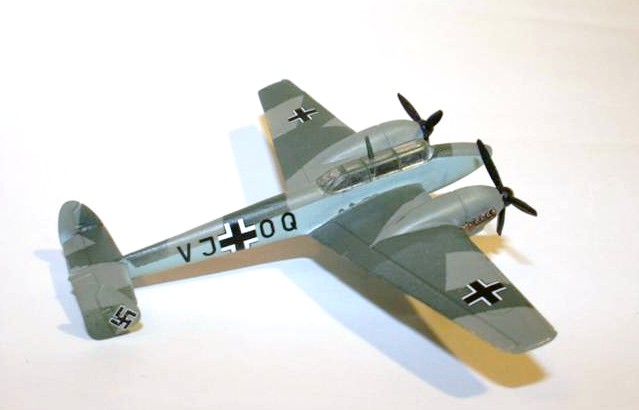
I decided to do Rudolf Hess’s airplane, finding it more visually interesting. I painted the entire top of the aircraft RLM 02 gray, then masked the 02 and painted on the RLM 71 dark green. I then masked the top of the aircraft and applied RLM 65 blue to finish. I can handle a low degree of difficulty in a paint scheme much better than a really complex paint job. I then painted the cockpit RLM 66, although there’s no interior, just a flat area under the canopy. I put some RLM 02 in the wheel wells and painted the inside of the gear doors 02, as well as the gear legs. Then a coat of future, and I was ready for the decals.
Decals
The markings are probably the best part of the kit, even better than the decent fit. Cartograf from Italy prints the markings, and the decals are excellent. When I get ready to build either the Revell or AHM kit in the stash, these are the decals I’ll use, because the decals in the older kits are, well, awful. I found the 2-piece swastikas to be OK, although I’m usually pretty bad at getting something like that to align; especially in 1/144. Nevertheless, both sides lined up nicely. I did take the time to let the outer section dry completely before adding the inner X. One thing that I noticed is that whoever did the scale drawings for the markings and decals has probably not seen the kit, as there are panel lines on the drawing which would be very handy for aligning decals, etc. but just aren’t on the plastic.
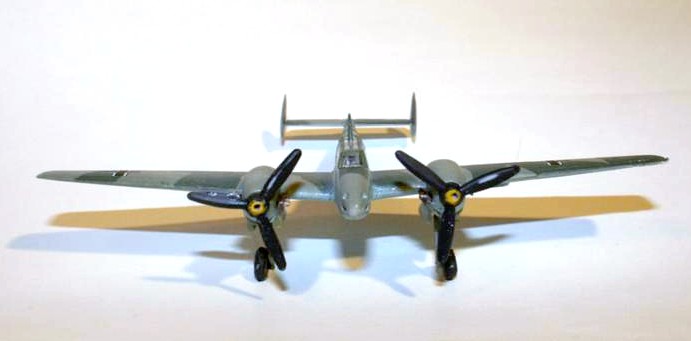
Final Assembly
I always leave the small and delicate parts for final assembly, since I have a record of breaking stuff off while handling during decal work. For the props, since the prop shafts come separate from the prop hubs, and they have a block on the end, I cut the block off and glued the shaft into the hub, then glued this assembly to the nacelles. I didn’t think the prop spinners were right for a Bf-110C, so I drilled a hole in the center to make them look less like the Bf-110G spinners. The wheels and gear legs fit pretty well, but required some care to get them straight and aligned. The gear legs looked long, but if they were shorted, there’d be a problem with the props clearing the ground. I did find an instruction problem in this step. If you follow the drawing for the gear doors, you’ll put them on wrong. The curved edges attach to the edge of the wheel wells, not the flat edge.
I painted the canopy and attached it, then added the antenna. Usually adding a part like this to a clear part requires a lot of fiddling and scraping to get an oversized antenna into a too-small hole. This one was the opposite. I almost lost the antenna inside the canopy, as it was smaller than the hole provided. I fished it out and added enough Micro Krystal Kleer® to fill the hole, then added the antenna when it was starting to set up. It set up nicely, and with the glue getting stiff, it was easy to align.
Overall Evaluation
Recommended. Fit is excellent, and it’s a good kit to build when you’re not up for a difficult project. I loved the decals, and both sets of markings are interesting. Note that they supply almost complete markings for both aircraft, including 2 sets of swastikas and fuselage crosses. You’ll have to dig up the upper and lower wing crosses from the spares box to do a second model.
Thanks to Minicraft and IPMS/USA for the interesting model project.


Comments
Add new comment
This site is protected by reCAPTCHA and the Google Privacy Policy and Terms of Service apply.
Similar Reviews