
Imperial Guard Dutch Grenadier - Napoleonic Wars
Background
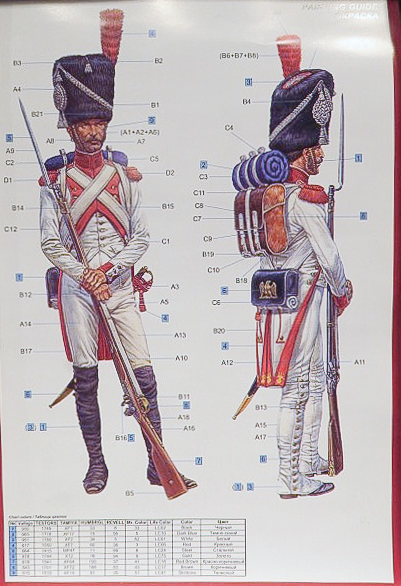
During the 17th through 19th centuries, Grenadiers were considered the shock troops of an army. In addition to their muskets, they were equipped with rudimentary hand grenades. Typically, they were chosen from the tallest recruits for the sake of intimidation, and this was visually increased by the use of tall mitre hats or bearskins. The kit represents an enlisted man from the Dutch Imperial Grenadiers circa 1810. Some quick research in one of my older references, as well as online, shows that this kit indeed represents a Third Dutch Grenadier. This unit was part of Napoleon’s Imperial Guard at Waterloo. The colors recommended in the kit seem to be accurate for an enlisted man. According to Wikipedia, “This regiment was created as the Royal Guard in Holland, when Louis Napoleon, brother to Napoleon, was made King of Holland. After Holland became part of France, it became in 1810 the 3e Régiment de Grenadiers-à-Pied de la Garde Impériale.” The uniform is a relatively simple white-on-white with red facings, cuffs and collar. The bed roll is blue. Gaiters may be done in black or white.
Initial Impression
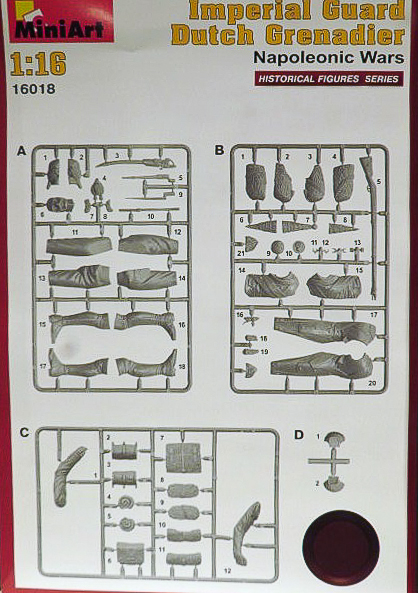
The kit comes in a two-part box with heavy cardstock cover and light cardboard bottom, providing adequate protection for the sprues. The cover features a color illustration of the completed kit. Upon opening the box, you’ll find a two-sided glossy color instruction sheet, one side featuring the parts layout and parts numbers. The other side is the painting/assembly guide which repeats the box art and offers a right-side rear illustration of the figure. The suggested colors are listed with Vallejo, Testors, Tamiya, Humbrol, Revell, Mr. Color, and LifeColor references along with the color names in English and Russian. Assembly is shown with the part numbers identified in black numerals on the image, and the color callouts indicated with a reference number in a blue square. The instructions provide no unit back ground, history or parts identification.
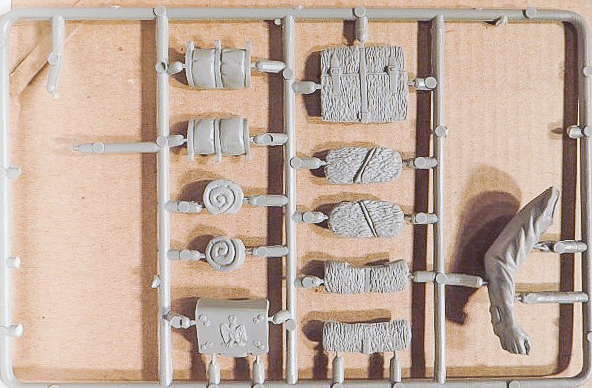
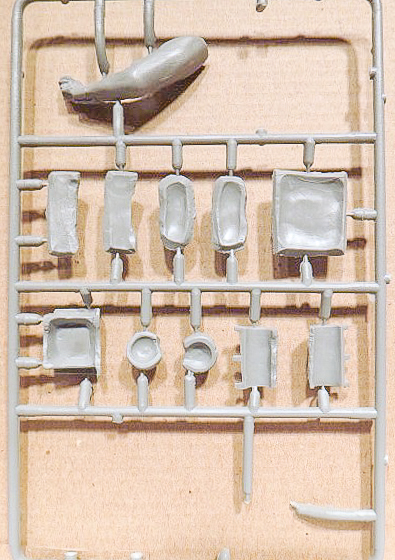
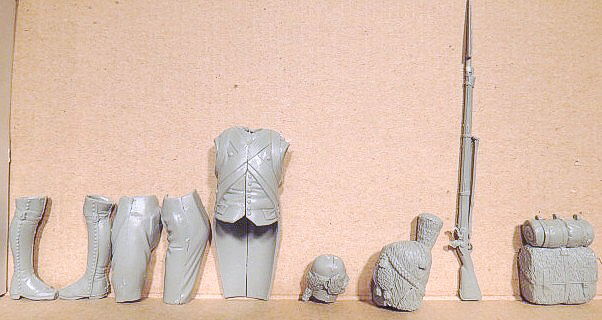
The sprues are contained in one sealed, clear plastic bag. The kit comprises about 58 parts on three sprues, two large and one small, in grey styrene. There are four unused parts: a hand, two musket sling braces and a front piece to the hat with the Imperial Eagle to be used in a different kit. A brown plastic base is included. The small sprue with the epaulette fringe includes the unused hand. Except for the arms, cartridge box, sabre briquet, and bayonet scabbard/frog, all components consist of at least two parts, and usually a lot more. For example, the head is in three sections with two additional mutton chop sideburns, which then fit into the grenadier bearskin hat which is made up of four sides, cockade, a four part plume, separate woven medallion and front piece. Each leg consists of four parts: left and right halves from the foot through the knee and femur through waist. There are no locating pins on any parts. There are relatively minor mold lines on some parts, most notably the arms and musket, which are easily cleaned up. There are neither decals nor photo etched parts in the kit.
The figure is posed at parade rest, with all strapping molded in place. He correctly wears chevrons on his left arm only, and these should be red with gold piping. However, these had some molding problems and needed trimming. Repositioning the figure would take a huge effort given the complexity of the assembly.
Initial Assembly
The first sub assemblies, upper and lower leg halves, torso, head, hat and musket, took about an hour and 15 minutes. This included only enough clean-up of mold parting lines and edges to facilitate assembly. The plastic responded well to Plastruct Cement. The box art shows the bayonet as fixed. To depict this you will need to carefully drill out the bayonet attachment point to accept the musket barrel. Also, don’t forget to remove the bayonet stem from the frog, and that the bayonet blade sits to the right of the barrel.
In assembling the four-part torso, I had more success by making a left and right side, and then combining these. On the hat, I combined two quarters into halves, and then cemented these together. When assembling the plume, I attached the plume side segments to the top, which had a good lip to align these.
Most of the sub assembly process was pretty intuitive. I had to refer to the “instructions” to find the location of two small buckles (they go on the gaiters) and to understand the front piece of the hat.
Most of the parts fit relatively well, and I allowed these subassemblies to set overnight before attempting to clean any seams.
Clean Up
There was some sanding and filing needed along assembly lines on the legs and torso. The seams on the head are carefully engineered to be hidden after assembly. The hat and plume textures required the use of gap-filing super glue followed by retexturing with a razor saw. Total clean up time was about an hour.
Final Assembly
The upper and lower legs required some careful positioning. The lower left leg points outward in the stance, and unless aligned exactly, there appeared to be a quarter inch difference between the legs.
There is no indication in either picture of the exact position of the bayonet scabbard. My references showed this going next to the sabre scabbard.
The illustrations indicate a rolled cloth under the cartridge box. While this is depicted on the bottom of the cartridge box, the rolled ends were not sculpted. The box itself is hollow, and shows a large gap when attached to the hip. I would have filled the gap with epoxy if I were building this kit other than for a review.
Parts B18 and B19 are back pack strap extensions, but their position is reversed on the instructions.
The arms need to be positioned exactly, with the right hand covering the back of the left hand along with a part of the cuff which has no detail. Both arm attachment points required some cutting to cross over the torso correctly. I super glued the hands together and then adjusted the shoulders. Both sides left a significant gap which needed filling.
Final assembly took about another hour for a total time of about three and a half hours over two days.
The figure stands 4.97 inches without the bearskin, giving him a height of six feet seven inches.
Impression
Some parts of this kit were quite easy and intuitive, while others were somewhat more challenging. Knowledge of, or references to, Napoleonic era uniforms is quite helpful. Painting will be somewhat of a challenge as well. The large amount of white may lead to a somewhat monochromatic figure, and the draping of the cloth is very subtle, making highlights and shadows harder to accomplish. Again, being predominantly white with the need for some seam filling, the figure will absolutely need to be primed. I would strongly advise using an airbrush for the white as well.
This kit will require an experienced builder to deal with the lack of connecting pins and multipart sub assemblies.
Thanks go out to MRC for the sample.

Painting/Assembly Guide
Parts Layout
Small Sprue - Front
Small Sprue - Rear
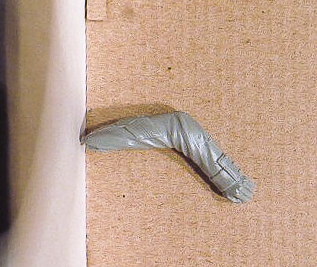
Detached Arm Segment from Small Sprue
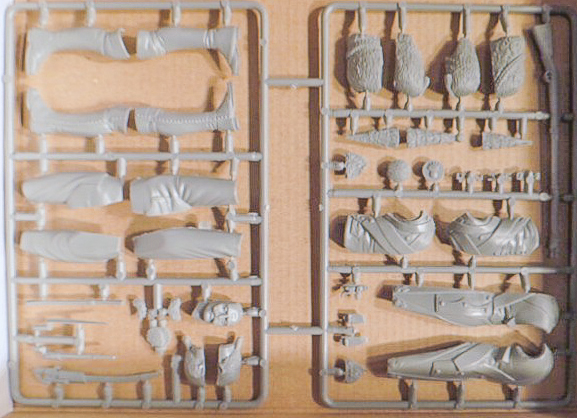
Large Sprues - Front
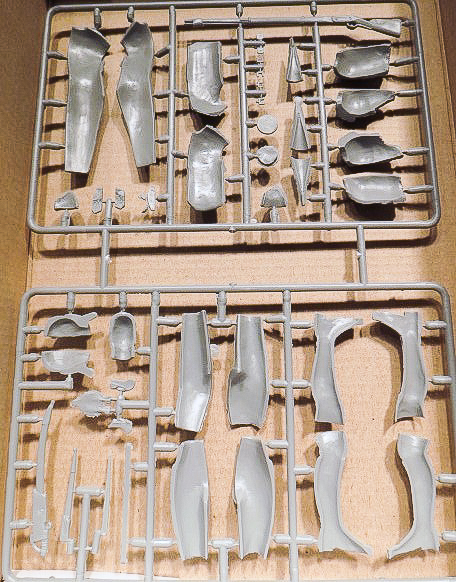
Large Sprues - Rear
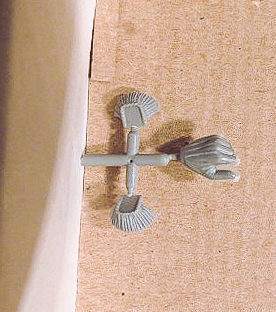
Epaulette Fringe Sprue with Unused Hand
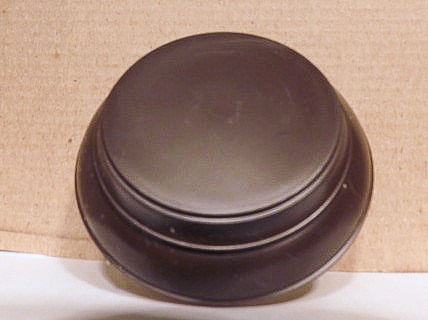
Base
Sub Assemblies
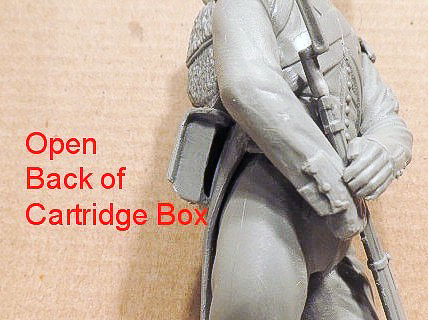
Open Back of Cartridge Box
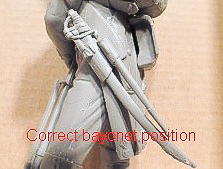
Correct Bayonet Position
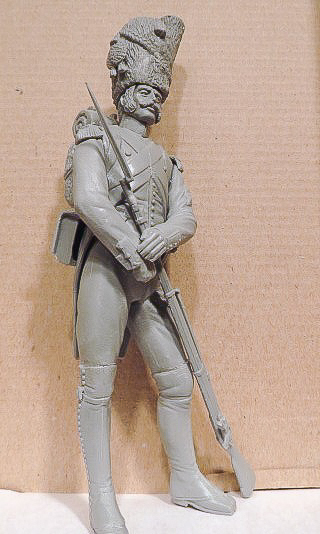
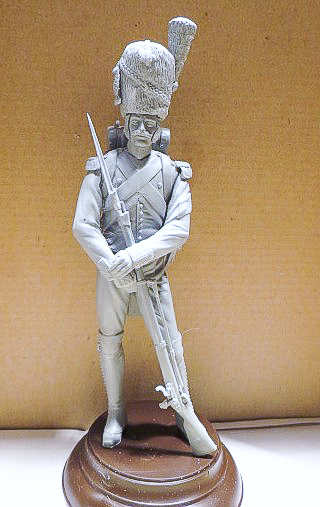
Assembled Figure - Front
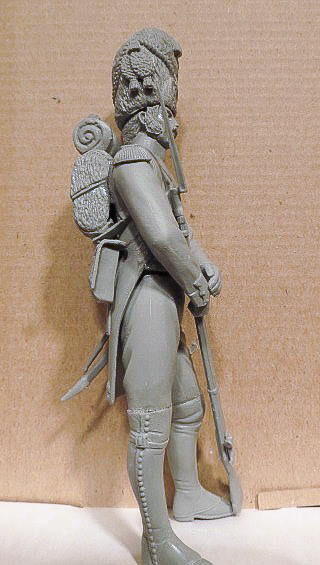
Assembled Figure - Side
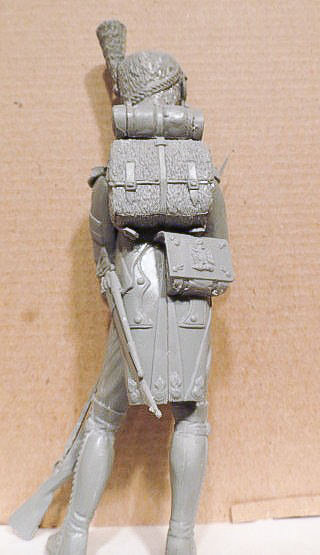
Assembled Figure - Rear

Assembled Figure - Head Closeup
Comments
Add new comment
This site is protected by reCAPTCHA and the Google Privacy Policy and Terms of Service apply.
Similar Reviews