
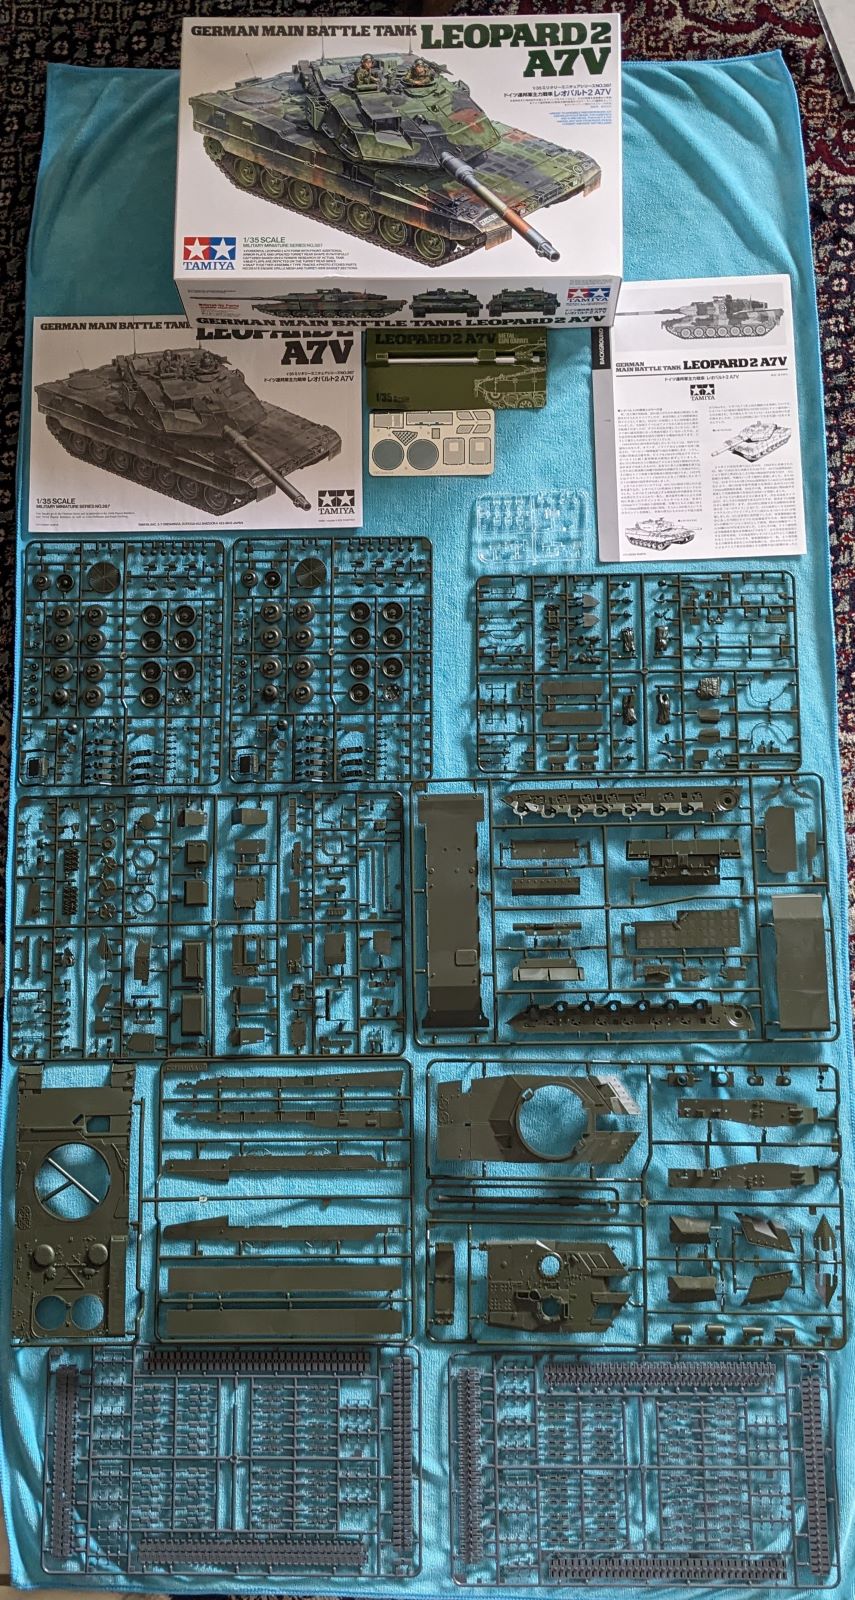
German Main Battle Tank Leopard 2A7V + Detail Gun Barrel
BLUF (Bottom Line Up Front) – this is a great kit at a great value! This is not a Tamiya tank model of our past – this is a new approach for a company often referred to as “shake and bake” for its ease of construction. Tamiya models are known for their effortless assembly but are soft on details. This kit is a fantastic introduction to what is hopefully a whole new line of tank models. The detail is superb, the assembly is straightforward, and I asked myself a few times if I was building another model company’s tank. The model comes with PE parts, clear parts, masks, and two of their superb new figures for the Commander and Loader (complete with decals for their ranks, name badges, and beret insignia). This kit also came with the Leopard 2A7V Metal Barrel (Item No. 12694, available separately for $21.
This model kit recreates the Leopard 2 A7V in 1/35 scale. Compared to the Leopard 2 A6 model kit, which was released in 2004, this kit uses completely new parts and tooling. The Leopard 2 A7V is an improved version of A7 (A7 is an improved version of A6 and the “V” in the A7V designation stands for “verbessert” (improved) and features additional hull front armor and side skirts for improved defense. The suspension was also improved to help deal with the tank’s extra weight. The A7V inherits the A6’s L/55 120mm gun, but with the updated shell, the A7V can take on enemy armor up to five kilometers away. Units began receiving the A7V in September 2021 and A7Vs saw further improvements such as turret-top stowage boxes and main sight visor.
- 1/35 scale plastic model assembly kit. Length: 320mm, width: 110mm.
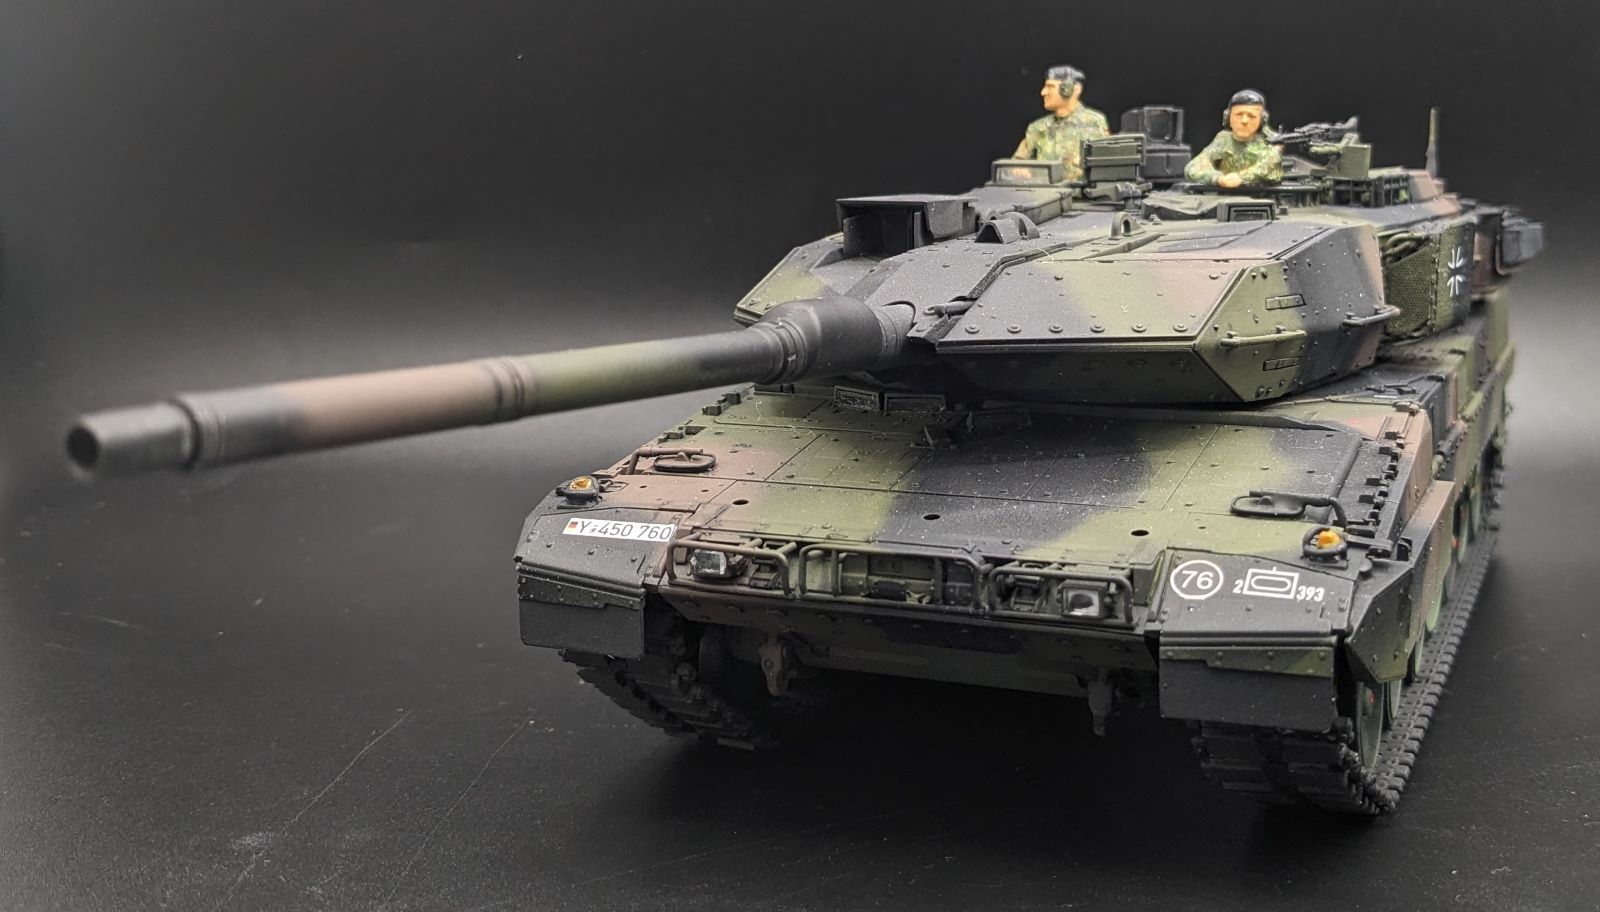
- Added details include square headlights, front additional armor plate, and updated turret rear shape.
- Photo-etched parts have realistic renderings of engine grille mesh and turret-side basket sections.
- Mud flaps are depicted on the turret's rear sides.
- Snap-together assembly-type tracks have one-piece straight sections.
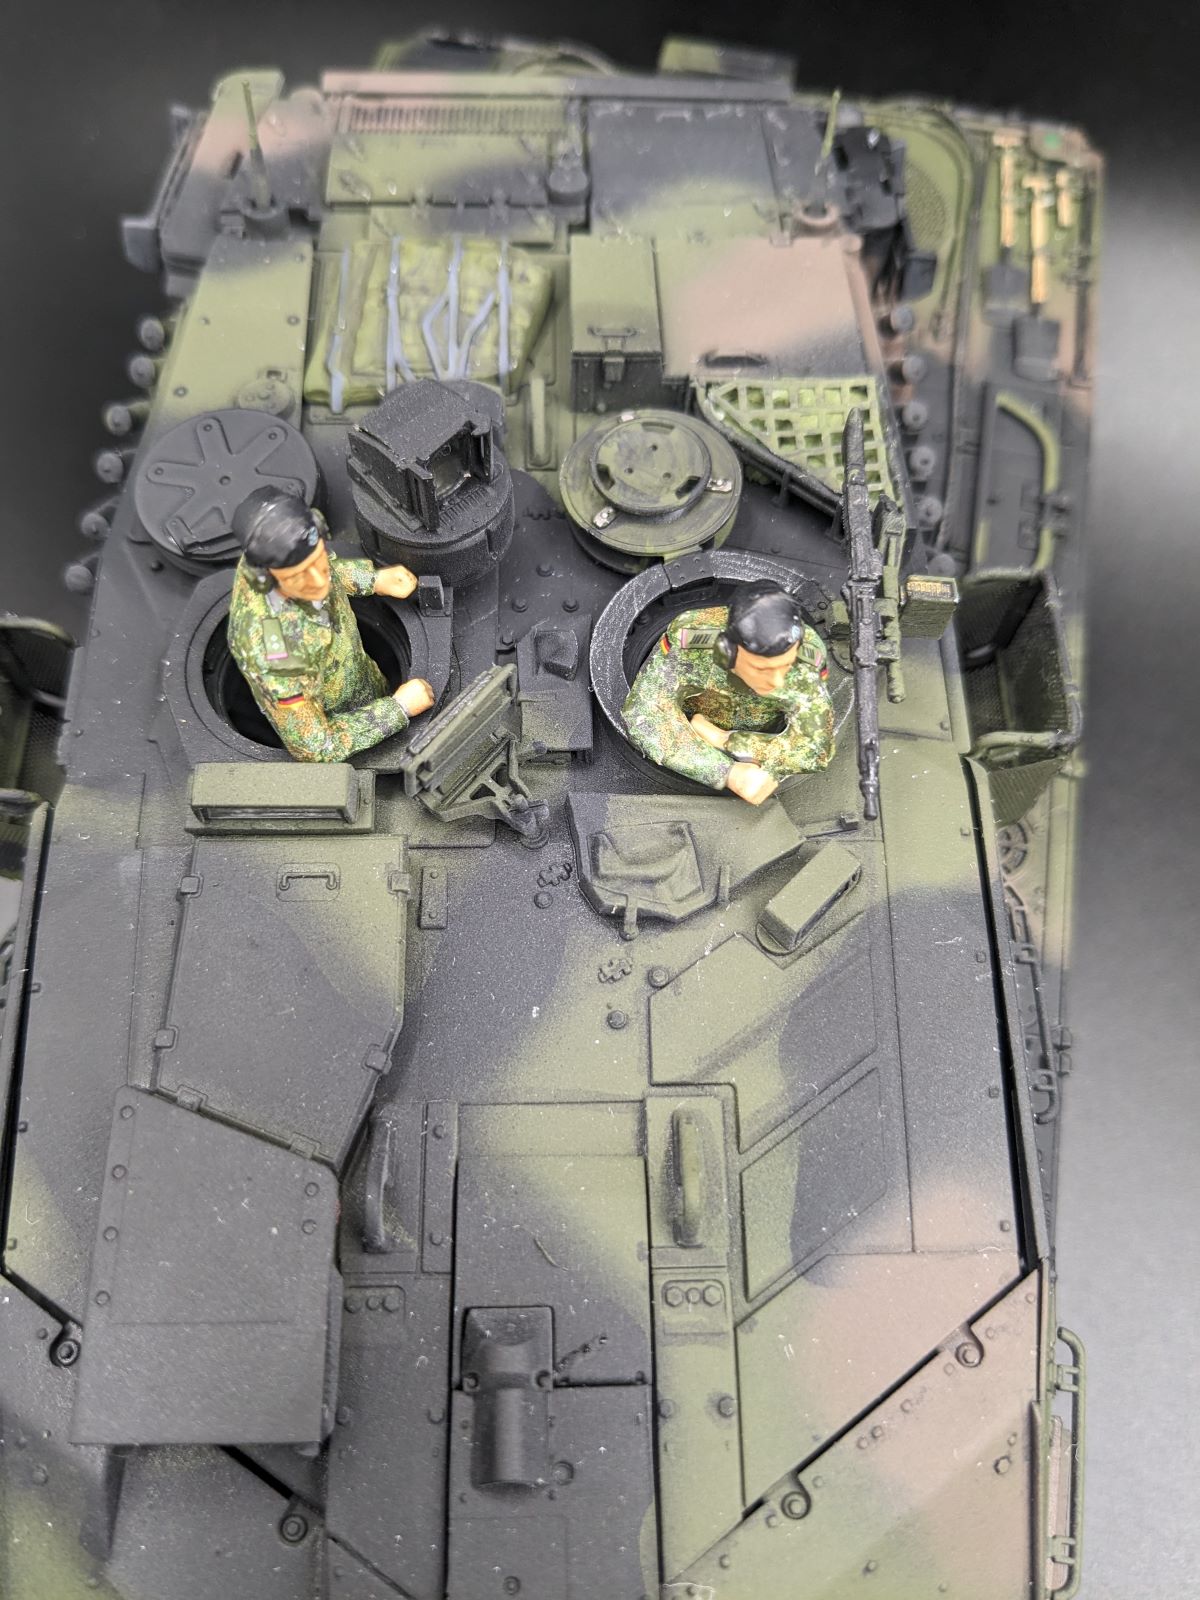
- Includes two torso figures which depict a commander and loader. Choose between head sections with a helmet and beret.
- Comes with a choice of three marking options to the 393rd Panzer Battalion and the 104th Panzer Battalion.
- Decals are ready for use in the depiction of insignia on shoulders and German flags on the sleeves of the figures.
- Comes with masking stickers for clear parts.
Assembly was per the instructions, and while mostly common sense and easy to assemble, there were some areas to highlight where there were a few issues, probably due to my skills.
Here is the summary:
- Before Step 1:
- There are three marking options for this tank
- A – 2nd Company, 393rd Panzer Battalion
- B – 393rd Panzer Battalion (the first Bundeswehr unit to receive the Leopard 2A7V)
- C- 3rd Company, 104th Panzer Battalion
- Masking sticker instructions for all the clear parts (periscopes, optics, etc)
- There are three marking options for this tank
- Steps 1-6 are assembling the flat parts for the hull, struts, arms, etc. Take your time and Tamiya’s reliability comes to play as the parts go together easily and lock into place correctly.
- Step 8: Attaching the road wheels – minor complaint is that there aren’t any poly caps, and the fit is a little loose. I, for one, like the convenience and utility of poly caps so the road wheels can be removed for painting and a tight fit.
- Step 9: The tracks are link and length. Care must be taken for the connecting track pins as they are fragile at this scale. There are also ejector pin marks on every third trackpad that are easily sanded. I had issues gluing the tracks and used several kinds of adhesives (Tamiya extra thin, CA superglue, resin glue, and finally VMS black superglue) before finally getting a good bond. If following the instructions, the tracks should be painted as armored side skirts have to be installed, and putting the tracks on afterward would be very hard. An option would be to leave off the top run, but threading the tracks around the drive sprocket and rear wheel would also be challenging. One of the tracks was a little long, so some creative adjustments were necessary. I spoke with an esteemed modeler, and I like his idea for manufacturers to design an adjustable idler wheel that allows the track to add track tension as necessary, just like real tanks.
- Step 19: The light guards are thin, so care must be taken removing them from the sprue. They look great and to scale when on the tank.
- Step 21: The PE engine screens (two per exhaust) are exquisite. Like the tracks, I had an issue with the glue marring the detail while getting the PE to stick (I need to work on my adhesive skills and this build proved it).
- Step 22: Tamiya showed their engineering skills with the assembly of the tow cables on the rear deck. Each tow cable is composed of two pieces where the join is invisible when assembled. The cables are plastic and very fragile but look the part. Well done, Tamiya!
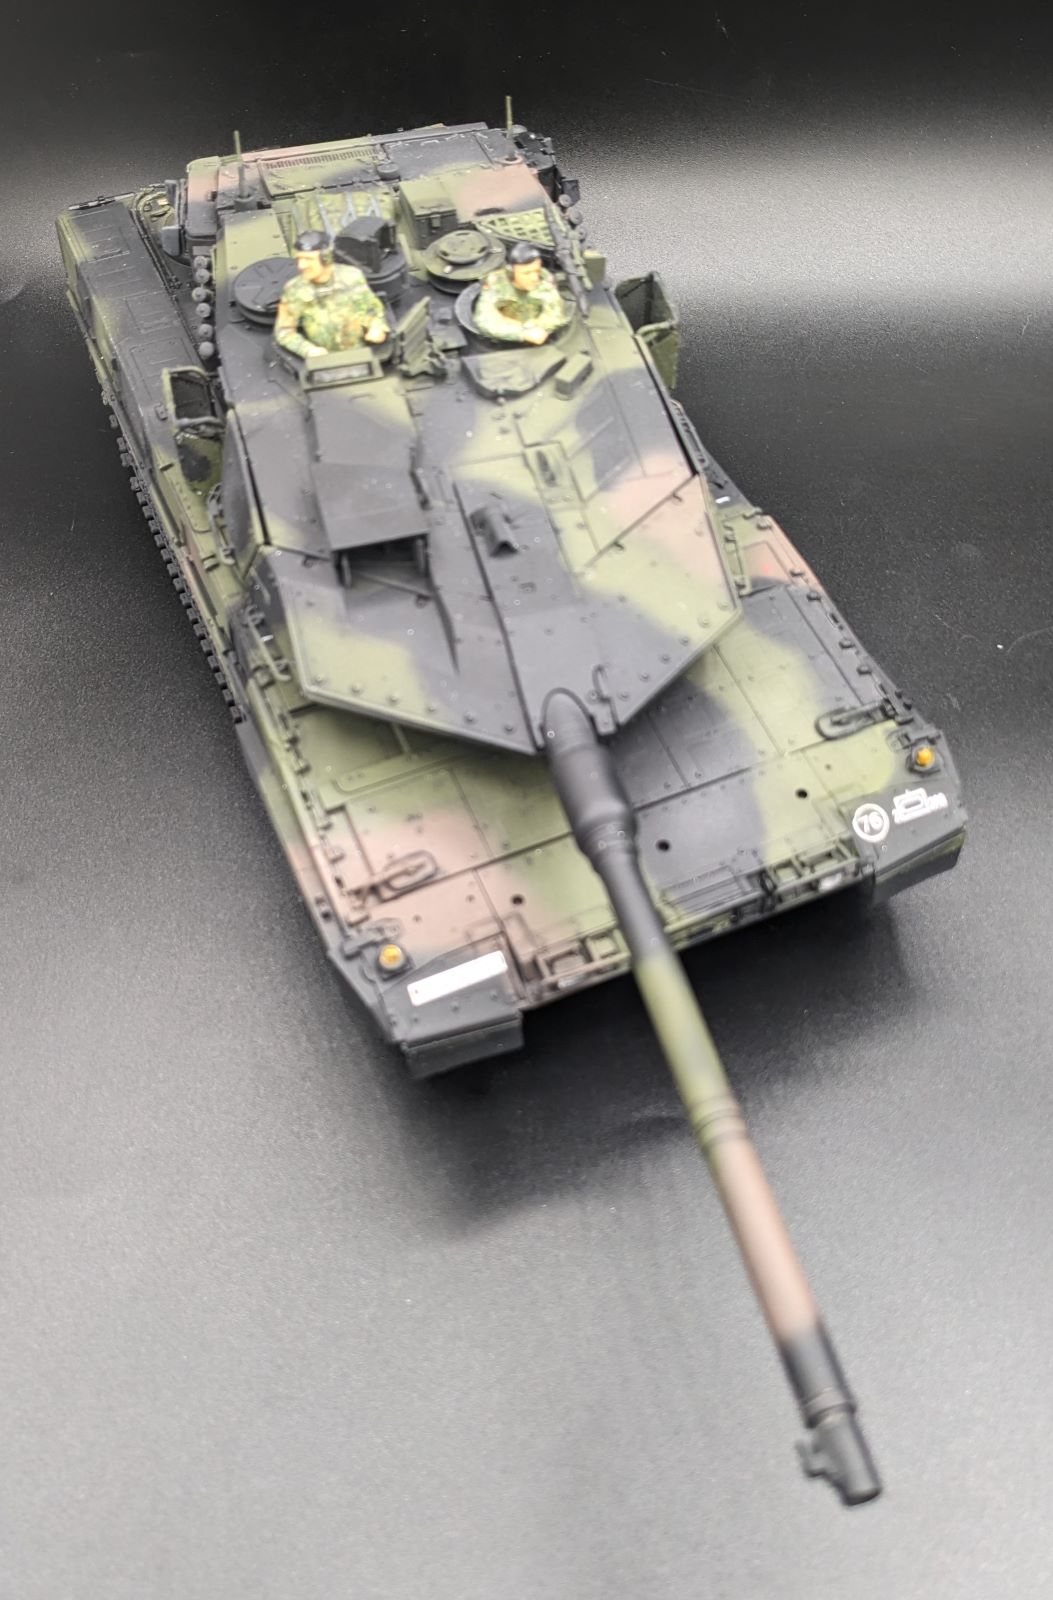
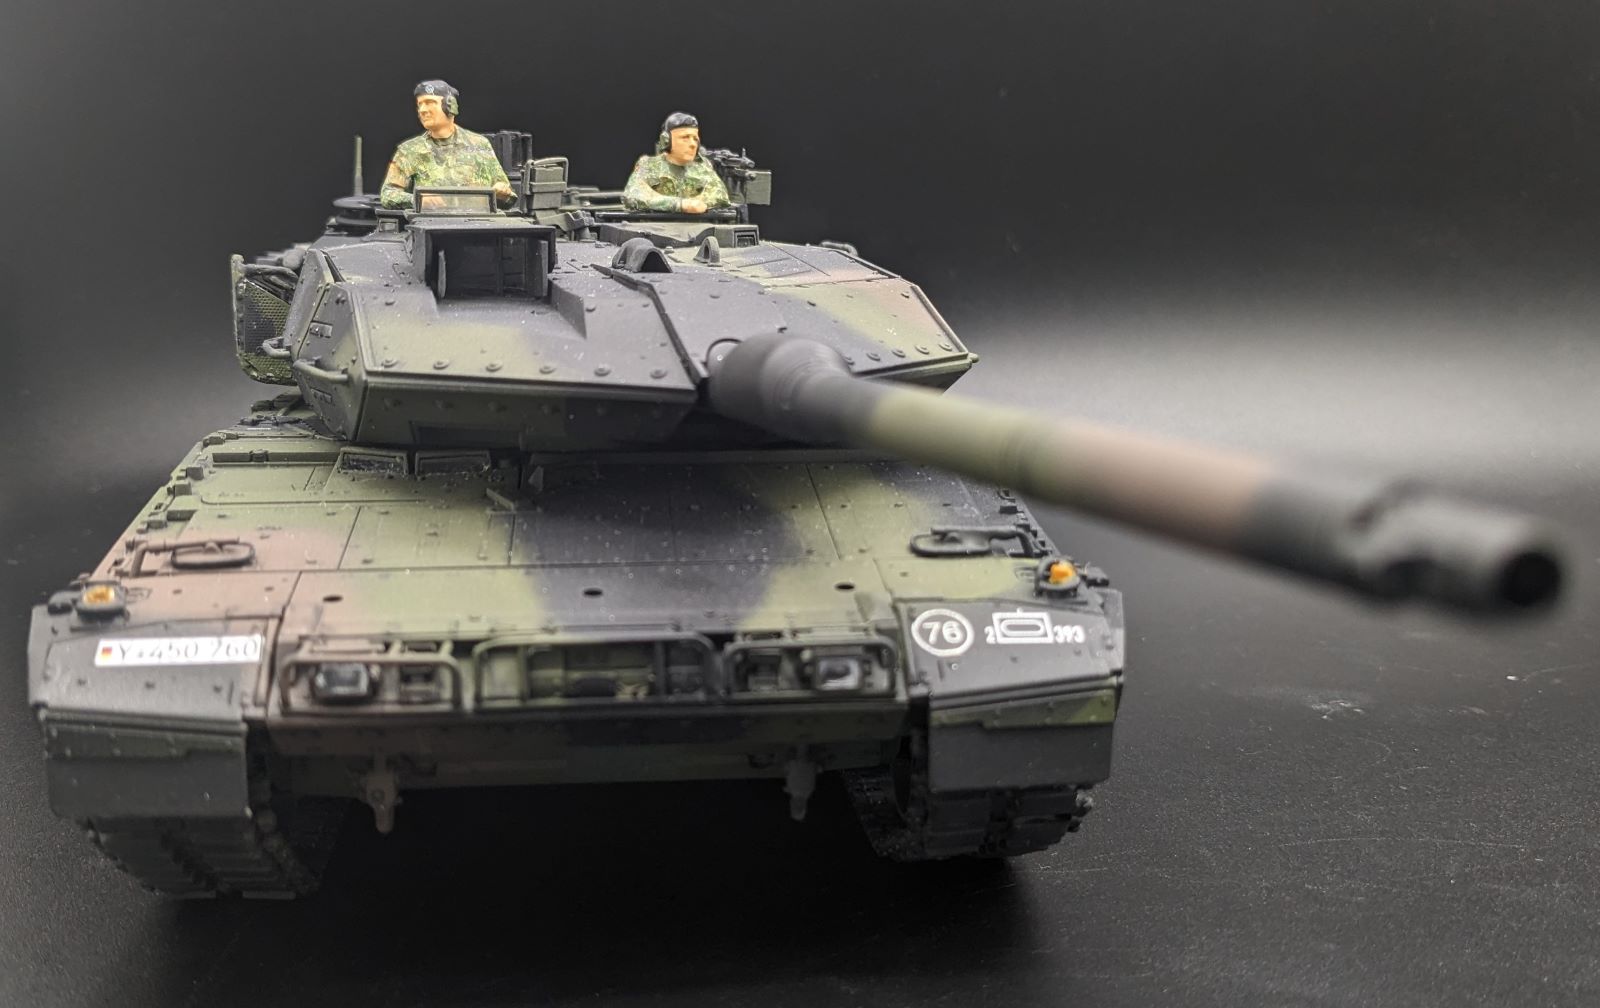
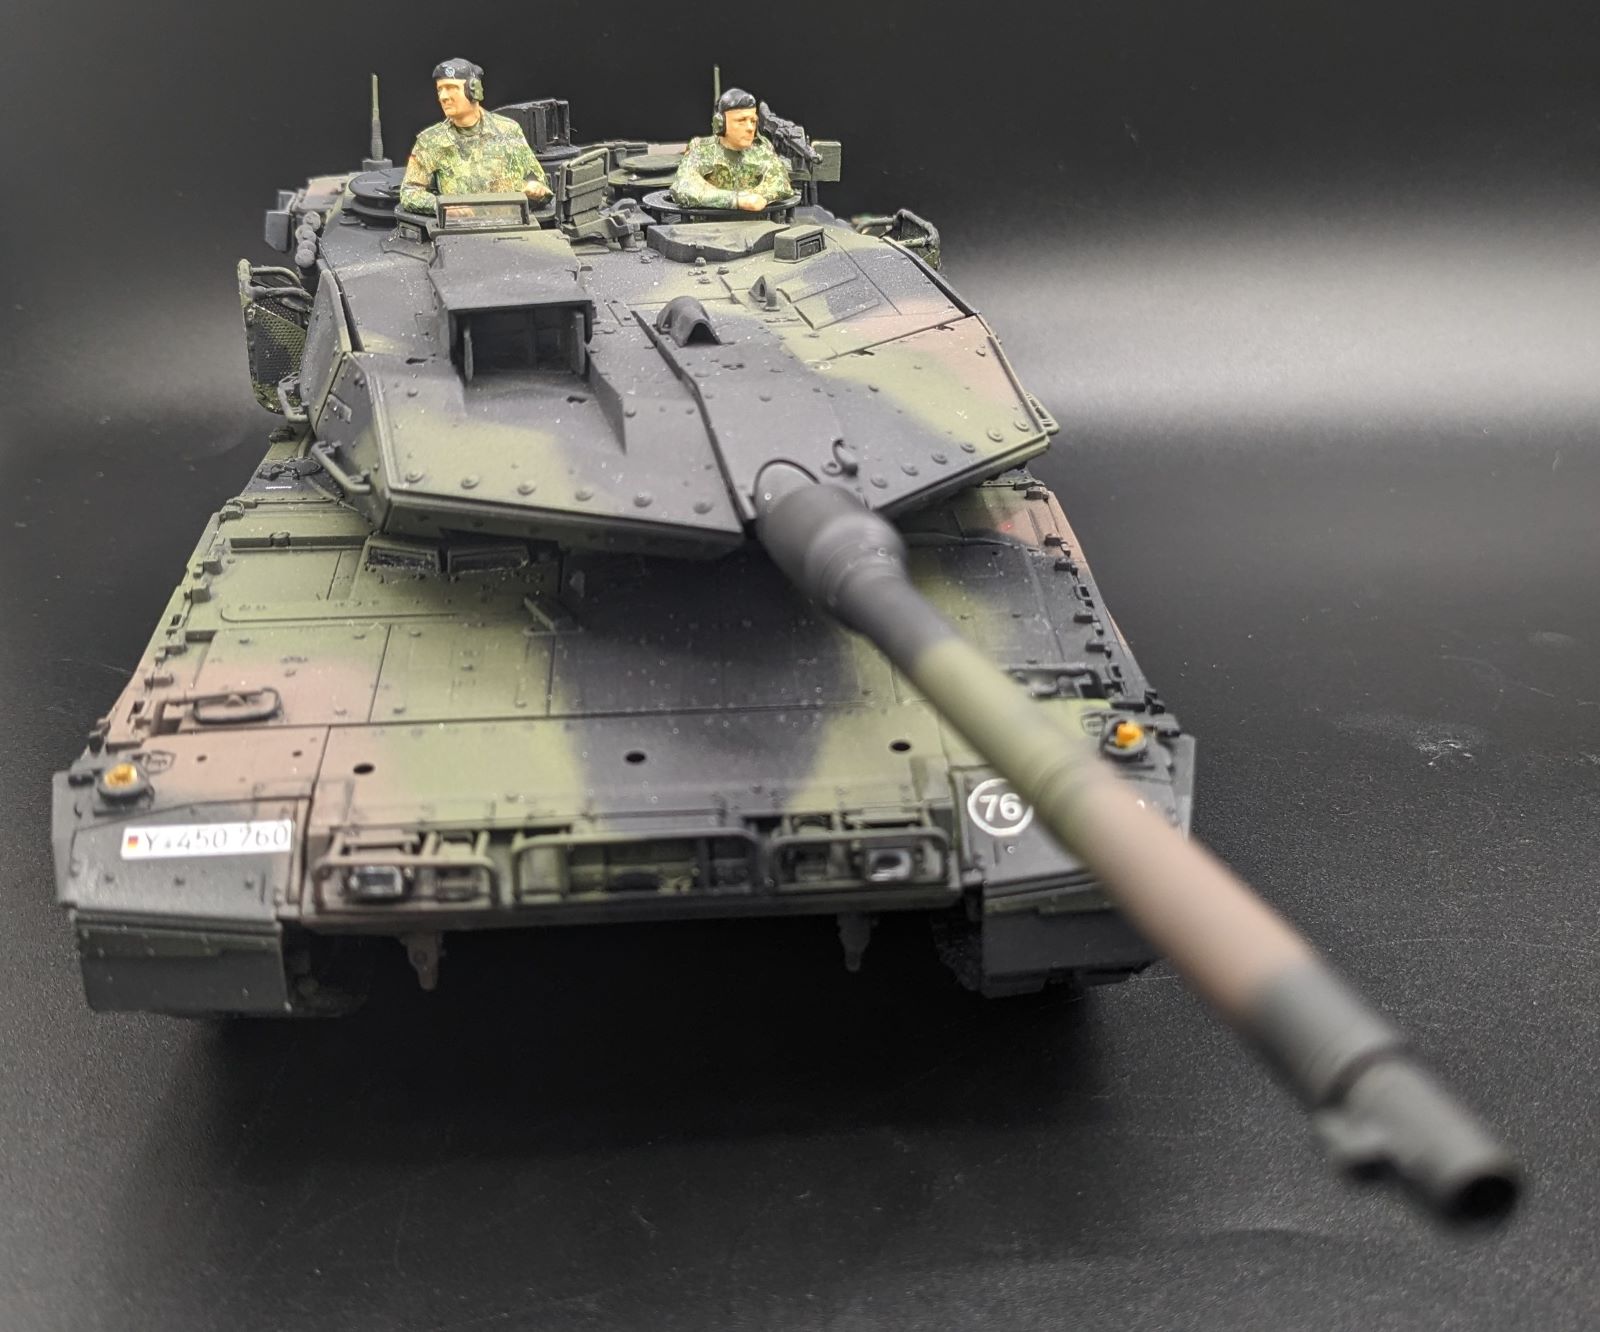
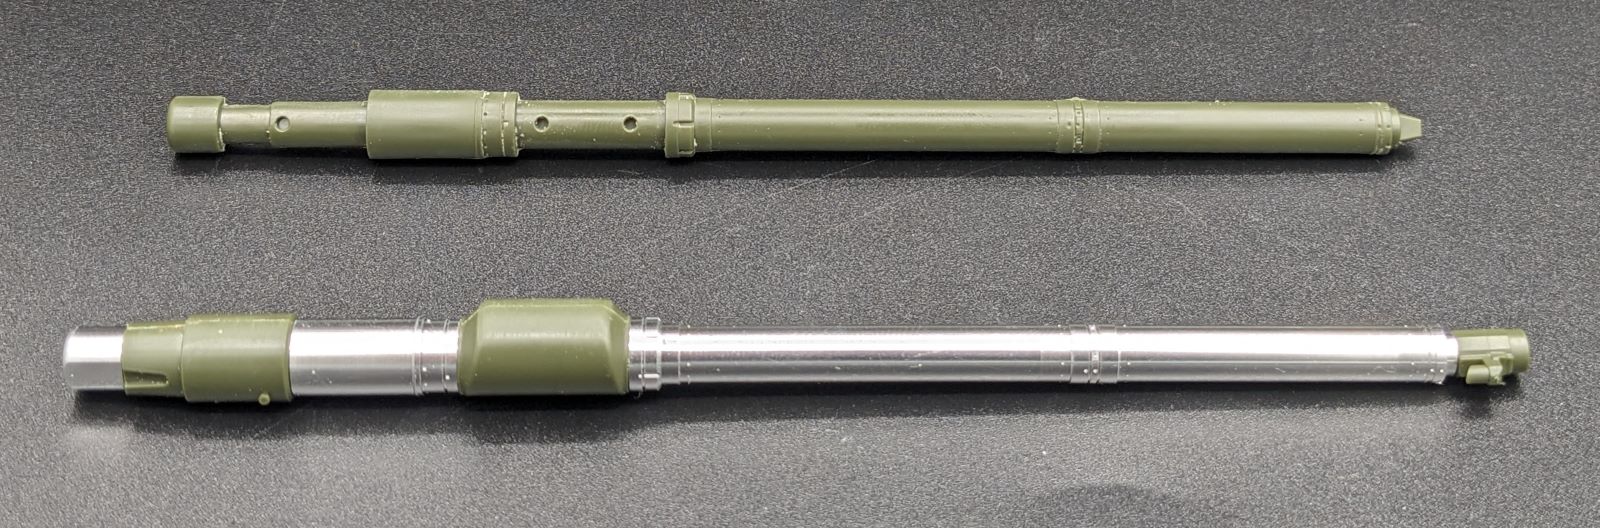
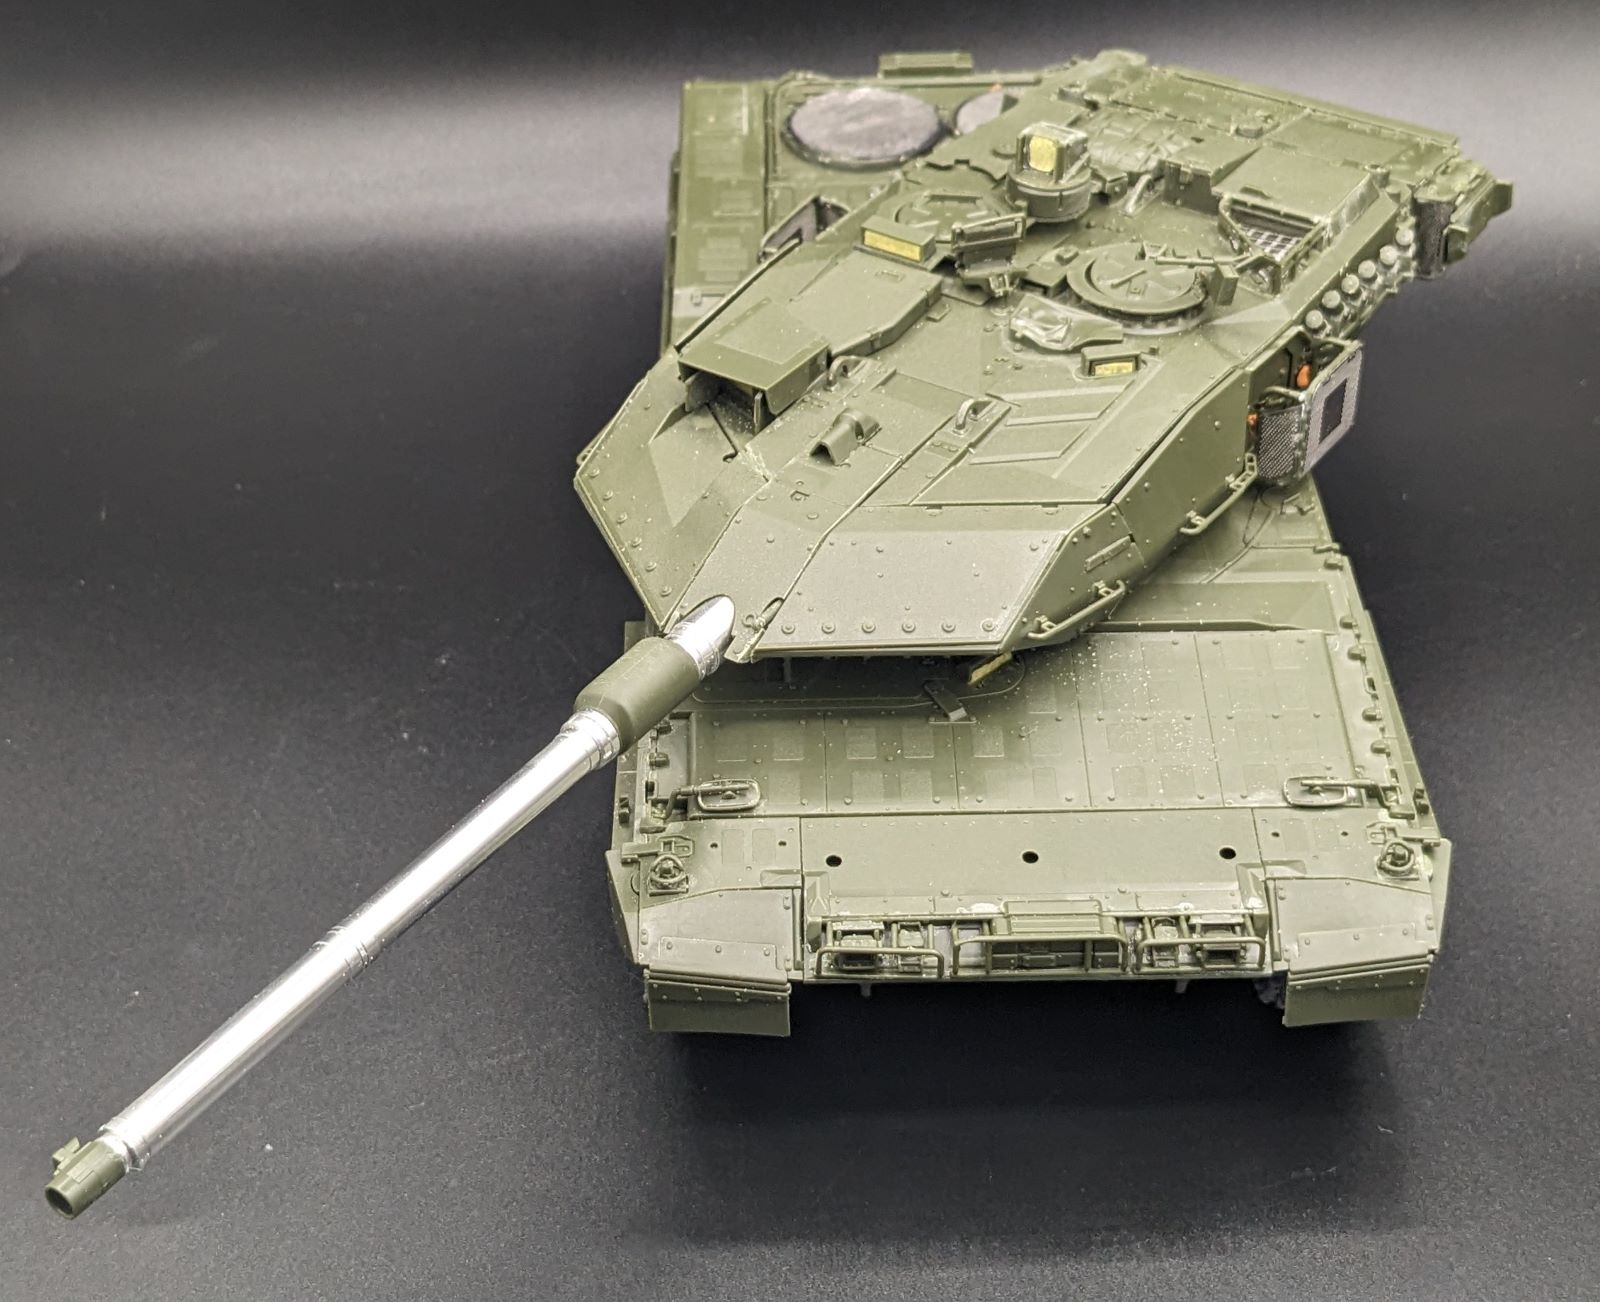
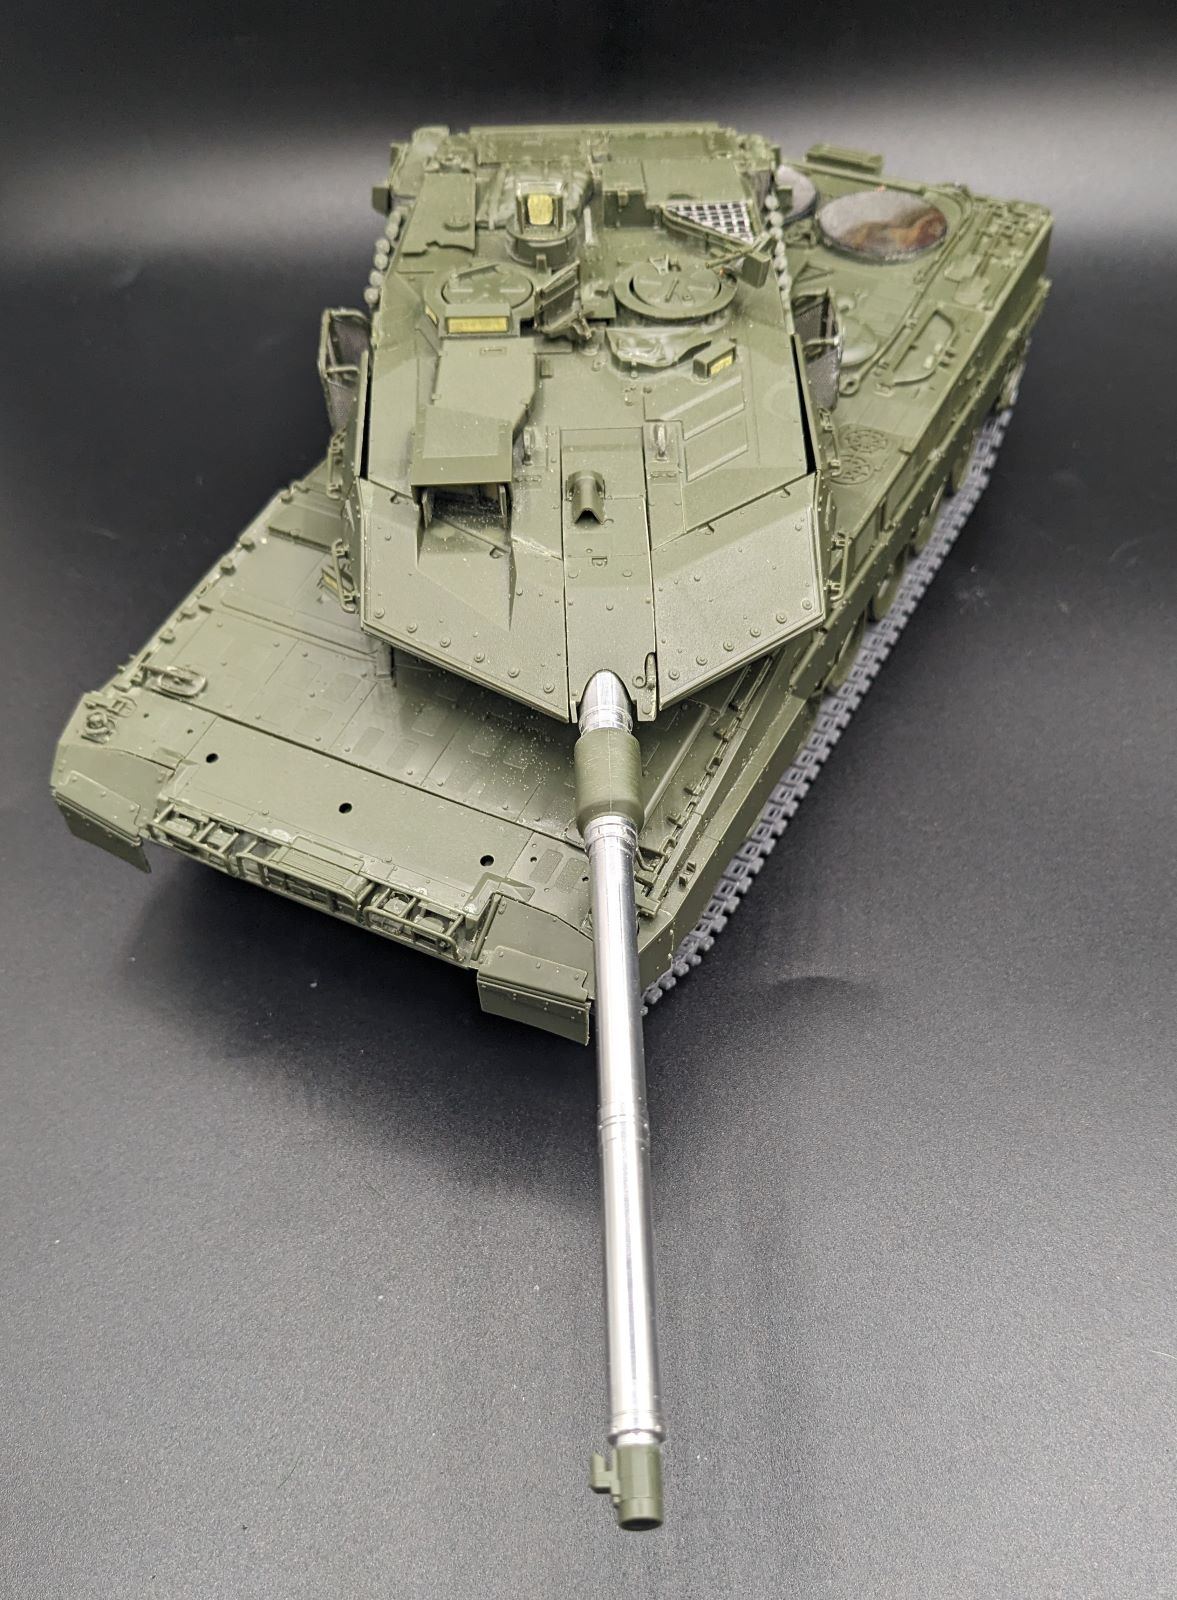
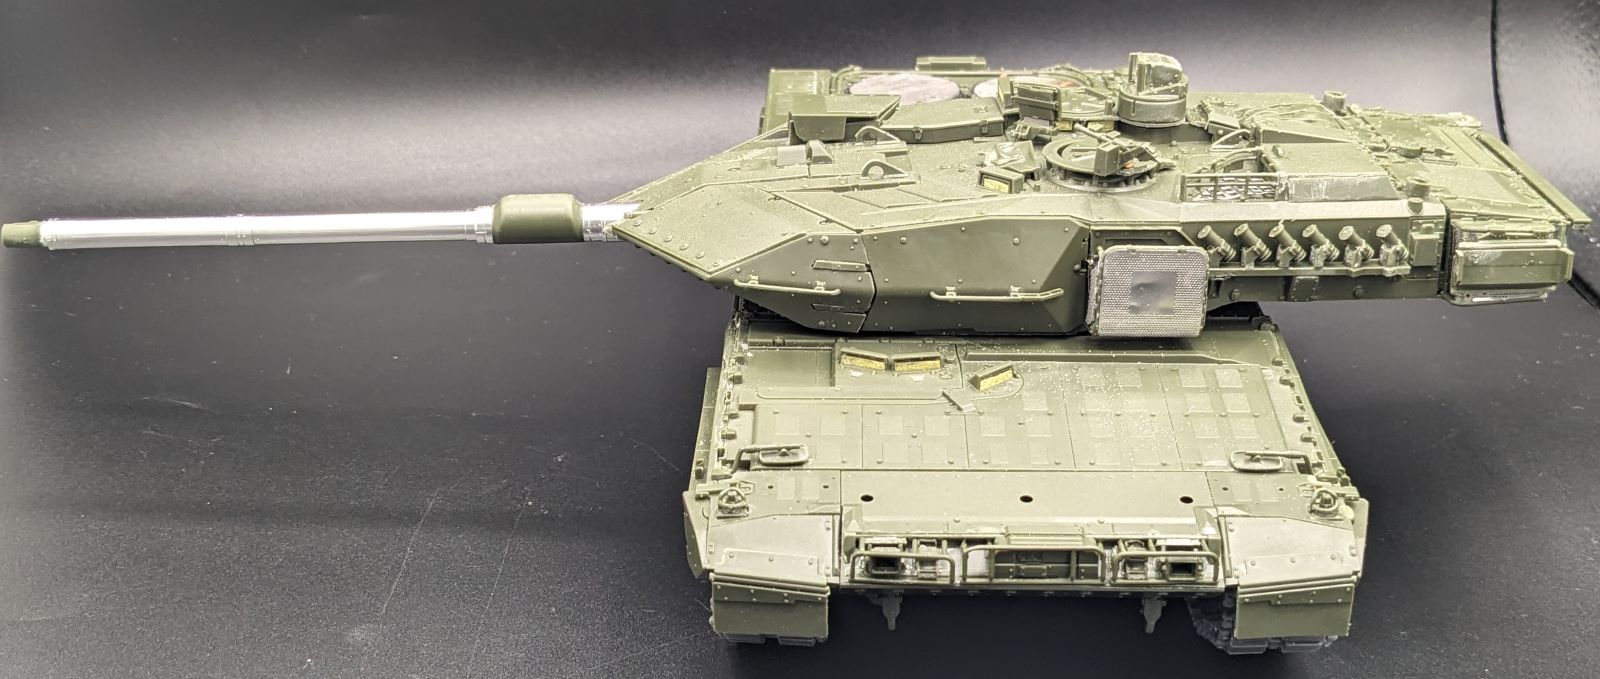
- Step 28: The main gun barrel is slide molded, but the thermal sleeves come in two halves, as does the mounting bracket. Both the thermal sleeves and mounting brackets are used on the kit-provided barrel, or their aftermarket barrel noted above.
- Step 33: The turret basket PE requires unique bends; fortunately, Tamiya foresaw this and provided two plastic pieces to sandwich the PE to make the necessary bends. Two small PE tabs keep the piece in the correct position and are cut off when the basket is in its final shape.
- Step 36: Turret Basket 2 follows the same process as Step 34 and is easy to make. Care needs to be taken when the PE screen is attached to the basket. Dry fit twice, glue once! The detail is so fine, that mistakes are highly visible in the very fine mesh.
- Step 41: Two turret side baskets are probably one of the hardest steps of this model. The support (A41) is fragile and well-designed; the support is used to bend the PE to shape. Once the shape is achieved, two plastic pieces are to be cut out of A41. Care must be taken to glue the PE onto the support. Then two brackets (A39 and A40) are attached to the support (A41), then PE screens to both sides. When assembled, it is a very fine detailed turret side basket.
- Steps 44 and 45: Before attaching the turret side baskets from Step 41, the Balkenkreuz marking decal is to be attached to the turret (this also requires painting before the addition of the decal. Dry fit, dry fit, dry fit the baskets before committing glue to them as the attachment points are not sturdy.
- Step 48: The Commander and Loader figures are superb and a part of Tamiya’s new line of figures. Both figures have options of berets or CVC (Combat Vehicle Crewmen) helmets, each with headsets. Decals are provided for rank (based on Panzer Option A, B or C), name tags, German flags for their upper sleeves, and beret insignia. Very well done, Tamiya!
As mentioned at the beginning of this review, this is not a familiar Tamiya model kit. This is a next-generation model and Tamiya’s attention to detail is on par with other model manufacturers without sacrificing buildability. There are a few areas that require more attention than usual, and those challenges are outlined above. While it hasn’t been acknowledged anywhere mainstream, the variant Leopard 2A7V seems a nice throwback to Germany’s A7V which made its appearance just over a 100 years ago.
I had a lot of fun building this gem from Tamiya and look forward to Tamiya’s future releases. I will improve my adhesive skills so I can fully integrate and implement Tamiya’s wonderful engineering into a finely detailed model.
Profuse thanks to Fred Medel, Tamiya America Marketing Manager, Tamiya, and IPMS/USA for providing the review sample.


Comments
Add new comment
This site is protected by reCAPTCHA and the Google Privacy Policy and Terms of Service apply.
Similar Reviews