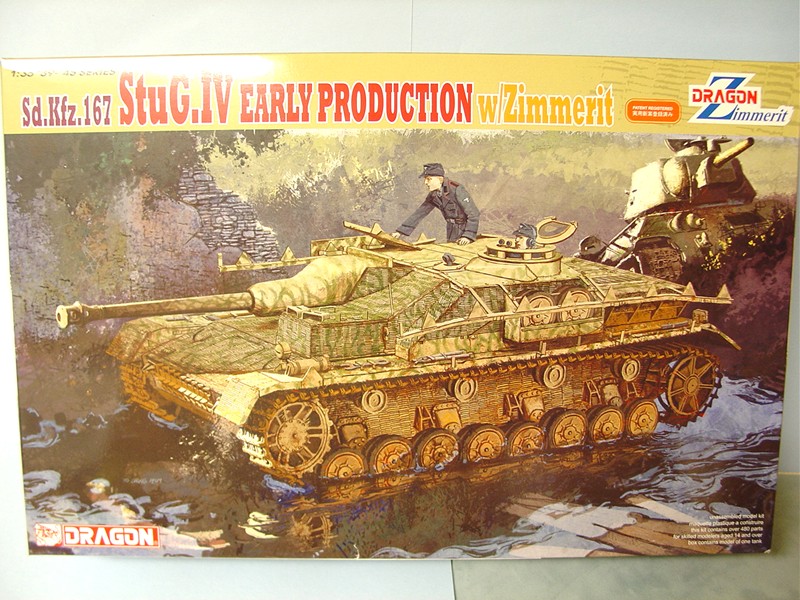
STUG IV early production w/Zimmerit
Once again Dragon has taken a previously released armor kit and has added Zimmerit, re-releasing it as a new kit. This is a good thing if you don’t feel you want to try to apply the Zimmerit using various types of putties and tools. To achieve this Dragon provides us with 26 plastic sprues of varying sizes. Two Brummbar sprues, four STUG III G sprues and only a few specifically for the STUG IV, most of the sprues are for the Panzer IV. Total part count comes to 751 parts; the number of unused parts is 207 leaving 544 parts to build the model. Several sprues have the same letter; Dragon gets around this by having one letter in black and the second same letter in blue. I mark the outside of the bags to make it easy to find the right sprue when I need it.
Steps 1-6 deal with assembling the lower hull, roadwheels, idlers and drive wheels. No problems here just make sure you know which particular tank you want to make as Dragon has several options and photos will help clear up which option you want to use.
Step 7-9 have you assembling the tools on the fenders, the engine deck and placing these and the floor in the lower hull. You need to watch out when you place the floor (part K32) in the lower hull, you need to do that before the fenders go on; otherwise you will not be able to get the floor in. I know.
Step 9 would also have you place the DS tracks on now, but I know a lot of modelers who prefer to wait till later to paint the hull before adding the tracks.
In Step 10 one has to pay attention to how the cannon parts align. It’s easy to invert or misplace parts. Also part E9 does have a bar across the bottom to connect the brackets, it’s not part of the sprue so don’t cut it off.
Step 11 concerns itself with the interior – the three radios and the shelves they sit on. If you’re going to keep the hatches closed you can skip this step. If not then cut the bottoms of the shelves (C-11 & C-16) before you glue the radios on.
Steps 12 & 13 assemble the STUG superstructure and goes along nicely. Just note that parts K39 & K40 don’t exist, they really are parts G-23 and G-24. Also when putting in the armor glass for the cupola, Dragon calls for you to use six J-1s when seven are provided and seven are needed.
Really the only tricky part comes in Step 14 when you have to put the superstructure on the upper hull while also gluing the cannon to the floor and the barrel to the cannon all at the same time. It’s just sounds worse than it was. First, place the barrel assembly (M) into the opening in the superstructure (see Dragon’s drawings) then take the cannon assembly (S) and bring it up from the bottom at a 45 degree angle (nose up) so it clears the superstructure and levels out. At this point you’ll need to glue the barrel to the cannon.
After letting this dry, slowly bring the superstructure/cannon onto the upper hull. You will need to get the three pins on the cannon bottom to align with the three holes in the floor. When everything fits you can glue the cannon to the floor and the superstructure to the upper hull. Practice this several times and you will find it’s not difficult. Dragon just leaves this up to you to figure out. The final Step is no. 15 when the side skirts and brackets are placed on the tank, again you may need to do this or not depending on the particular tank you’re making.
Dragon provides decals and paint schemes for seven tanks; mine was of an unidentified unit, East Prussia 1944. The decals are by Cartograf and are very thin, flat and go on well even over Zimmerit.
This kit had no surprises and went together well; a modeler can make a very excellent STUG IV early version using this kit. I can highly recommend it to any armor modeler.
I want to thank IPMS/USA and Dragon Model USA for the opportunity to do this review.


Comments
Add new comment
This site is protected by reCAPTCHA and the Google Privacy Policy and Terms of Service apply.
Similar Reviews