
Foose Design 2013 Challenger SRT8
I believe in the past few years Revell has offered a few of these pre-finished model kits in order to stir the modeling beginner’s pot. First they did this with the NASCAR Snap kits and most recently with offers like the 2017 Chevrolet Corvette. Confronted with no serious painting task to do and well pre-finished body, these kits should stroke the modeling urge of just about any entry level modeler.
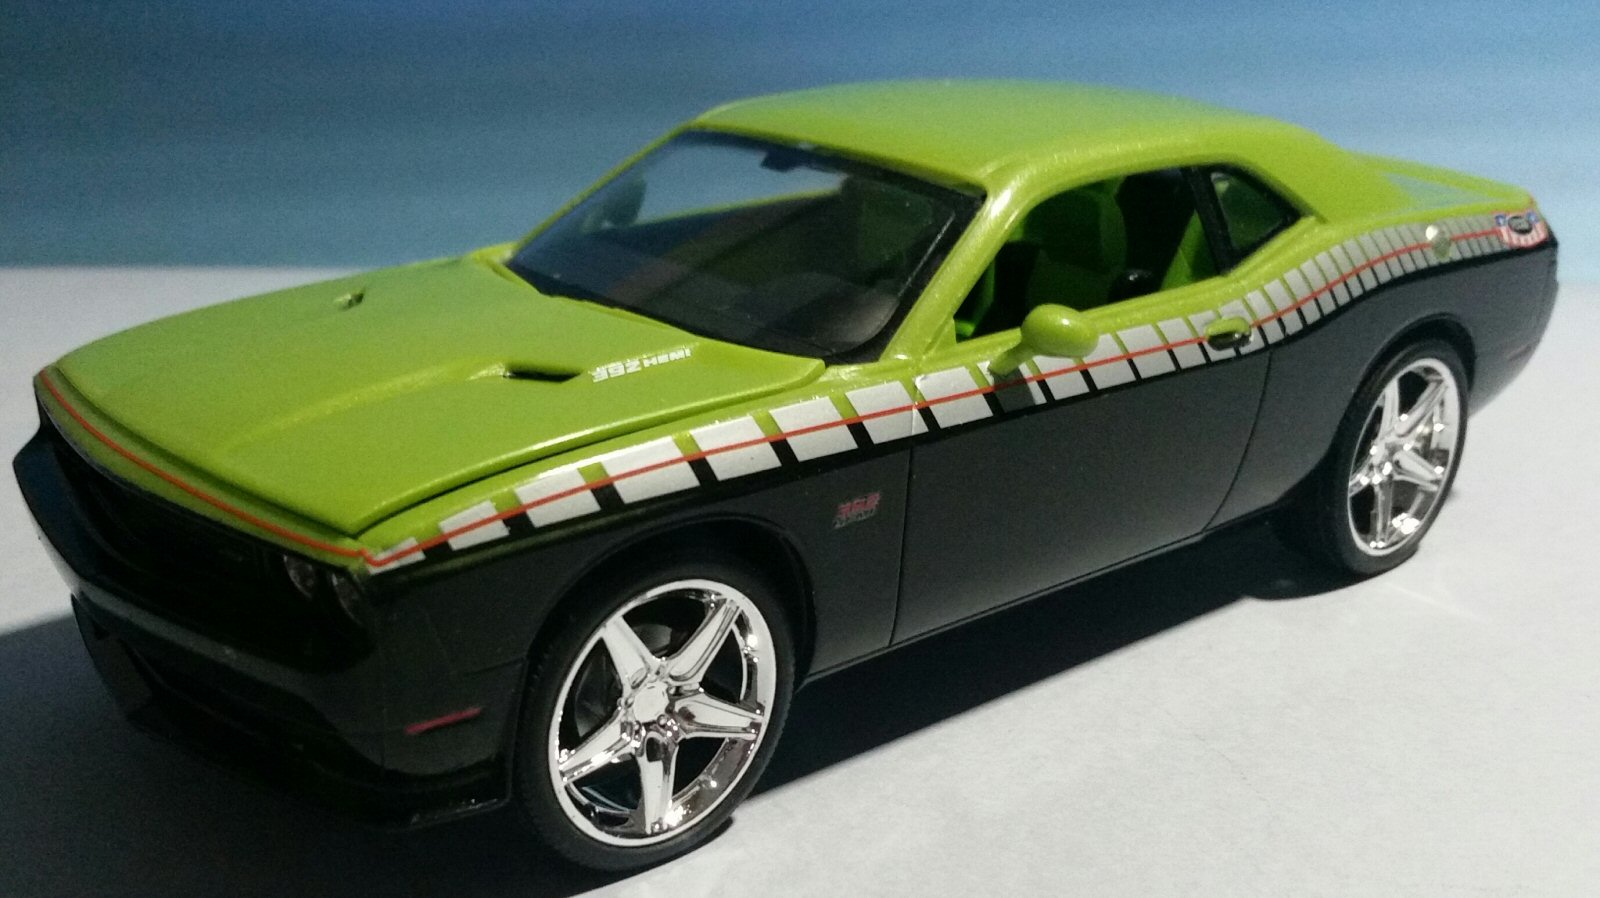
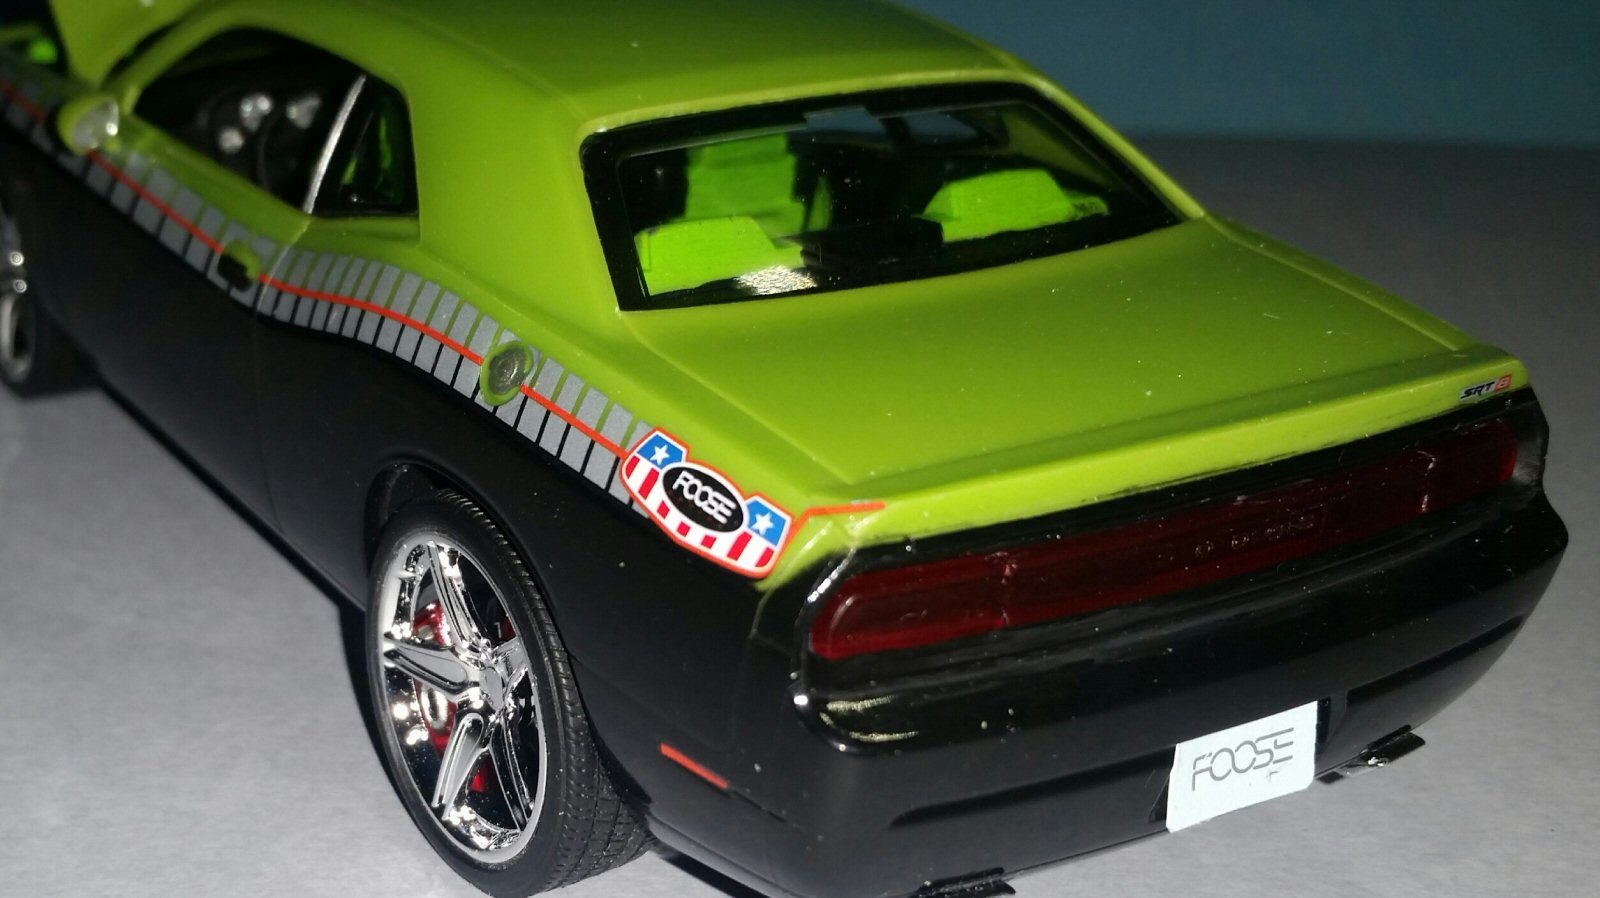
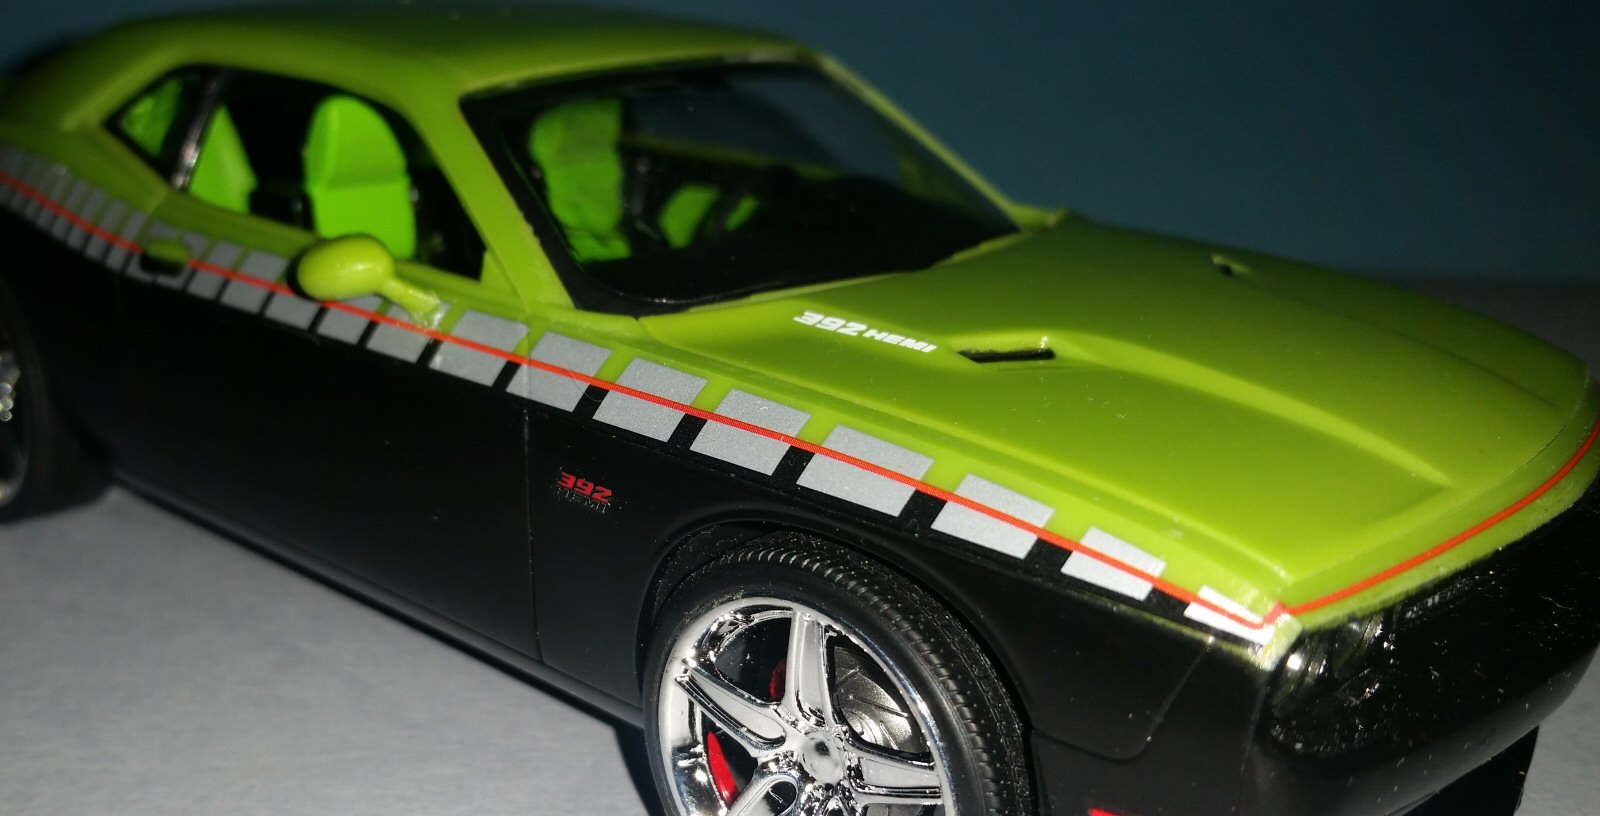
This 2013 Dodge Challenger in Foose motif should be a popular subject among muscle car fans sporting Foose custom wheels, Foose custom graphics and sharp two-tone Sublime Green and Gloss Black paint job.
Parts Count (45 total parts):
- 1 Pre-finished Ford Dodge Challenger SRT* in gloss black paint over green metallic plastic styrene
- 1 Clear styrene window with pre-finished painted edges
- 1 Clear styrene headlights and fog lights
- 1 Transparent red styrene tail lights
- 3 Green metallic plastic styrene parts
- 5 Chrome styrene parts
- 27 Light grey or dark grey styrene part
- 4 Rubber tires
- 2 Steel axles
- 13’ x 8’ Waterslide Decal sheet
- 113 Step Instruction Booklet
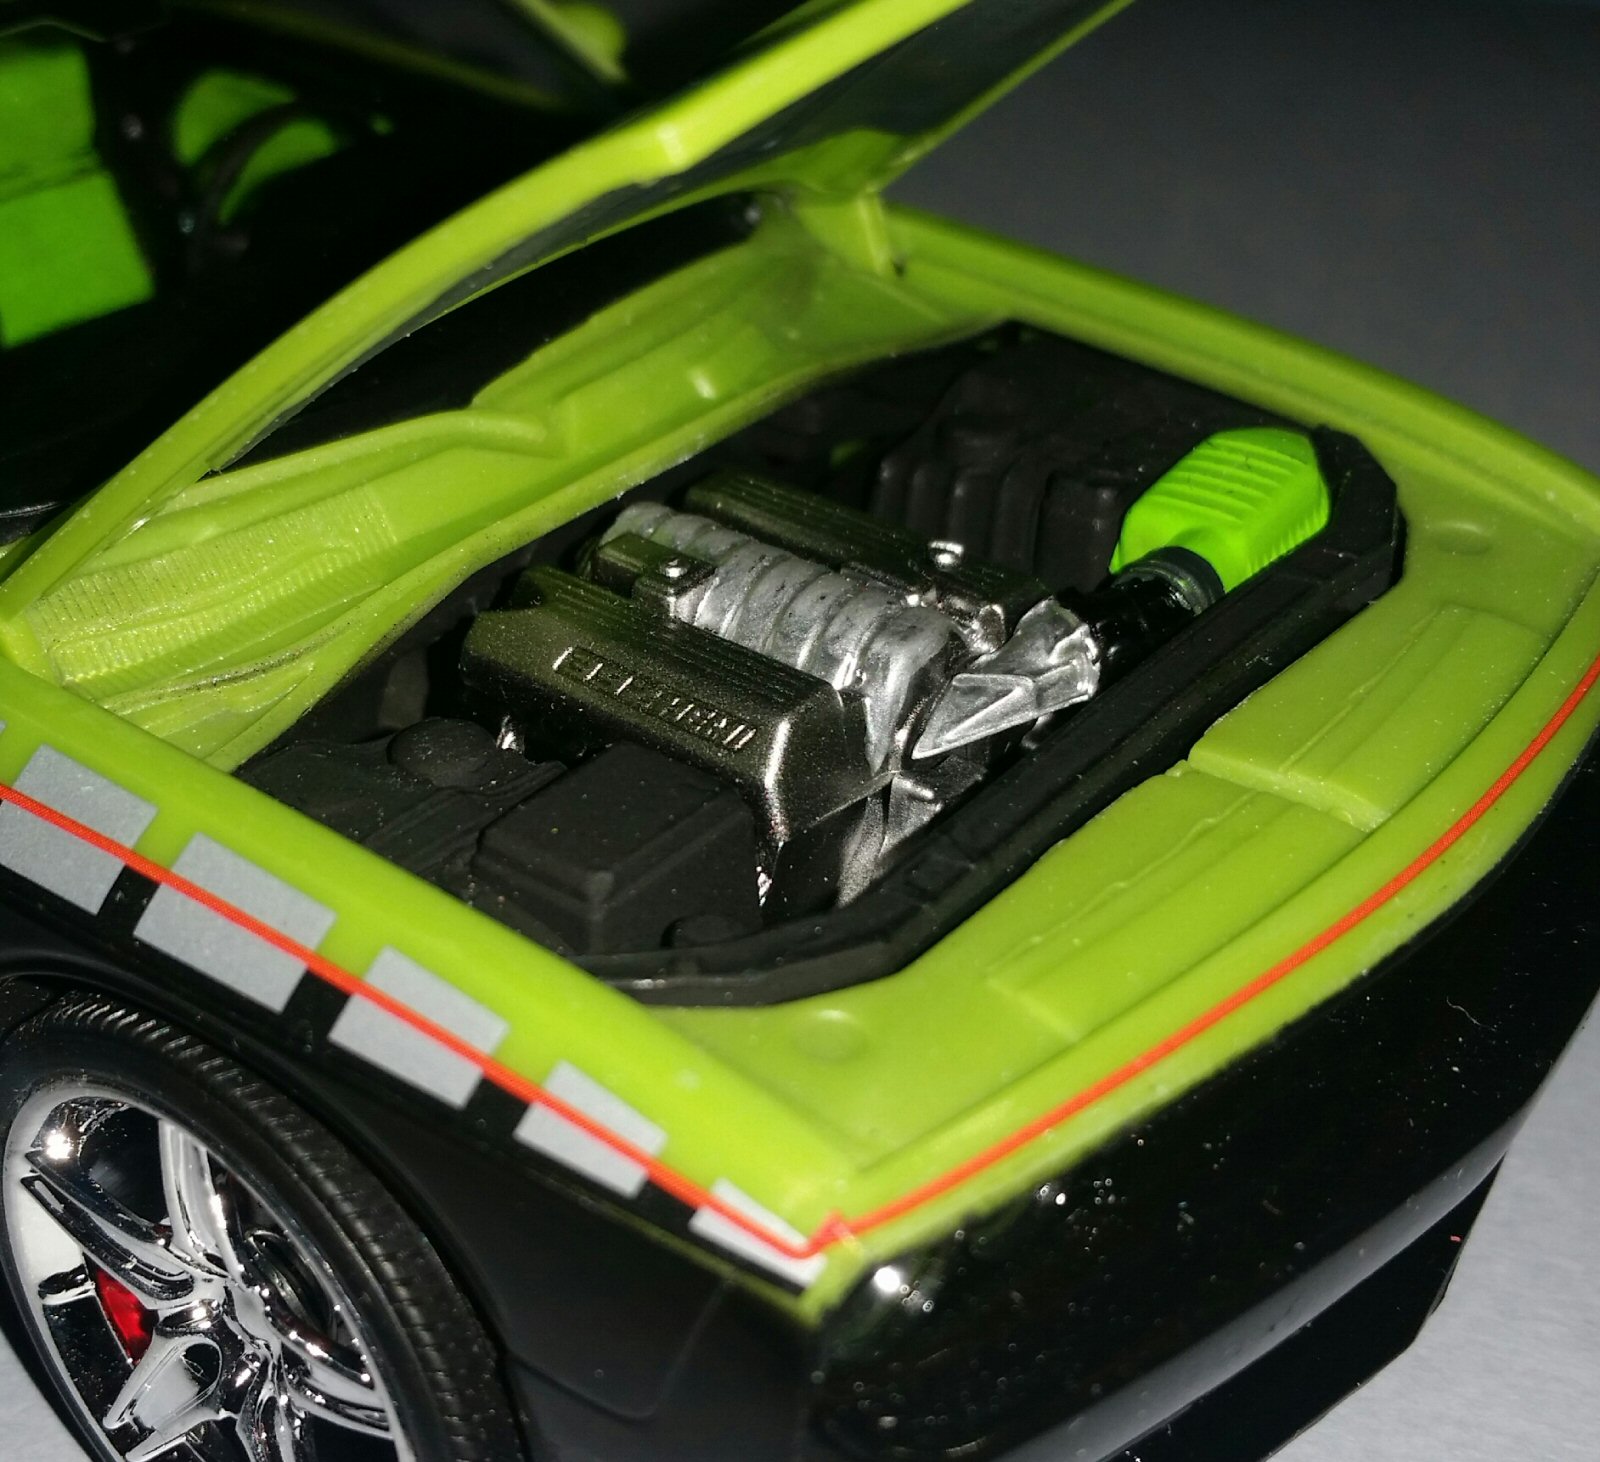
As with all glue together model car kits assembly starts with a 2 step, 7 parts build of the Chrysler HEMI motor. The engine assembly consists of two parts block with, factory headers, accessory drives and serpentine belt and oil/transmission pan. The engine/transmission were painted with Allclad white aluminum, the headers Allclad burnt metal, the drive assemblies various shades of steel and the drive belt Tamiya NATO Black. Intake components are added at step 6 after the radiator and interior tub.
The chassis goes together next with a front pan which includes the steering assembly and a separate exhaust system. I choose at this time to do some detail painting to the bare chassis and enhance the exhaust system with various shades of Allclad metallic paint and a subtle oil wash.
Steps 3 through 5 involve the interior assembly where I opt to put some of that bright Sublime Green color on the dash, seats, steering wheel, and door panels to add a little pop to the otherwise drab dark gray interior. A little detail painting of the gauges, dash, door panels and console add the final touches to the interior. After step 6 most of the assembly is complete for the chassis, interior and drive train.
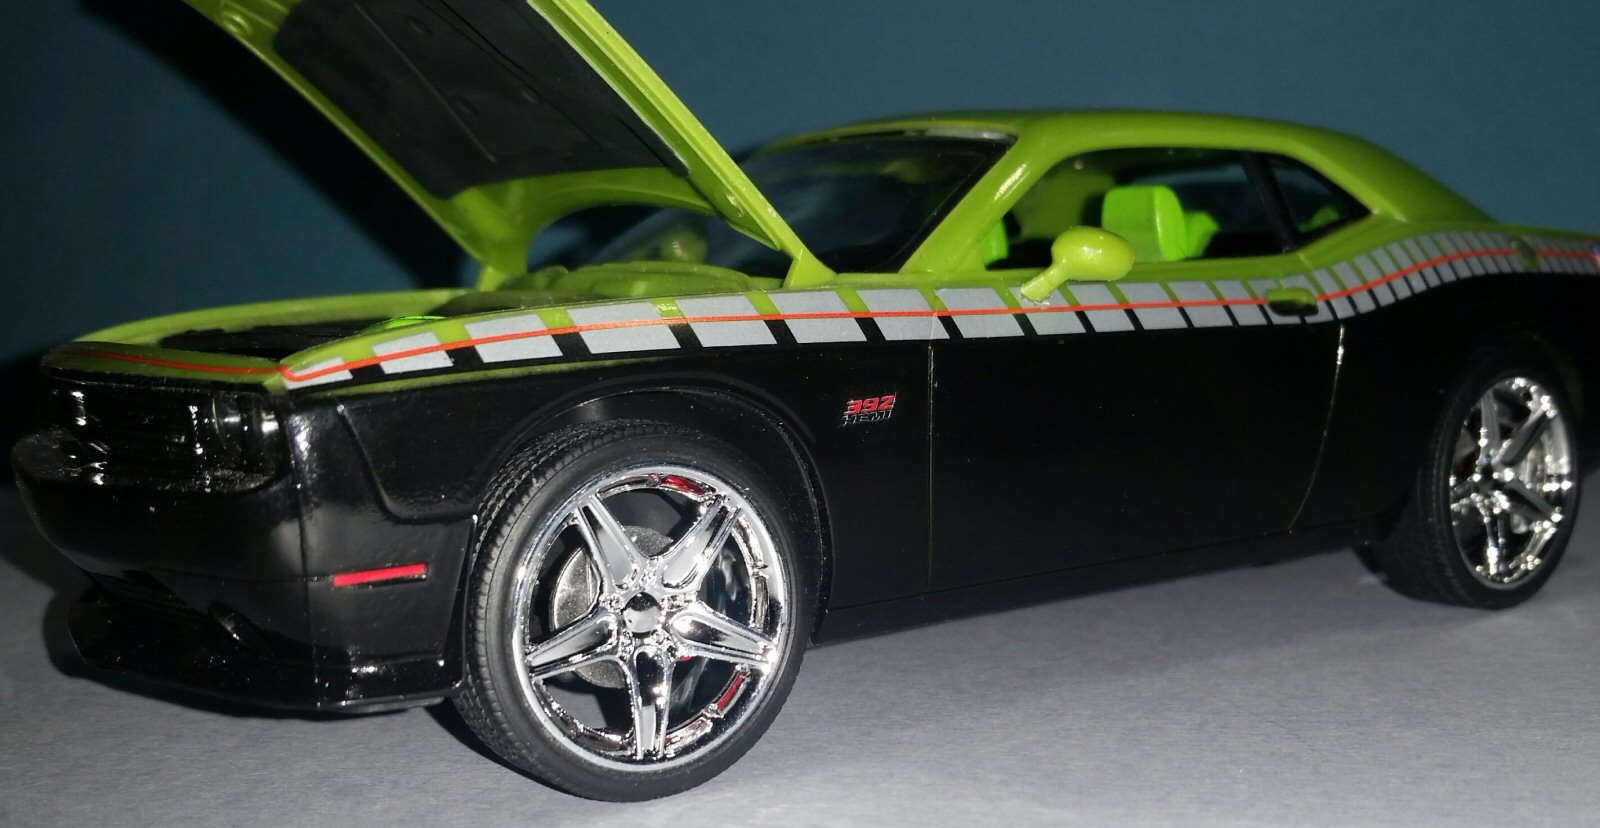
Tire assembly is pretty straight forward just remember the non-descript “Goodyear” tires are directional and need to be installed on the correct side. These wheels are mounted on steel rods which extend through the disk brakes and chassis leaving you a very quick roller. The Challenger does have some very nice disk brakes which you must detail paint as they are seen prominently through the Foose custom wheels.
Steps 9 thru 12 led you through the fairly easy final assembly stages. At this point a little detail painting of the rear taillight assembly, the rear view mirrors and under the hood and your ready to go. I also did a little more detail painting under the hood to add a little more color and interest.
My biggest worry for this entire build was how the decals would settle down because they extend the entire side of the Dodge acting as a demarcation line between the two tone paint. I must say I was presently surprised at the ease at which I was able to get this decal in place. If it were not for a few slight flaws in the pre-painted body, I would say the body was perfect. I decided to use an automotive clear over the entire body prior to final assembly to seal the decals to the body and had no adverse reactions from the pre-painted body parts.
I found this kit an ease and a joy to build with literally no issues. As with a few of the other pre-painted body kits I have purchased there were very minor flaws in with the painted body itself. Slight use of Tamiya fine polishing compound and these were easily remedied. It took me about 10 hours to assemble this kit with most the time spent on additional painting.
Thanks to everyone at Revell for the chance to review the Revell Foose Design 2013 Challenger SRT8 and to Dick Montgomery, Dave Morrisette and the support staff of the IPMS/USA reviewers corps.


Comments
Add new comment
This site is protected by reCAPTCHA and the Google Privacy Policy and Terms of Service apply.
Similar Reviews