
Berlin Wall
The Berlin Wall stood from 1961 to 1989. During that time the cold war anxiously dragged-on between Uncle Sam, and a Big Red Bear held behind an Iron Curtain. For many people, the Berlin Wall became the physical manifestation of that imagined Iron Curtain.
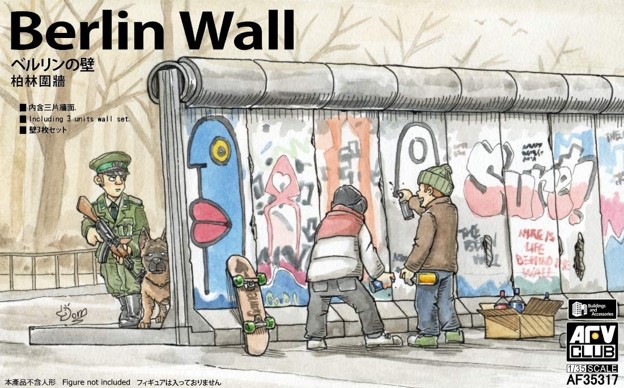
The AFV Club Berlin Wall model kit represents the Berlin Wall in its most remembered form. While “The Wall” was continuously updated with various designs throughout its 28 years, AFV Club’s Berlin Wall kit represents the last iconic design until its destruction in 1989.
Contents
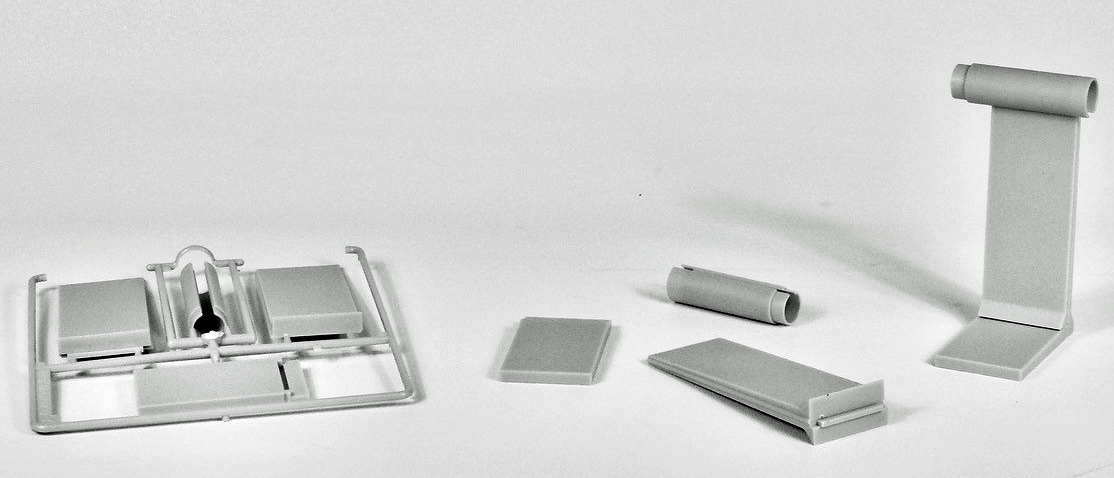
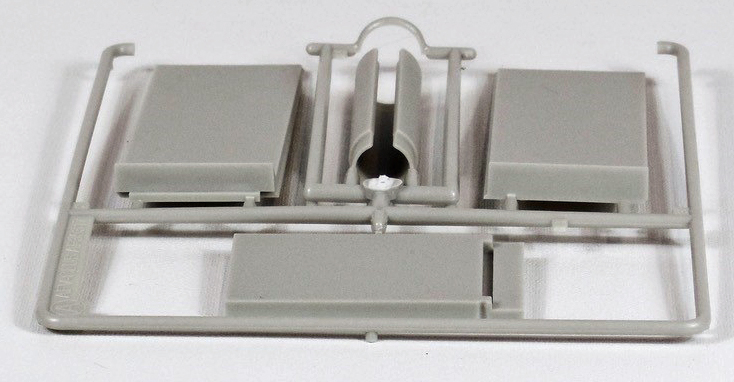
- 1 plastic Bag with 3 "A" Sprues with 4 parts per sprue
- 1 plastic bag with a set of water slide decals depicting graffiti/street art
First Impressions
The parts are very clean on the sprue’s, with cement texturing on the surfaces which looks appropriate, and able to hold up under paint and the large decals.
Speaking of Decals, these will be the largest decals I have applied to a model, the largest at 3.75” x 1.5”. My main concern is seeing that texture through the decal, so decal setting solution will be a must have. One curious note about the decals, everything is in English. While English graffiti was very present, multiple languages were present, not to mention German, (Deutsch).
I also chuckled to myself when under magnification, I read a familiar limerick on the decal sheet that began; Here I sit, broken hearted, tried to…… Yes, that age old bit of personal-time poetry made the graffiti cut!
The Build
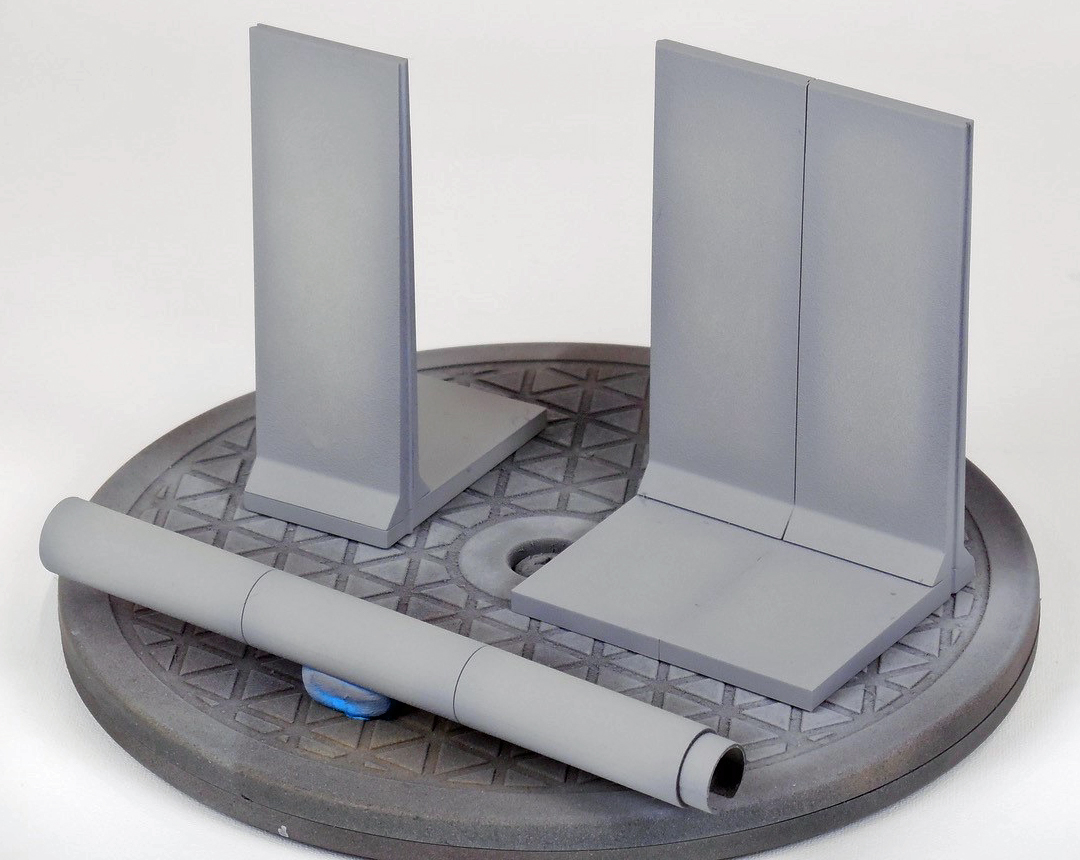
Each sprue contains 4 parts; two wall sections, a sidewalk base and a round cap. Seam clean-up was a breeze, the only surface seams were on the top round wall caps, but even that fits without scraping as the original wall caps were cast concrete and had their own “Flash” of a sort.
This is a simple kit, (12 parts in total), and went together nicely. Fitting was tight and each section held together without glue. If you plan to do a longer section of the Wall by connecting multiple kits, then this thoughtful engineering by AFV Club will be appreciated even more.
Painting
If you’re looking for a quick but very effective accessory for a simple shelf display for your model, there is no need for paint. The kit can be assembled, decals applied, and you’ll have a nice background piece for your 70’s-80’s European Cold War model.
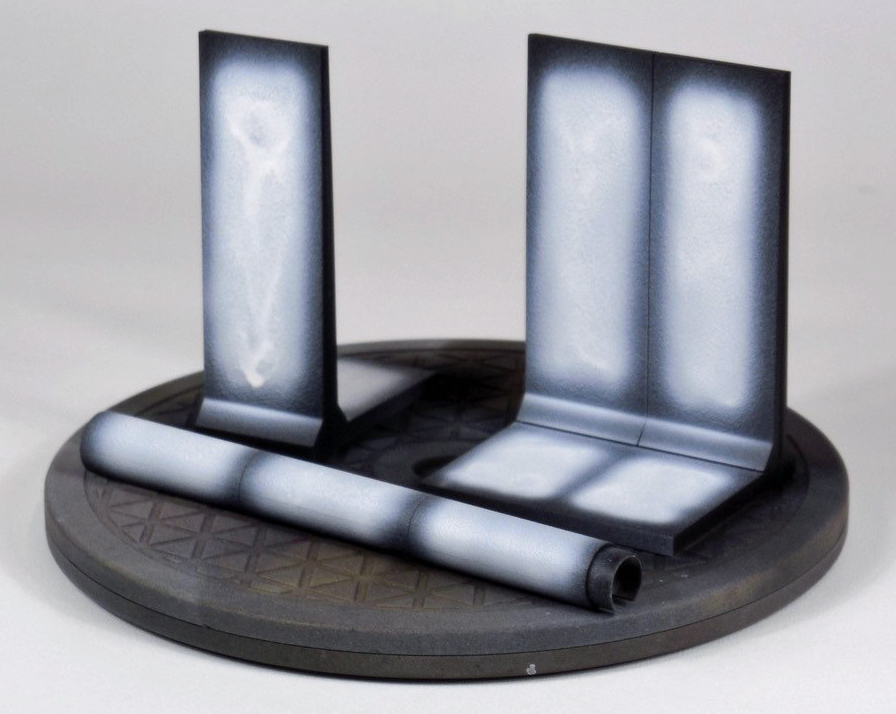
My plan was to paint, so I started with Vallejo Black Surface Primer # 73.602, and covered all top and side surfaces. I may want to glue the finished kit to a base, so no paint on the bottom.
Next I pre-shaded with Liquitex Basics Titanium White thinned with Golden acrylic airbrush medium and water, (30/30/30 mix). I hit all the open surfaces with the titanium white and left it primer black under overhangs, and along seams. After pre-shading, I chose Tamiya XF-19 Sky Grey (flat) for the base coat.
I airbrushed the entire model, taking care to not lose my pre-shading. The surface texture came through the paint nicely. I stopped painting after the Grey coat, but in actuality any portion of “The Wall“ that was accessible was heavily, and frequently painted to the effect that no cement was visible for that entire stretch of the wall.
Decals
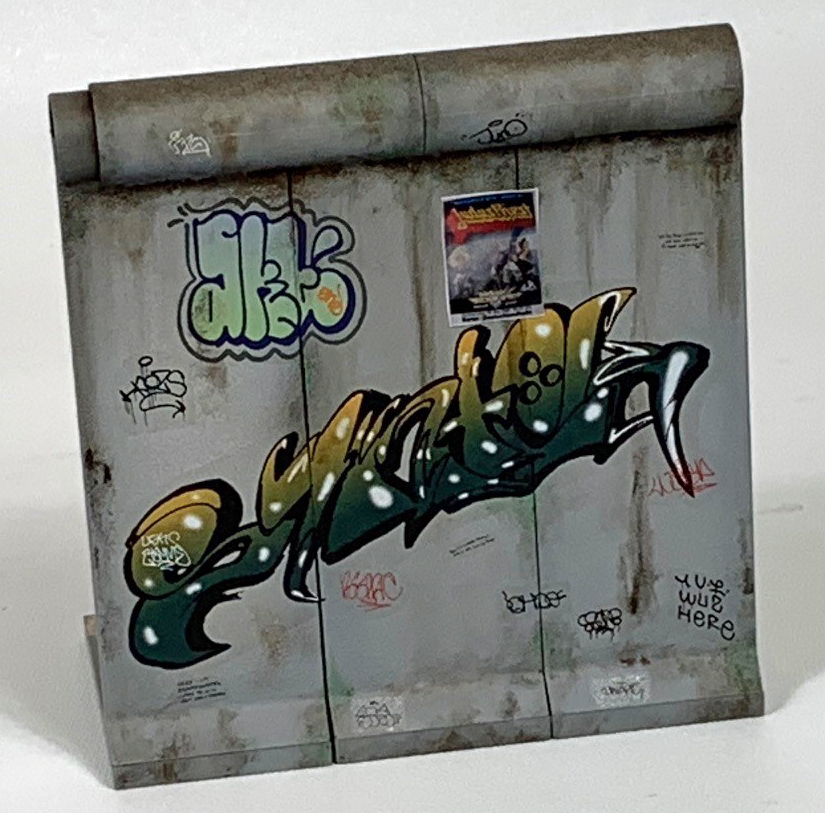
As I said in the beginning, these decals are the largest I have personally worked with. I followed the instructions and used warm water, and they worked great, (its nice to work with new decals for a change). The clear borders on the decals are almost a 1/4 inch wide in some places, but the decal material itself seems thick and pliable so they should be fine to trim before applying. This may bite me later, but I wanted to see how effectively I could mask silvering, so no trimmed edges for me.
I only placed decals on the “West” or “Allied” side of the wall. The opposite side of the wall was typically blank with nothing but obscure numeric markers. Being stationed in Berlin during the late 80’s, we were convinced they were just put there as a lark to confuse the “Aameeericaan’s”. The wall was typically 2 or more walls in some places, with a carefully constructed Dead-man’s-land between them with tank, and antipersonnel mines. There were even rumored high-tech electronic sensors buried throughout.
I brushed Tamiya Mark Fit Strong on the surface before laying each decal, and more after final positioning. I carefully wicked away the excess fluid, then rolled a cotton swab over the decal to get it to lay down into the texture. I allowed it to dry and applied 4 additional coats before letting it dry overnight.
This is my first-time using Mark Fit Strong, and it really does a number on the decal when its brushed on. The decal instantly shrivels and bunches up before relaxing again on the model as it dries. Once it does dry it looks great, so it’s just getting used to it. Just the same, If I were doing older or more delicate decals, I would probably use Micro Set and Micro Sol.
I let the decals cure overnight, and noticed a few small bubbles under the large decal. Two days later most of the bubbles had gone, but I did see some that confirmed my earlier worry about such large decals holding a bubble until it dried and could be seen. I doubt anyone else would see it, but I know they’re there… mocking my decal skills.
Weathering
For weathering my Berlin Wall kit, I wanted to make sure I captured the grunge on top of and on the face of the wall. Throughout Germany in the 1980’s, the burning of coal for basic heating was still common, and as a result black soot gathered on everything. While stationed in Berlin from 1986 to 1990, we would run PT, (Physical Training) each morning and when the air quality was poor, you could actually feel the coal grit on your teeth.
After airbrushing on the coal dust, (Tamiya Flat Black XF-1) I did a small amount of streaking then decided to add some yellowed grass tufts, a few rocks, and other detritus to enhance the scale effects. After some yellow and burnt umber shading with oils, painting was finished.
After allowing to dry for two days, a coat of Tamiya TS-80 Flat Clear completed my model.
Final Thoughts
For the past two years, I have been obsessed with building Dioramas for my models. While I would previously choose a model based on its individual coolness factor, I now consider an event or situation, terrain, and often the political climate my model may have operated in. Building dioramas has both widened my view of modeling, and renewed my interest in history.
Considering the presence of the U.S., British, French, and Russian armies in an urban environment, this simple kit can be added to a vast number of Model Kits to enhance your “Cold War” display.
I want to give a very enthusiastic Thank You to Pei Chi, AFV Club, and IPMS-Seattle for allowing me to conduct this review. This kit represents a very special place in my memory, and maybe yours too.


Comments
Add new comment
This site is protected by reCAPTCHA and the Google Privacy Policy and Terms of Service apply.
Similar Reviews