
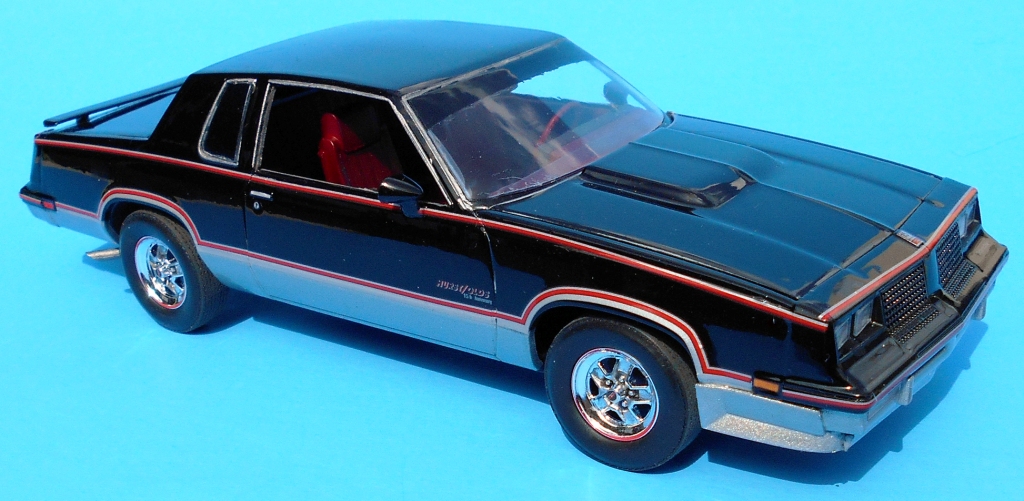
1983 Hurst Oldsmobile
Hurst Performance started working with Oldsmobile in the late sixties and by the time the ‘80’s rolled around they had perfected not only the hi performance “Lightening” shifter but the awesome looking black over silver appearance package featured on the ’83 Hurst Olds.
Construction and Detailing
This review covers the skill level 4 (ages 12 years and older) 1983 Hurst Oldsmobile 1:25 Scale Revell Model Kit #85-4317. The reason this is a skill level 4 kit is because of the need for paint and some delicate decals. I would say that an intermediate builder could easily assemble this into a nice display with some patience. This is a brand new mold and it fills a gap in the auto model catalog with a long sought mid-eighties Olds kit. The kit has 94 pieces and is nicely molded in white, and chrome plated parts with clear windows, soft vinyl tires and transparent red taillights. Because it only makes one version, there are no optional build parts with this kit which is why it has fewer pieces than other kits. As you would expect with a new mold there’s virtually no flash on the pieces and it assembles easily following the excellent book style instructions. The finished dimensions are: Length: 7-13/16", Width: 3", Height: 2-3/16".
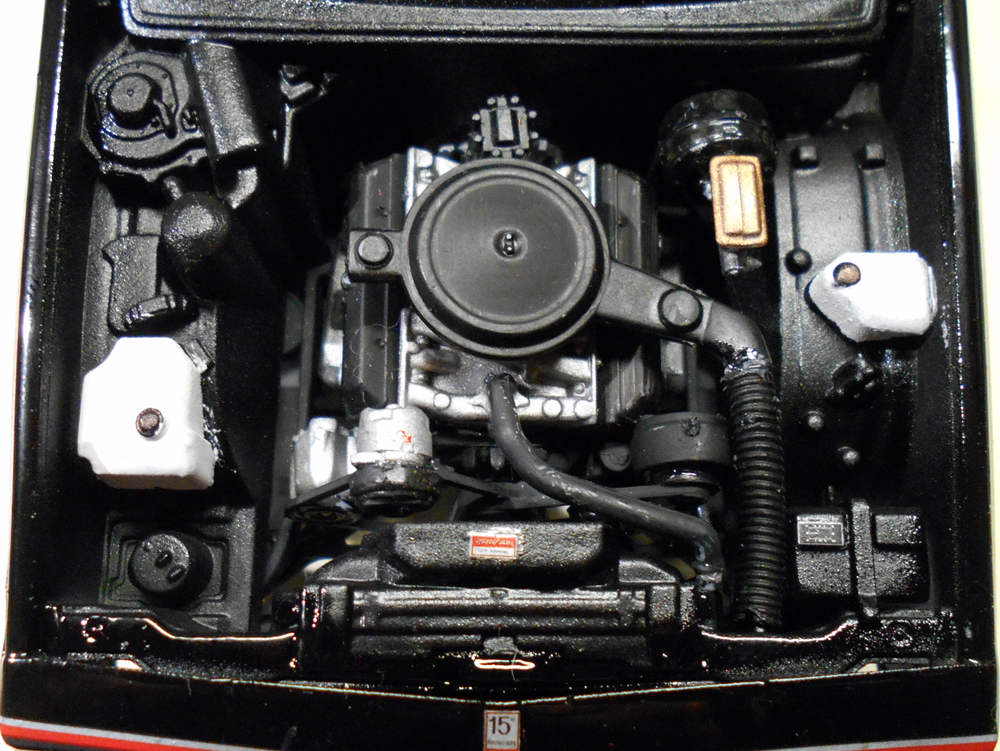
Construction begins with the motor on this kit and at a respectable 21 pieces – it provides a nicely detailed naturally aspirated, 307 cid V-8 engine. Nearly all the accessory pieces on the motor are separate add-ons which helps detailing. A fan shroud decal and separate pieces for under the hood make the engine bay look realistic. The transmission is molded onto the block, but detailing is not a problem since it is well defined.
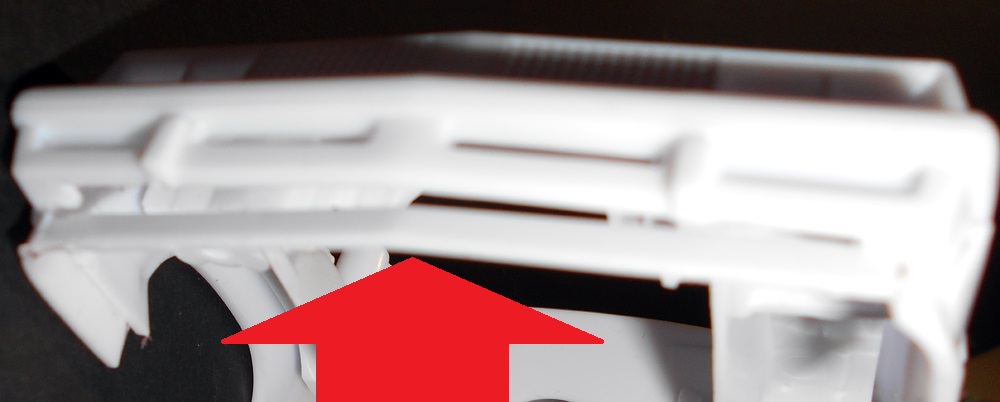
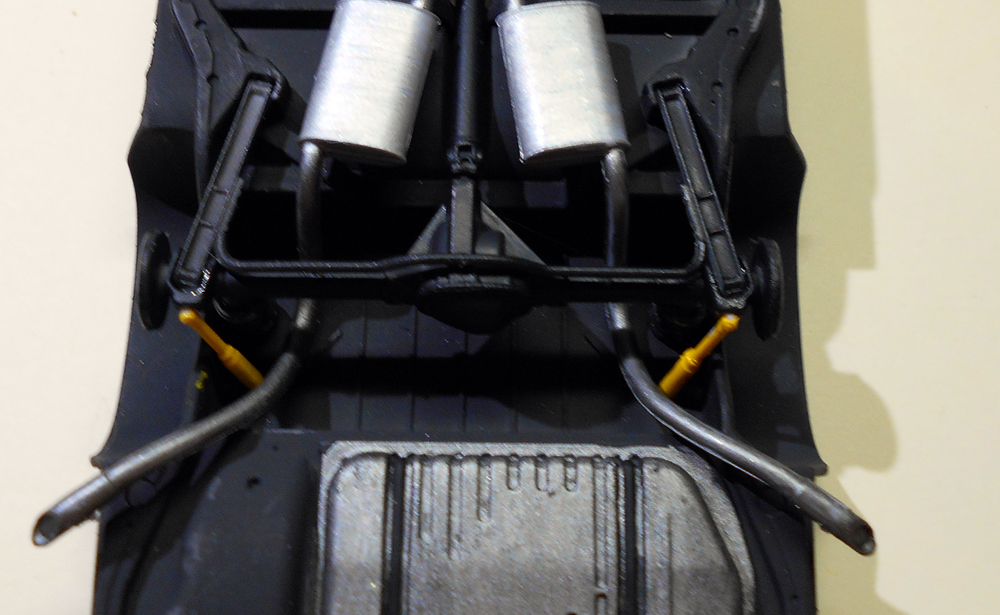
The chassis and floor pan are one piece but the exhaust system is separate and easy to detail. You may also want to remove the molded–in copyright script on the gas tank and at the rear of the floor pan. The front suspension is a one-piece drop in but there’s still adequate detail to highlight there.
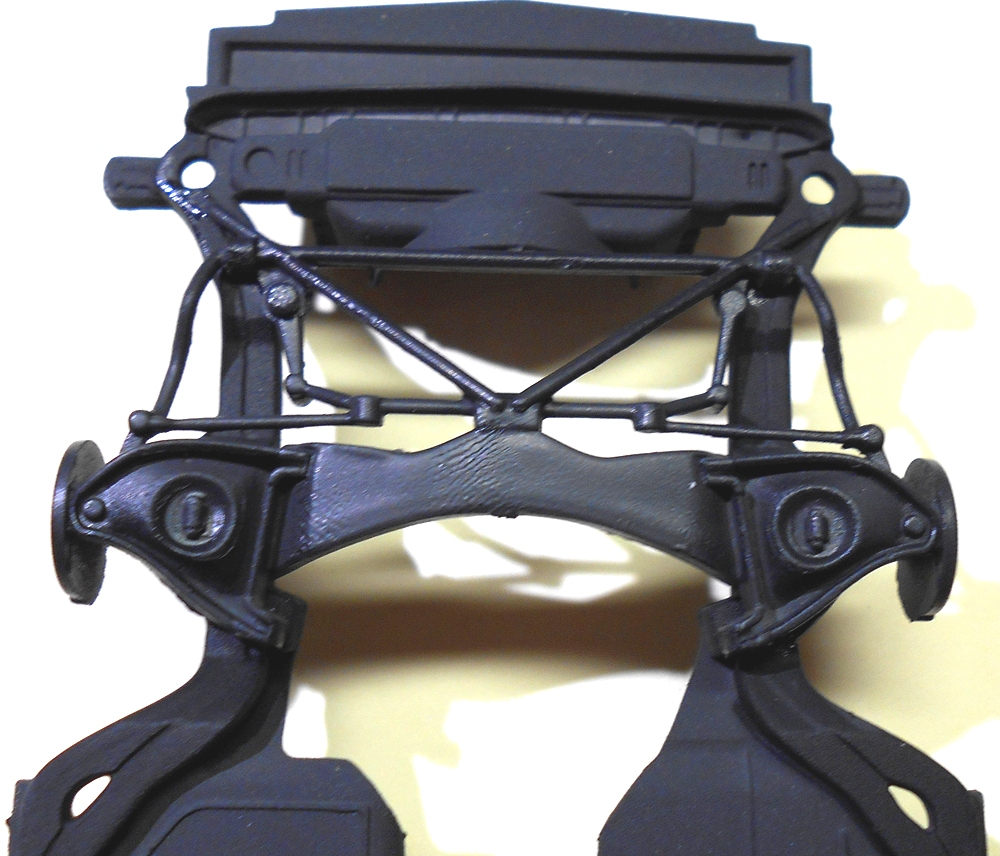
The rear suspension looks great with separate coil springs, shocks and trailing arms. Giving those parts some shading variation helps it look authentic. There are no surprises in the construction, as these parts all fit well and have positive gluing points. Adding the engine to the mounts and align it with the driveshaft to finish up the rolling chassis.
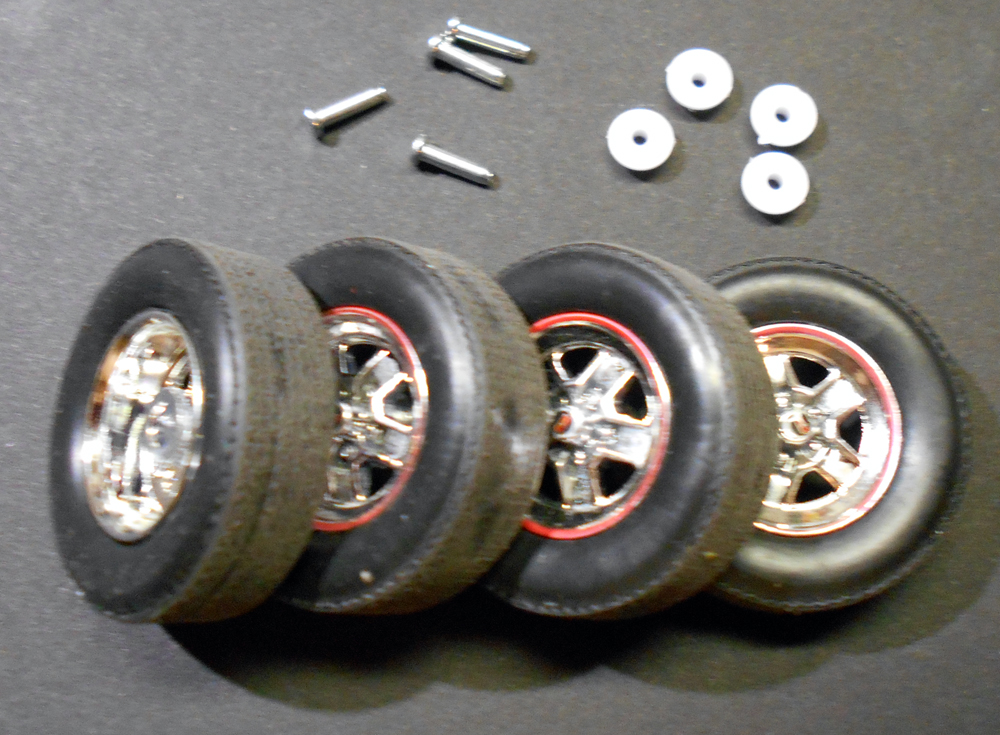
The wheels on this kit are real beauties. With the tampo printed red circles inside the outer bead they eliminate one of the problems with most of the kits that feature that trim. Namely; applying a thin circular red stripe decal onto the wheel rims without getting them looped around and destroyed. I have to give Revell kudos for this feature. The tires are all similar and go on any rim or location. This construction uses a backing plate and a small metal pin for the axles. Using the glue sparingly and making sure that the wheels don’t set up with glue on them makes for some tight fitting tires that rotate as they should.
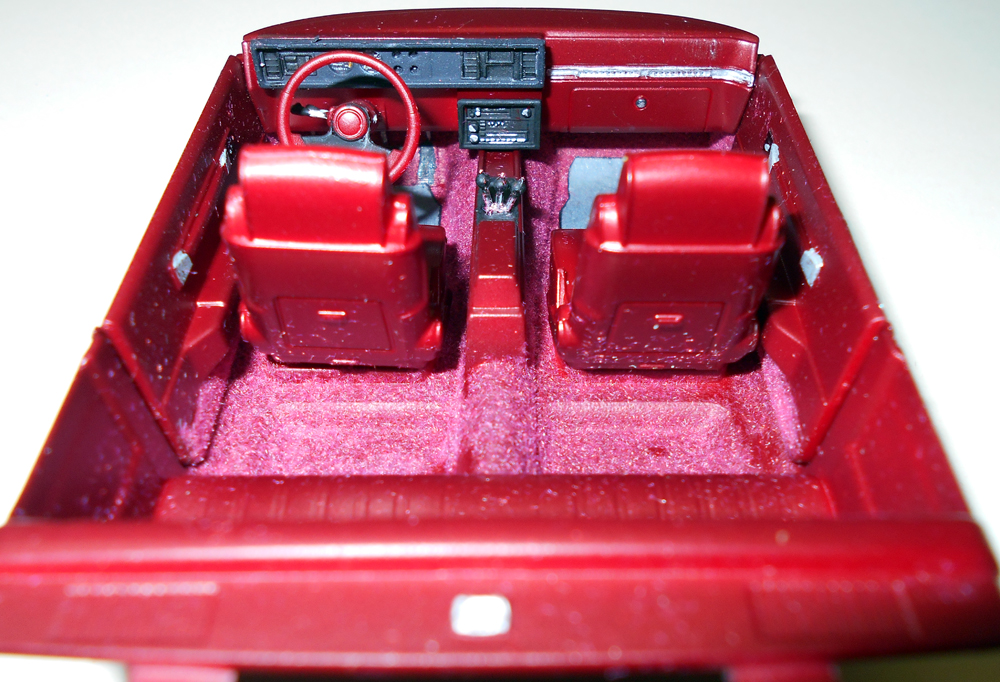
It’s easy to detail the interior door panels because they are separate on this kit. The front seats are two piece drop-in units as well, so you can flock the floor and paint the rear seat efficiently. The dash looks great with blacked-out bezels and the kit supplied decals. The two-piece steering column and wheel gives you options and access to highlight its features also.
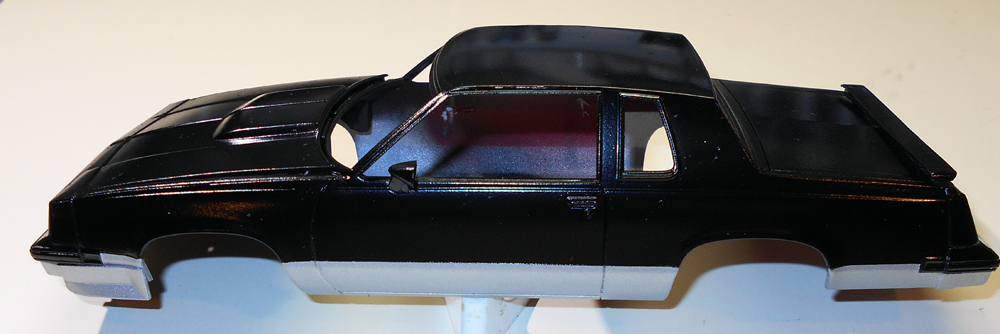
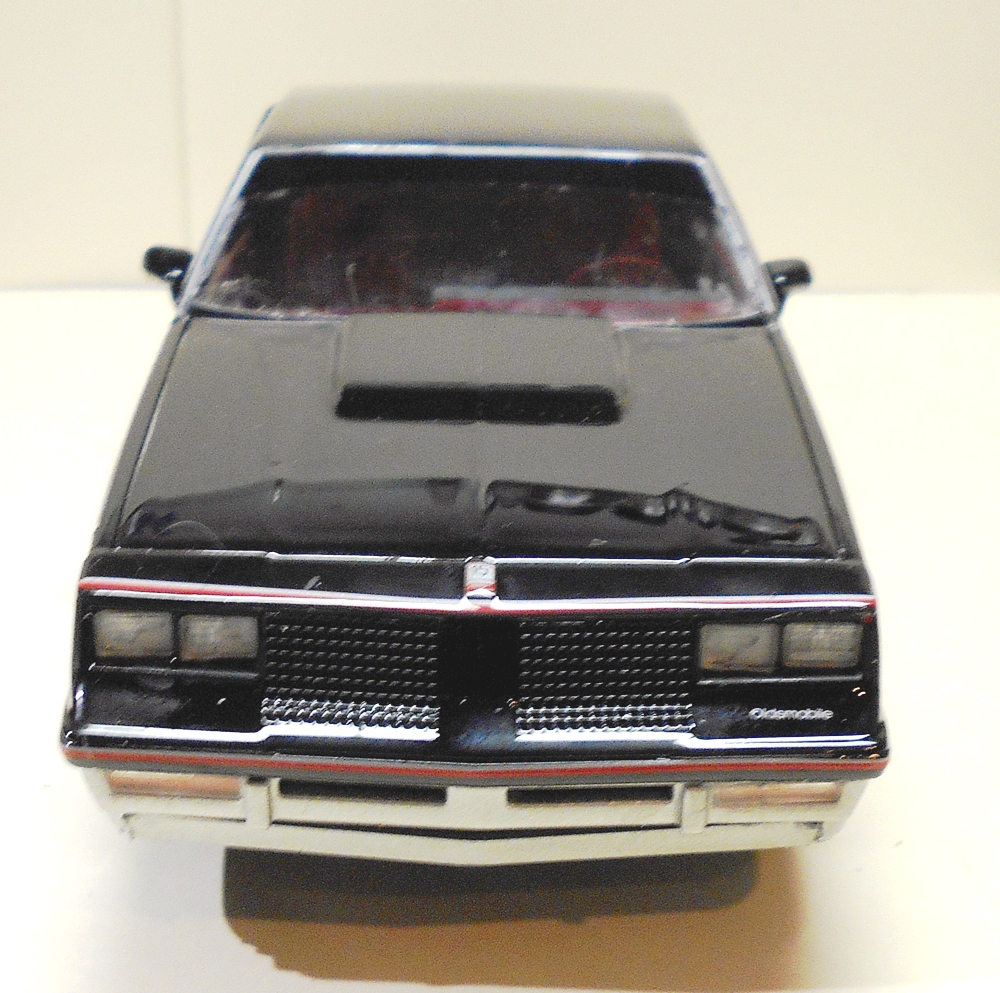
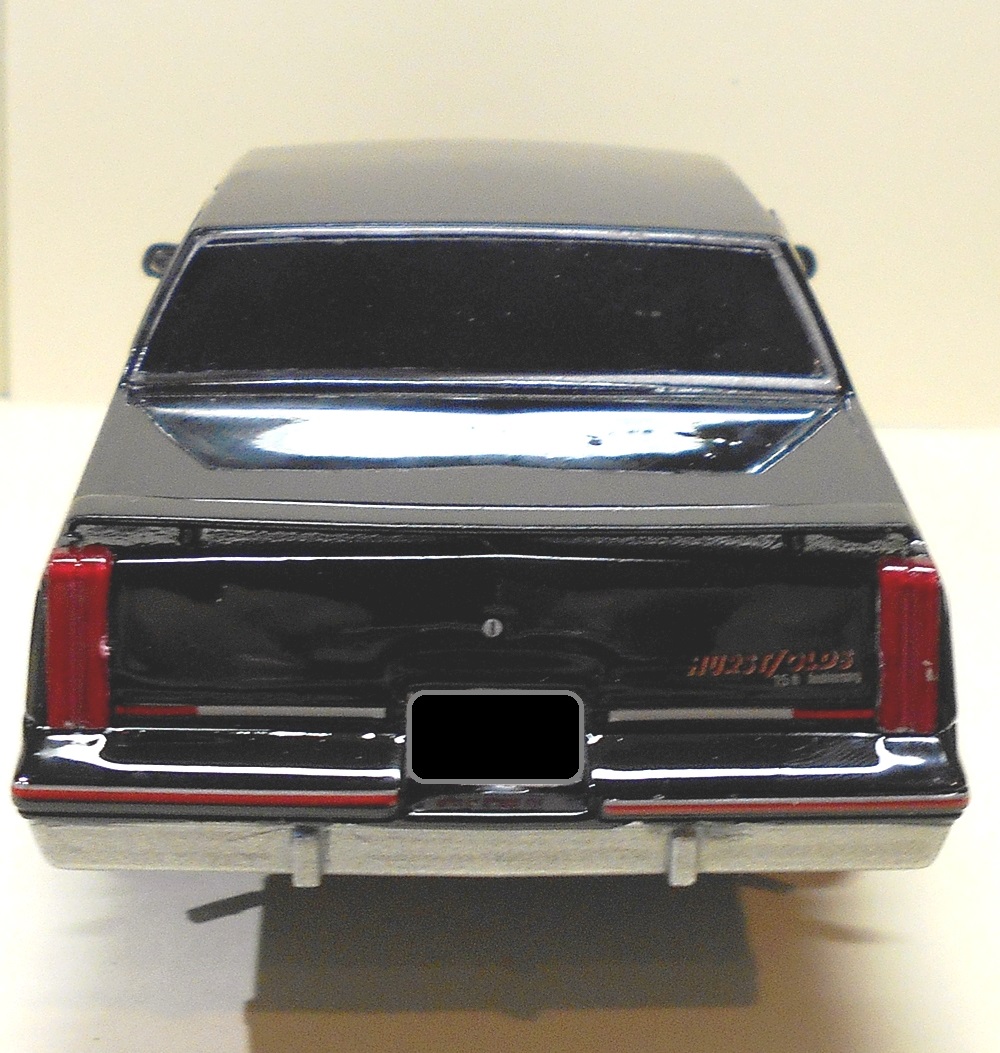
The body pieces pieces fit together really well and there was only minimal parting line flash. You can actually glue all the fascia onto the front and back, add the rear deck foil and mirrors and tape the hood in place prior to painting. That will give you a nice, evenly covered surface, to avoid shading variations from painting the panels separately! There is one error in the instructions that should be noted. Instructions indicate that the front air dam is one piece. The center piece for the air dam is separate and needs to be installed in place even though it isn’t called out. After priming the body you can paint the lower half silver and let it dry. Follow that by taping off the lower panels like the box art and painting the upper surfaces black.
To place the decals on this kit I recommend you use plenty of water on the surface and employ a decal setting solution to help them conform to surface features. Use patience and start at one end, and wrap around the car body to match up the stripes and segregate the two tone paint scheme.
The window glass for this kit is very thin compared to previous kits. Because of that, they look clearer but they are more fragile so use caution when handling them. The front and rear windows are assembled from the outside of the body.
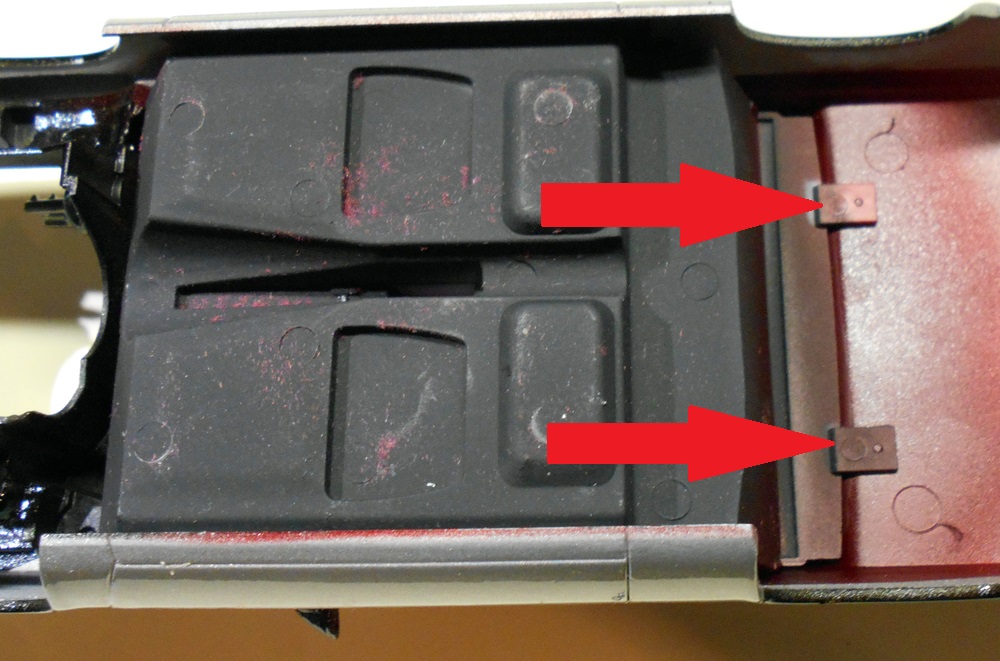
There are some tabs that aid in positioning the interior tub into the body. After that you can CAREFULLY start at the back and gently pry the body sides out to shoehorn the chassis into the body. There’s a locating tab at the rear to align them so you know that it is properly placed
The lenses and bezels fit nicely and finish up the build for a display to be proud of!
Overall
Well then, it’s been a long time coming and auto modelers have been requesting this kit for some time, but the wait was worth it. In addition, a few simple changes would allow this kit to be built as an ’84 Hurst Olds featuring the silver over black paint scheme. The fit is very good and the instructions are very easy to follow. The additional detail provided from separate parts like interior panels and engine bay pieces really make this kit competition worthy. I have to thank Revell for providing these special subject kits and to IPMS for letting me review it to share with you.


Comments
Add new comment
This site is protected by reCAPTCHA and the Google Privacy Policy and Terms of Service apply.
Similar Reviews