
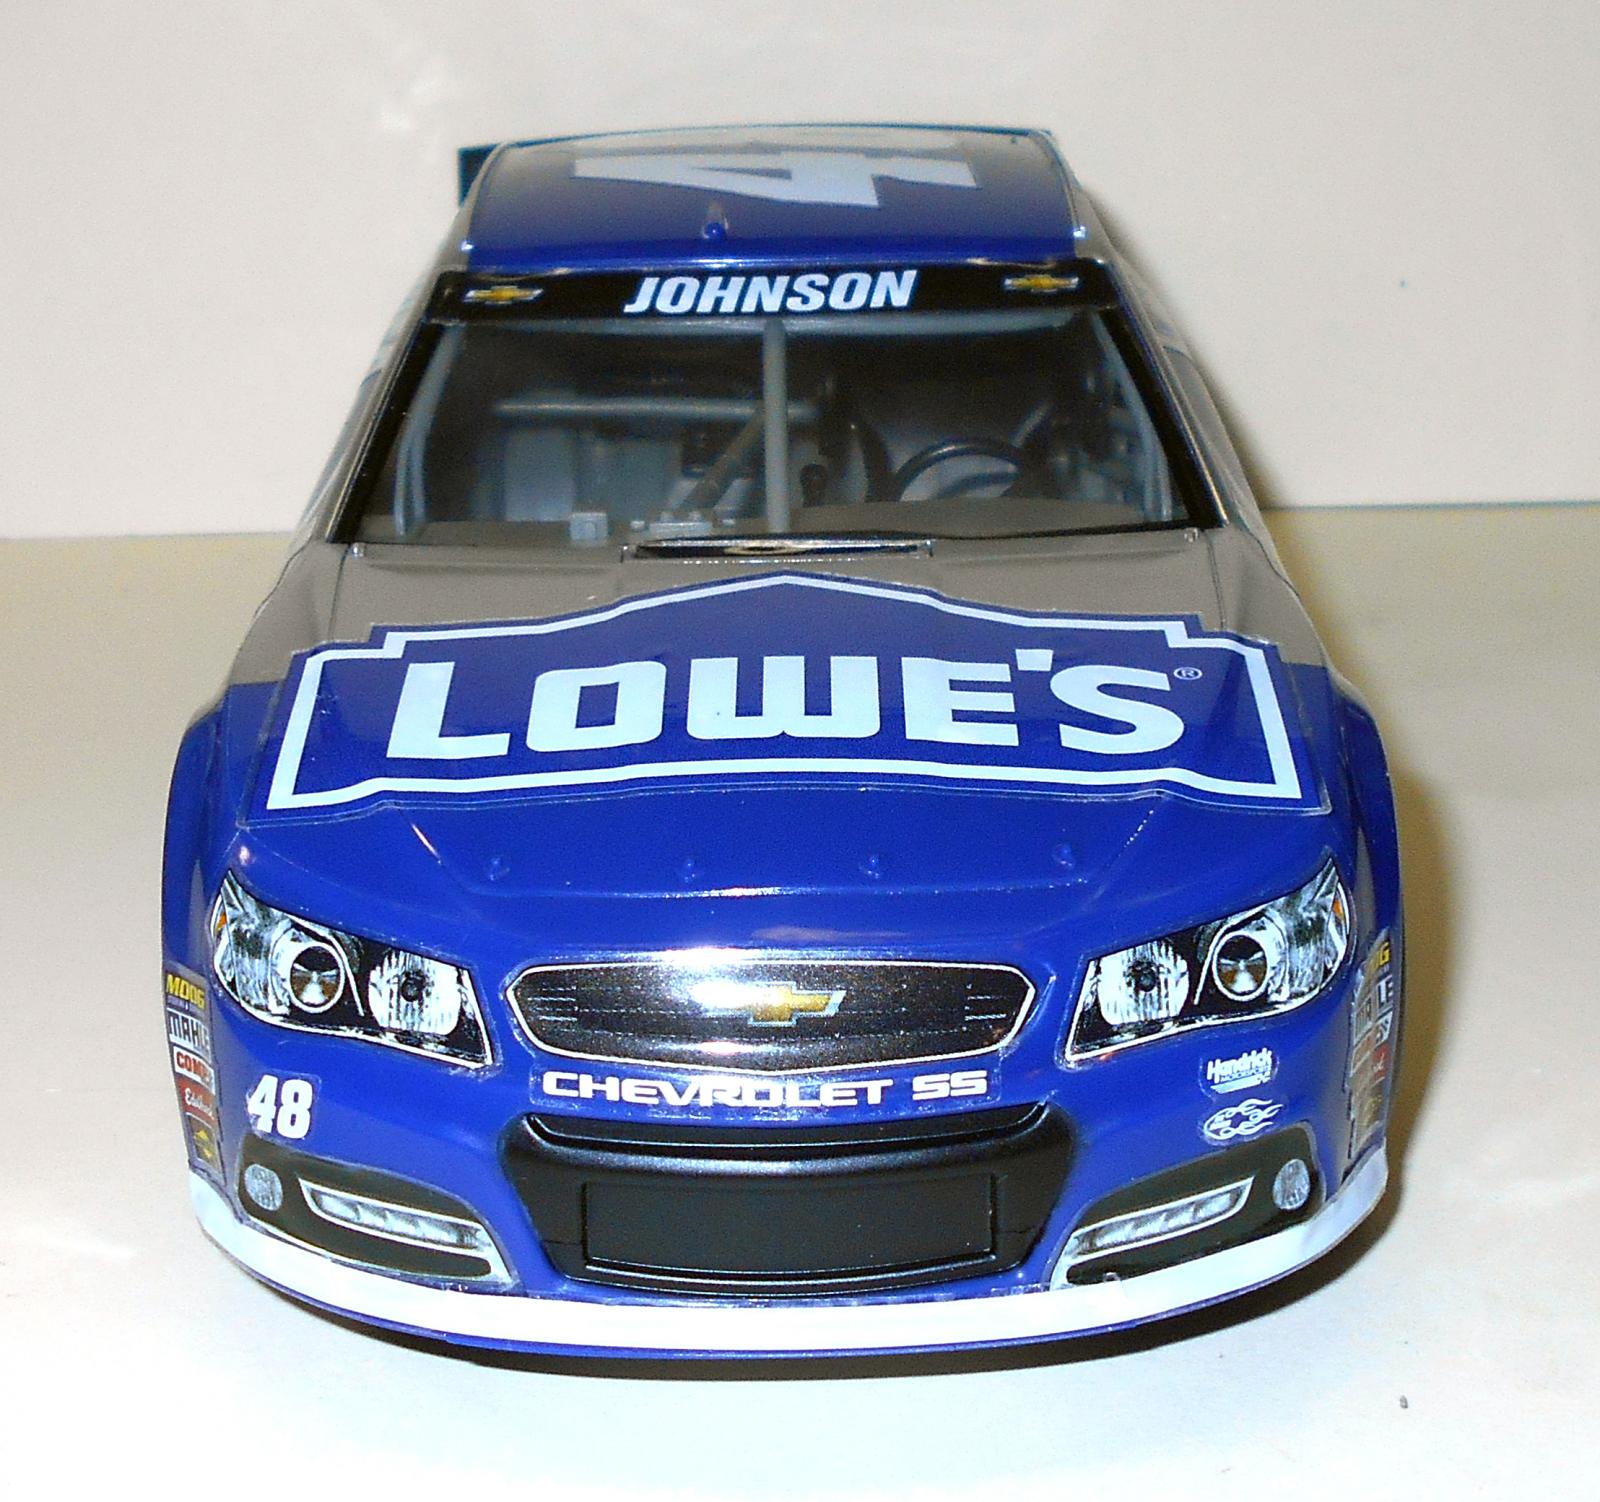
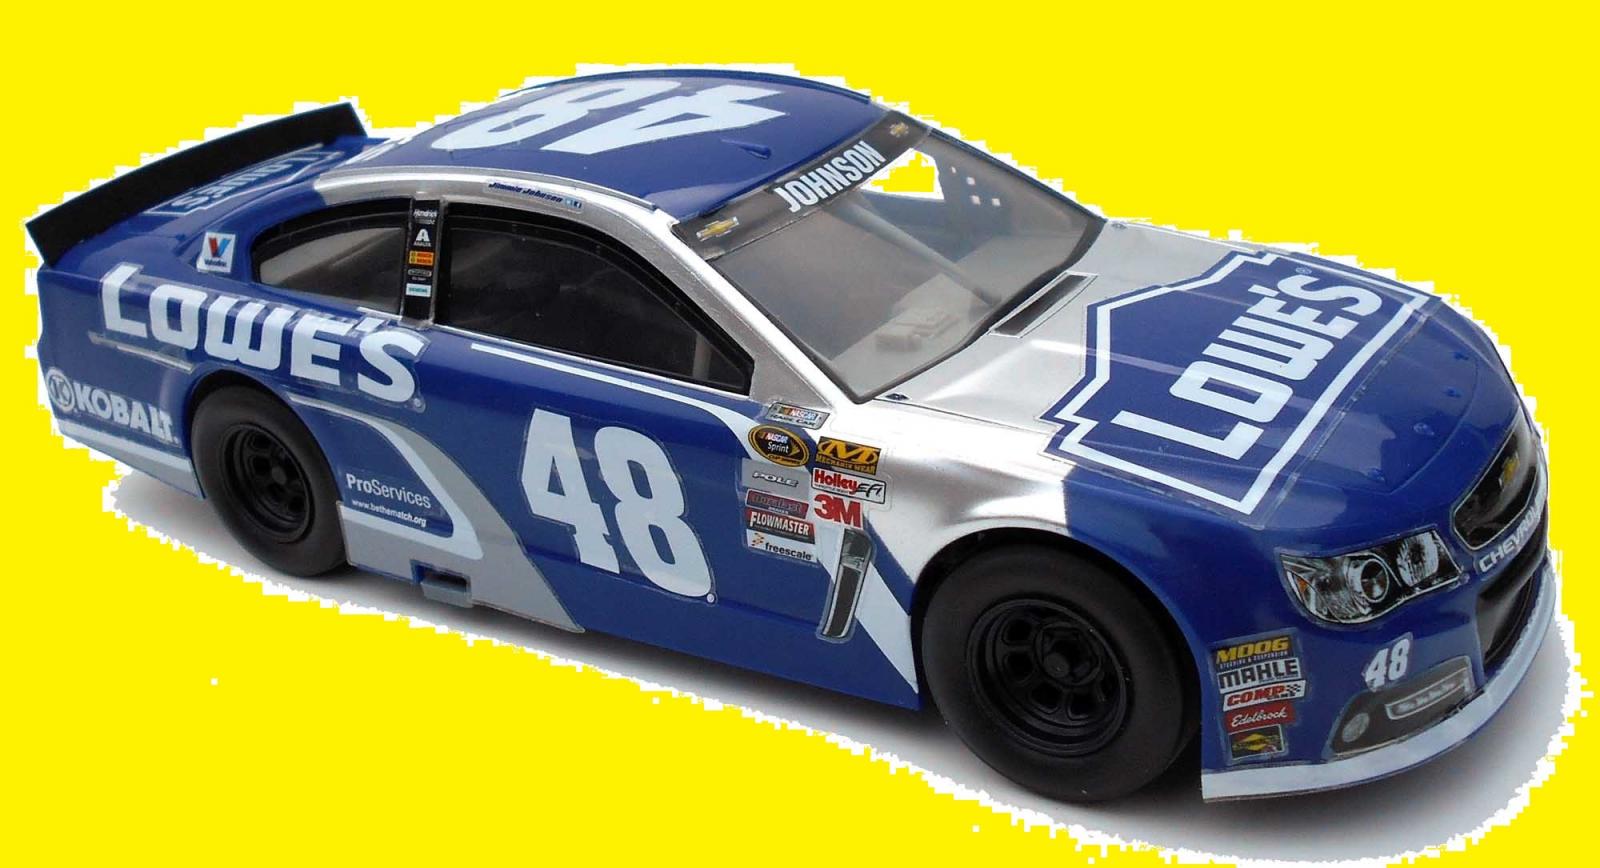
Johnson Lowe's NASCAR #48 Chevy SS
It’s hard to argue with success and Jimmie Johnson has proven his abilities since he burst onto the NASCAR scene. This kit represents a snap together kit aimed at drawing the youngsters into the hobby with a great looking, easy-to-build race car model.
This review covers the skill level 2 (ages 8 years and older) 2016 release of the Jimmie Johnson Lowe's NASCAR #48 Chevy SS Revell 1:24 Scale Model Kit #85-1475. Molded in color and featuring colorful stickers this kit is the perfect “first model” for young builders. You will need one tool – a small Phillips head screwdriver to affix the body to the chassis. There are 35 pieces molded in black, gray and clear with vinyl tires to go with the pre-painted body. This is a “curbside” kit with no real motor and the interior and suspension parts have minimal detail. Finished dimensions are: Length: 8-3/16″, Width: 3-1/8″, Height: 2-3/8″.
Construction and Detailing
You’ll find that most of the installation is pretty easy with positive receiving tabs and posts but you may have to help a youngster get some of the parts seated where there might be a little flash on the edges.
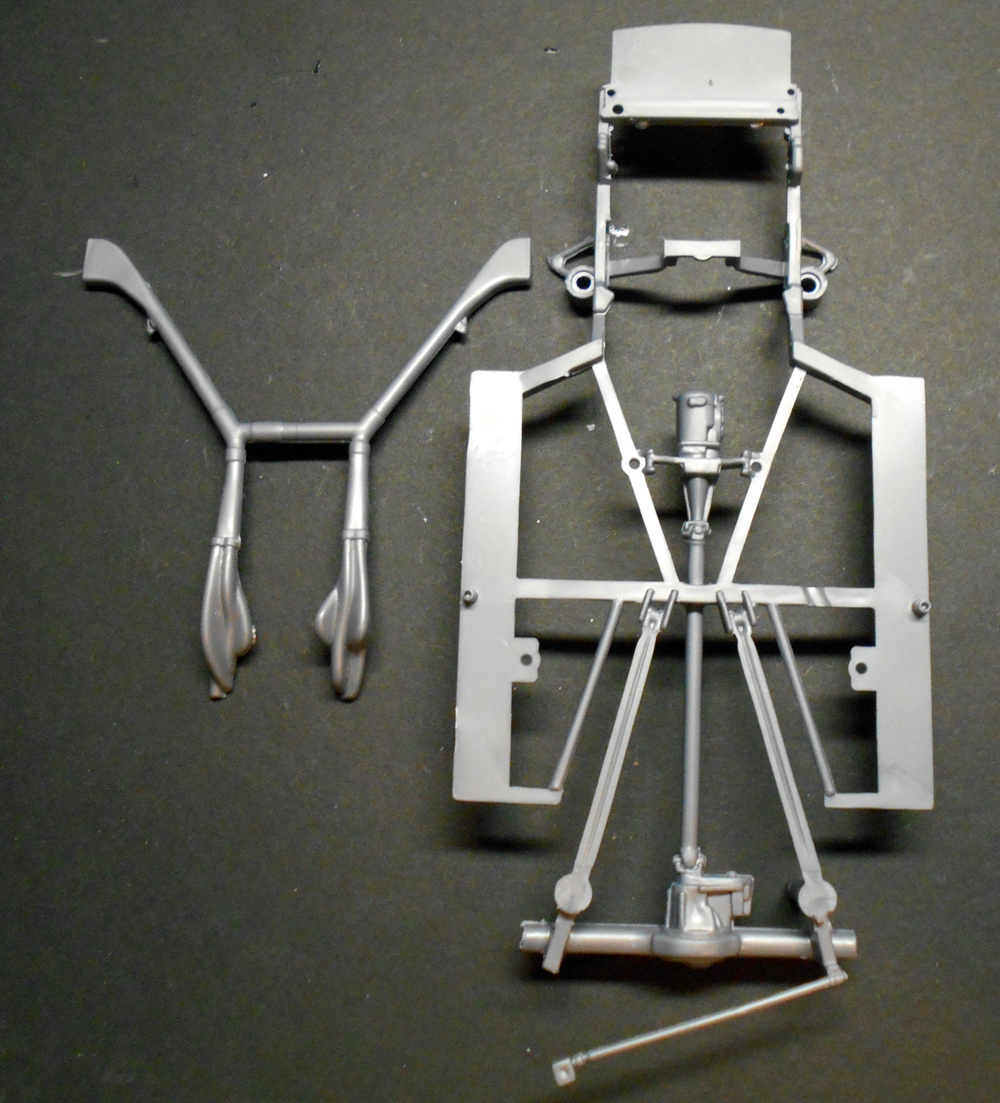
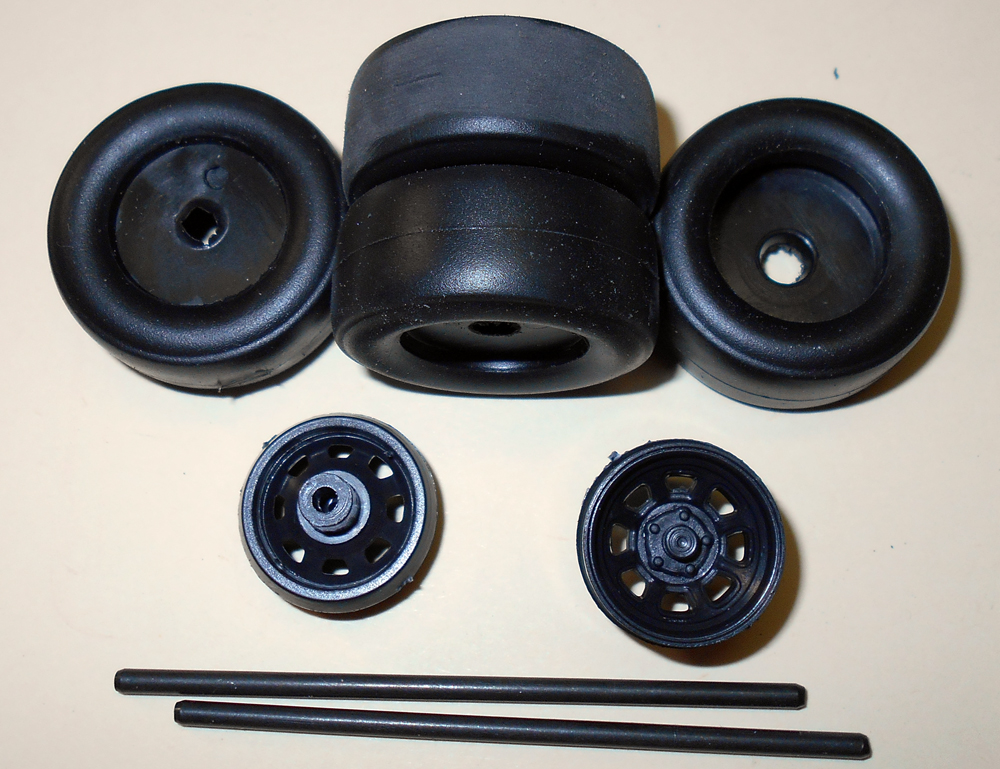
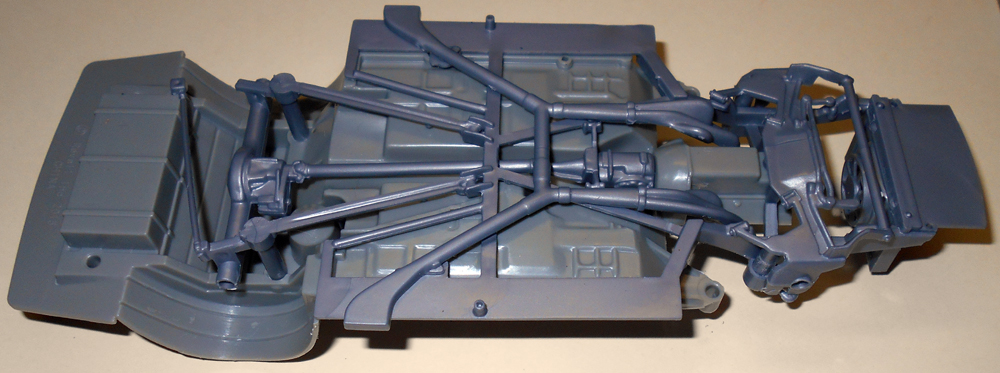
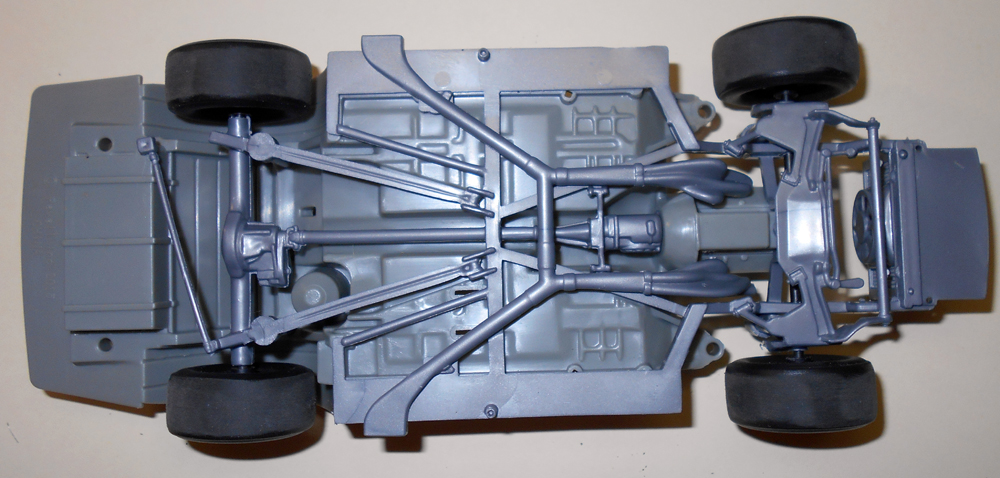
The build begins with the exhaust being added to the frame (the exhaust tips exit out the slots in the rocker panels) and then the front suspension. That is installed with two of the black screws in the kit. NOTE: In the instructions the radiator appears to be placed into the first set of holes on the frame but it goes into the second set back from the front of the car. Snug them down with a firm twist but don’t over tighten them to avoid stripping out the plastic receivers. I assembled the wheels and tires and then rolled the tire tread on some fine sandpaper. Add the metal axles to one side. Slide them through the suspension tubes/holes in the front and back and push the wheels onto the other side.
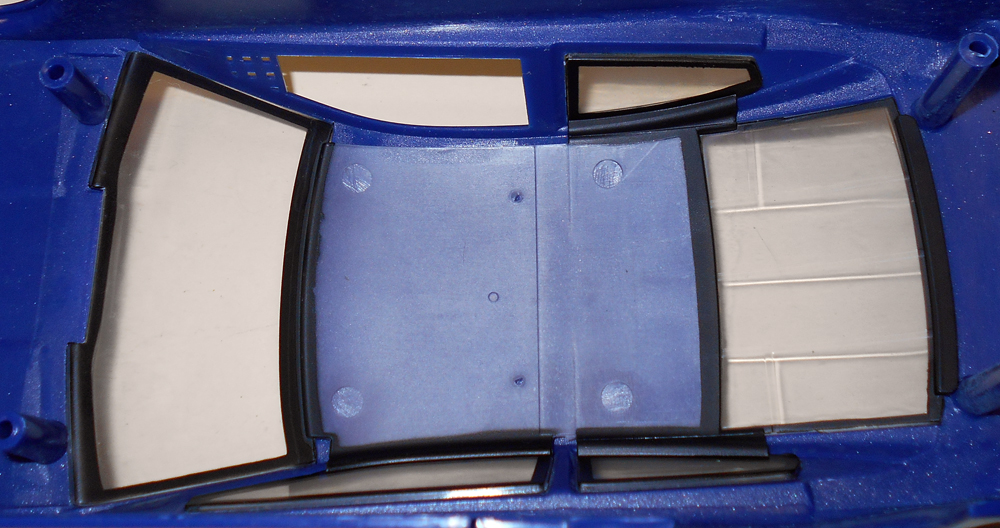
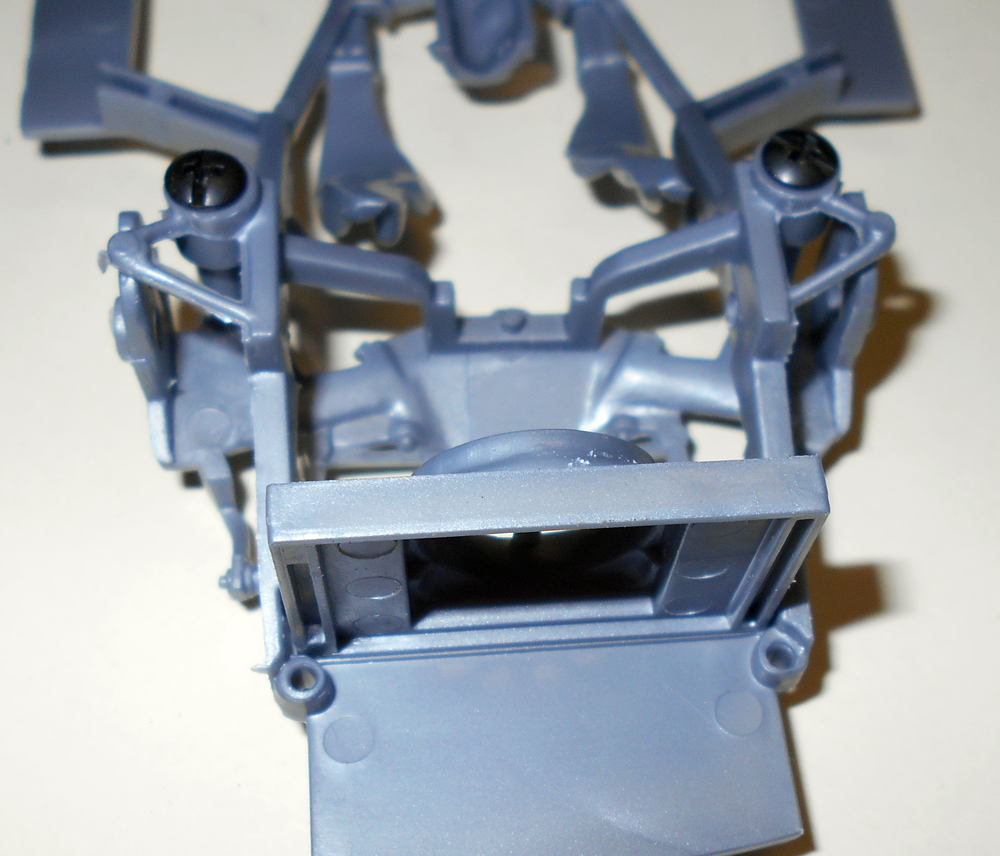
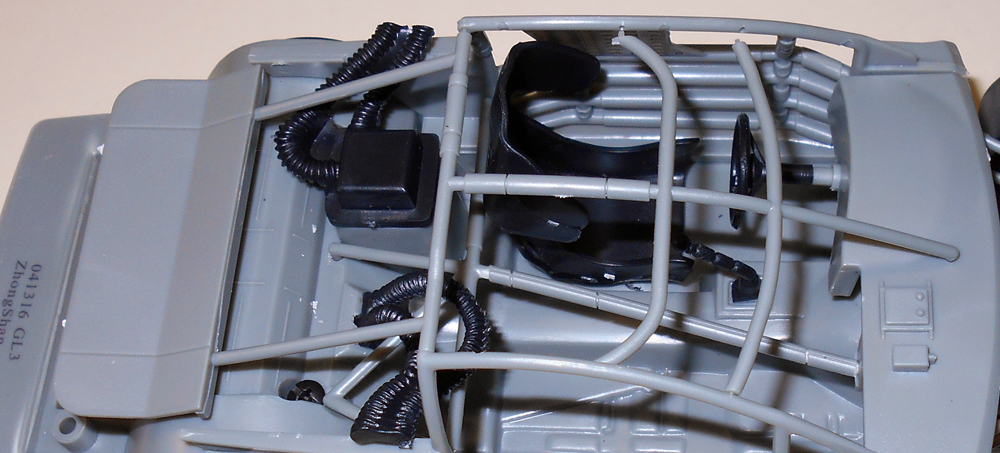
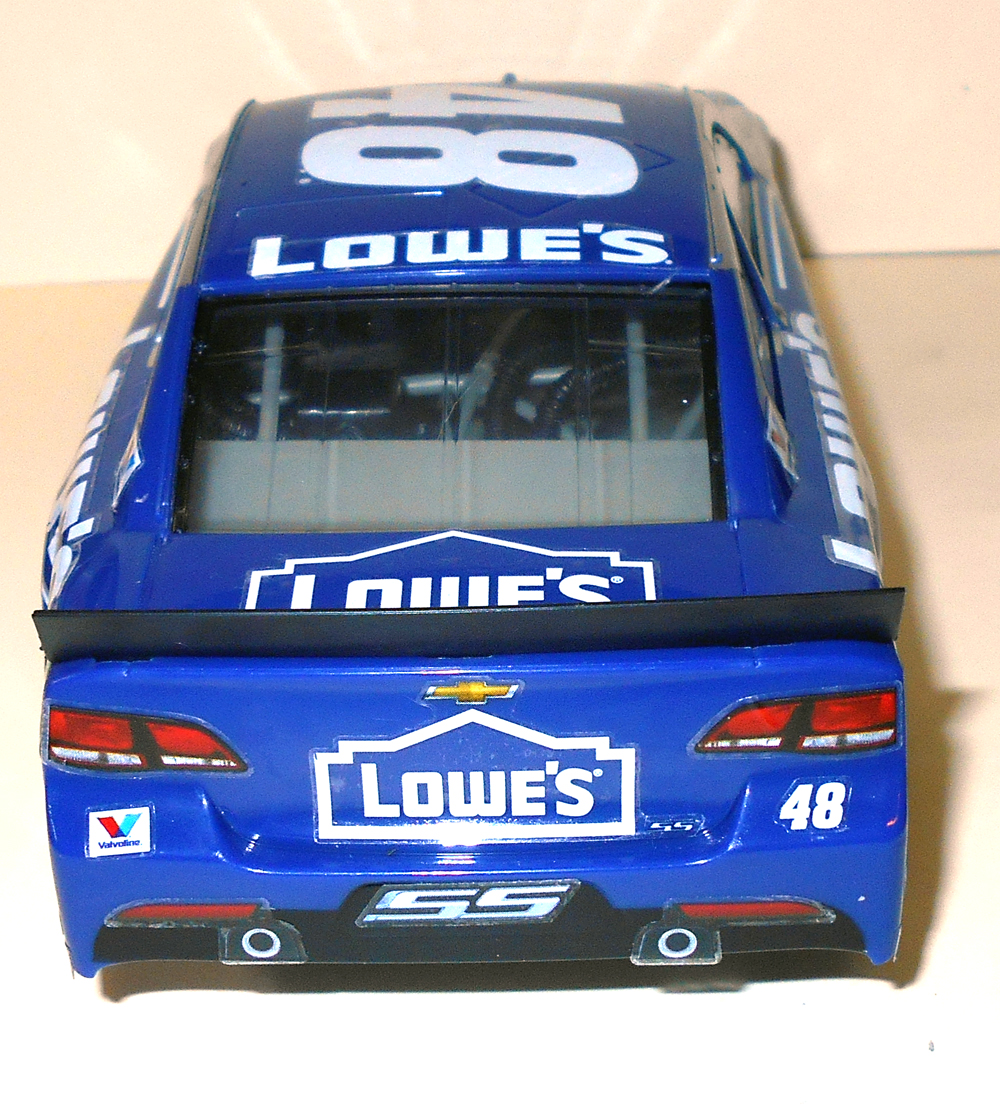
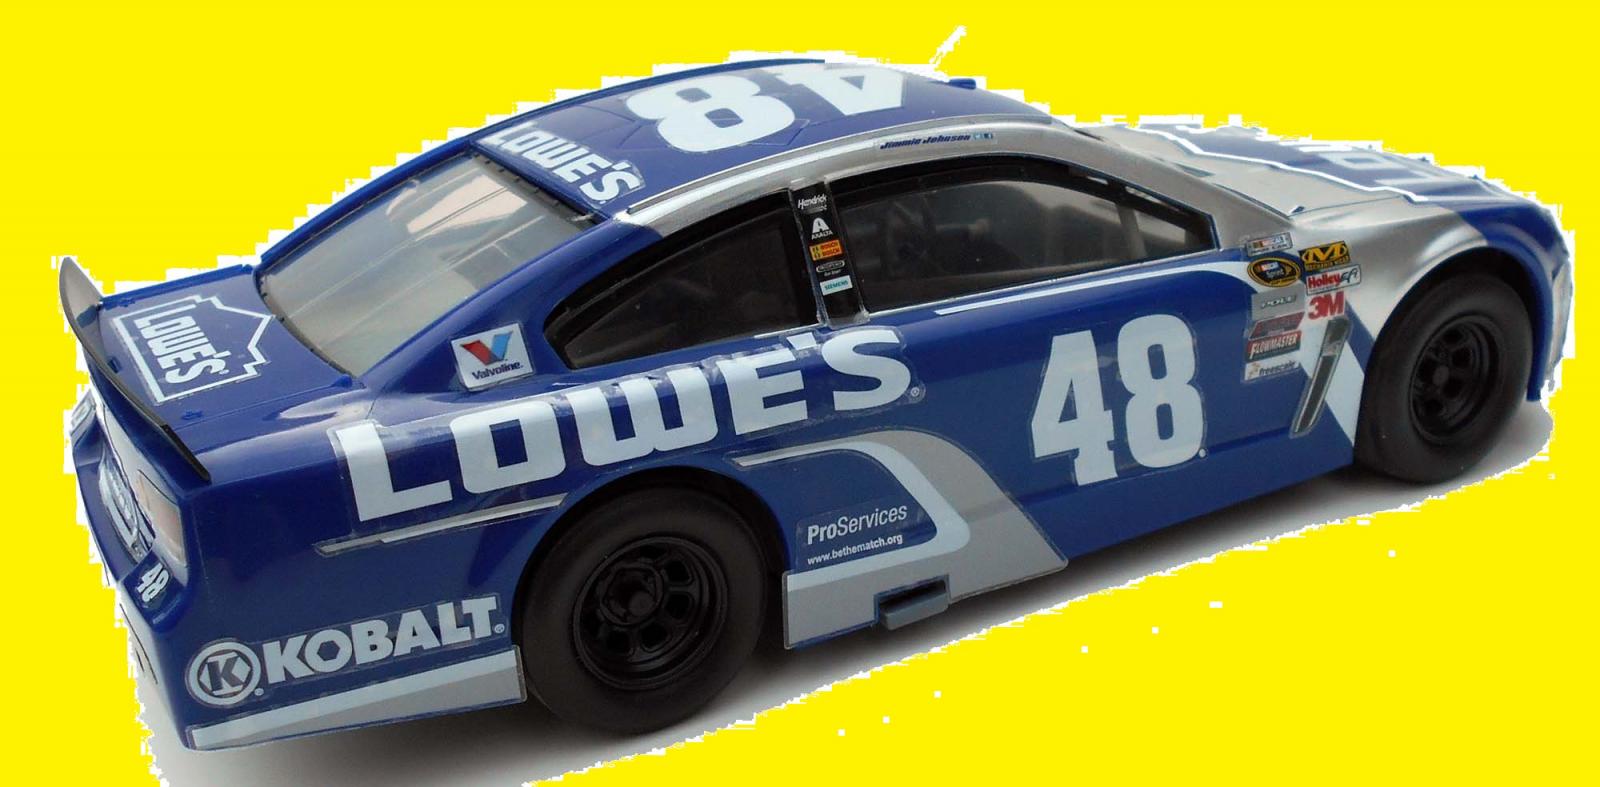
Install the seat, shifter and steering wheel into place, and then push dash onto the receiving post. There was a little flash between the hoses on the air cleaner which is easily trimmed, then place the cover onto the intake box in the interior. I found a drop of Superglue was helpful to keep it firmly in place. Snap the side panels into place along with the right side air intake hoses. These look like they’re just suspended in mid-air but they are supposed to butt up to the rear window openings for fresh air. Snap the top of the roll cage into place and again use some sparing glue here to ensure that the stay put. Snap the glass into place, which fits very nicely, and then use the four silver screws to attach the body to the frame/chassis. Finally, snap the rear spoiler on and you’re done with the basic construction. The vinyl stickers are added next and if you follow the callout sheet for those they will all fit nicely.
Conclusion
Again, this is a great first model and your youngster won’t get frustrated trying to build the kit. It only takes about 30 minutes and if all the stickers aren’t perfectly positioned it still looks cool. Have some fun and sit down to build this kit with a child you’ll both be rewarded with the experience. BTW – this would make a great slot car body too! The plastic used here is more impact resistant then a regular styrene model as it is meant to be played with. Kudos to Revell for issuing these starter kits and to IPMS for letting me share this review with everyone.

Comments
Add new comment
This site is protected by reCAPTCHA and the Google Privacy Policy and Terms of Service apply.
Similar Reviews