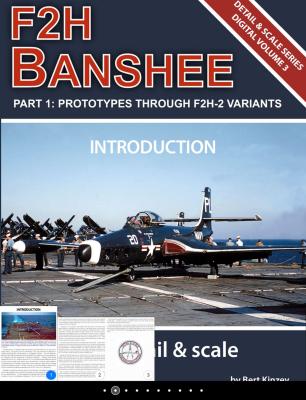
Thank you to Bert Kinzey and Rock Roszak for continuing to bring back a tremendous resource for the modeler, exclusively in a digital format. Thank you to the IPMS Reviewer Corps for allowing me to test out this new and exciting method of researching history, details, versions and markings of the McDonnell F2H Banshee. The official title is Detail & Scale Series Digital Volume 3, F2H Banshee, Part 1: Prototypes Through F2H-2 Variants.
Videoaviation is new to me and once I received the sample for review, I am wondering why I have not seen their fine aftermarket resin sets. Packaged in a sturdy plastic box, resin is protected by bubble wrap with all parts flash free and cast in light tan resin. A nice touch is the pour block on the pod is on the underside opposite the side on where it connects to the pylon. This makes it easy to remove that portion and sand contour without damaging features.
There are two choices on rocket types so take notes on what version you are modeling. These parts can easily be sanded free of the pour base. Instructions show to add lugs to the top but the sample already has these cast in simplifying the assembly however the lugs are very delicate and mine were broken. Not a problem if installing on a pylon and that detail will be hidden. Decals are included with all having a white background except for “Remove before Flight” flags.
Videoaviation is new to me and once I received the sample for review, I am wondering why I have not seen their fine aftermarket resin sets. Packaged in a sturdy plastic box, resin is protected by bubble wrap with all parts flash free and cast in light tan resin. A nice touch is the pour block on the pod is on the underside opposite the side on where it connects to the pylon. This makes it easy to remove that portion and sand contour without damaging features.
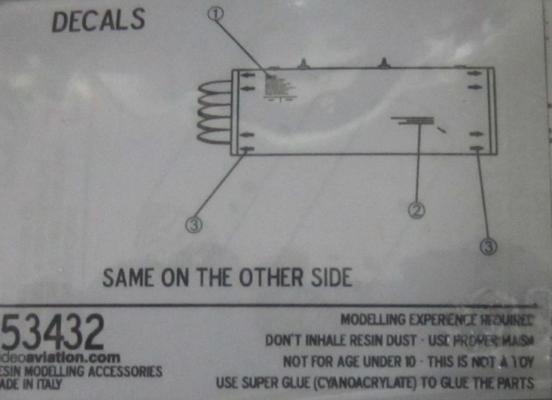
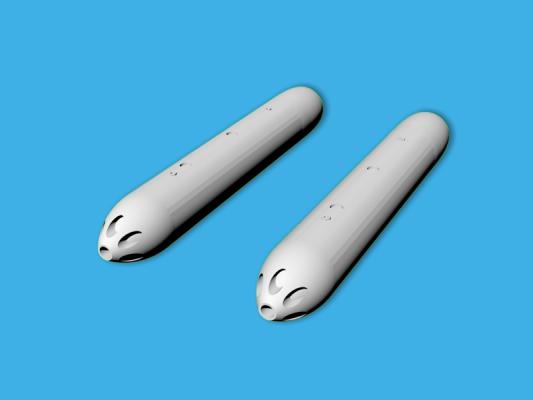
There are simply two parts to assemble , pod and exhaust plume deflector. Looking at reference photos, the plume deflector may be an option so check your references if you even need that part. Both parts can easily be sanded free of the pour base. Instructions show to add lugs to the top but the sample already has these cast in simplifying the assembly. Decals are included with all having a white background except for “Remove before Flight” flags.
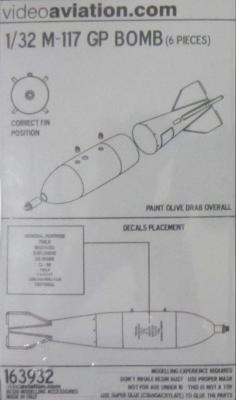
Videoaviation is new to me and once I received the sample for review, I am wondering why I have not seen their fine aftermarket resin sets. Packaged in a sturdy plastic box, resin is protected by bubble wrap. The forward bomb part, fuse and lugs are flash free but the aft section with fins have a very fine mold line that can easily be sanded. Parts are cast in light tan resin. A nice touch is the pour block on the pod is on the underside opposite the side on where it connects to the pylon. This makes it easy to remove that portion and sand contour without damaging features. There are simply four parts to assemble , front & aft sections, fuse and lugs(2). Decals are included with yellow text and clear background
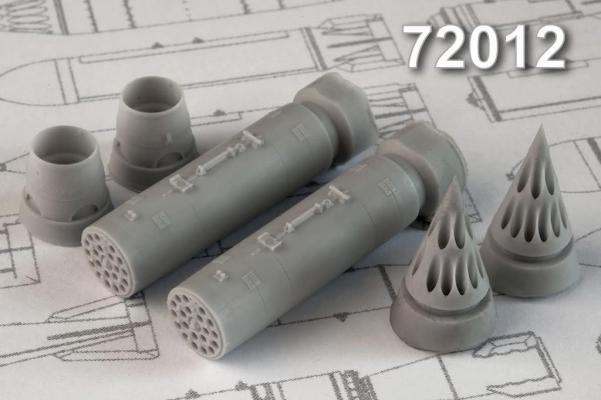
The B8M1 rocket launcher carries 80mm S-8 unguided rockets that can come in a variety of types. It is still in use by various countries and on various planes. Advanced Modeling has produced a wonderful 1/72nd scale version of this weapon to upgrade current kit parts or add something different.
The resin comes with enough parts for two rocket launchers that each consist of three parts - the main body, the nose cone and the back shroud. Simply cut the parts from the casting blocks and make sure they are square. Glue the parts together and fill any seams (I had almost none as the fit was good).
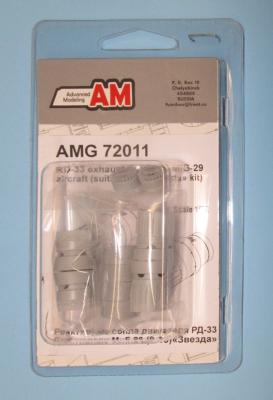
There is a new player in the Aircraft aftermarket world, and they hail from Russia: Advance Modeling. I had not heard of them till they appeared on the IPMS Reviewer list and I thought I would try out their resin exhaust nozzle set for the new Zvezda MiG-29 (9-13). The resin used is a light gray color, captures very fine details, and is easy to cut using a razor saw or equivalent. The package is simple but effective, with parts in clear bags held within a plastic shell that, when a single staple is removed, is hinged at the other end and opens up like an oyster. The instruction sheet is in English and Russian, and unfolds with easy to understand and follow graphics.
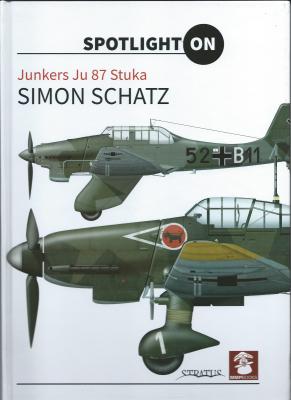
The Spotlight series of books consist of a large number of color profiles of multiple variants of the covered subject. The first page discusses the RLM colors of the various Stukas shown. This is followed by 42 beautiful color profiles from the early Ju-87A1s to the final Ju-87G2s. The last page shows top views of the Ju-87A-1, B-2 and D-5s.
If you love color profiles and I do, you will like this book. The numerous color profiles are beautifully rendered. The modeler will find many schemes for modeling the Ju-87 in any scale. Those who like WWII history, aviation history, Luftwaffe history and modeling will find this book very useful. I recommend it to all of the above.
Our thanks to Mushroom Model Publications for the review copy and my thanks to IPMS/USA for the review opportunity.
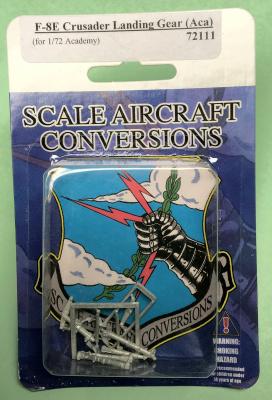
This set includes seven replacement pieces for the landing gear on Academy’s F-8 Crusader. There are three parts for the nose gear including the retraction brace and the main strut and two parts for each of the main gear. The parts are designed to be drop-in replacements for the kit parts.
The first step is to remove the casting seams of each of the parts. I use a small wire brush in my portable Dremel tool at low speed, to polish up the parts and remove these seams. I prefer to do the cleanup before I detach the smaller parts from the casting tree as it is much easier to handle them while they are still on the tree, plus they are much less likely to bend or go flying when they are still attached.
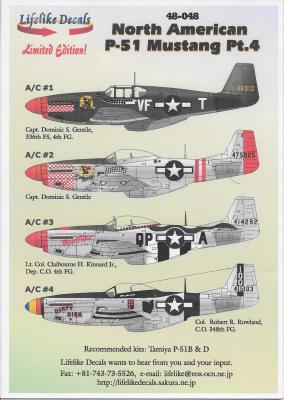
Likelike Decals from Japan just released a few new sheets, and this one covers the P-51 Mustang.
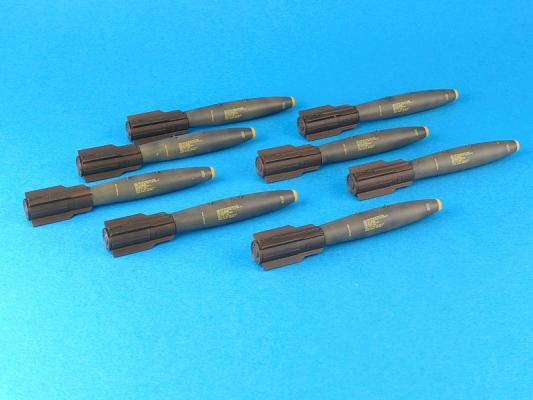
The Mark 82 serMK82 AIR is a 500 pound bomb modified with a BSU-49/B high drag tail assembly. The "ballute" air bag which deploys from the tail provides a high speed, low altitude delivery capability by quickly slowing the bomb and allowing the aircraft to escape the blast pattern. The tail assembly consists of a low-drag canister unit containing a ballute (combination balloon and parachute), and a release lanyard assembly that opens the canister releasing the ballute. The ballute assembly is made from high strength low porosity nylon fabric. When the bomb is released from the aircraft a lanyard unlatches the back cover which opens, releasing part of the nylon bag/retarder. Air turbulence at the rear of the bomb acts on that portion of the retarder, pulling the remainder out of the housing. Ram air inflation is accomplished through four air inlet ports toward the aft end of the ballute.

