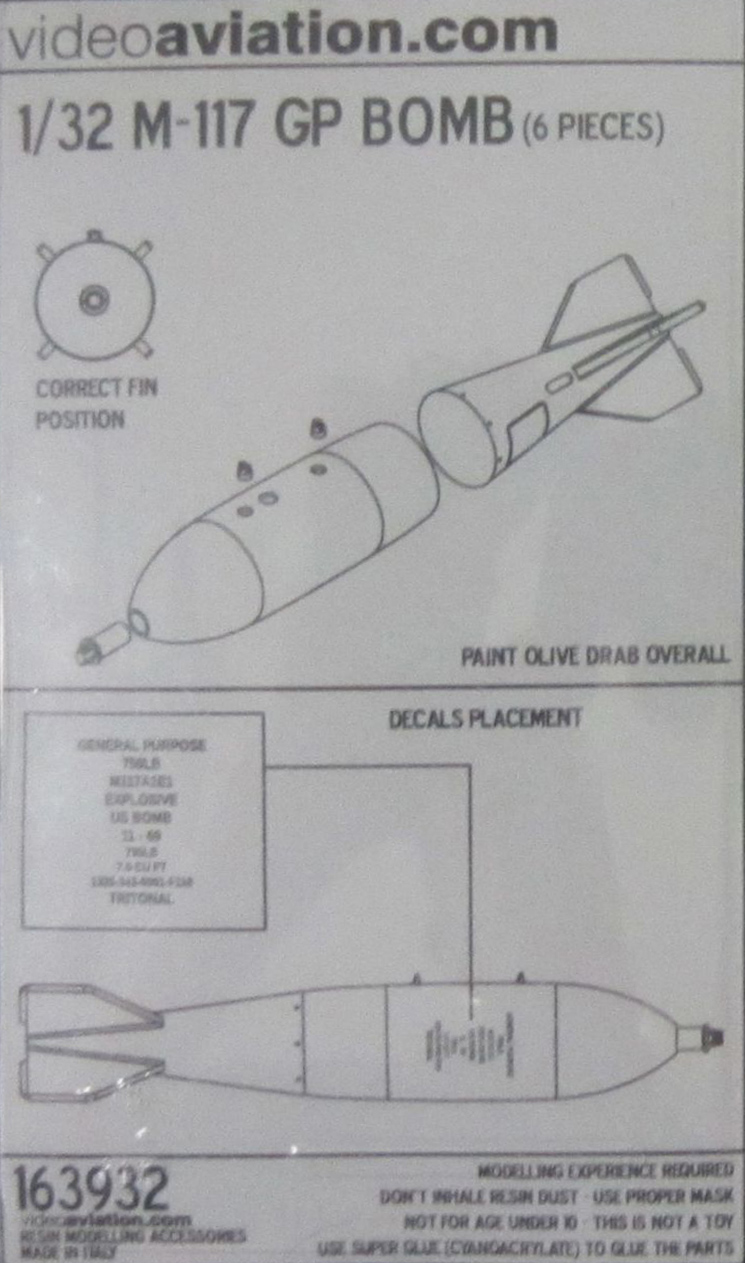
M-117 GP Bomb (750 lb)
Videoaviation is new to me and once I received the sample for review, I am wondering why I have not seen their fine aftermarket resin sets. Packaged in a sturdy plastic box, resin is protected by bubble wrap. The forward bomb part, fuse and lugs are flash free but the aft section with fins have a very fine mold line that can easily be sanded. Parts are cast in light tan resin. A nice touch is the pour block on the pod is on the underside opposite the side on where it connects to the pylon. This makes it easy to remove that portion and sand contour without damaging features. There are simply four parts to assemble , front & aft sections, fuse and lugs(2). Decals are included with yellow text and clear background
Assembly, painting and decals was fairly smooth however aligning the two halves takes some dry fitting and filler to close the excessive seams I created. Take care when removing the parts from pour block. I re-scribed the halves and fastener holes that got filler in them. Note the fuse can be shown with different lengths and I wanted mine flush but they can be made with a slight extension (not daisy cutter length). To add some contrast, I used two shades of green that were close, (Xtracolor) NATO green for the main body and dark green (FS14079). Using this choice of gloss paint, it eliminated the issue of silvering and that was key for the decals. Next I decided to add the yellow band on the nose which is not indicated in the instructions. Since these will likely be installed on a Vietnam era aircraft, I felt the yellow bands were a necessary choice. The bands were lightly painted since reference photos show many of the bands were fairly translucent or not very heavy. Now the decals, they are very fine and thin which is great but please be very careful. There are two spare decals and I destroyed my spares before I got it right. I pre-trimmed the first two to remove the clear carrier film and they folded under themselves and tore when installing. Do not trim the decals first and float the decal on the main body. You can trim after it is installed if you desire but that is where using gloss paint helps. A little bit of solvaset and the silvering is gone. Before the final coat, I added the lugs so they would not break while handling the parts during paint and sanding. A final coat of flat varnish and they are done.
I would like to thank Videoaviation for this review sample.

Reviewer Bio
David Horn
I have been building models since at least 8 years old and with a brief break after high school, model building started again late in college. My preferred subjects are aircraft of all eras and scales but a majority of my builds are 1/48 scale. I am the son of a USAF navigator who flew tactical airlift in Vietnam then his last 8 years he served at Altus AFB where he retired. My love of aircraft comes naturally and try to build subjects that I have a personal connection to. My day job parallels the hobby where I design full flight simulators ranging from small corporate jets, military fighter jets to the C-17. I hold a commercial pilot certificate and fly as a volunteer with the Civil Air Patrol. I really enjoy flying cadets, passing on the love of flight and inspiring future aviators.


Comments
Add new comment
This site is protected by reCAPTCHA and the Google Privacy Policy and Terms of Service apply.
Similar Reviews