
Jim Pearsall
Reviews By Author

|
MiG-21bis Photo Etch SetPublished:
Eduard has released a PE exterior and interior upgrade for their new 1/144 MiG-21bis. I’ve reviewed the kit separately. The “Kit”Inside the envelope, you get a 2 ½ by 3 inch PE fret, cockpit and canopy detail, decals, and the instruction sheet. There are enough parts on the PE to do one of the two MiGs in the kit, and some “extras” which could be used on the second aircraft, such as the two different sets of chocks or the tailpipe interior which doesn’t need to be installed if you’re using the exhaust cover. ConstructionAs usual with just about any aircraft kit, the cockpit interior is done first. Because of the small scale, it’s got some difficulty, but everything fits beautifully. The PE set includes additional side consoles, and there are decals… more |

|
MiG-21bisPublished:
This is the second of three reviews of the new Eduard 1/144 MiG-21s. The MiG-21 in its various forms has been around for a really long time, entering service in 1959, and it’s still in service. The early versions are considered second generation fighters, but the newer versions, such as the MF, SMT and bis are third generation. That big added hump on the fuselage and upgraded avionics/electronics bring the MiG-21 into the third generation. The KitYou get two of every part, with an extra canopy for each one. You also get a pair of Eduard masks for the kit(s). Four different MiGs could be built from the decals included – Finnish, Polish Navy (!), Bulgarian, and Hungarian. I chose the… more |

|
Pz.Kpfw.III.Ausf.L Late ProductionPublished:
The PanzerThe Panzer III was built by Daimler-Benz, and the A models were first produced in 1937. The first mass production version was the Ausf F, which entered service in 1939, just in time for Poland. The Panzer III was upgunned and armor added due to the experiences in Russia in 1941 and ‘42. The Ausf J, the model preceding the L, was equipped with the 50mm KWK L39/60 gun, which could penetrate the T-34s front armor at ranges under 500 meters. The L had the same armament, but the armor was increased to 50mm, with 20mm plates on the front and rear. This made the L pretty safe from the T-34 at longer ranges, but the KV-1 could still put it in the hurt locker. Also, with lighter side armor, even anti-tank rifles could penetrate from closer ranges at the… more |

|
F-106 Pitot TubePublished:
When I received the package with this item from Dave Morrissette, I thought the review might be a task, but this one turned out to be just wonderful. What you get is a turned brass pitot tube which just glues on to replace the Hasegawa pitot. The brass part has the correct shape and fits right into the hole in the kit nose. Then we come down to the part where this thing really paid off. I was fiddling with some fit issues with the canopy, and I hit the pitot with my sleeve. The plastic part would have been in about 4 pieces. The brass part just turned the nose (and the whole airplane) slightly. Zero damage. Highly recommended. The caveat here is that the Hasegawa kit is quite old, and there’s no interior, the seat is sub-standard, and the aftermarket for the kit… more |
|
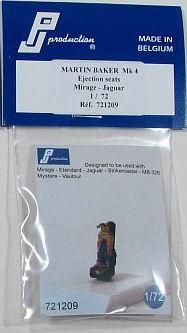
Martin Baker Mk 4 Resin Seat for Mirage/JaguarPublished:
I have built several PJ Productions kits, done at least one of their conversions, and a number of their detail parts. I have real respect for Phillipe’s ability to produce a really good resin product. You get one resin pour with 2 seats and 2 ejection handles. Both of the seats were free of flaws or bubbles, and those fine little handle assemblies were also flawless. Rather than start from scratch with this project, I thought I would take a Mirage I had built previously and add the PJP seat. I could have used a Jaguar, but decided that it would be nicer to improve one of my several Mirages. Then I ran into the problem. Three of the four Mirage kits I’ve built have been PJ Production kits or conversions, and they already had good resin seats. OK, I was going to use a… more |

|
X-15Published:
The AircraftThe X-15 was the first aircraft to “officially” make a space flight. The US considers any flight that reaches an altitude of 50 miles to be a space flight, and 8 pilots met this criterion. The FAI requires 100 km (62 miles) altitude for a space flight, and two flights, both with Joe Walker as pilot, achieved this height. The X-15 also holds the record for fastest manned aircraft, at 4092 mph. With all the publicity surrounding the X-15 program, I was surprised that there were only three built, and you can build two of them, 56-6670 and 56-6671. The third, 56-6672 could be built from the parts supplied, but you’d need serial number decals. The KitThis is one of Dragon’s 1+1 kits, and it comes with enough parts and decals to build two… more |
|
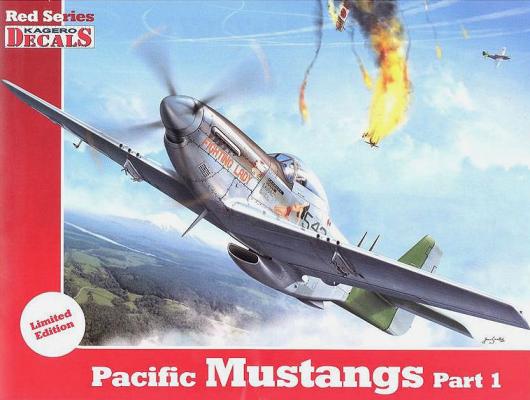
P-51/F-6 Pacific Mustang DecalsPublished:
These decals are first-rate from several perspectives. First of all, they’re very well researched, and Kagero seems to have gone out of their way to do subjects which aren’t common among decal makers. Second, the instructions are head and shoulders above anything I’ve seen as far as color instructions, decal placement instructions, and decal application instructions. Third, the decals are by Cartograf of Italy, and they are the industry standard for color, registration and ease of application. First, the subjects:
|

|
F-6D Photo Mustang ConversionPublished:
HistoryThe F-6D was a standard P-51D Mustang that was converted to photo-reconnaissance after completion. 126 P-51Ds built at Inglewood, California were converted to F-6Ds. The conversion consisted of 3 major items:
After I received the QuickBoost F-6 conversion, I decided I would like to build a famous aircraft, if possible. In my search through the internet, I found a very interesting, if little known, Photo Mustang. Most WW2 aircraft buffs are familiar with William Shomo, who won the Medal of Honor by shooting down 7 Japanese aircraft,… more |

|
The Werewolf from Dark ShadowsPublished:
The KitI’m not a big fan of Dark Shadows, it’s too much “Soap Opera” for me. I can’t follow who’s who, and what they’re doing from one episode to the next. But I really enjoyed the Round 2/Polar Lights 3 Stooges figures, so I went for this one. The kit is pretty standard for a large-scale plastic item, with only a few parts: head (2 pieces), body (also 2 pieces), two arms (2 pieces each), two 2-piece feet, and 2 hands. There are also an extra set of vinyl arms, which can be set up with a wire to allow changing poses. The joyful moment in this build came when I was reading the instructions and discovered that the optional extra “glow in the dark” head, hands and feet could be used to make a Midget Werewolf!! Yeah, I gotta do that. Building and Painting… more |
|
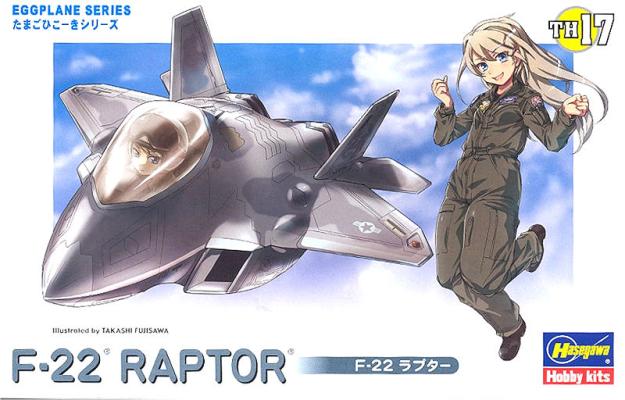
F-22 Raptor Egg PlanePublished:
This is my fourth egg plane. The first was an F-4 Phantom, probably 20 years ago. Since then I’ve done two F-16s, and now the F-22. The original Phantom was very much an egg with wings and stabilizers added. This “aircraft” looks pretty un-egglike. Either that or it’s a very weird chicken. The kit is pretty simple and goes together quite nicely. The fuselage is two pieces, separated top and bottom. The vertical stabilizers are separate parts, the landing gear is 7 parts, including the doors, and the canopy finishes the parts inventory. I put the fuselage halves together without glue. They include the wings and horizontal stabs. Then I painted the whole thing. I used Neutral Gray for the main color, with Euro 1 Gray for the dark patches and Dark Ghost Gray for the… more |