

Dave Morrissette
Reviews By Author
|
Scale Aircraft Modelling, Vol. 36, Issue 3Published:
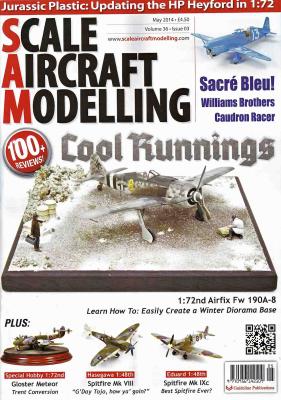
Each issue of Scale Aircraft Modeling follows a basic design and format. There are usually two Feature Articles, an Aviation in Profile piece, industry news and a series of Compact Build Reviews. The great news of or this issue is that there are three feature articles. The feature articles for this issue covers a build of 1/72 Revell H.P. Heyford, a 1/72 Airfix FW190A-8 in a winter diorama setting and a 1/48 Trumpeter A-3D Skywarrior as a bonus. The Heyford build is by Neil Pinchbeck and covers the construction of this vintage kit first released by Matchbox in the 1980's. I love this article as it shows just what can be done with a vintage kit including sections on correcting flaws, scratch building cockpits and rigging. The results are awesome. The second Feature… more |
|
F-4B PhantomPublished:
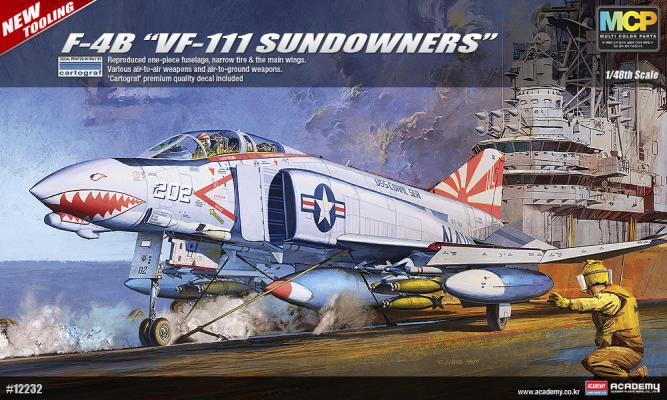
Academy's first release in a new series of 1/48 scale Phantoms is an F-4B in VF-111 "Sundowners" markings. There are 15 spectacular sprue with one being clear. The rest are colored to the specific areas of the plane. the bottom parts are white, the top gray and metallic parts black. Panels lines are fine and there are some real innovations. For example, the engine exhausts are molded as a complete tube so there are no seams to fill and they look great. There is also a complete set of weapons with the needed bombs and missiles and a full set of drop tanks. Construction starts in the cockpit. The kits parts are very nice but I did use the Eduard PE set for the cockpit. One nice feature of the kit is that the cockpit side instrument panels are separate and can be painted… more |

|
Munster's Monster TruckPublished:
When I heard we were having all the grandchildren down for Spring Break, I knew it would be a good time to build a kit with my Grandson Parker. Up on the list comes AMT/Round 2's 1/25 Munster's Monster Truck and I snagged it up. Parker was excited about having the chance to build with Grandpa almost as excited as I was and we dove into the kit the day he arrived. The kit is molded in black with two sprues of chromed parts, instructions, a full set of decals, and the giant tires naturally. This is a full glue kit and includes a lovely decal sheet of Hermann Munster's face that is beautifully printed. One of the first things to realize with this kit is that there are spare parts and a fair number of them left over from previous incarnations. This includes duplicate light… more |
|
Scale Aircraft Modelling, Vol. 36, Issue 2Published:
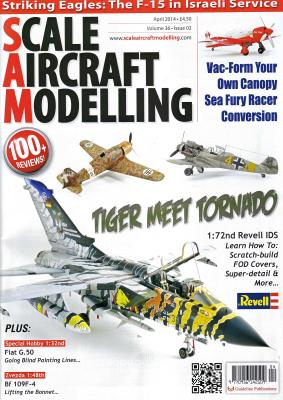
Each issue of Scale Aircraft Modeling follows a basic design and format. There are usually two Feature Articles, an Aviation in Profile piece, industry news and a series of Compact Build Reviews. The Feature articles for this issue covers a build of 1/72 Revell Tornado IDS build in Tigermeet markings and a 1/32 Special Hobby Fiat G.50. The Tornado build is by Pierre Baldru and covers the construction and painting of this colorful kit. He modifies the kit with Aires Wheel Wells, Master pitot tube, Verlinden seats and Eduard RBF tags. The kit is then finished with a remarkable German Tigermeet scheme with the entire plane striped. It looks fantastic The other Feature article from James Ashton and covers building the 1/32 Special Hobby Fiat G.50. No aftermarket is used and… more |
|
Captain America Monster TruckPublished:
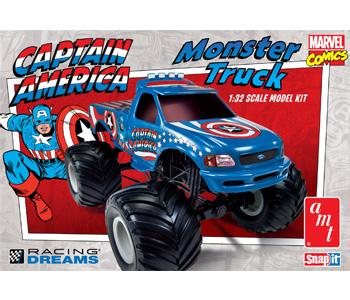
I knew the grandkids were coming for Spring break and also like building models with Grandpa so when the AMT Captain America Truck came up for review, I snagged it to build with my granddaughter, Lilli. Since she is a younger builder, this kit is perfect as it is a SNAP fit with stickers for decals and requires no painting (although we did some anyway). The kit is only 25 parts plus stickers and instructions. The undercarriage parts are molded black and the body and accessories are blue. Lily did almost all construction herself, cutting the parts and snapping them together. I do recommend gluing the bumpers in place and the smoky glass (there's no interior) in place as fit is not super tight and the bumpers are the connection point to the undercarriage. The frame and… more |
|
F-4B Interior SAPublished:
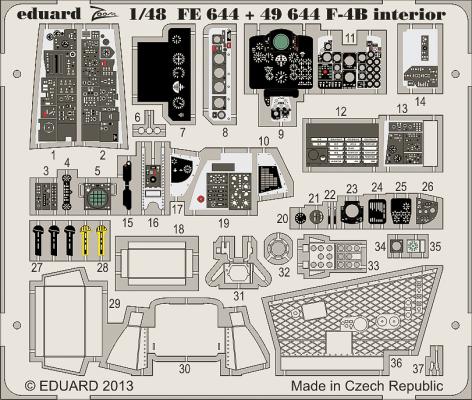
Eduard has released this set of photoetch to enhance the new Academy F-4B in the cockpit and canopy areas. The set contains one fret of brass that details the canopies, canopy sills and areas around the canopies. A second colored fret details the instrument panels and interior of the cockpit and is of the self-adhesive type. The set has excellent instructions. To use the preprinted side panels you will have to sand the kit panels smooth. The same process is done for the rear instrument panel. The front instrument panel is all photoetch and does require some bends. The sidewalls in the kit are very nice, and the replacements are very nice also. This, to me, is a modeler’s choice as both options are great. The highlight of these photoetch interiors are the instrument… more |
|
A-10 Thunderbolt II - GAU-8 Avenger Gun Tip and Pitot TubePublished:
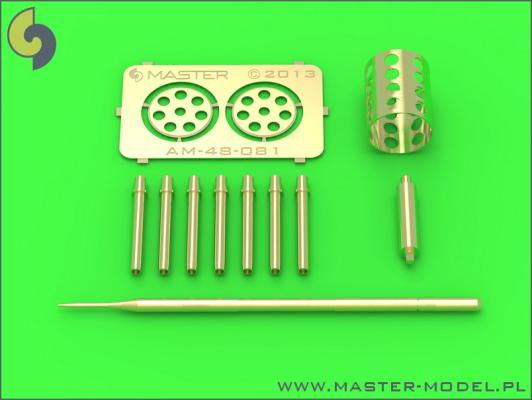
I have several of Master-Models pitot tubes in my stash and when I saw this latest set, I jumped on the review item as they have out done themselves again. This is a GAU-8 Avenger Gun Tip for the A-10 Warthog. The set also includes a replacement pitot tube. In the set, you get 2 photoetch pieces making the ends of the gun barrel with holes for the barrels and center support. Your get one turned brass center post and seven turned gun barrels and the gun barrel cover in turned brass with drill holes- this piece is spectacular in its craftsmanship. Lastly, you get the tuned brass pitot tube. Assembly is simple. Glue one end on the barrel housing. Insert the center shaft and glue the other end on making sure the holes are aligned with one another. Once dry, glue in the… more |

|
Lost in Space Robot B-9Published:
Danger, Danger Will Robinson… Moebius Models has come to the rescue of all those living in our past and loving Lost in Space. Their latest release, in beautiful 1/6 scale, is the original bubble headed booby, the B-9 Robot which played such a huge parts in the series. The robot itself was played by Bob May and voiced by Dick Tufeld. If you are my age, almost everyone I know remembers at least one of the robot’s lines. The B-9 Robot may be one of the two most famous robots in TV and movies, along with Robbie. Let’s dive in and look at the kit. The basic parts for the kit are done in a medium-soft gray plastic, and are comprised of seven sprues and four torso parts. Two clear sprues are also included, along with a small photoetch fret and a decal sheet. Last, there are… more |
|
RA-5C Vigilante Pitot Tube and AOA SensorPublished:
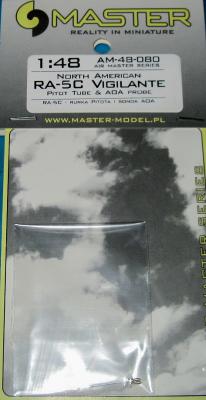
Master Model from Poland makes turned metal parts for ships and aircraft. They can be used for replacements or, more importantly, improvements. The set reviewed here is for Trumpeter’s 1/48 RA-5C Vigilante kit. The set consists of two turned brass parts to replace the AOA sensor and pitot tube. The parts come in the usual pouch, and have a nice set of instructions. You will have to drill a small hole for the AOA sensor. There is a great picture of the pitot here. As you can see from the comparison shots, the kit pitot is a nice attempt, but it… more |
|
Scale Aircraft Modelling, Vol. 36, Issue 1Published:
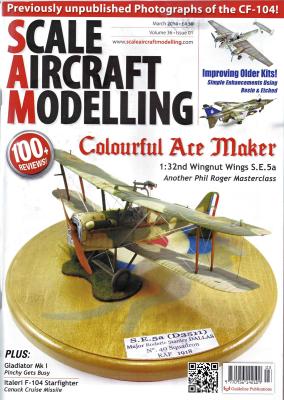
Each issue of Scale Aircraft Modeling follows a basic design and format and this one is similar. There are usually two Feature Articles, an Aviation in Profile piece, industry news and a series of Compact Build Reviews. The Feature articles for this issue covers a build of Wing Nut Wings 1/32 S.E.5a and a 1/48 Eduard PKZ-2. The WNW S.E5a is a fantastic kit to begin with and the author, Phil Roger does a spectacular job. He uses a special method for oxidizing the exhaust pipes and shows the rigging and weathering in many detail shots. The other Feature article from Dai Williams and is the start of a series called ":flying Oddities' and the PKZ-2 is odd. This a WWI helicopter which was basically a manned platform with an engine that was tethered to the ground and went up. Mr… more |