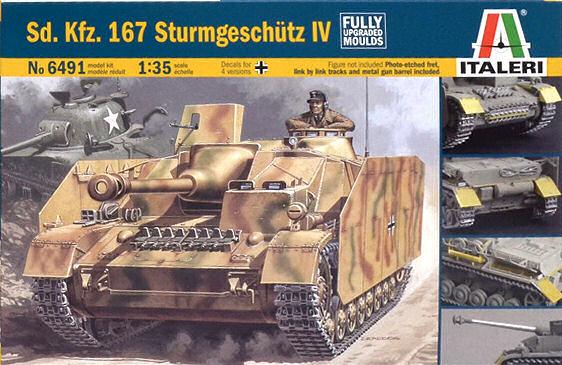
Sturmgeschutz, abbreviated StuG, was the weapon of the Strumartillerie, the branch of the German Artillery tasked with close fire support of infantry. StuGs were very successful in their intended support role and destroyed, among others, many bunkers, pillboxes, and other defenses. The StuG is not generally considered to be a true tank because it lacks a turret. The gun was mounted directly in a casemate-style fashion, with as low a profile as was possible to reduce vehicle height, and had a limited lateral traverse. Omitting the turret made production simpler and less costly, enabling greater numbers to be built. By late 1943, improved Allied tanks and tank destroyers with improved guns, rotating turrets, and superior mobility forced the StuG into being primarily an ambush weapon. From December of 1943 to March of 1945, 1139 were produced by Krupp at Magdeburg. StuG IV (Sd.Kfz.167) was armed with a 75mm StuK 40L/48 gun mounted in a cast version of “saukopf” mantlet.
What's New
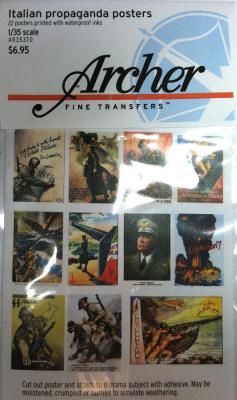
Archer Fine Transfers has released some of the best decals and dry transfers an armor modeler could ever ask for. Now they have gone it again and released a gem for Italian Company Dioramas.
This set includes 22 posters printed in waterproof ink packaged in a baggie with the standard Archer Logo. These miniature posters measure ¾ x1” and are sharp and very colorful. Printed instructions are on the back side and read, “Cut out poster and attach to Diorama subject with adhesive. These may be moistened, crumbled or burned to simulate weathering.” I have used some old Verlinden posters in the past with great success and these Archer ones are even better.
My thanks to Archer Fine Transfers and IPMS for the chance to review this great product.
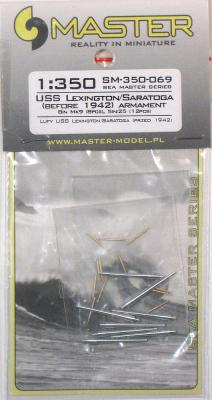
Thank you to Iwona and Piotr Czerkasow of Master Model and all those at IPMS Reviewer-OPS for providing me an opportunity to examine and apply some delightful parts for improving a ship model kit. Model Master’s recent addition to their Sea Master Series is very welcome. The aftermarket world is indeed enhanced with the products Master Model offers.
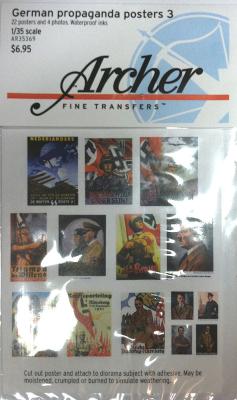
This 1/35 scale set of 22 posters in waterproof ink is a must for diorama builders invading/defending The Fatherland. These posters measure ¾ x 1” and are a great addition to dioramas. The colors are bright and the lines are sharp and crisp. The only thing that I see to be a problem is the instructions. They simply read, “cut out poster and attach to diorama subject with adhesive. May be moistened, crumpled or burned to simulate weathering.” The word” burned” scares me. Just be careful not to overburn them, you may not have a poster to mount.
My thanks to Archer Fine Transfers and IPMS for the opportunity to review this item.
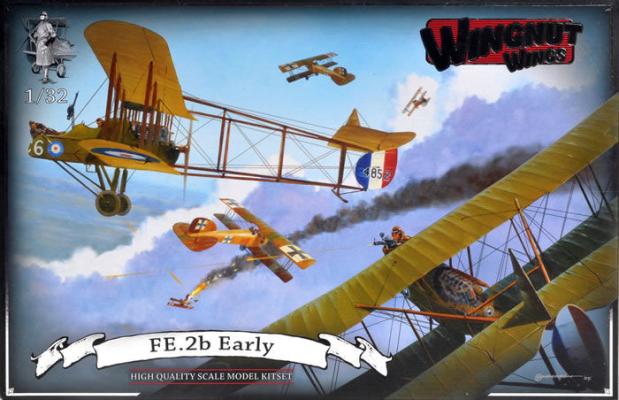
The “beast” is finished. I used two sizes of EZ Line for the structural and the control rigging. I did use monofilament, 0.007”, for the rigging on the tail booms. The booms support a lot of weight when the FE is up on its landing gear, so it needs actual rigging support. Monofilament is called for here. However, the EZ Line wasn’t so…EZ...
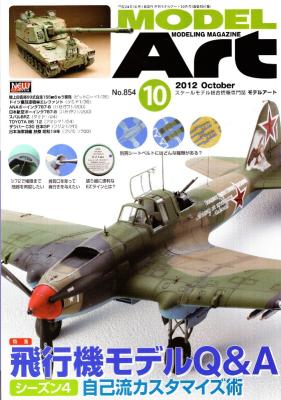
This is another quality issue from Model Art Modeling Magazine. The text is in Japanese, with very little English. The pictures are top notch, so it does make it easy to follow along.
In the October issue, they do a series of questions and answers to what appears to be some common modeling questions. They use a series of new model releases to accomplish this. These include the 1/72nd Tamiya A6M5 Zero, 1/48th Hasegawa Ki-44 Tojo prototype, the 1/32nd Zoukei-Mura P-51D, Sankei 1/144th Alert Hanger (this appears to be in a pre-cut heavy cardstock), 1/48th Trumpeter Supermarine Spiteful, and the 1/48th Tamiya Sturmovik.
There is an article about each of the above models, and each one has a Q&A section. Topics range from different aftermarket seatbelts, how to reproduce rivets with straight pins, marking lights, panel line washes, and aerial antennas using EZ line.
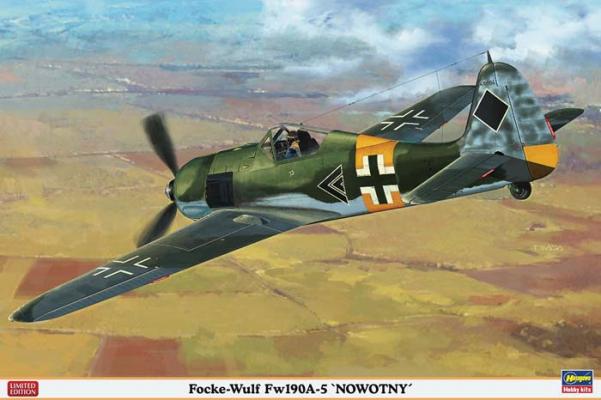
The Fw-190A-5 was different from earlier versions in that the nose was extended forward 6 inches to help change the center of gravity. This would help with a planned addition to the armament.
The Kit
This kit is made up of 108 parts. It has 5 injection molded grey sprues and 1 clear plastic sprue. The moldings are very crisp and the clear parts are also flawless. The decal sheet is not so flawless. My copy had nicely printed decals that were semi-gloss but had spots of very high gloss over them (like something spilled on it). This worried me just a bit. Looking at the parts, I noticed that Hasegawa supplies the wrong wheels and tires for this type. Resin aftermarket parts are easily available, though.
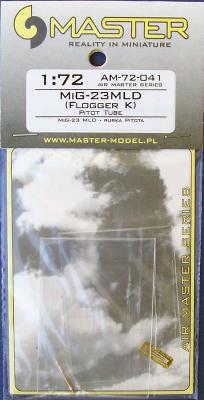
This is another of Master’s growing list of pitot tubes for specific 1/72 scale aircraft. This set continues in the tradition of excellent, quality products from this company. Master’s MiG-23MLD set includes a turned-metal pitot tube and photo etched brass vortex generators. These vortex generators direct air flow when the aircraft is at high angles of attack. If they are placed correctly, this might hold true for your model also. As you can see from the photos, these pieces are much more convincing than the pitot tube supplied in the kit. My only caution would be about gluing the photo etched parts to the sides of the brass pitot tube. I think a little patience will be required since there isn’t much surface area to work with.
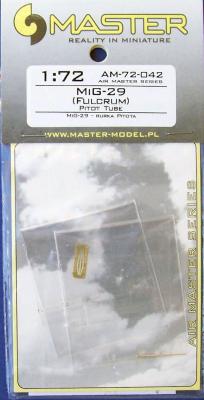
I’ve reviewed a couple of these products before and was impressed with the quality of their workmanship. Master continues the trend with their latest release. The MiG-29 set includes the pitot tube itself and two small, photo etched strakes. On the real machine, the strakes are positioned on either side of the area where the pitot tube meets the nosecone to help direct airflow when the aircraft is at high angles of attack (AOA). As you can see from the photos, this little masterpiece is a definite improvement over the kit-supplied piece. In this case, the kit is the Italeri MiG-29. Master’s rendition accurately captures the multi-diameter shape of the original.
The pitot tube has a peg which fits neatly into the nose of the model. Though I haven’t done so, I think gluing the strakes to the pitot tube and nose will be a challenge. There just isn’t much surface area. Perhaps slicing a small groove on either side of the nosecone will offer more purchase.
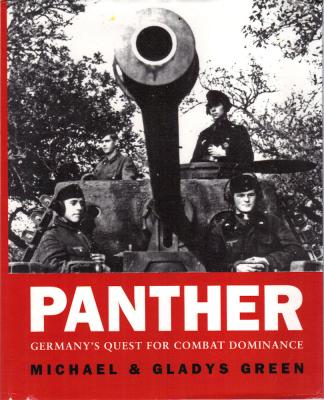
The Greens have written a detailed, very readable account of the Panther tank (Panzerkampfwagen V, Ausfuhrüng D). Michael Green has first-hand knowledge of the Panther, as he was a member of the team that restored a Panther A, now part of the late Jacques Littlefield's collection in Portola Valley, CA. I'm not an armor buff myself but found the book easy to read and understand. The book is well written, and both armor buffs and modelers can each take away all the detail or general info they desire. The book provides color photos of restored tanks' interior and exteriors, and WWII black & white photos of operating and knocked-out tanks. Best of all, the Greens provide first-hand accounts of the Panther's effectiveness in battle from official British and US reports, as well as eyewitness accounts of the Panther in battle.
Background:

