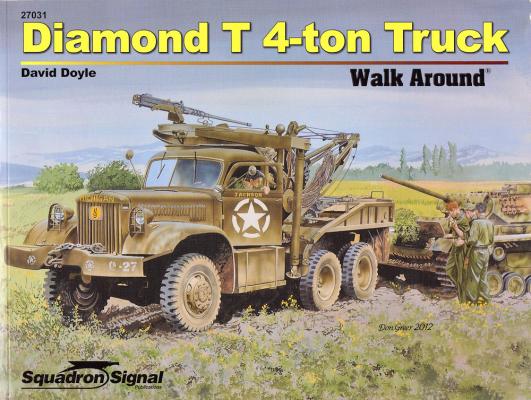
At first glance, the Diamond T 4-ton Truck looks like the “Deuce and a Half” (2½ CCKW GMC series) on steroids. The U.S. Quartermaster Corps and Corps of Engineers needed a truck that could do everything the “Deuce and a Half” could do – and much, much more. The Diamond T 4-ton truck filled the bill, serving throughout WWII in all theatres. But the Diamond T had one major problem: it cost as much as twice that of the CCKW! So it was bought in smaller quantities and served the U.S. Military just over 10 years. It was the basis upon which the post-war M-34/M-35 2½ trucks and M-41/M54 5-ton series were based.
What's New
History
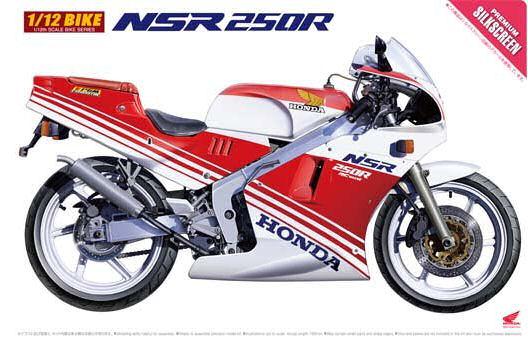
Introduced in November of 1987, the NSR 250R was the second generation of the NSR line. In what many would call the best year for the NSR line, that model year introduced many innovations that made it a race winning performer. The most significant advance was the PGM module that controlled the carburetor performance, based on input from the throttle and speedometer to adjust the carbs in real time. This was the first computer control of its kind on a Honda motorcycle. This was in conjunction with the Honda RC, or” revolution control” system, an adjustable exhaust valve that constricted outflow at low RPM and opened at high RPM to produce optimum power at any throttle setting. Added to coated pistons to reduce friction wear were larger tires to keep the bike on the road and a powerful 249cc engine producing 49 hp. I’ve never ridden a motorcycle over 125cc and I thought that was impressive!
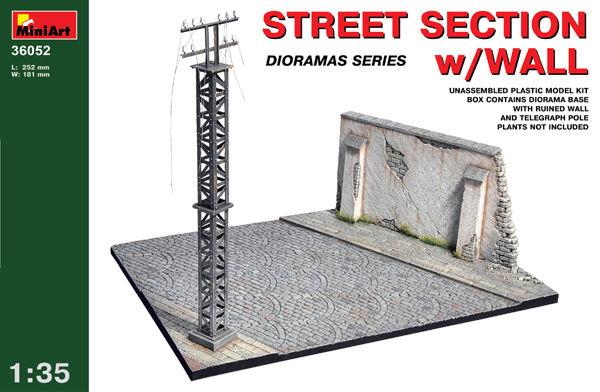
This review is of the MiniArt Street Section with Wall, a part of their diorama series of bases for armor models. Like the other section I built in an earlier review, this was also pretty easy to build. When weathered, this looks nice when finished.
First, you get a sheet of very soft plastic to use as the base with a cobblestone street and some sidewalks. This has some very well done details with the cobblestones and sidewalks. The base is marked off for where you will put the wall, as in the other diorama.
Now, this one is fairly easy and simple to build. It comes with a tower you have to build, but like the other dioramas they offer, this is an optional piece. I, for one, plan to use the manhole cover and drain from the other review I did to complete the street scene. I will also add some rubble and dirt.
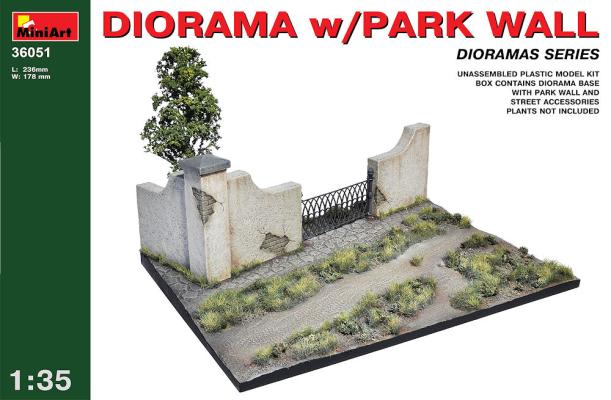
This review is of the MiniArt Diorama with Park Wall, part of their diorama series of bases for armor models. It was a pretty easy build, and it looks nice when finished, but it did take some work and some modifications to make it look good.
First of you get a sheet of very soft plastic to use as the base. This has some very nicely done details with the pathway and some small rocks in the road. The base is marked off for where you will put the wall.
Brassin Detail Sets
- Cockpit/Radio Compartment – Stock No. 648074, $28.99
- DB-601 Engine – Stock No. 648059, $28.99
- MG-17 Mount – Stock No. 648060, $28.99
- Wheel Set – Stock No. 648058, $5.99
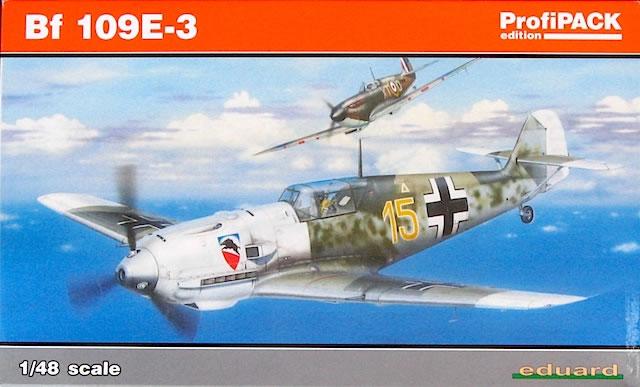
Eduard’s Bf-109E series has released all the variants of the Emil. This is the first time, other than the Royal Class, that the E-3 version is available. The Profipack release is typical Eduard quality with the suitable extra items, such as photo etch and masks. While a good deal and adequately detailed right from the box, what happens when you add all the Brassin items designed for the kit? Well we are going to find out.
The Aircraft
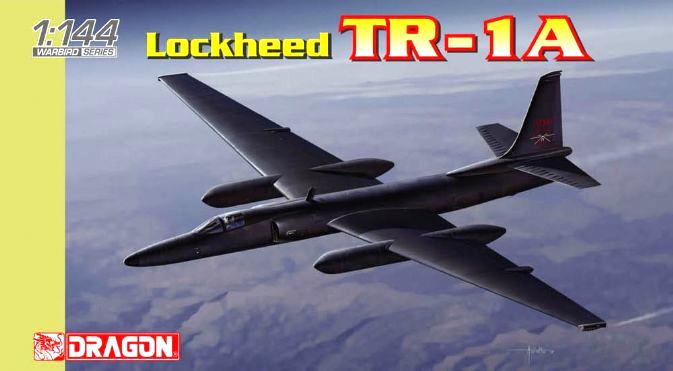
The TR-1A is/was a development of the famous U-2. The U-2 is a high-altitude reconnaissance aircraft with multiple sensor arrays, allowing photo, radar, electronic, and signals intelligence. The original U-2A was developed for the CIA by Lockheed, using a fuselage from the F-104 and extra-long, glider-like wings. This allowed the U-2 to fly at altitudes well above those which could be reached by any other jet aircraft. The U-2’s ability to fly over any area with impunity ended with the development of the Soviet SA-2 Guideline SAM, which shot down Francis Gary Powers over the Soviet Union in 1960 and Major Rudolf Anderson Jr. over Cuba in 1962.
The TR-1A was put into production in the 1980s as a tactical reconnaissance aircraft. It is identifiable by the two large sensor “superpods”, one on each wing. It is identical with the U-2R, and all TR-1s have been redesignated as U-2Rs. The U-2R is larger than the original U-2.
The Aircraft
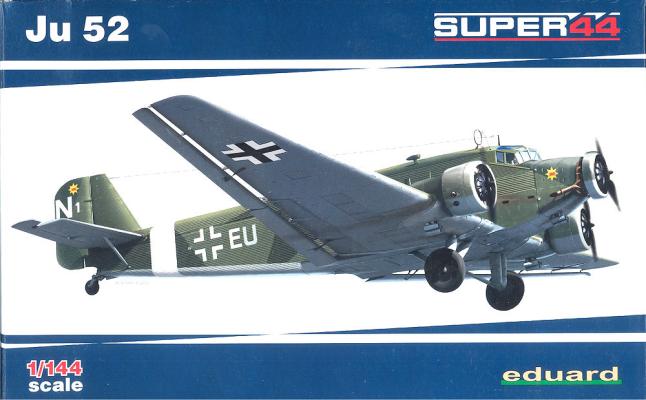
The Junkers Ju-52/3m was a continuation of the Ju-52/1m. The 3m stands for three engines (dreimotoren), the 1m stands for one engine (einmotor). The prototype was built with one engine, but it proved to be badly underpowered, so two more engines, one on each wing, were added.
The other feature of the Ju-52 was the corrugated skin on the wings and fuselage. The idea, originated by Junkers in World War I, was to add strength to the aircraft without adding weight. The Ford Trimotor used this, too. Although it worked, the corrugations added drag. It can also be an additional task for the modeler when filling seams.
The Kit
The PE set consists of two frets of PE. They seemed to be set up so that one covers the interior, the other the exterior. Some of the parts are prepainted, and some are left in “natural” brass.
The Aircraft
The Ju-52 was actually known as the Ju-52/3m. The 3m stands for 3 engine (dreimotor). The original Ju-52 was the Ju-52 1m which was single engine (einmotor). When the prototypes were flown, it was discovered that the plane was underpowered, and two engines were added, one on each wing.
The Ju-52 had an interesting exterior. The outer skin was corrugated, giving the skin far greater strength than a flat sheet of metal. This allowed the plane to have fewer spars and braces, so it could be lighter, which increased the cargo carrying ability. Unfortunately, the wrinkled skin also added drag, but in the 1930s there was much less interest in high speed and more interest in ease of assembly and maintenance.
The Ju-52 was known as “Tante Ju” (Aunt Ju) and “Iron Annie”. The Ju-52 remained in production until the end of the war, and some continued in service until the late 1970s.
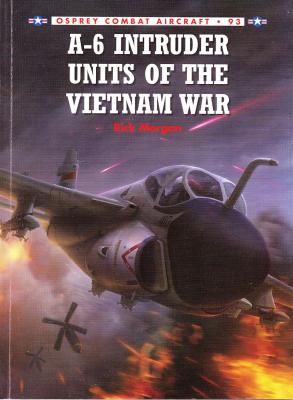
Vietnam was called “The Helicopter War,” which suited me just fine, having served as a UH-1H “Huey” doorgunner. But as a modeler, a Long Islander (home to Grumman and Republic), and an armchair historian, I have to concede that quite a number of other aircraft types served heroically, if not stoically, and are owed much, much more appreciation for the extraordinary tasks they accomplished under some of the most suicidal “rules of engagement” ever self inflicted upon a combatant. The Grumman A-6 Intruder has starred in a couple of books and movies, with her pilots among the authors. Indeed, the author of this book, Rick Morgan,”is a retired Navy Lieutenant Commander with more than 2300 hours of flight time… principally in EA-6B Prowler, A-4 Skyhawk and A-3 Skywarrior type aircraft.” Though too young to have served in Vietnam, Morgan flew combat in Desert Storm.
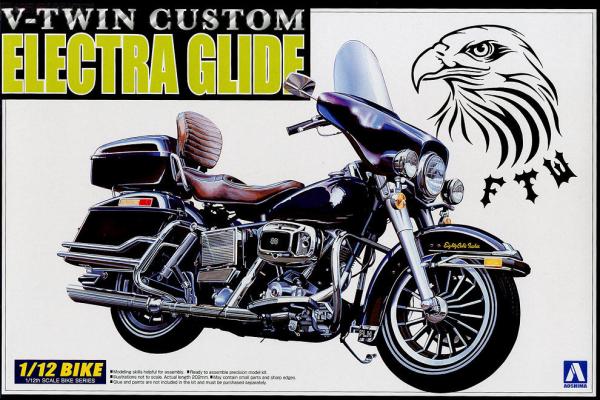
The parts are molded in gray, black, and chrome. According to the instructions, the first step in assembly is the motor. The locating pins are small, making it hard to line up the parts. I used a slow-drying plastic glue rather than cyanoacrylate to make sure it was aligned properly.
Then I dip-painted the fenders, gas tank, carry boxes, and parts F-9 and F-10, using a special process with water and paint. I sprayed black and chrome into a five-gallon bucket filled with water, then hand-dipped each completed and prepared part in. As I withdrew the parts, the paint, floating on top of the water, coated each part in a swirling, soft-edged pattern.

