The origin of Pen and Sword Books is closely linked with its sister company, the Barnsley Chronicle; one of the UK's oldest provincial newspapers – established in 1858 – and one of the few weeklies still in private ownership. The first books published by the company were in response to public demand following of a series of articles published in the newspaper: Dark Peak Aircraft Wrecks told the story of crash sites in the Dark Peak area of the Peak District National Park, and a further weekly feature on the history of two Kitchener battalions, known as the Barnsley Pals, aroused a thirst for more information. Following on from the success of Dark Peak Wrecks and Barnsley Pals books, a number of local history paperbacks were produced along with a series of battlefield guidebooks. Battleground Europe proved immediately successful, and as more and more titles were produced the company made the decision to launch a book publishing arm of the group.
What's New
I don’t think I’m alone in the feeling that when building an airplane kit, the most challenging aspect (at least in terms of painting) is inevitably the cockpit. And within the cockpit, the most challenging aspect is almost always the instrument panels. Over the years I’ve developed a pretty steady hand at this kind of work, but that doesn’t mean I actually enjoy it. It’s usually with a sigh of relief when I can set down an instrument panel with a full paint job on it.
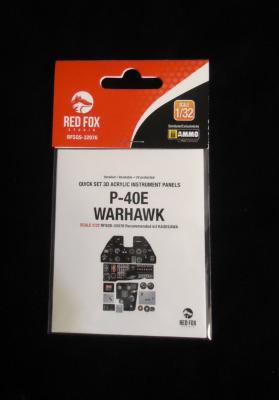
Red Fox Studios, a company out of Hungary, has come up with a product line that I am now head over heels in love with. They are releasing a series of detail sets which include not only full-color instrument sets for various aircraft, but fully three-dimensional instrument panels at that, with every instrument and button fully realized. I have literally never seen anything like them before, and I am mesmerized.
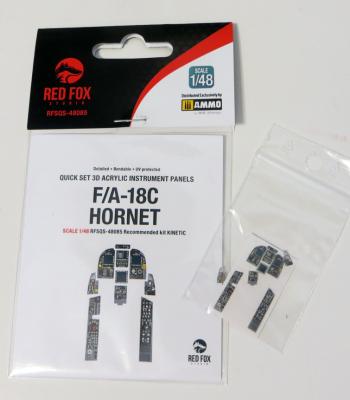
Red Fox Studios are a new company to me. Based in Hungary, they are a producer of resin upgrades and decals, including a range of 3D instrument panel decals, of which this review item is one.
Designed for the Kinetic 1/48 F/A-18C Hornet kit, this product has a plastic, non-flat surface with a 3D effect. It is best glued with cyanoacrylate, but PVA or other glues can also be used. The product can be washed with both oil-based and acrylic paints. It can also be minimally bent or sanded.
Having started the kit, I first painted and decaled the pilot’s cockpit using the kit-provided decals. I used setting solution to help these settle over the kit’s nicely-moulded in detail. These looked OK and would have been perfectly suitable under a closed canopy.
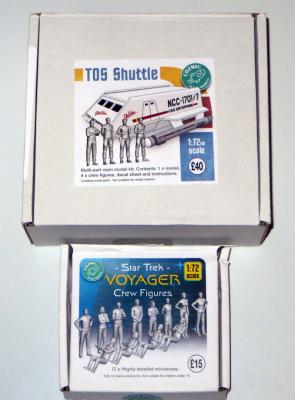
Fans of the original Star Trek series will recall such classic episodes as The Galileo Seven, where one of the Enterprise’s shuttlecraft, the Galileo, and her (7) crew members are trapped on an alien planet and are being attacked by mysterious hairy beasts with weak pole-throwing abilities….
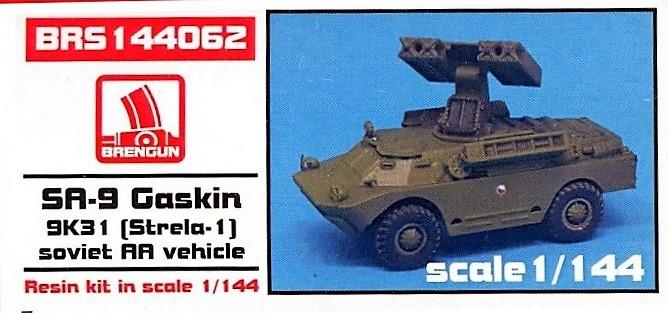
Hot on the heels of Brengun's 1/144th scale BDRM-2 scout car (item # 144061 ) comes the anti-aircraft version of the base vehicle. With addition of some optional parts the vehicle is equipped with the launcher for the Strela-1 missiles and additional ready rounds that mount the outside of the vehicle. Following on the previous release (the basic BRDM-2) Brengun also includes some photoetch for rear details (propulsion cover and rear stowage lockers), rear taillights, headlamp protectors for the front and a chassis mounted rear view mirror.
Putting this all together begins by removing the resin pouring stubs from the appropriate components. The tires are cast as single parts and benefit from drilling out the mounting dimples to achieve a better fit on the axle stubs integral to the main chassis. All the resin bits cleaned up without any bother. There is nice detail on all resin parts particularly on the rear deck, launcher, and the tread pattern on the tires.
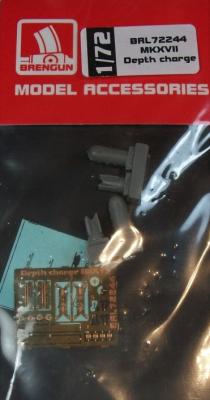
Hauler has provided another addition to the 1/72 aircraft weapons arsenal with these World War two Depth Charges and bomb rack.
The detail quality is great. Be very careful when removing the fin end of the Depth Charges as they are very fragile, and I broke one. The parts once removed from the mold base are ready to assembly. There is also a small Photo Etch sheet with some very delicate parts that need careful removal and added to the assembly
The Assembly is quick and easy. The final part is painted Olive Drab and looks great as an addition to any 1/72 Aircraft
Thanks go to Hauler/Brengun for providing this kit to review and IPMS USA for allowing me to review it for them
History
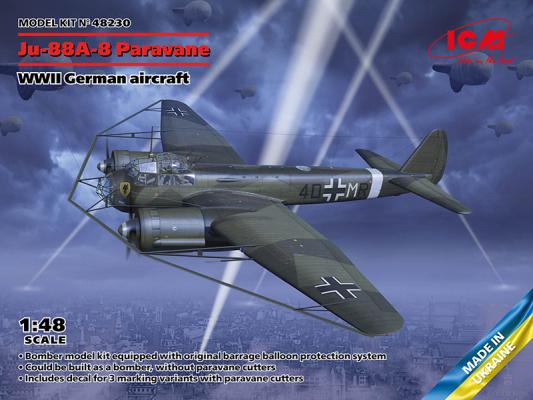
The Junkers Ju 88 is a German World War II Luftwaffe twin-engined multirole combat aircraft. Junkers Aircraft and Motor Works (JFM) designed the plane in the mid-1930s as a so-called Schnellbomber ("fast bomber") that would be too fast for fighters of its era to intercept. It suffered from technical problems during its development and early operational periods but became one of the most versatile combat aircraft of the war. Like a number of other Luftwaffe bombers, it served as a bomber, dive bomber, night fighter, torpedo bomber, reconnaissance aircraft, heavy fighter, and at the end of the war, as a flying bomb.
Brief History From Wikipedia
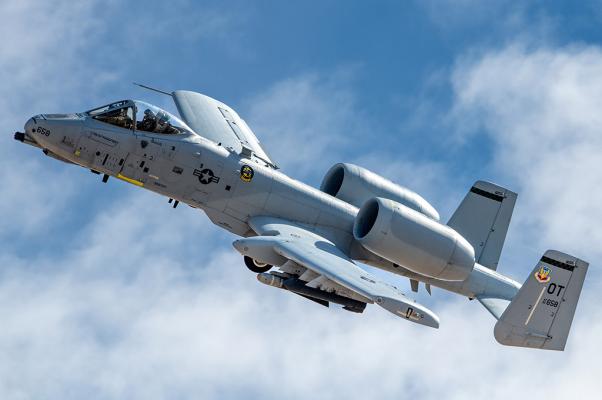
The Fairchild Republic A-10 Thunderbolt II is a single-seat, twin-turbofan, straight-wing, subsonic attack aircraft developed by Fairchild Republic for the United States Air Force (USAF). In service since 1976, it is named for the Republic P-47 Thunderbolt, a World War II-era fighter-bomber effective at attacking ground targets, but commonly referred to as the "Warthog" or "Hog".[4] The A-10 was designed to provide close air support (CAS) to friendly ground troops by attacking armored vehicles, tanks, and other enemy ground forces; it is the only production-built aircraft designed solely for CAS to have served with the U.S. Air Force.[5] Its secondary mission is to direct other aircraft in attacks on ground targets, a role called forward air controller-airborne; aircraft used primarily in this role are designated OA-10.
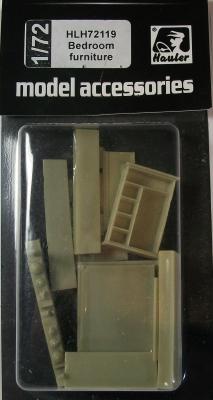
Hauler has provided another addition to the great Diorama releases with this Bedroom Furniture set. The set includes a double Bed, two bedside units, a Wardrobe, two table lamps and two telephones.
The detail quality is great. The parts once removed from the mold base are ready to assembly.
Be careful when removing the side table lamp as they break easily. Also be careful not to drop a telephone on the carpet it will never be seen again as I found out!
The Assembly is quick and easy. The final part is painting them how every you want and looks great as an addition to any diorama.
Thanks go to Hauler for providing this kit to review and IPMS USA for allowing me to review it for them
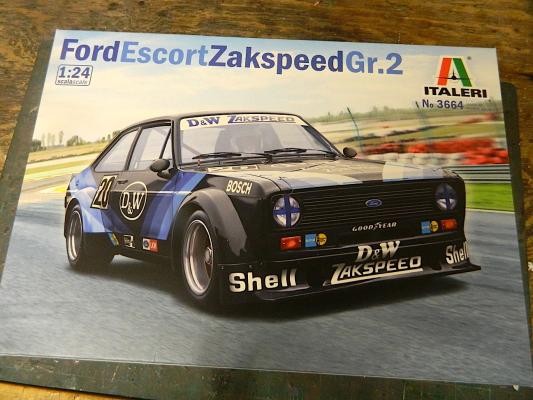
This is a review of the Ford Escort Zakspeed Gr.2.
Engine
The little 4 cylinder engine is well engraved. I was a little disappointed that there was no distributor.
Interior
Interior is wonderfully engraved and everything fits perfectly. There’s seat belt decals for the driver seat. The kit also had seat belt latches but they weren’t supposed to be used.
Body
Body was crisp and clean with no flash. I used a wonderful Tru-Color Grabber Blue because the kit is a Ford. A 2-part urethane clear was used to finish the paint.
Chassis
The suspension parts are separate from the chassis pan as is the exhaust system. There’s really not much detail to the chassis or suspension.
Instructions
The instructions are several pages long with suggested paint color for specific parts.

