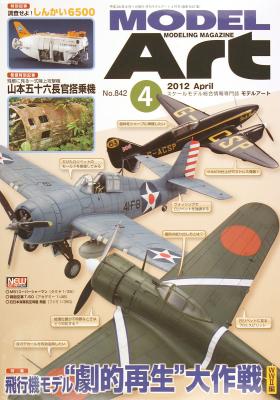
ModelArt No. 842, April, 2012, monthly update features how to update older kits of mostly 1/48 scale WW2 aircraft, as shown by front cover shots of three aircraft. As always, the format is close to 7x10 inches in size, and the printing and reproduction quality are excellent. Model Art text is entirely in Japanese, and most feature photos are in color. The usual sections follow and are listed by their topic:
Reviews
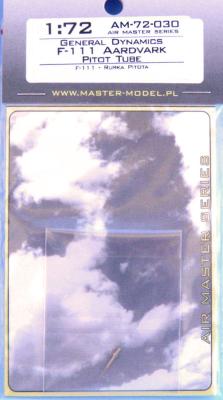
Out of Poland comes a series of add ons. This one is a turned brass replacement for the pitot tube on a F-111.
It looks fantastic and the instructions indicate that it replaces the kit part. The one thing missing is that they don't recommend which kit to use. According to their website it will work on any 72nd scale kit. I don't have an Aardvark in my stash to check but it sure looks like it will improve any kit.
The brass part is well-made and very petite. It requires no further clean up (as opposed to what the kit parts will need) and won’t break during handling while finishing your model. Highly recommended.
Thanks to Master Model Poland for the sample and to IPMS/USA for the opportunity to review it.
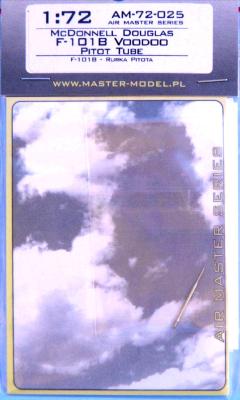
A nice replacement part from Poland, this is a turned brass pitot tube for the F-101B. This one is listed to work on any 72nd F-101B kit.
The instructions show to cut the kit part at the tip of the nose, drill a .8mm hole, and then glue in the replacement part.
I have the old Matchbox kit of the Voodoo and it looks like I will need to glue on the kit pitot tube and then cut it to match the contours of the replacement part and drill the hole at that point.
The brass parts do not require any other clean up and look to be an outstanding replacement for the kit parts and will not break during handling. Highly recommended.
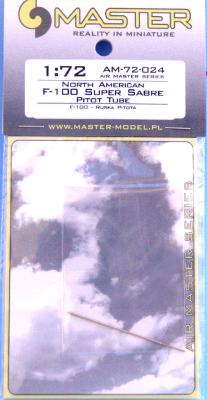
Another turned brass replacement part from Poland, this one is for any 1/72nd scale F-100. According to the instructions, you need to cut the kit pitot off at the mounting base, drill a .5mm hole in the mounting base, and glue the replacement part. Then you mount the pitot on the airframe, simple.
The pictures show it compared to the Revell of Germany kit part. The brass part needs no clean up and would be much more resistant to breakage during handling of the model. Definitely an improvement. These parts are highly recommended.
Thanks to Master Model Poland for the pitot and to IPMS/USA for the opportunity to review it.
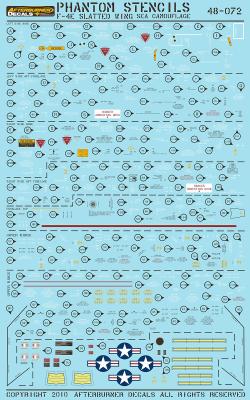
If you are a Phantom Phreak, the one thing you cannot get enough of is stencil data. The Phantom, no matter what service or nationality, seemed to be loaded with stencils. Most Hasegawa kits in 1/48 come with a fairly comprehensive set of stencils, though barely legible, incomplete, and they sometimes can be difficult to blend into the paint. If you have a slatted wing F-4E in your stash, then Afterburner Decals has come to the rescue with this very complete set of stencil data for those Phantoms painted in SEA camouflage and grey undersides.
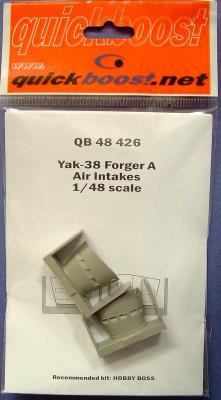
The Yak-38 Forger was the Soviet Union’s equivalent to the Harrier. Built to operate from the KIEV Class Aircraft-Carrying Cruiser, the Forger provided limited air defense and anti-surface ship capability. The Forger relied on the main engine to provide the forward thrust and the lift capability for the rear fuselage. Unlike the Harrier, it had two dedicated lift engines behind the pilot to assist with VTOL. Like the Harrier, the Forger had spring-loaded blow-in doors in the intakes to provide more air during takeoff and landings. And, like the Harriers, when the Forger was shut down, these doors could often be found in the open position. I have provided an image from a Soviet State Publication on the Navy of the period that shows the open intakes to good effect. Unfortunately, the Hobby Boss kit provides intakes with the doors closed. You could open these doors and make replacements from styrene strip. Quickboost, however, has done this for you with this set.
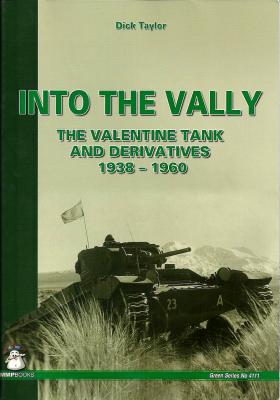
Mushroom Model Publications keeps expanding its “Green Line” (dedicated to armored fighting vehicles) and its latest installment covers the Valentine family of tanks, from the design in the late 1930s through its operational use during WWII and other uses in post-war years, up to the 1960s.
The main sections of the book includes the development of the tank, technical description, description of each mark of the family, operational use, painting and markings, overseas use (Canada, New Zealand, India, USSR, among others), variants, and a walk-around.
I found the historical pictures to be very valuable from a modeling point of view, as they provide details on the markings of the tanks plus the environment in which they operated. The picture of the Malta Valentines (with their stone wall camouflage) is very unique.
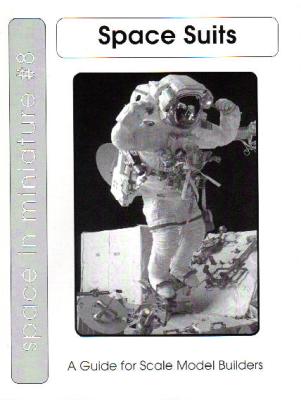
You may be familiar with other publications from Mike Mackowski and Space In Miniature, especially if you are a fan of “real space” related models. “Space Suits” is the most recent addition to the SIM’s outstanding list of publications and should be snapped up as quickly as possible.
The newest book in the SIM series is SIM #8 – Space Suits. Researched and written by Karl Dodenhoff, SIM #8 describes all of the space suits developed and used by NASA from Mercury to the International Space Station. This 60-page book has over one hundred line drawings and photographs that provide the model builder a comprehensive technical reference on this subject. Covering everything from early manned space gear, through the Apollo lunar surface exploration suits, and to the free-flying backpacks used by Gemini and Space Shuttle astronauts, this guidebook is a unique resource for the serious space modeler.
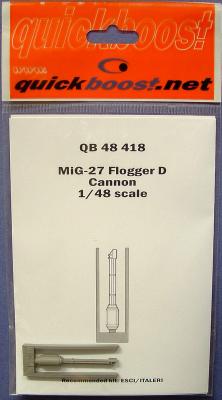
The MiG-27 is a dedicated ground attack variant of the MiG-23 that was built for the Soviet Air Forces. Unlike the MiG-23BN ground attack variant, which still carries the GSh-23L two-barreled 23mm cannon, the MiG-27 instead is fitted with a six-barreled GSh-6-30 Gatling-type 30 millimeter cannon. Unlike the 23mm gun, the 30mm is not shrouded by a cover and so the barrels are fully exposed. The only 1/48 scale kit of this aircraft is the former ESCI kit now made by ITALERI and it does come with a 30mm Gatling gun. It is molded in two halves and the seams must be cleaned up. The detail is rather simplistic and the barrels a little large. Given its visible position, it really needs greater detail.
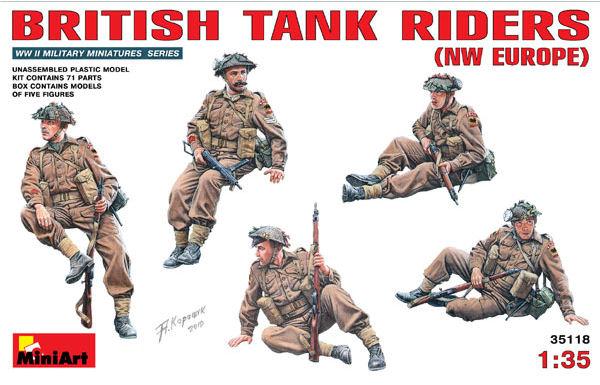
To the best of my knowledge, this is Ukraine’s MiniArt Ltd’s second set of injection molded British Tank Riders, which is two sets more than from any other manufacturer! The first set, #5835071, British Soldiers Tank Riders, provided five men wearing uniforms with shorts, suitable for the Desert War, Tunisia, and other “hot” theaters. This kit contains 71 grey styrene parts that will create five Tank Riders wearing 1940 Pattern battledress appropriate for all other theatres in all but the hottest and coldest climates. I’ll get into a detailed report on the uniforms and insignia in a moment, but first some modeling basics re these figures.

