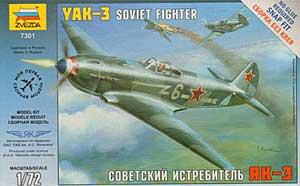
The Soviet fighter Yak-3 is part of Zvezda’s new “Snap Fit” series. You get 45 medium gray hard plastic parts and two clear parts with minimal flash. The instructions are very well illustrated with seven sequences of assembly. The detail is exceptional and surprising for a snap fit kit. The three piece pilot figure is a work of art, with the seat pan molded to the pilot. A seat without pilot is also provided, should you wish that option. The kit is designed for snap assembly and can easily be assembled with no glue. However, I plan on using glue. Areas of concern are the sink marks on the upper wings (part 40) and front top cowling (part 41). Filler will definitely be required. You also get two finely detailed instrument panels, one to be used with kit supplied decals and the other with raised details for the instruments if you prefer to paint yours. You also have the option for wheels down or wheels up.
Reviews
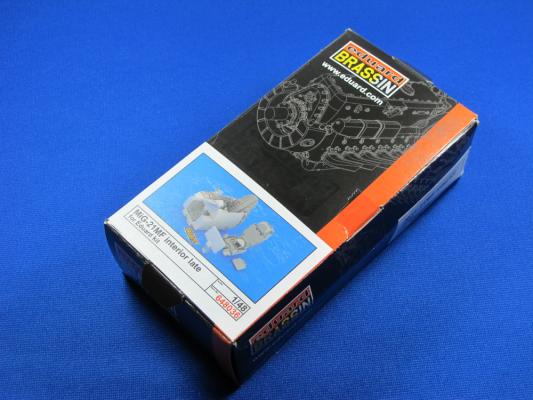
Whenever you open the box for this set, there are so many parts that you feel like you’re opening a complete resin kit. Altogether, there are 33 resin parts, two photo etch sheets and a clear acetate sheet. It takes six 8” x 6” instruction sheets to show how to put it all together. These instructions appear to be a big improvement over past instruction sheets, because they are less confusing and leave little to be figured out. Only one kit part is utilized, and that is the cockpit floor. And, you only use part of it. There is one other portion of the right fuselage half that gets removed, but that’s it. There’s not a lot of thinning kit parts until they are transparent or major surgery required.
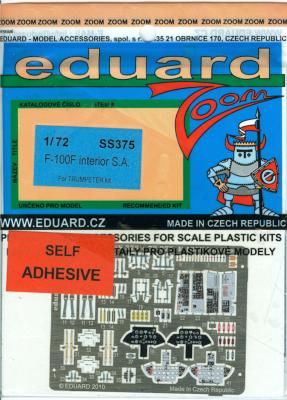
Eduard's color etch sets are really great looking and this one is no exception. This set is made for Trumpeter's 1/72nd F-100F and, when you first look at it, you wonder "where does all of this stuff go?" This set is also self-adhesive, which actually ends up being more trouble than advantage. By the time I had cut a few parts from the fret, I had basically destroyed the backing paper and the adhesive was no longer effective. But, that didn’t slow me down. Gator Glue to the rescue! The cockpit gray of the consoles and instrument panels is more of a light blue than anything related to cockpit gray. I could not find anything in all of my paints that was a close match, so I mixed my own. Don't ask me for the formula, because I have no idea, except that it came close.
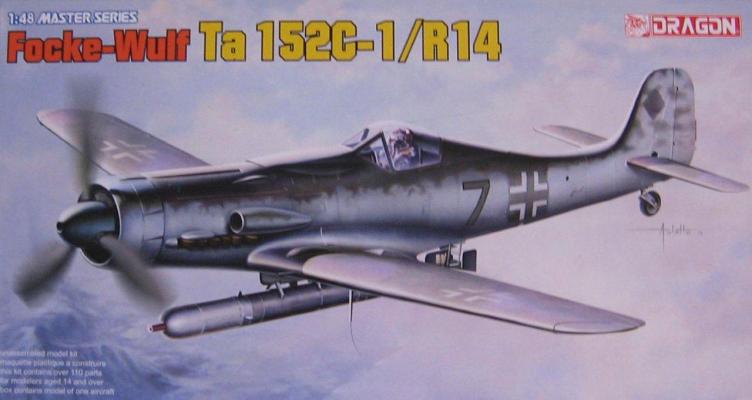
This kit uses the good old Trimaster molds with some new plastic providing the correct wings, the torpedo and a few other parts necessary to make a Ta-152C. There are three small photo etch frets that contain various detail parts. Two styles of canopy are also provided. There are separate parts provided for open or closed cowl flaps. The decals, clear parts and photo etch parts are all attached to a printed piece of heavy paper to keep them from jostling around in the box and getting damaged. The kit is molded in light grey styrene, with the older parts in a shinier plastic than the new parts. The older parts are starting to show some signs of mold wear, but they are still very nice. The older parts were also more brittle than the newer parts. I actually took a chip out of one of the side consoles in the process of nipping it from the sprue. From that point on, I used a razor saw to remove the more delicate parts.
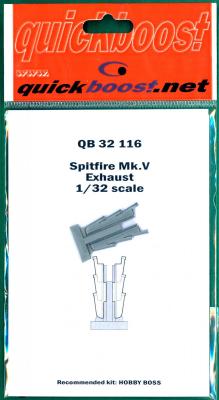
Quickboost has added a highly detailed set of resin exhaust pipes for the Hobby Boss 1/32 scale Spitfire Mk.V. They are packaged in the typical Quickboost branded poly bag and are molded on a single casting block. They feature hollow ends and show no signs of flash that would need to be dealt with. They can be removed easily from the casting block with a razor saw blade or No. 11 blade and the cut edge can be cleaned up if necessary with a sanding stick. Because they are resin, they need to be attached with super glue or epoxy cement. Although the package indicates these parts are recommended as easy drop-in replacements for the kit parts in Hobby Boss’ #83205 and #83206 kits with very little adjustment to the mounting tabs, they should work well as detailed replacements for the exhausts provided in the 1/32 Hasegawa Spitfire Mk.Vb and Mk.VI kits.
These detail parts are highly recommended.
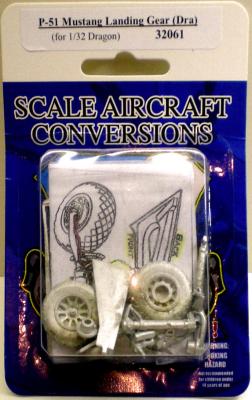
Scale Aircraft Conversion provides an excellent landing gear conversion upgrade for the 1/32 Dragon P-51D Mustang. The conversion kit consists of 12 very nicely cast white metal main gear, doors, wheel/tire combination, hydraulic lines, and tail wheel assembly. The set also contains a very basic assembly diagram. All of the parts are very well cast and appear to be accurate. The white metal hydraulic lines may be difficult to clean up and attach to the main gear.
History
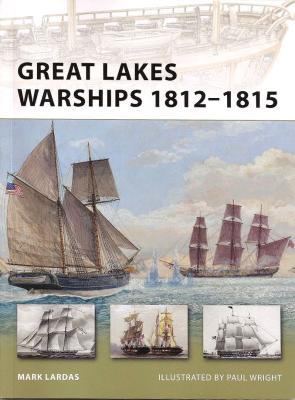
The War of 1812, in the reviewer’s opinion one of the least necessary wars we have ever fought, was in essence the finale of the American Revolution. Its end led to an era of cooperation between the United States and Britain that continues to this day. However, in 1812, both sides were serious adversaries, and American attempts to conquer Canada were countered by British efforts to attack the East Coast and take New Orleans. The Great Lakes were a boundary between the two countries and, although a few ships existed in those waters, it was the war that spurred a shipbuilding boom that lasted throughout the conflict.
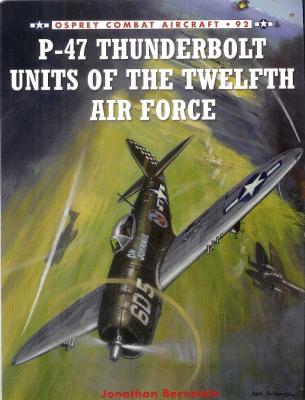
Osprey’s newest volume in their “Combat Aircraft” series, Number 92, covers P-47s of the Twelfth Air Force. The book is in the standard Osprey format – softcover, chronological text (with lots of accompanying photos), and several pages of nicely done color profiles.
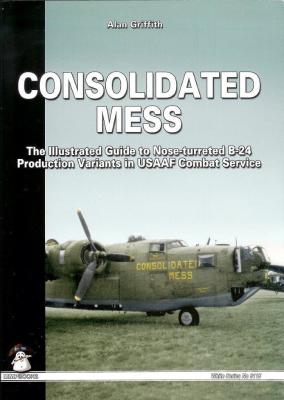
This is probably one of the best, and most descriptive, titles for a modeling/aircraft reference book I have seen. To quote the author: “The B-24 went through more turret changes than any American combat aircraft before or since.” This books attempts (quite successfully) to guide the reader through these various changes on all of the turret-nosed B-24 models.
There was an absolutely dizzying combination of nose turrets, tail turrets, waist guns, belly turrets and guns, and other modifications/design changes made to the B-24. The book goes into great detail of each step in the process, and the author makes every attempt to explain the differences clearly for each new piece of this puzzle. Crystal-clear photos (unless the only one available is less than clear), many previously unpublished, as well as a huge number of line drawings (with differences highlighted in red) accompany a very clear descriptions.
History
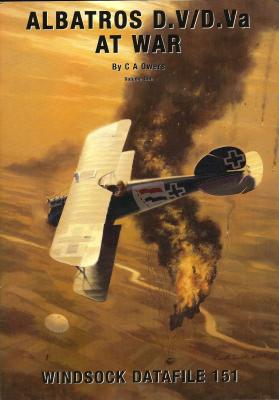
The Albatros D-series fighters appeared early in 1916 and went through several stages before the “V” strutted D.V’s were placed into service. While influenced by the French Nieuports, the only problem with these aircraft was the structural integrity of the wing, which tended to fail under extreme loads. This must have caused its pilots much concern, as they knew that the whole wing structure could fail under heavy stress loads. Later, most surviving pilots were happy to convert to the newer Fokker D.VII, although Albatros fighters remained in the inventory of the Imperial German Air Service until the end of hostilities in 1918, mostly serving in second-line units. Von Richtofen flew the type until he could get his hands on the Fokker Dr.1.

