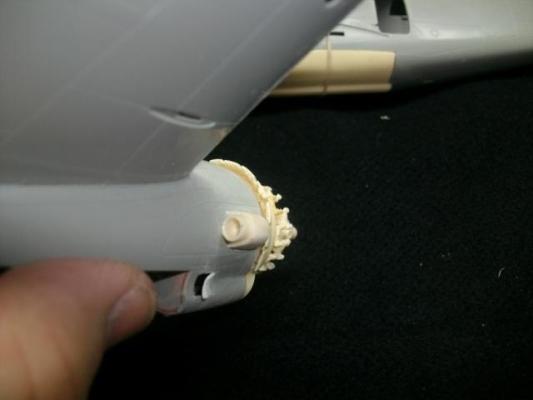
The nacelle went together with no issues. First, the inside was masked and painted a combination of aluminum, wood, and CDL (Clear Doped Linen, for which I used Tamiya Buff acrylic). Don’t forget to drill the appropriate holes in the nacelle sides for the version you are building. The bottom seam wass covered by the armor plate floor and the remaining seams were easily dealt with. The assembly was masked – engine and cockpit – and sprayed with Tamiya rattlecan OD, which dried quickly and hard. I decided to leave the landing gear assembly and the nacelle MG mounts off until after the wings were mounted and rigged. Otherwise, I would surely break something off.
Reviews
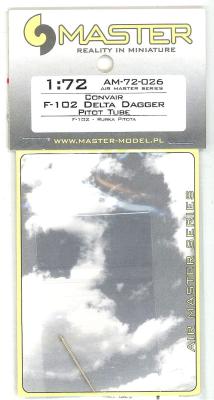
What you get is a turned brass pitot tube which just glues on to replace the Hasegawa pitot. The brass part has the correct shape, and fits right into the hole in the kit nose.
I installed the aftermarket pitot tube on my F-102. It went on the aircraft with no problem and adds to the looks of the aircraft. The only problem was determining the correct color it should be painted. In pictures of the F-102, it was painted in different colors. It turned out to be a very fine feature.
Highly recommended. The caveat here is that the Hasegawa kit is quite old, and there’s no interior, the seat is sub-standard, and the aftermarket for the kit would be a seat and this pitot. So it’s up to you what level of detail you want to install. This is a good start, though.
Thanks to Master Model for the part and to IPMS/USA for letting me review it. This got that 1970s-vintage F-102 out of my stash.
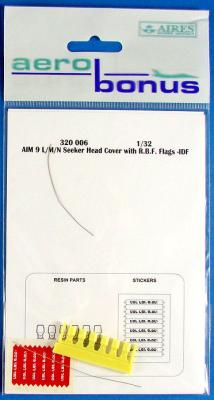
For those of you that have never heard of Aerobonus, they are a line produced by Aires that includes various RBF tags, munitions carriers, and some select weapons. The product for review today is a set of six resin seeker head covers in 1/32 scale for any of the AIM-9L/M/N variants. In this case, the RBF tags are printed on yellow vinyl and are marked in white letters in Hebrew specifically for the Israeli Defense Force.
Dutch Decal has released this decal sheet in 1/48 scale to coincide with their excellent book on the Grumman Tracker used by the Royal Netherlands Navy. The sheet also gives modelers a chance to do something a little different with their Kinetic S-2 kit. There is also an option provided on the sheet for a single Airspeed Oxford, which the Royal Netherlands Navy used in 1947. Special Hobby has recently released a kit of the Oxford in 1/48, so now I suppose I will have to buy one of those.
Thank you, Lone Star Models, for providing a very timely improvement to an excellent recent kit release. Thank you IPMS/USA Reviewer Corps for once again allowing me to evaluate a cool new product!
This product replaces the Revell PV-1 exhaust pipes. The Revell PV-1 kit exhaust pipes seem a little thick-walled and awkward looking. The Lone Star exhausts are a direct replacement of Revell kit parts 40 and 41. The Lone Star parts come in a plastic bag with an instruction sheet and are cast in tan resin on pour plugs. The exhausts require a little bit of fitting to the kit engine nacelles. I found this fitting to be not too difficult. The interior of the exhaust was thinned just a little with a quick file pass. The resulting appearance on the kit is excellent!
Thank you, Lone Star Models, for providing a very timely improvement to an excellent recent kit release. Thank you IPMS/USA Reviewer Corps for once again allowing me to evaluate a cool new product!
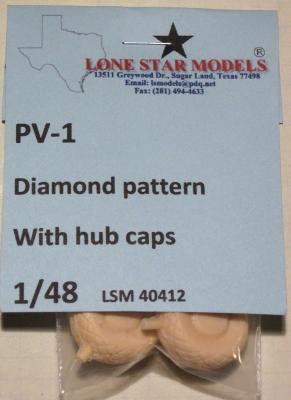
This product replaces the Revell PV-1 main mount tires and wheels. The product is cast in tan resin, with no mold parting seam lines to be removed. This eliminated the need to rescribe the tread patterns, a common task when gluing together injection molded- wheel halves. The pour plug is in a great place, with minimal sanding required. The pour plug flat spot is eliminated by placing it on the ground contact point! The diamond tire tread detail is much more visible and realistic looking than the kit parts, as is the wheel and hub detailing. The axle holes needed to be deepened a bit to sit correctly on the mounts, but that was a very quick and minor fix.
Thank you, Lone Star Models, for providing a very timely improvement to an excellent recent kit release. Thank you, IPMS/USA Reviewer Corps, for once again allowing me to evaluate a cool new product!
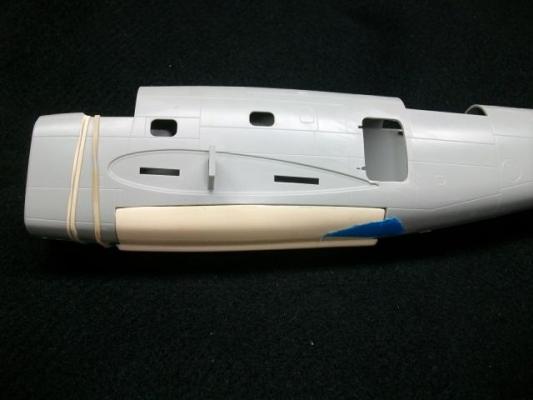
If you wish to build the Revell PV-1 with a closed bomb bay, this conversion part is well worth the time and money. The part is cast in tan resin with minor flash and a couple of insignificant casting marks. It is a single part replacing the accordion folding bomb bay doors included with the kit. The kit doors are excellent, if you choose to build the model with the bay open. However, if you attempt to glue the kit parts in the closed position, you may discover some interesting fit issues. Using the Lone Star closed bomb bay part reduces the fit problems significantly. The part does require some trimming and fitting. It is critical to omit the bomb bay bulkhead (part 126). Otherwise, the closed bay piece will not come close to fitting.
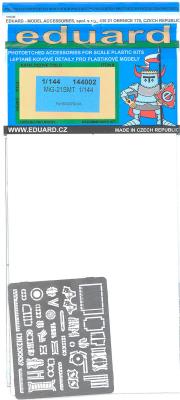
Eduard has released a photoetch exterior and interior upgrade for their new 1/144 MiG-21SMT. I’ve reviewed the kit separately.
The Kit
Inside the envelope, you get a 2 ½ by 3 inch PE fret, cockpit and canopy detail decals, and the instruction sheet. There are enough parts on the PE to do one of the two MiGs in the kit, and some “extras” which could be used on the second aircraft, such as the two different sets of chocks or the tailpipe interior which doesn’t need to be installed if you’re using the exhaust cover.
This is the third of three reviews of the new Eduard 1/144 MiG-21s. The aircraft here is the MiG-21SMT, the “home grown” MiG. Other versions were for export, but the SMT was the one the Soviets kept for themselves.
The MiG-21 in its various forms has been around for a really long time, entering service in 1959, and it’s still in service. The early versions are considered second generation fighters, but the newer versions, such as the MF, SMT and bis are third generation. That big added hump on the fuselage and upgraded avionics/electronics bring the MiG-21 into the third generation. The SMT has the biggest hump of the three.
The Kit
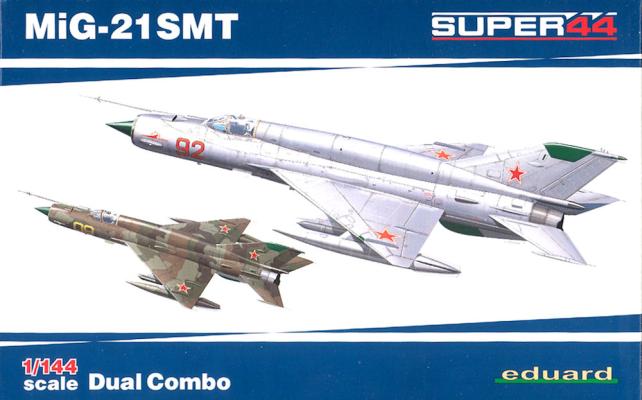
You get two of every part, with an extra canopy for each one. You also get a pair of Eduard masks for the kit(s). Five different MiGs could be built from the decals, all Soviet, although one was based in Poland. As a change of pace, I decided to build the all-silver one.
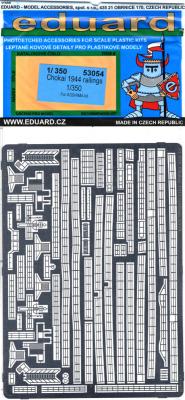
- Railings -- Stock # 53054, $32.95
- Details -- Stock # 53055, $49.95
Having made a variety of generic PE sets for 1/700 and 1/350 scale ship kits, Eduard is now providing us with dedicated complete sets for specific ships. These two sets will provide complete (or nearly complete) coverage of the Aoshima Chokai, and probably for the Fujimi Chokai as well. The set is labeled for the “1944” version of the ship, so check your references carefully if you hope to use it for an earlier version of the vessel. She underwent several refits during her lifetime that altered her structure or equipment significantly. The same goes for attempts to use it on other ships of the class (especially Takao or Atago). Both of these ships received refits that changed them markedly from Chokai. However, chances are that the majority of the parts in these sets will be useful on any version of these vessels.

