
Wood Airbrush Stencils
Price: RB-T028: €7 (approximately $9.23) plus S&H; RB-T043: €9 (approximately $11.87) plus S&H
First off, my apologies to the good folks at RB Productions for a late review. RB were present at this year’s Nationals in Chattanooga and were kind enough to provide us with a number of samples including these two delicate p/e stencils. Each is a carefully etched piece of brass material, the smaller measuring 2” by 3” and the larger, about 4” by 3”. They are easily bent in either axis which comes in handy for use on contoured surfaces, and I suppose one could cut them into smaller sections for use on cockpits. (Beware of some very sharp and fragile edges, however).
The included instructions (replicated online) are fairly straightforward – apply a base color (cream or buff for fresh wood, brown or tan for stained wood, grey for aged wood) and allow to dry. Carefully hold or tape the stencil in place over the base color and using light coats of paint at low pressure, spray the grain pattern through the stencil. If you want to avoid sharply defined edges, use a spacer of rolled tape to offset the stencil from the surface being painted, resulting in a softer, subtler pattern.
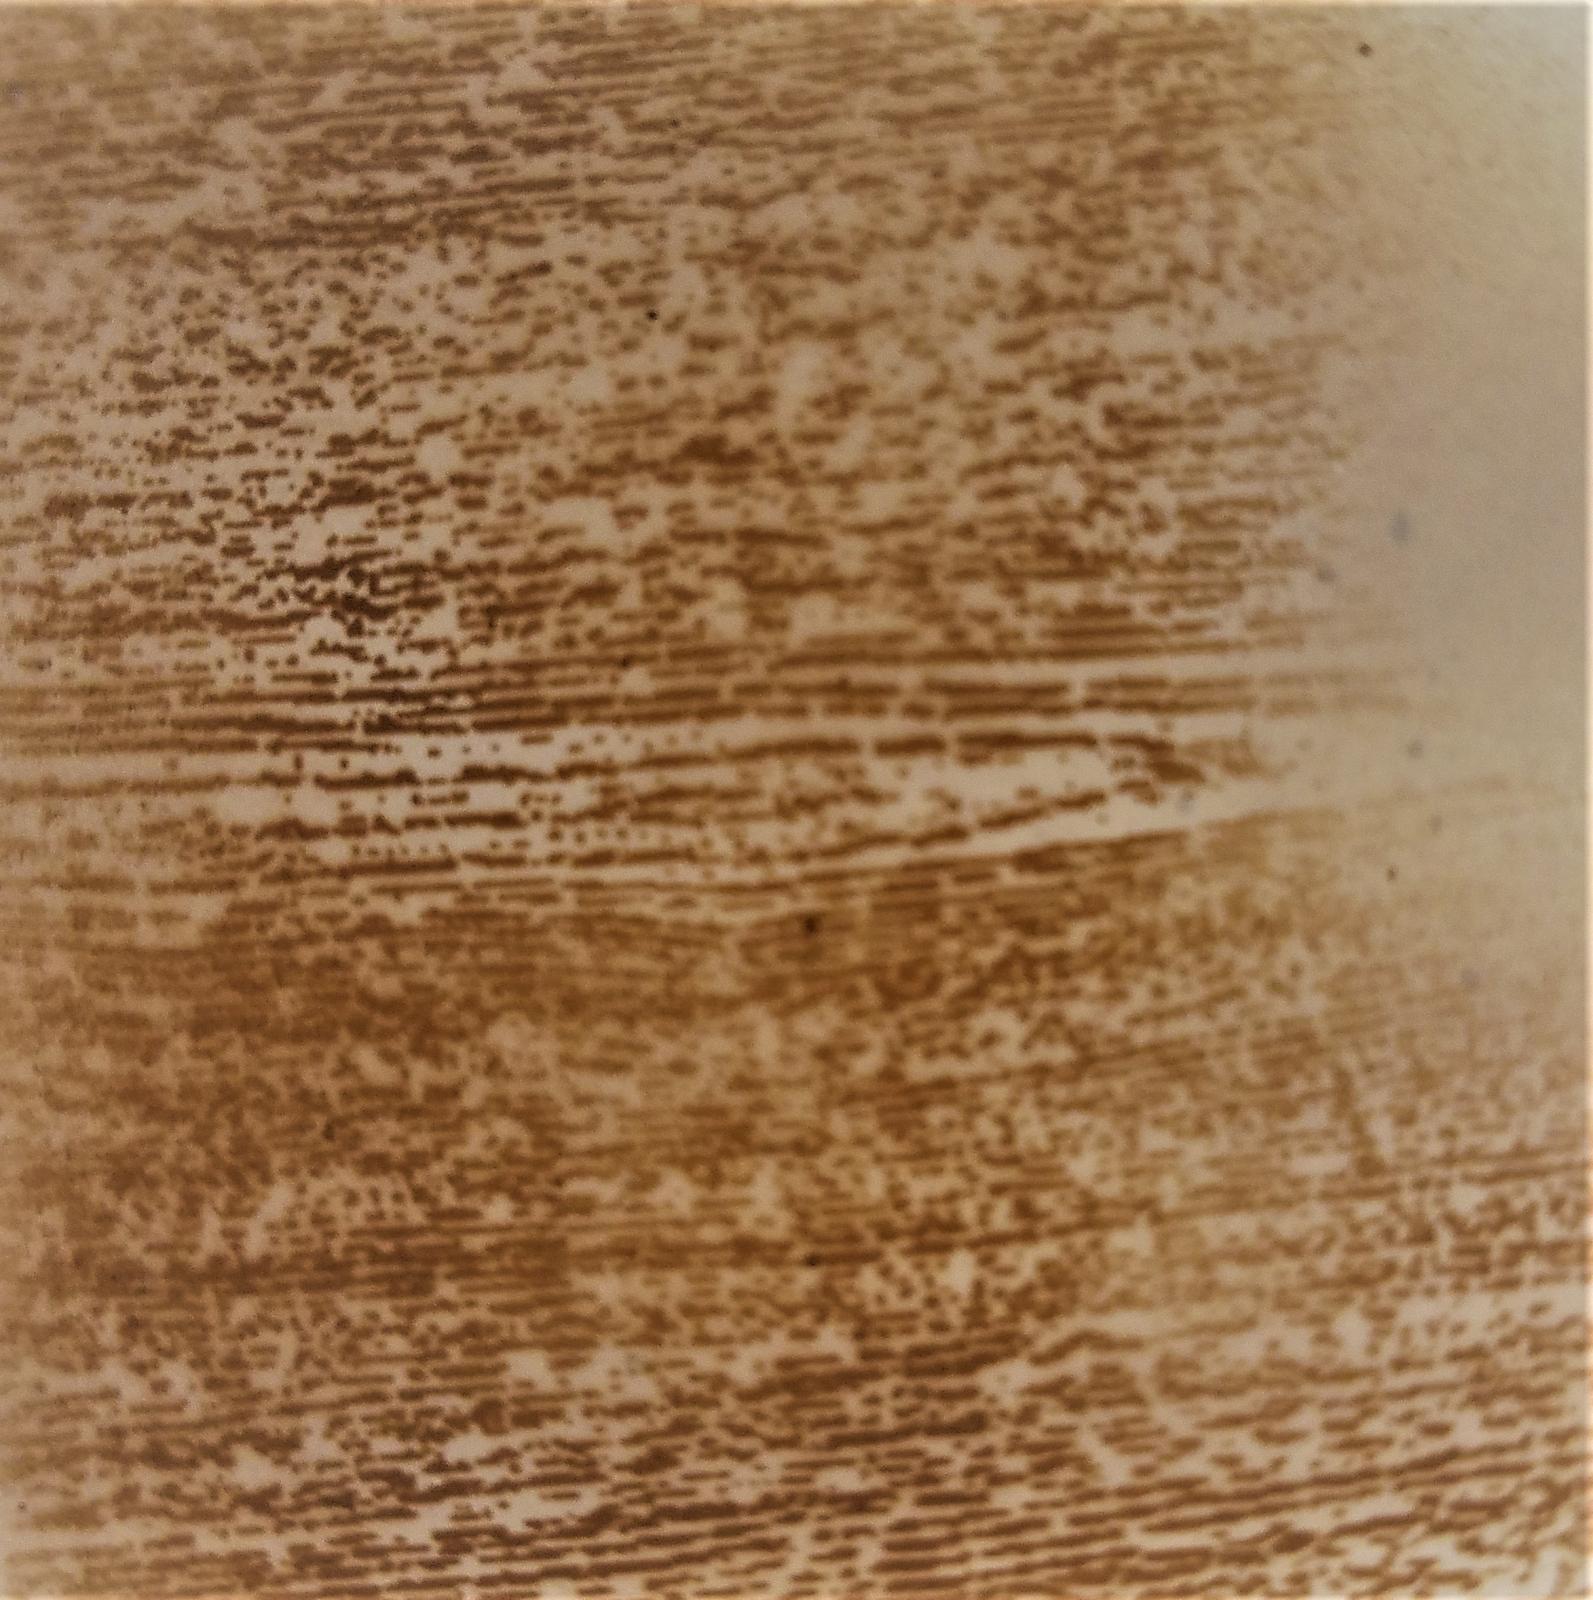
I sprayed some bare sheet stock from my scrap bin with AV Medium brown as a base coat and experimented with several shades of contrast. My two trials are shown here, but I think I chose too much of a contrast between the base and grain shades. I also did not yet apply an overcoat of varnish as recommended by the manufacturer. That being said, I’ve taken the liberty of attaching a photo from the RB website showing a much more accomplished application on the fuselage of an aircraft.
The only way to safely clean these stencils after use is to soak them in the appropriate paint thinner or solvent for the media you applied. I used brush cleaner and after soaking for 30 minutes or so I used a very soft paintbrush to scrub the stencil surface while it was still in the solvent, followed by a water rinse and air dry.
I’ll fully admit that I am still learning how best to use these unique tools but if you’re building a WWI aircraft, a diorama incorporating wood structures, or perhaps the deck of a large-scale ship, these stencils are a great way to simulate wood.
While you’re perusing these stencils on the RB Productions website, take a moment to check out the other stencils for laminated propellers, spatters and corrosion. Neat stuff! Our thanks go out to RB for the opportunity to review these items.


Reviewer Bio
John Noack

Modeler since my Dad and I built Aurora biplane box scale kits at the kitchen table. Joined IPMS in the early 1980's and I've held a variety of leadership positions on the Board. I'm a retired VP of Aerospace Engineering, living in the Centerville (Dayton) OH area. I am a Docent at the USAF Museum, a musician in several bands, member of IPMS/WFSM, and a widower.
My tastes are eclectic. When I build aircraft it's usually in 1/72, but I also dabble in submarines, autos, and scratchbuilt Steampunk vehicles.
Comments
Add new comment
This site is protected by reCAPTCHA and the Google Privacy Policy and Terms of Service apply.
Similar Reviews