
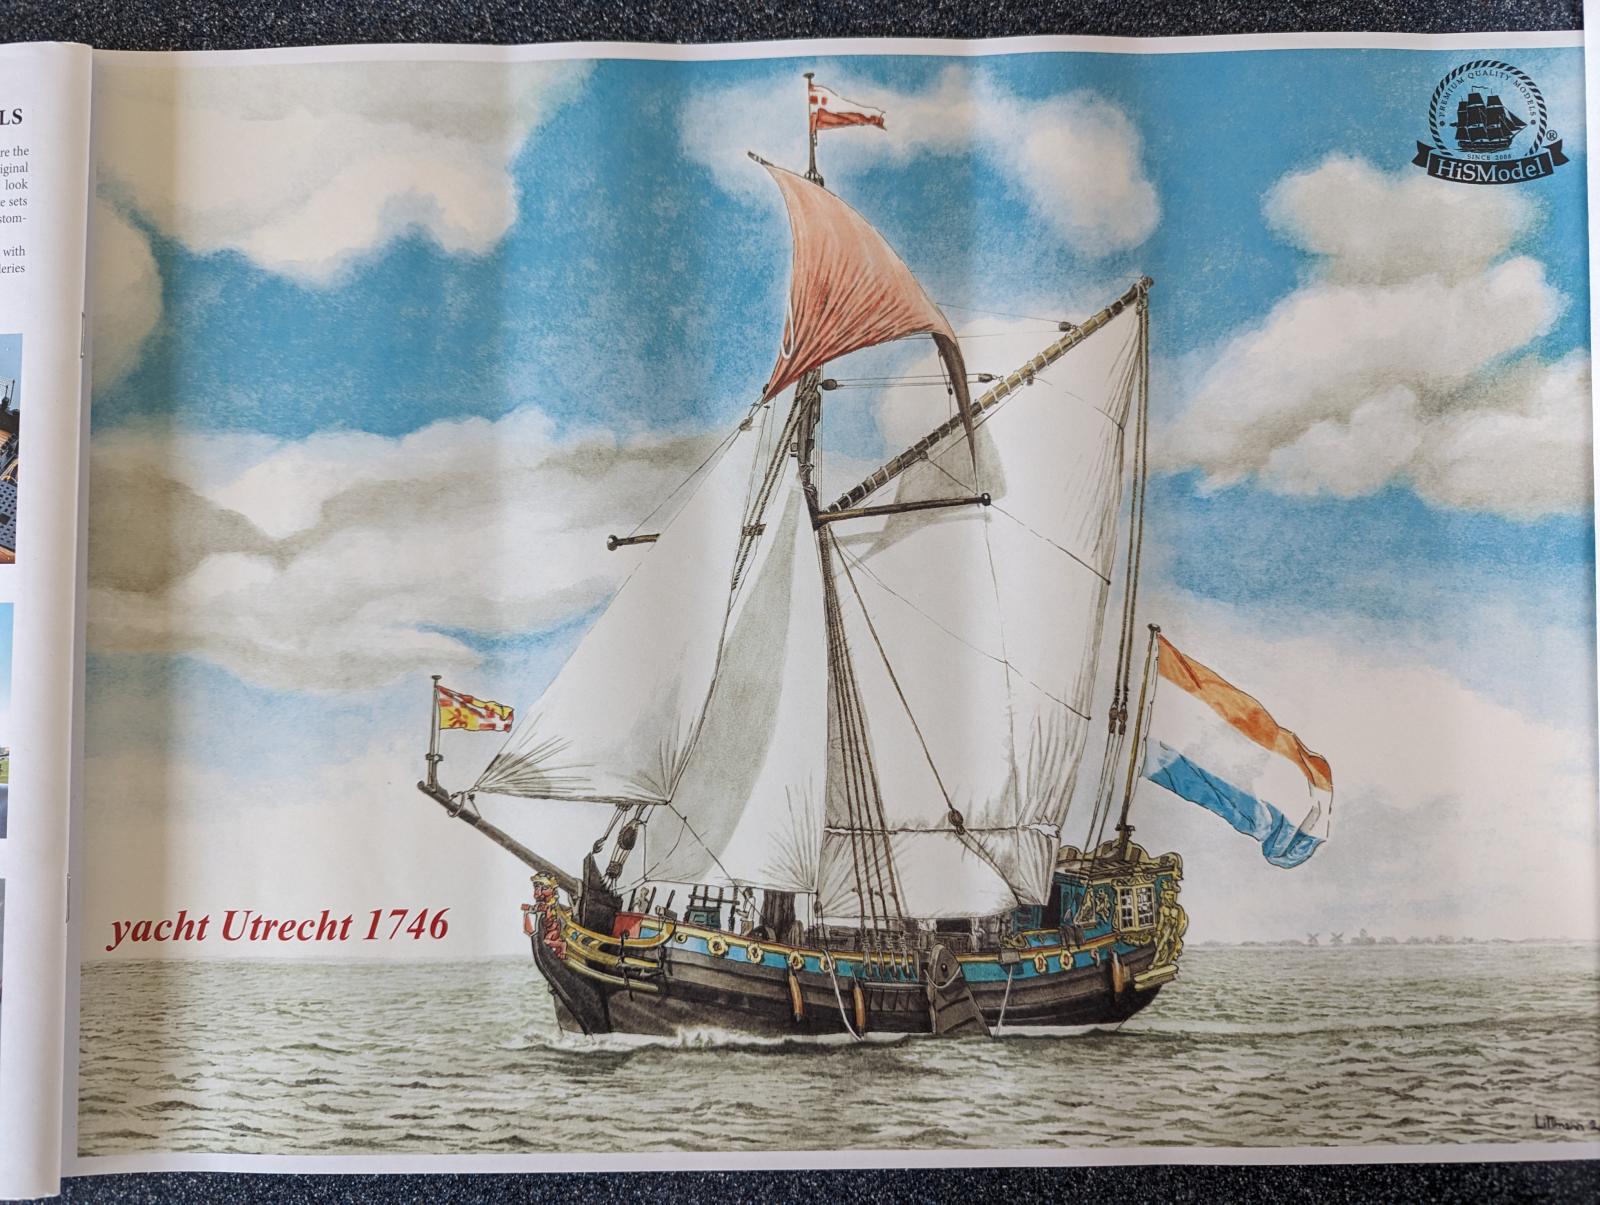
Statenjacht Utrecht
HiSModel is a Czech manufacturer of high quality accessories for sailing ship models such as wooden blocks, laser cut wood decks, metal cannons, photo etch detail sets and much else for existing wood and plastic model sailing ships. The Statenjacht Utrecht ,their first complete plastic kit, is a model of an 18th century luxury yacht built in the Netherlands that was used by the executives of the United East India Company. Between 1998 and 2003, a replica was built from the same plans which can still be seen today.
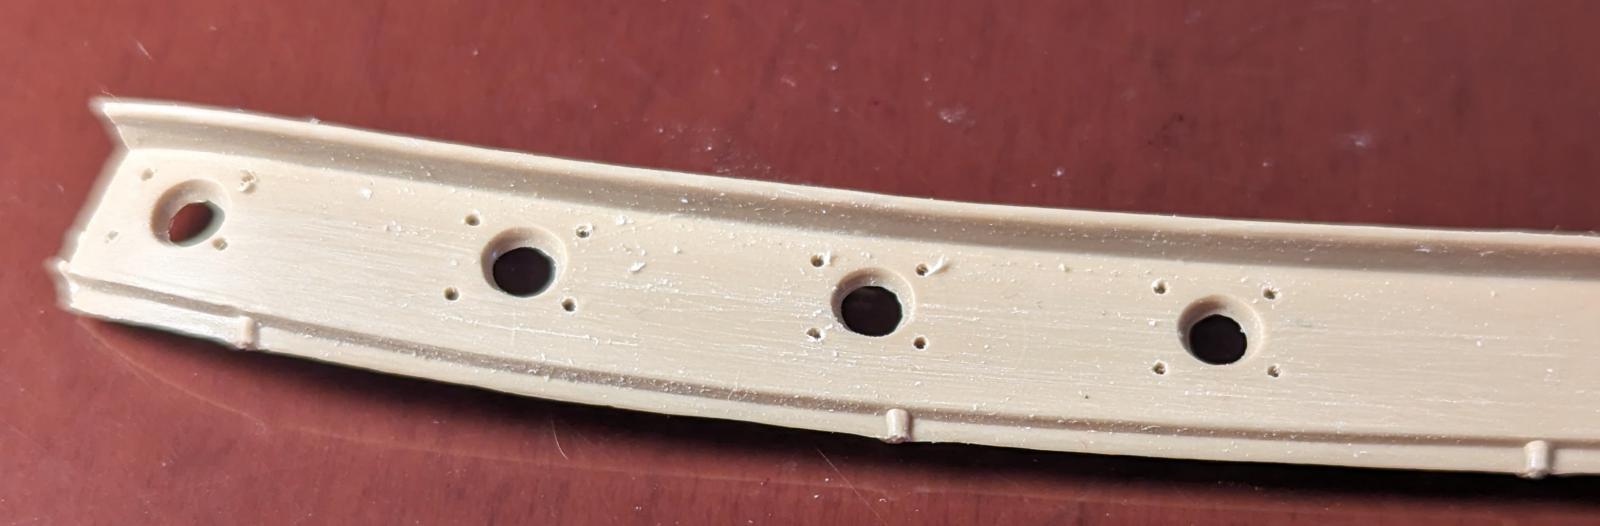
There are two versions of this kit, a “Standard” kit and the one reviewed here, the “Premium”. The Premium version has premade fabric sails, a laser cut wood deck, metal cannon barrels, a set of premium fabric flags and a full color poster of the ship. There are 132 injection molded plastic parts that make up the main structure of the ship, 26 resin parts that supply a lot of the “gingerbread” decoration and the bow figurehead, 154 photoetched detail parts, 66 wooden blocks and a supply of six different diameters of thread for rigging. The plastic parts are of a softer variety of plastic and in general are well molded although there are a lot of rather prominent mold seams that need attention. In addition, there are injection ports located in some rather inconvenient places that must be removed as they would otherwise interfere with the fit of the parts. The resin parts are beautifully cast with crisp fine detail. However, the pouring stub on the bow figure was pretty substantial requiring the use of a sanding drum and my Dremel to remove it. One omission I found was that the instructions call for the use of some parts labeled “TF” but in the parts listing there were no such parts. As in the instructions they were located on the inside of the photoetch window mullion parts, I assume that “TF” means Transparent Film to simulate the glass in the windows but none was provided. Of course, this is easily taken care of with some clear acetate sheet.
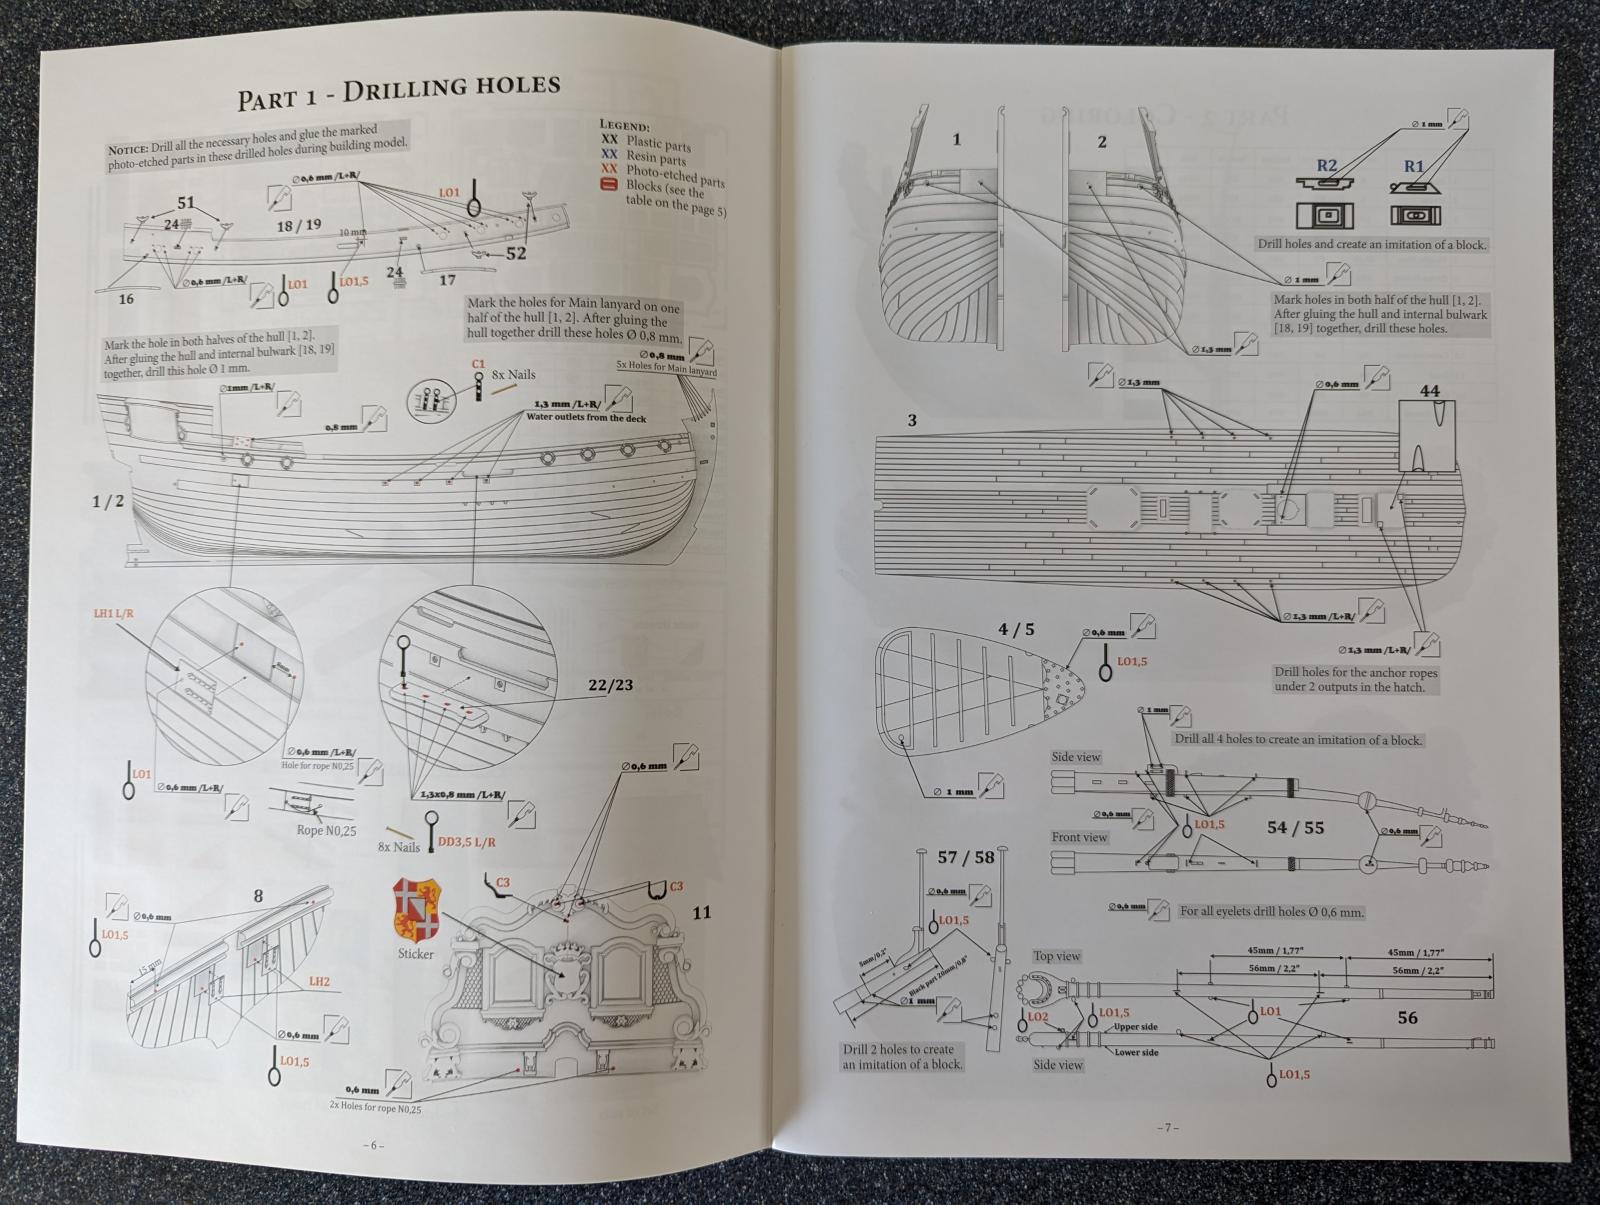
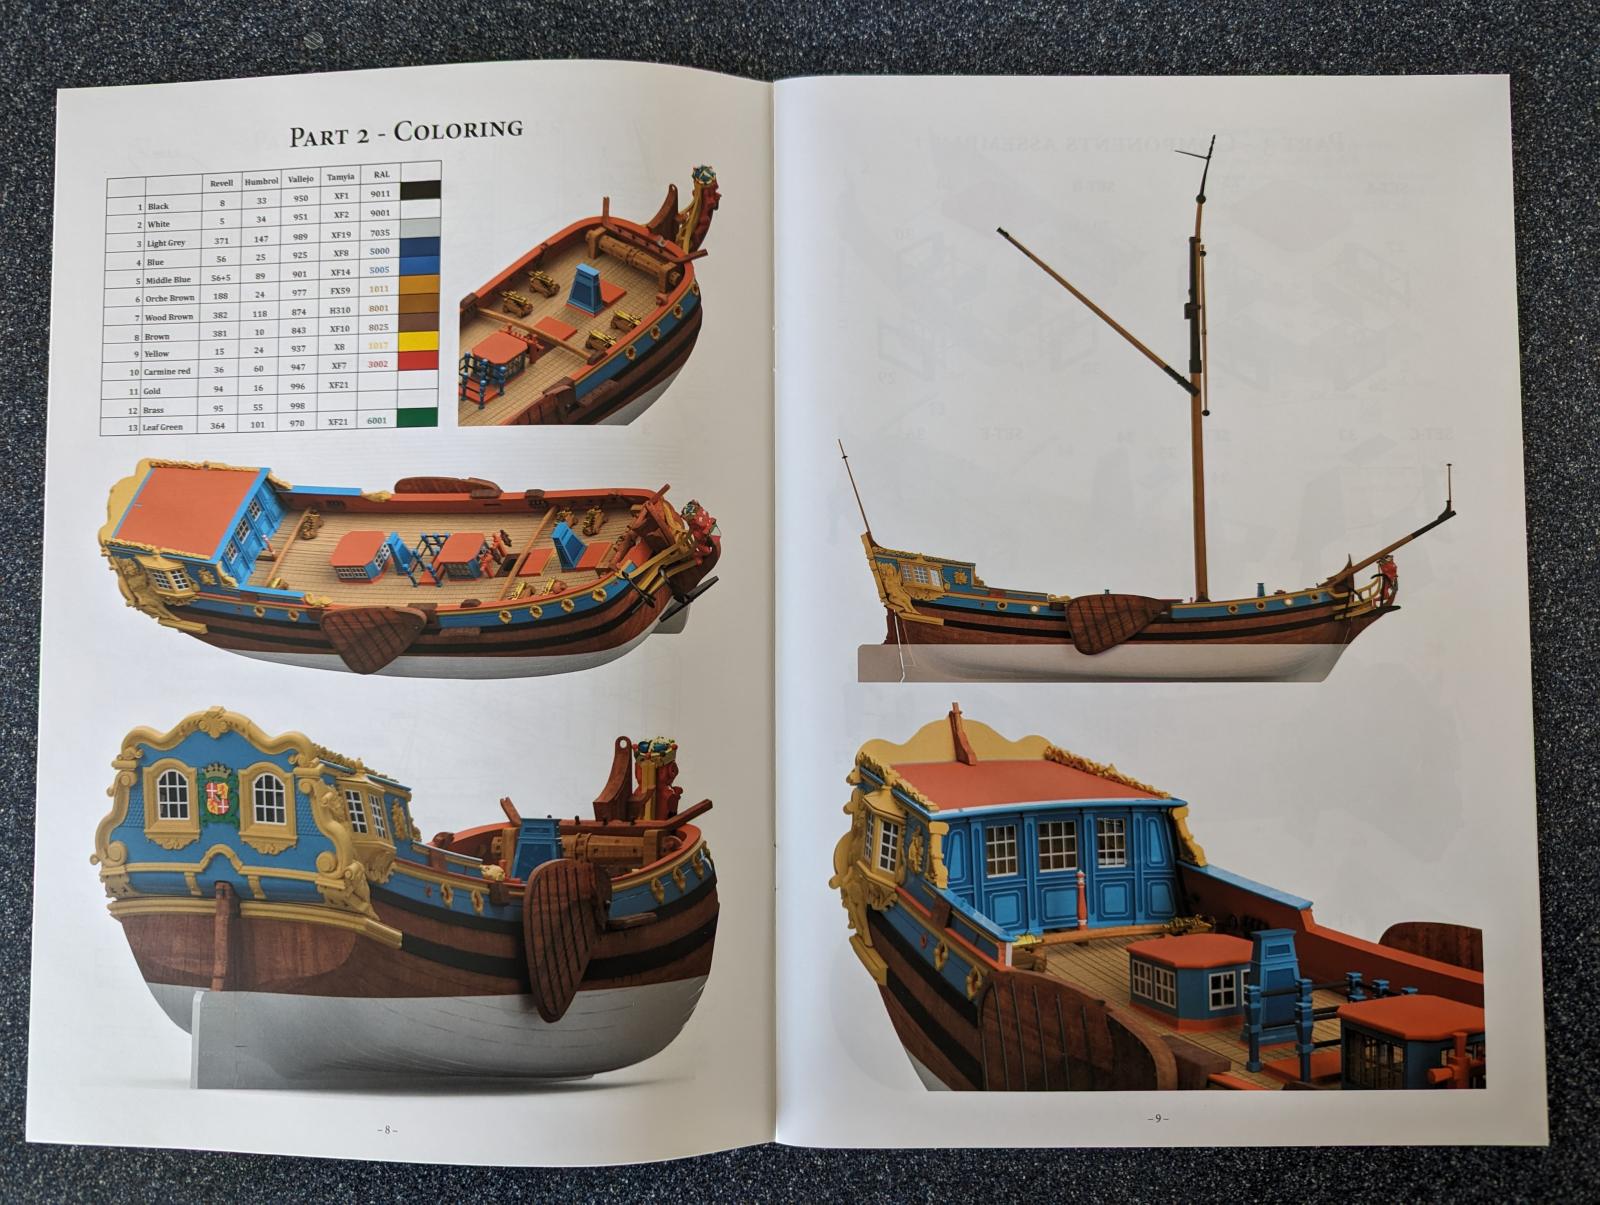
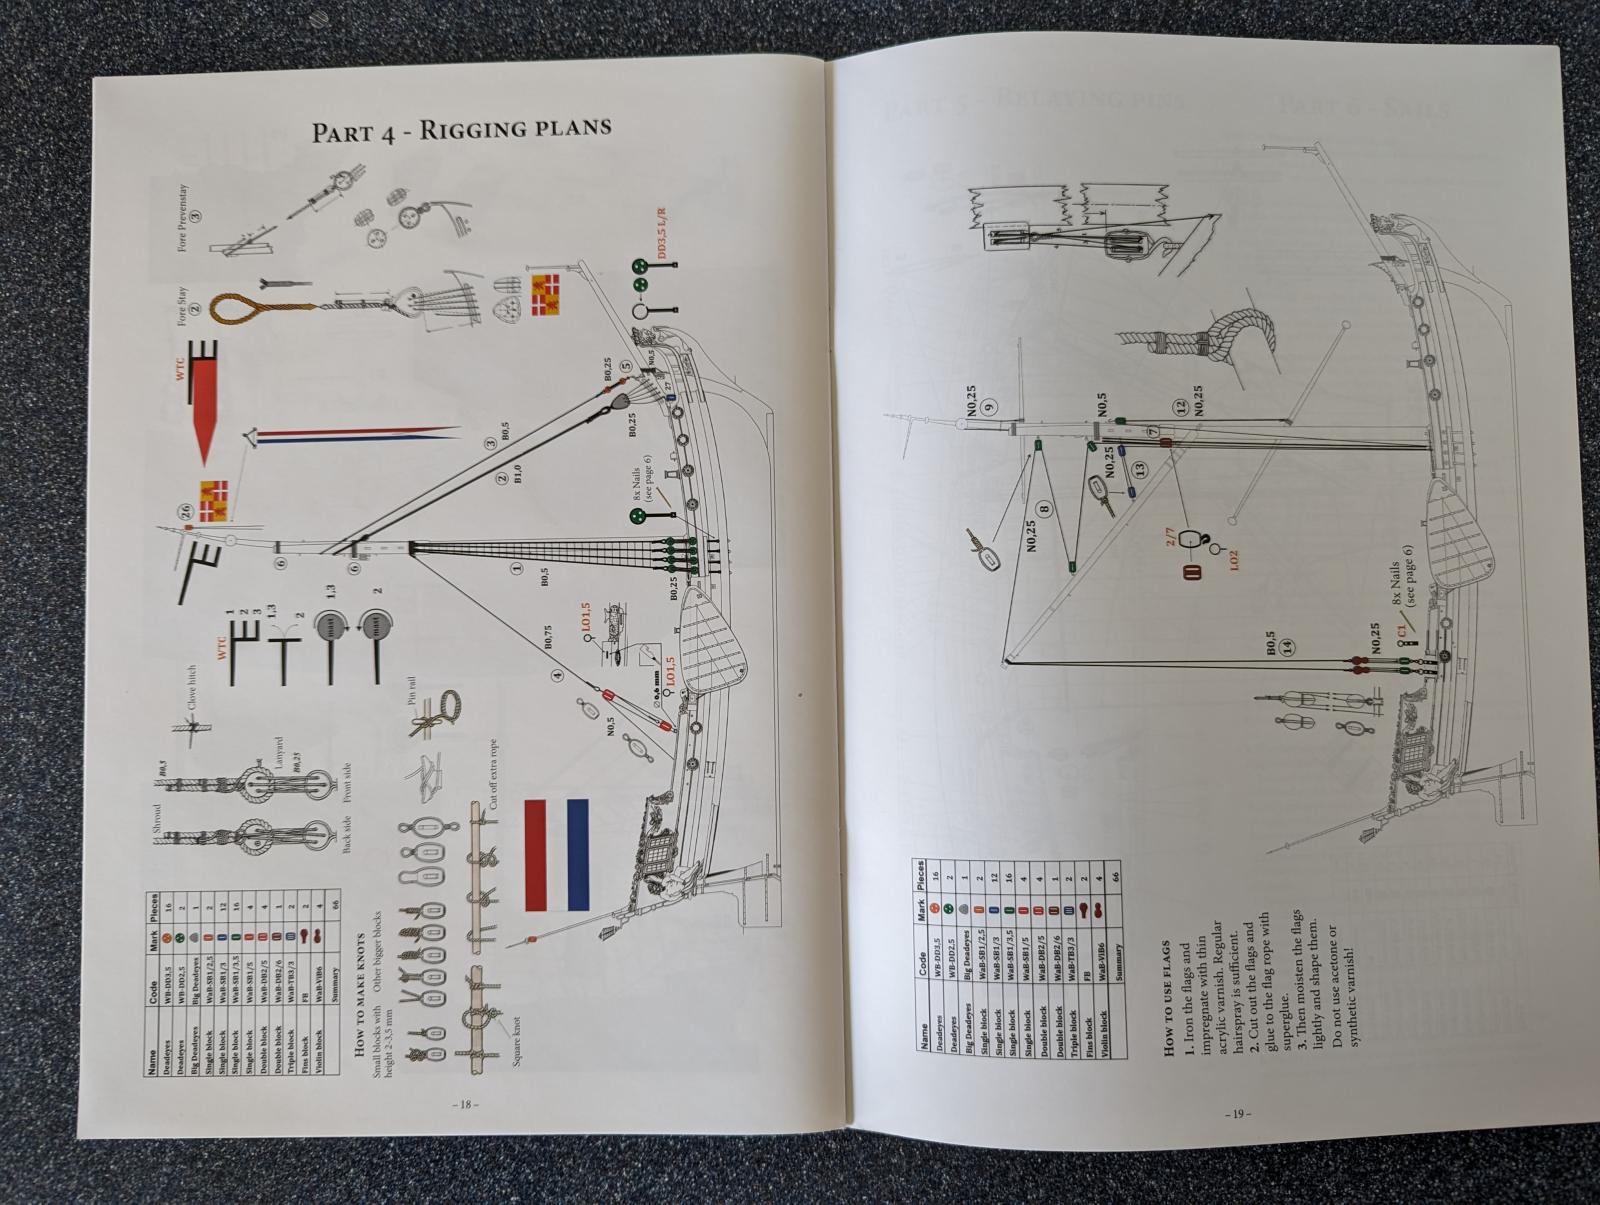
The instruction booklet is 24 pages long and consists of a brief history of the ship, three pages of parts listing/identification, two pages of instructions for the holes that need to be pre-drilled to accept PE parts and/or rigging, a full color computer rendering of the ship with the paint colors called out in Revell, Humbrol, Vallejo, Tamiya and RAL codes, eight pages of assembly instructions, four pages of rigging diagrams, one of the sails and then a page of photos of the assembled model. The instructions are of the current computer-generated exploded parts type with arrows indicating the general vicinity where a part should be put.
I did encounter some problems during assembly. One was that the wood deck does not have pre-applied adhesive. That means deciding on what to use to bond wood to plastic. I used 3M 314 spray adhesive and it seemed to work well enough. Another problem area was at the stern of the ship. There are no locators on the stern parts or the ship’s sides, so care must be taken to get everything correctly aligned. In a few cases I needed to put some plastic strip on the inside to provide some way to get the parts in place and have a good surface for a glue bond. I also needed a small block at the bow to get the front of the deck up into its proper place.
This kit is not for the novice modeler. One must be proficient in working with plastic kits and resin and PE parts. In addition, a good general knowledge of sailing ship architecture would also help in getting parts into the right place and in proper alignment. This is NOT a weekend project. It is a very detailed model that takes time and patience to assemble. The old adage that “Real modelers don’t read instructions” goes out the window here. You need to not only read the instructions in their entirety before doing anything, but they need to be studied carefully to ensure that none of the many inset sub-instructions are missed or done out of order as they may not be possible later. In addition, I found a couple of parts called out incorrectly and/or put in reverse, which only adds to my advice to study the instructions thoroughly. It took me a month of a few hours almost every day just to get the model assembled and painted, nevermind rigged. As a matter of fact, I never rigged it. Since the kit is in 1/72 scale, it is large enough so that the rigging can be complete and accurate and I’m afraid that is beyond my ability. Take a look at the photo of the completed model from the instruction book below and you will get an idea of what I’m talking about.
When completed, this kit builds up into an impressive model that would certainly merit a display case.
I want to thank HiSMODEL for providing this review sample and IPMS/USA for the opportunity to review it.

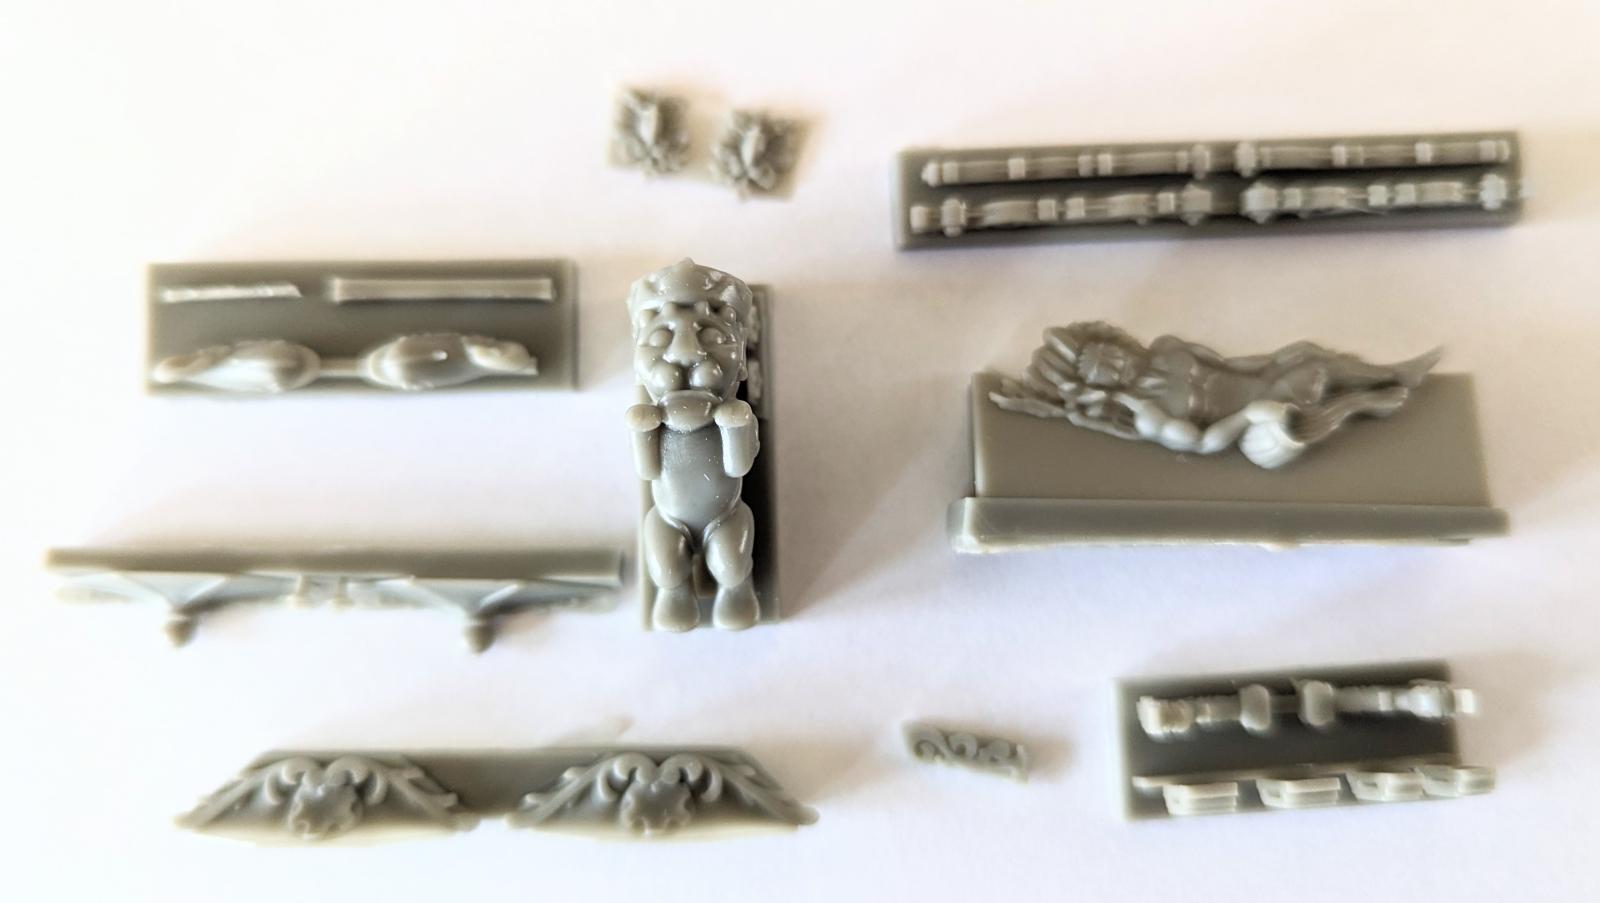
Resin Parts
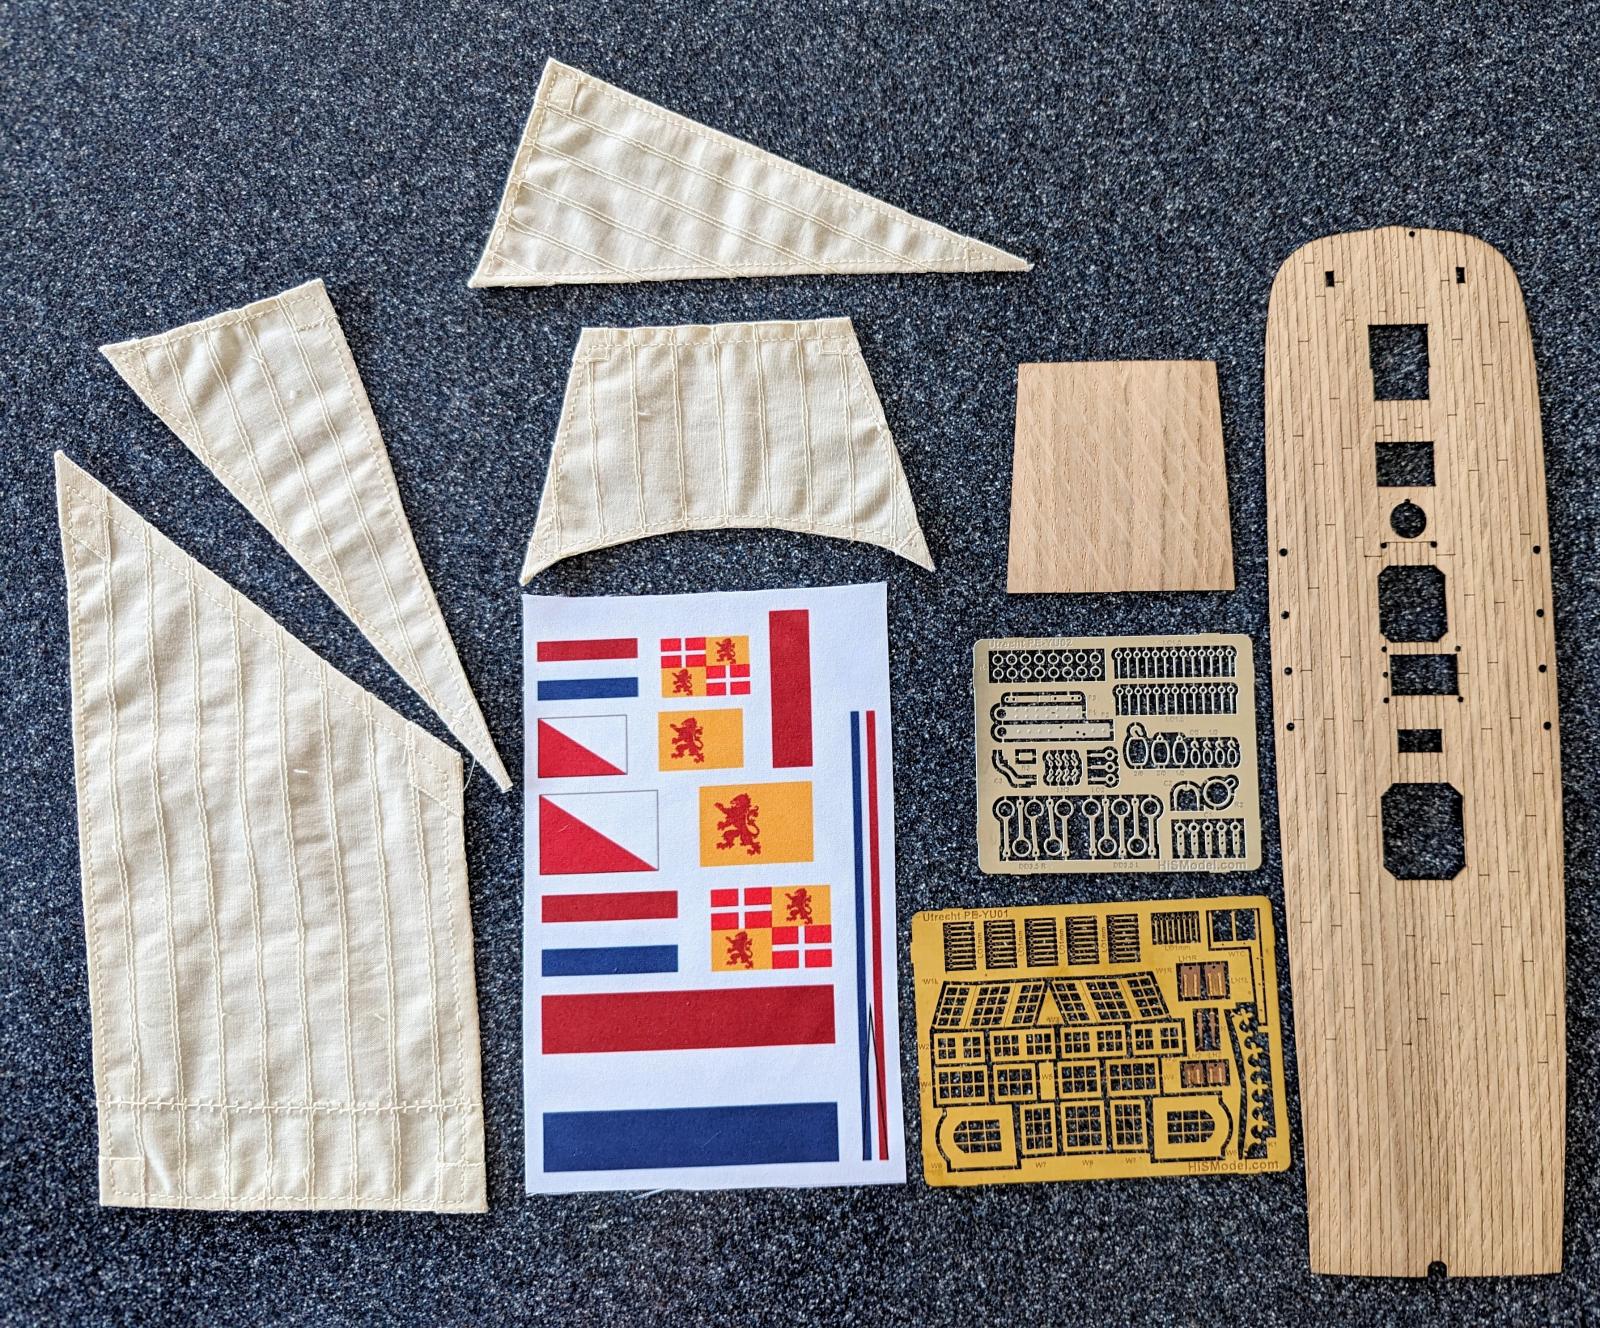
Sails, Deck etc
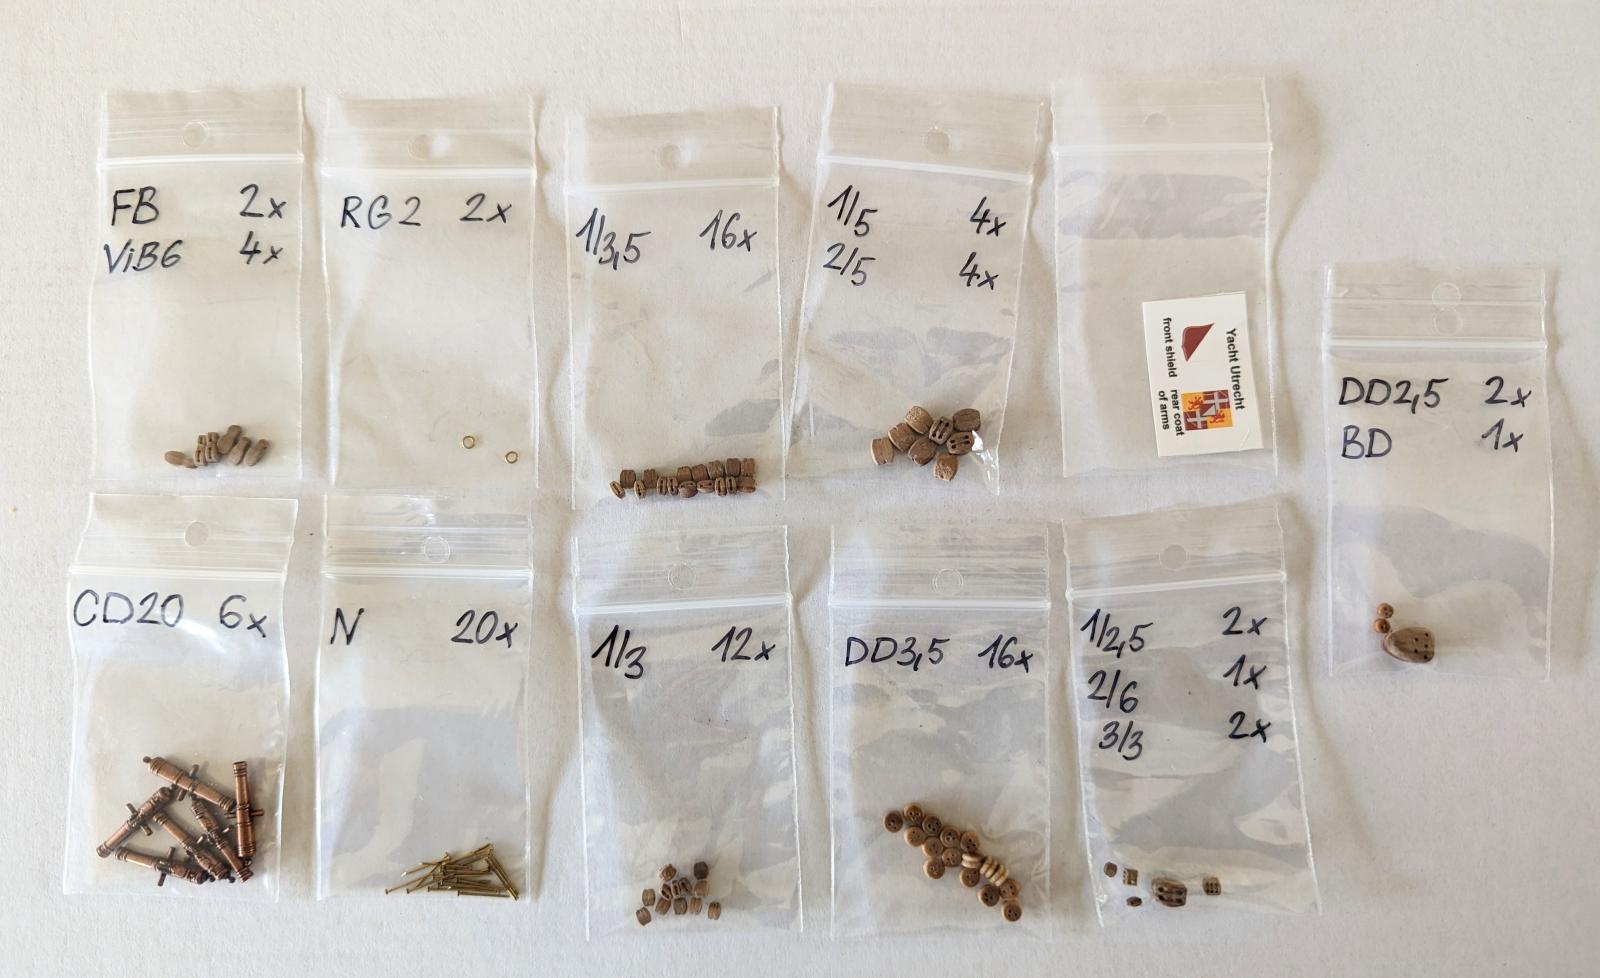
Deadeyes, Blocks, Cannon etc
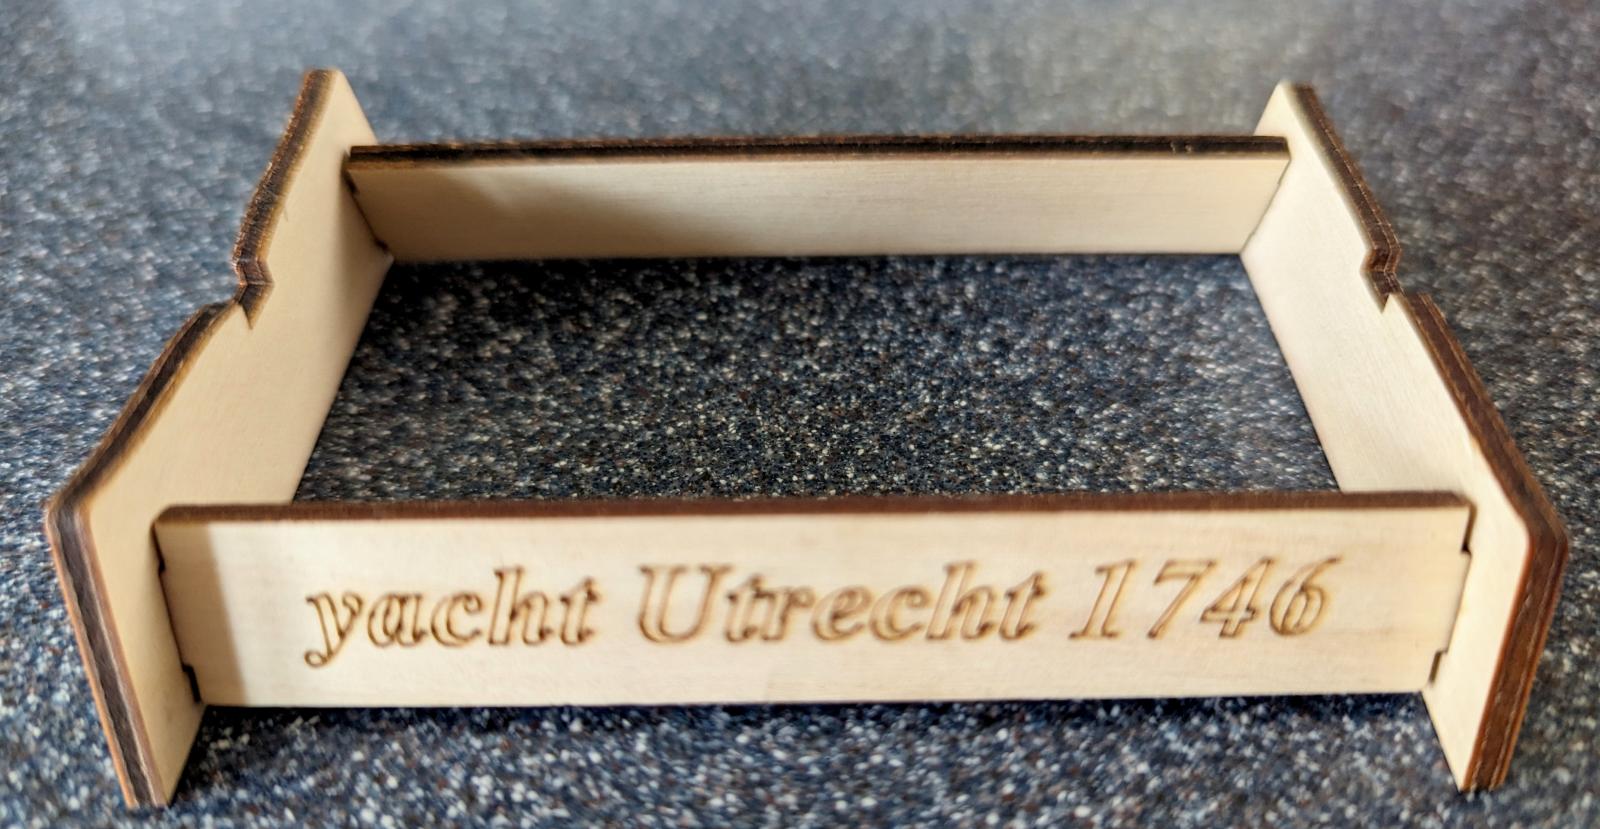
Stand
Instruction sheet image

As rigged
Instruction sample
Colors
Rigging plans
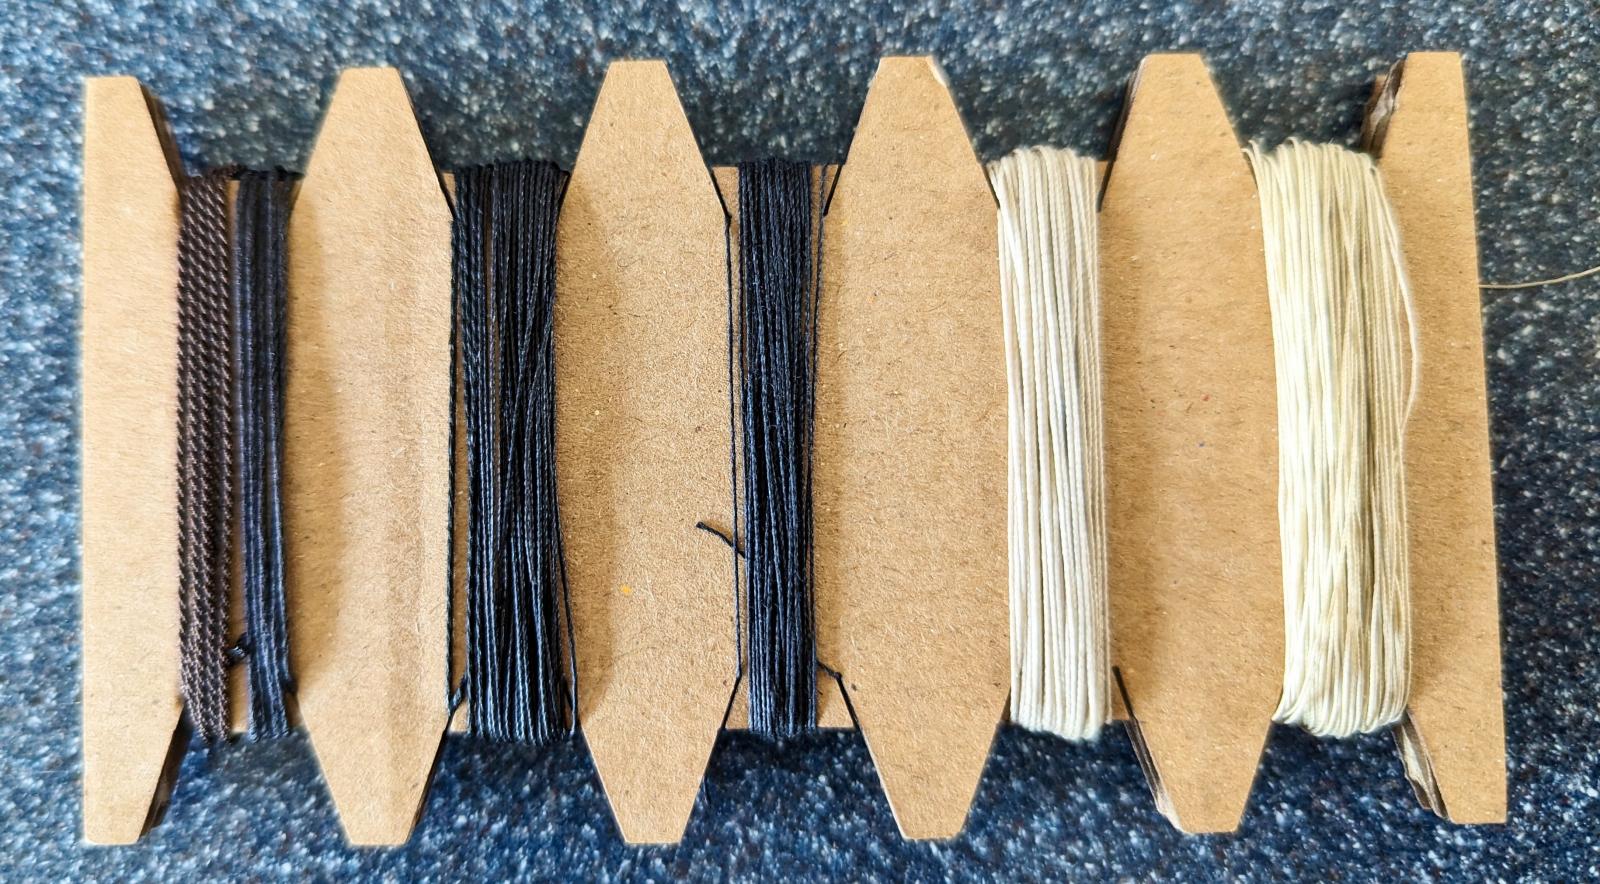
Line
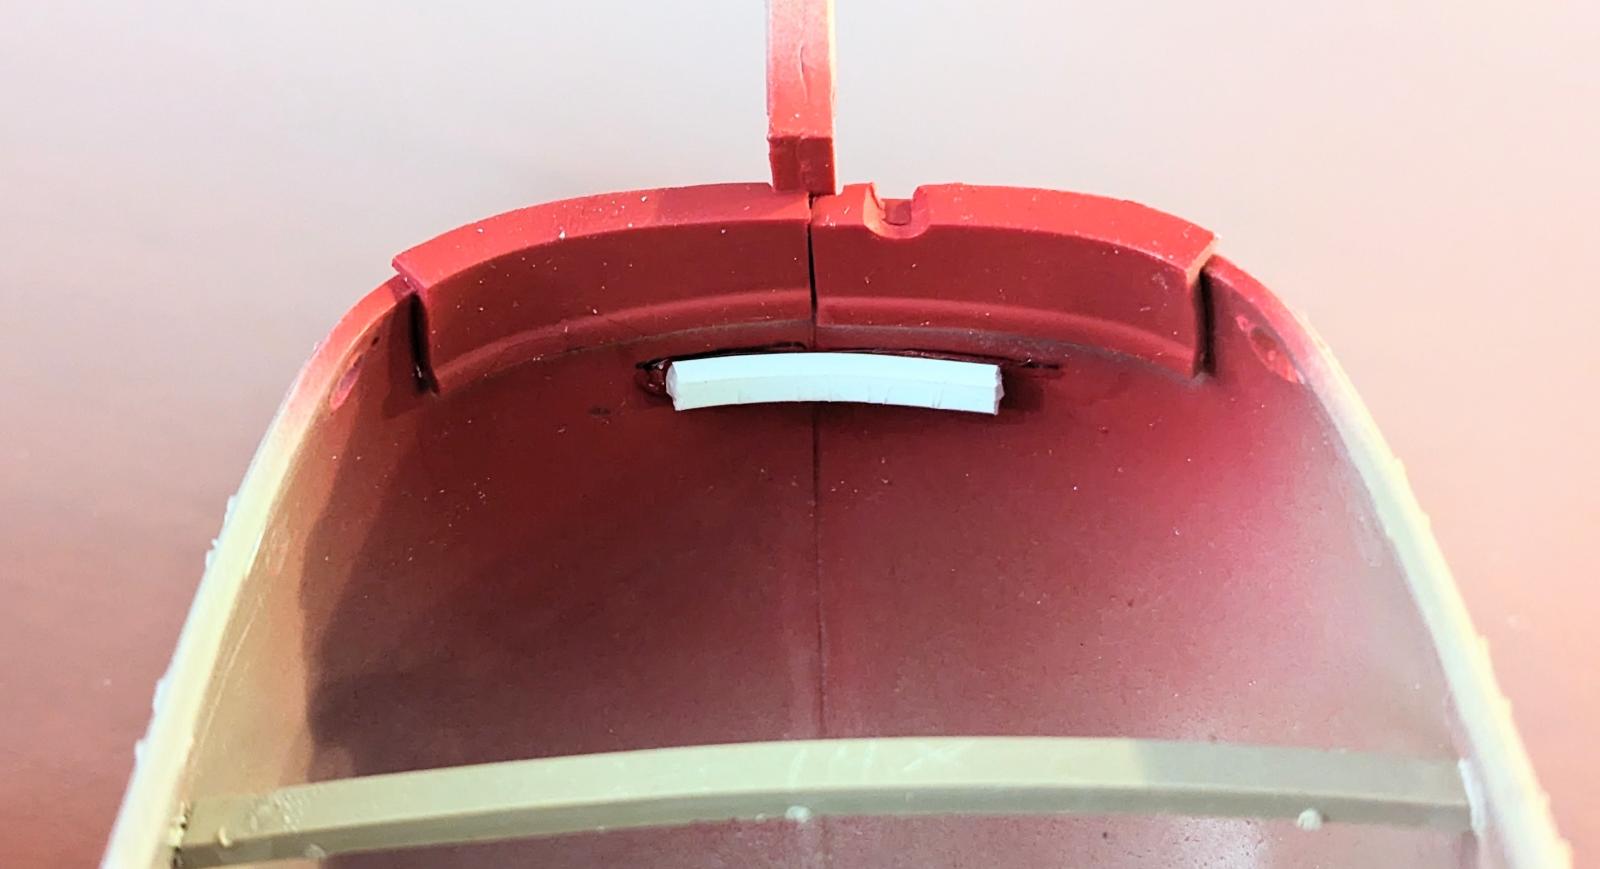
Block added to stern
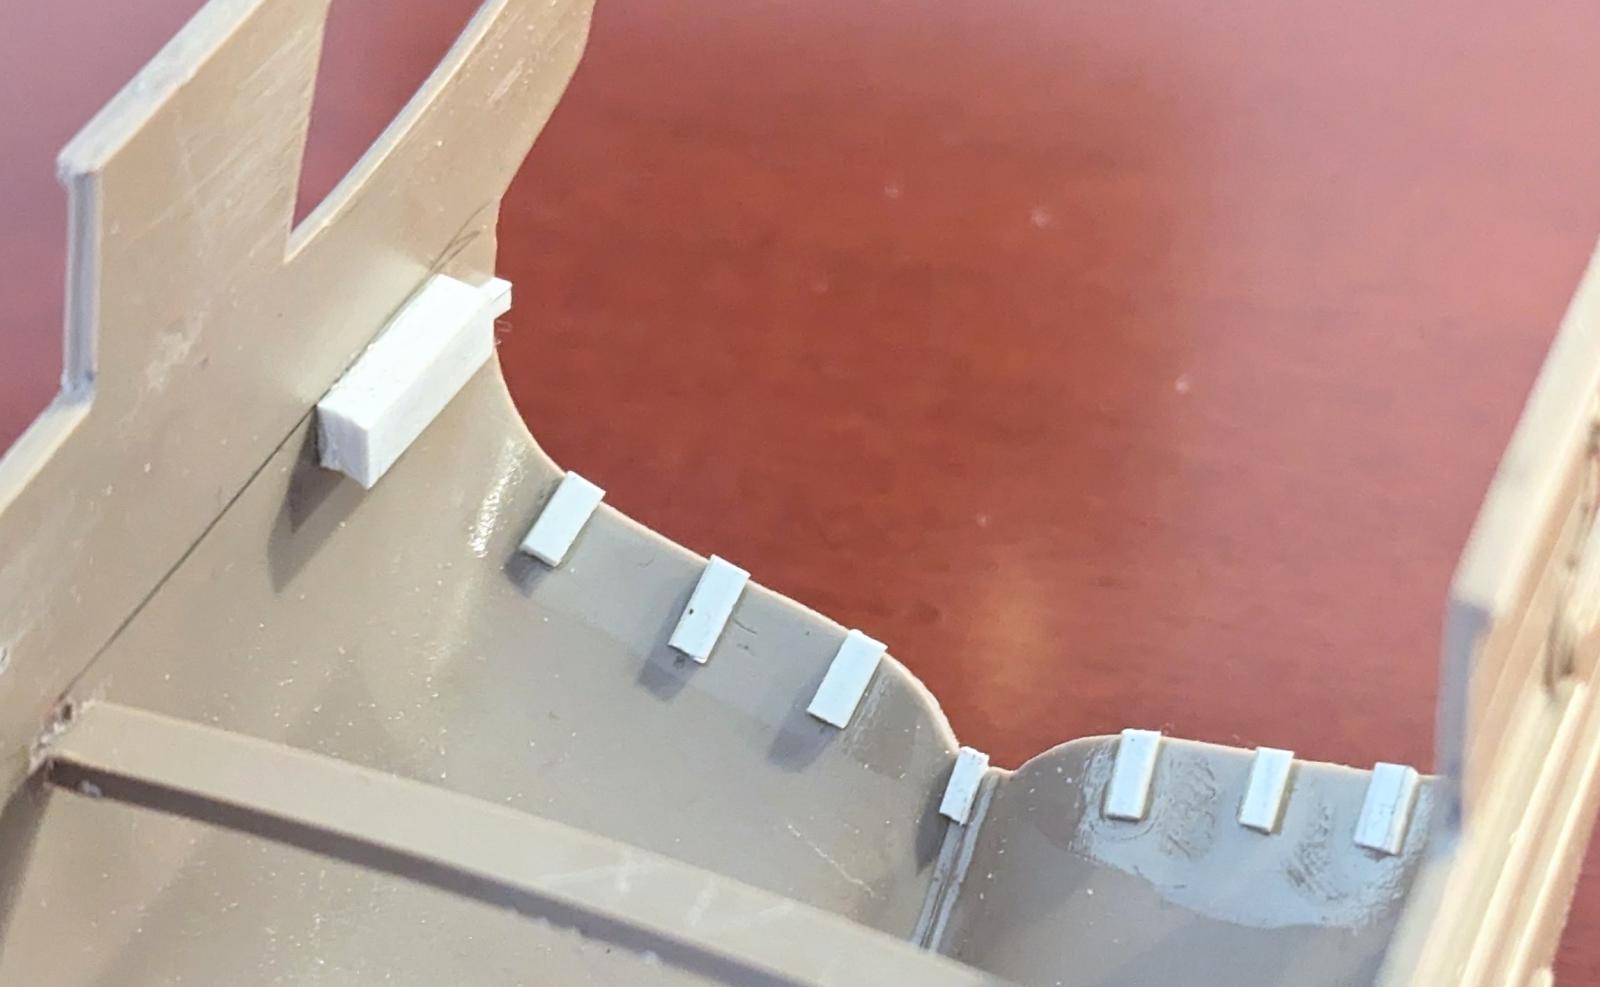
Blocks added for alignment
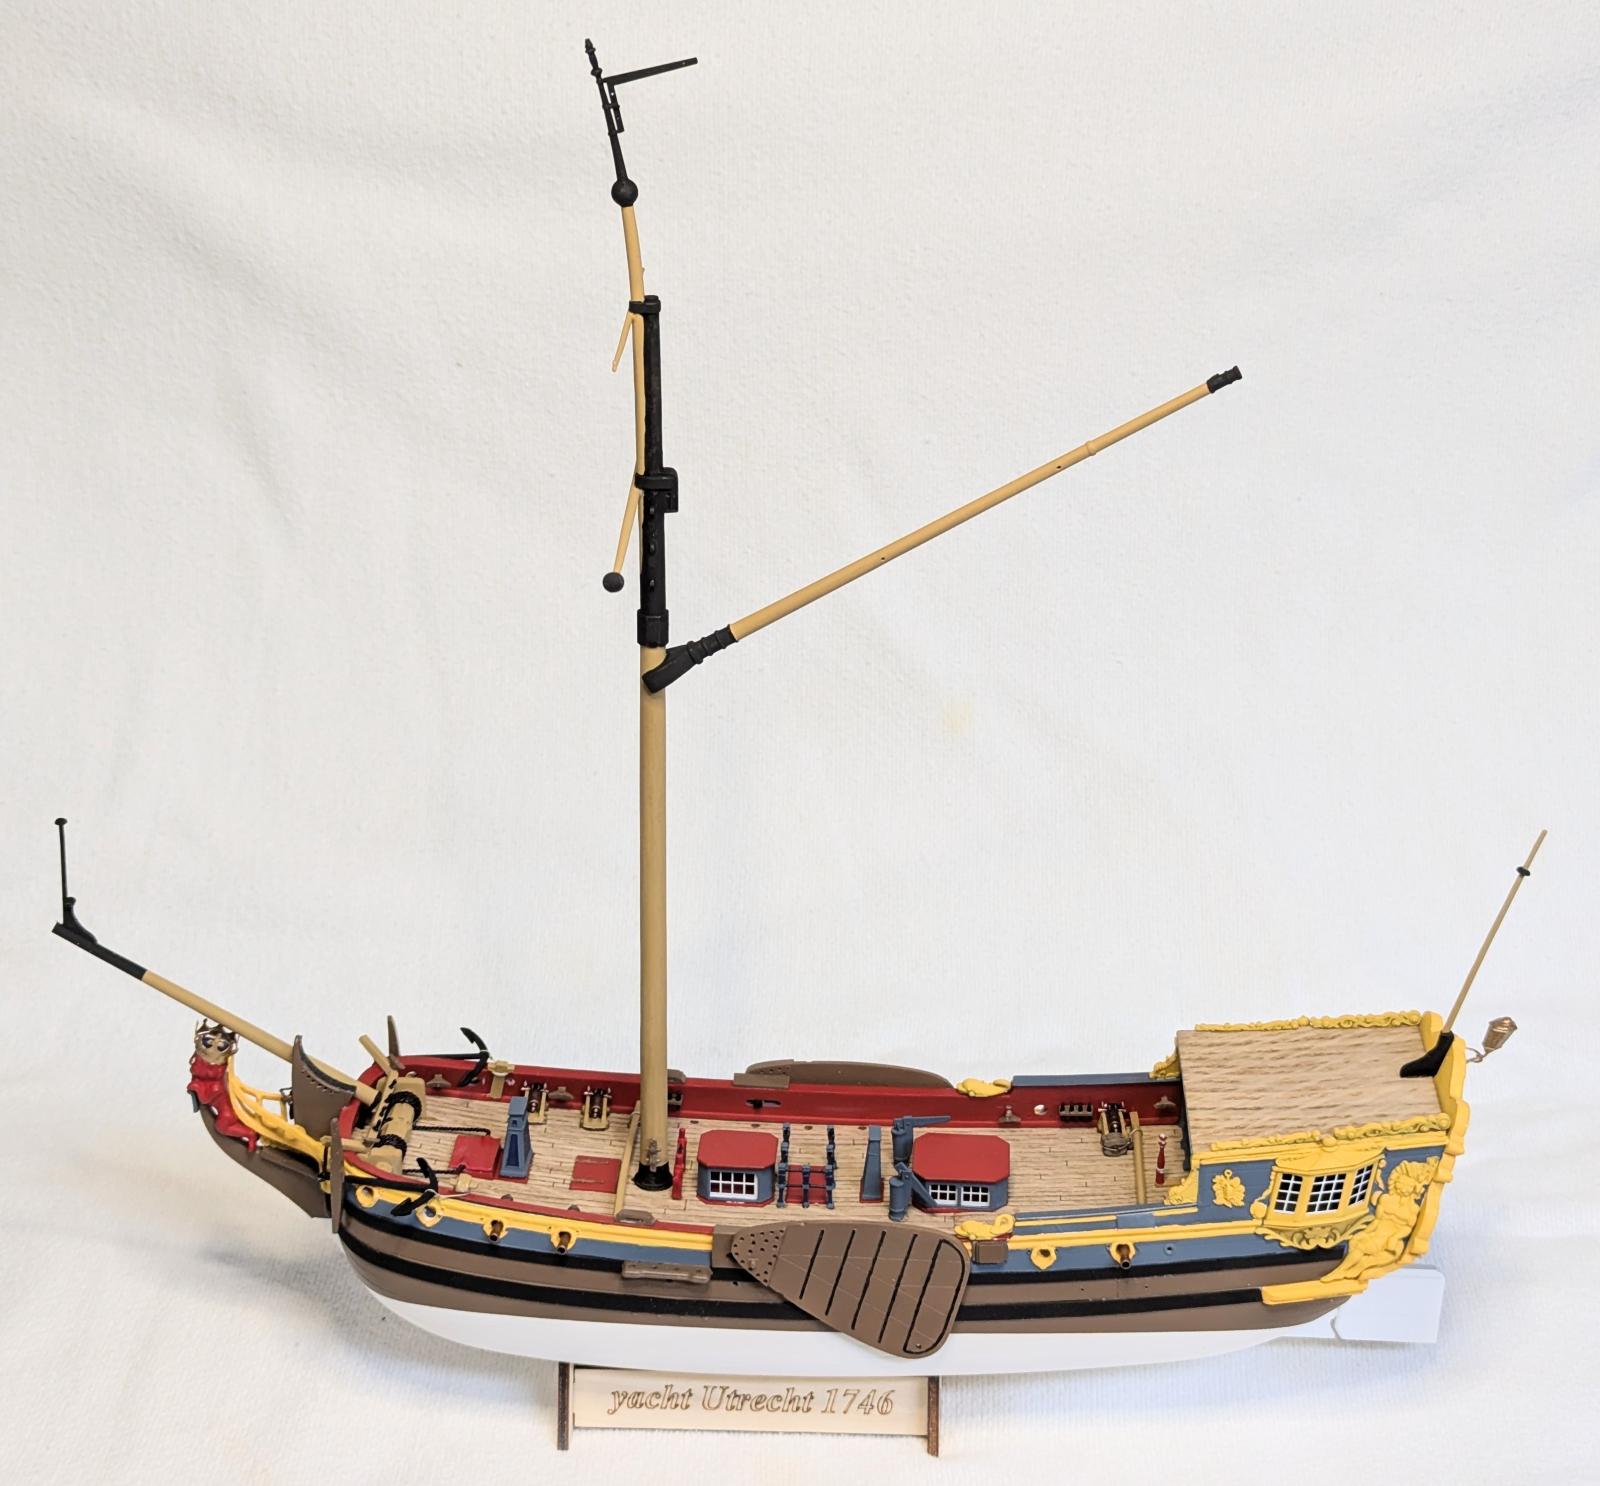
Completed ship
Port view
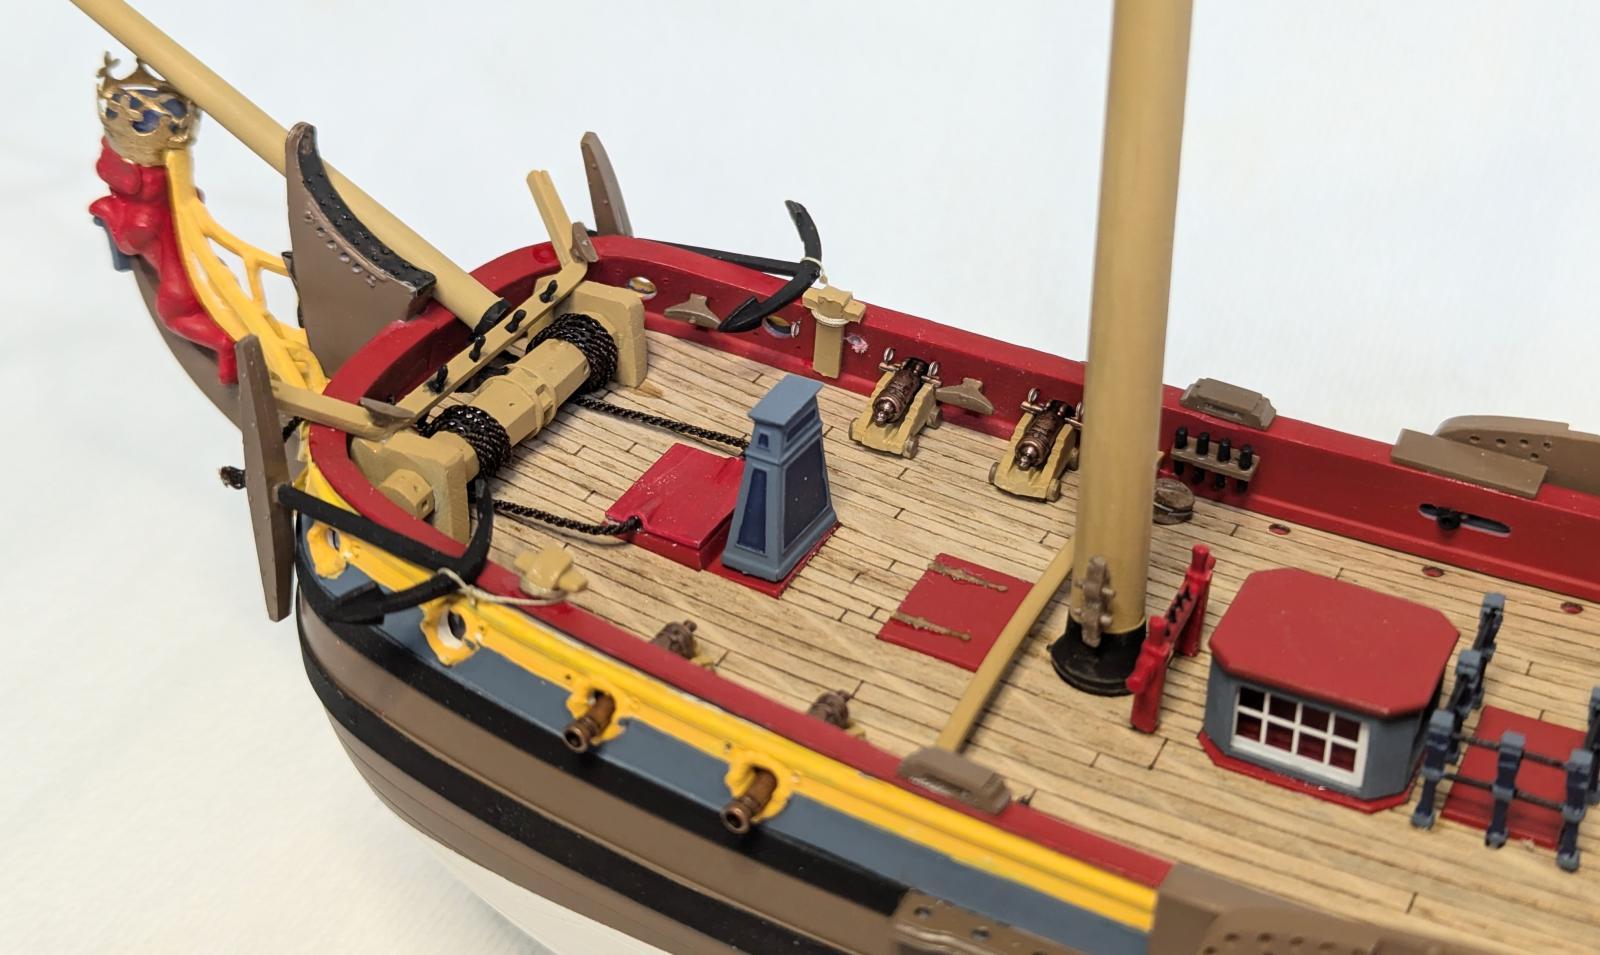
Amidships
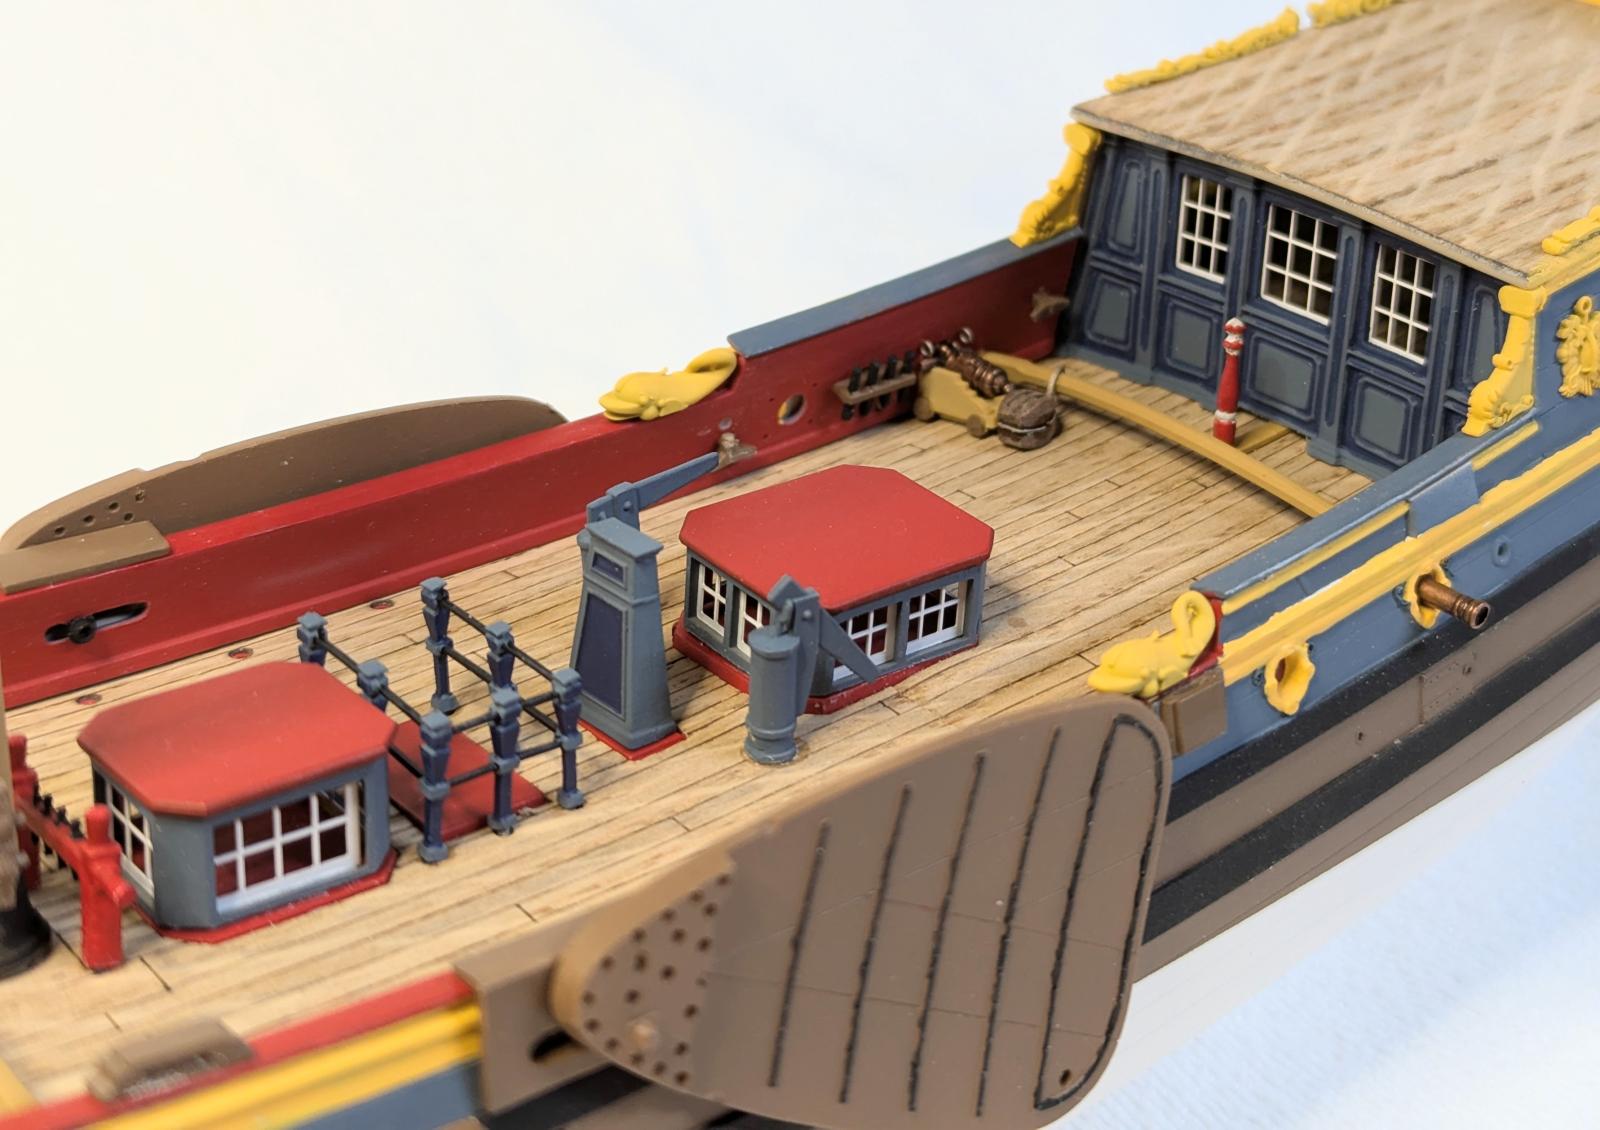
Stern, portside
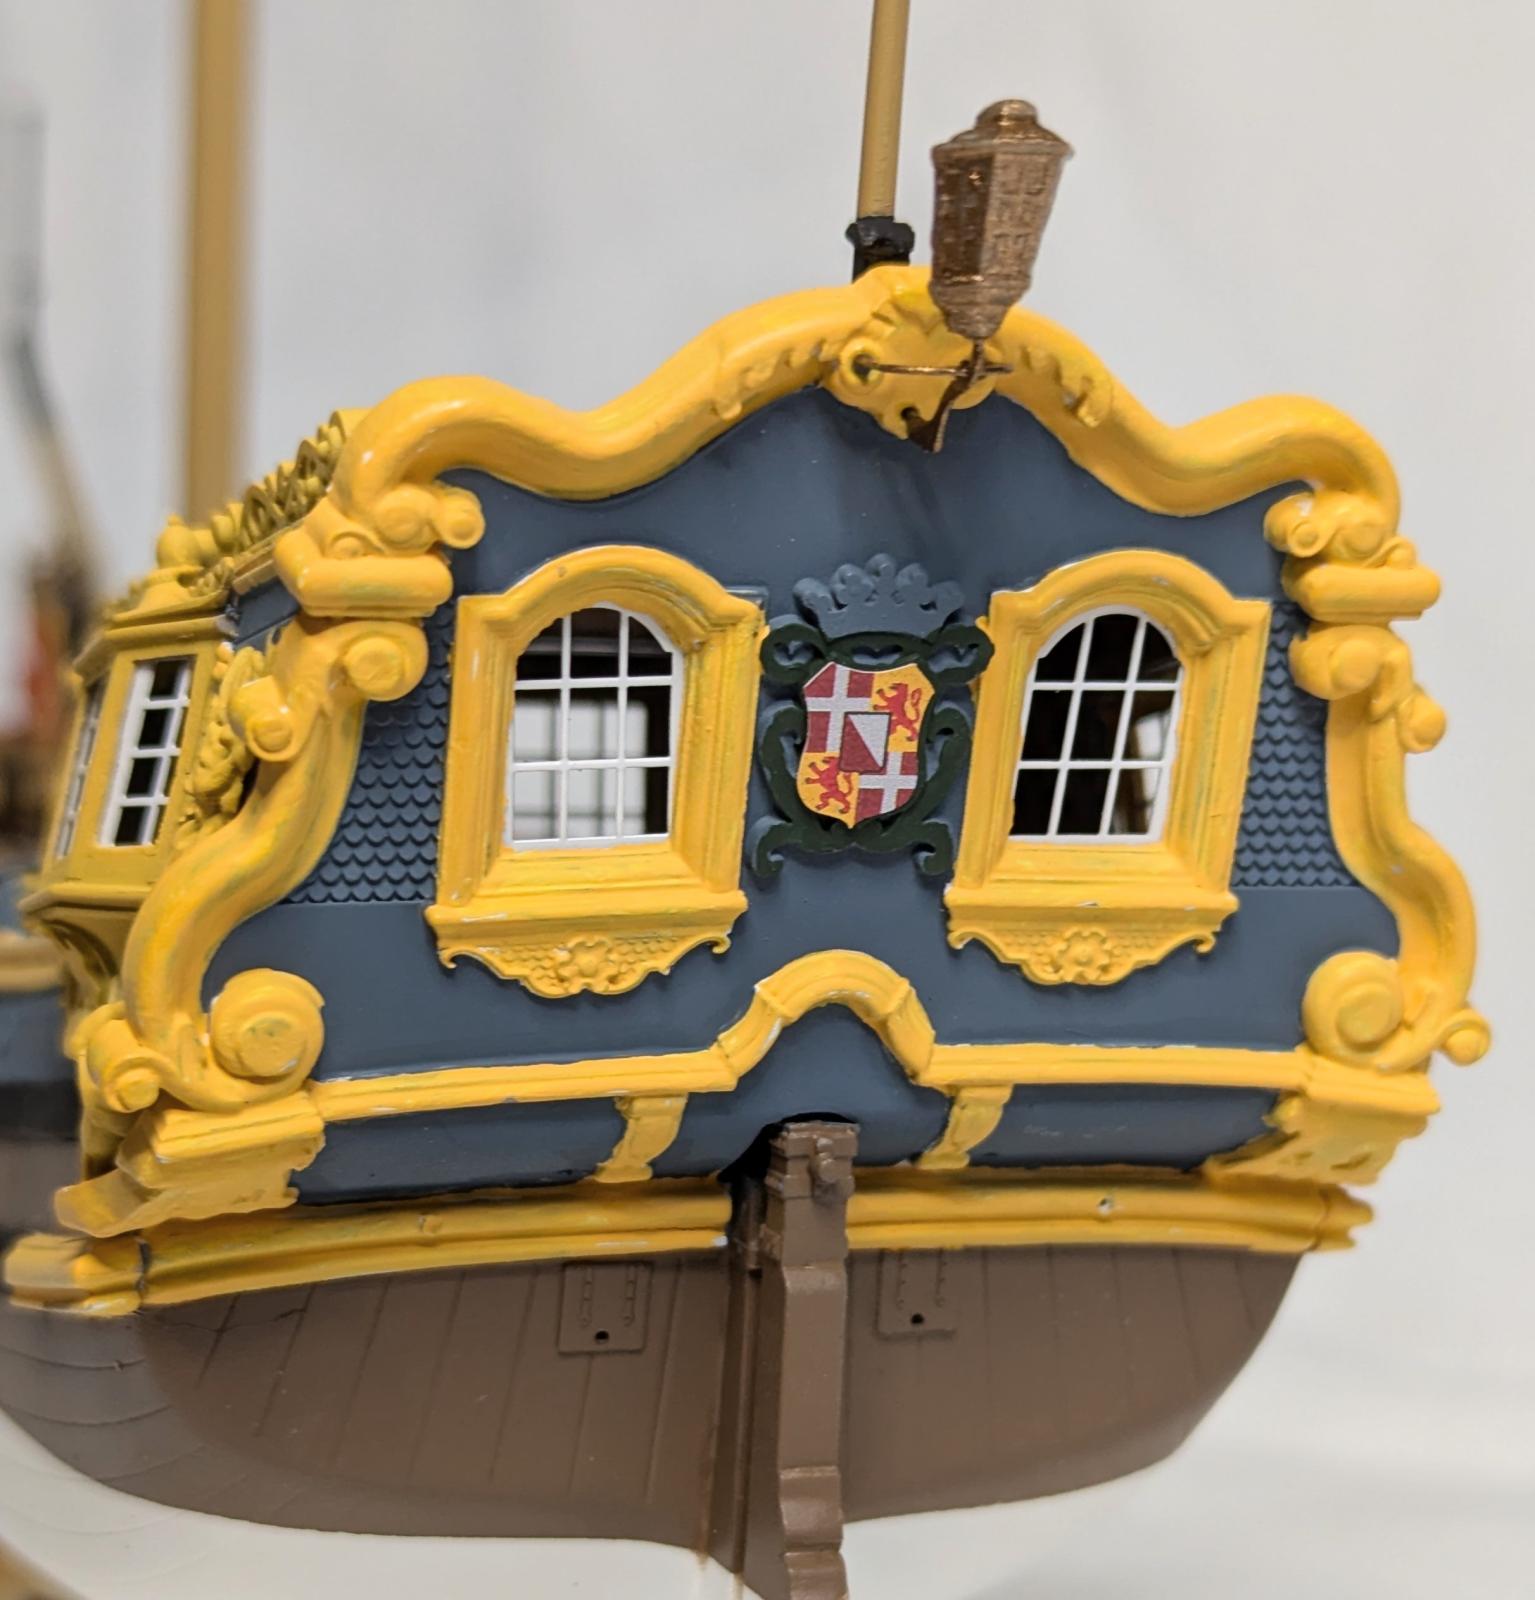
Stern, abaft
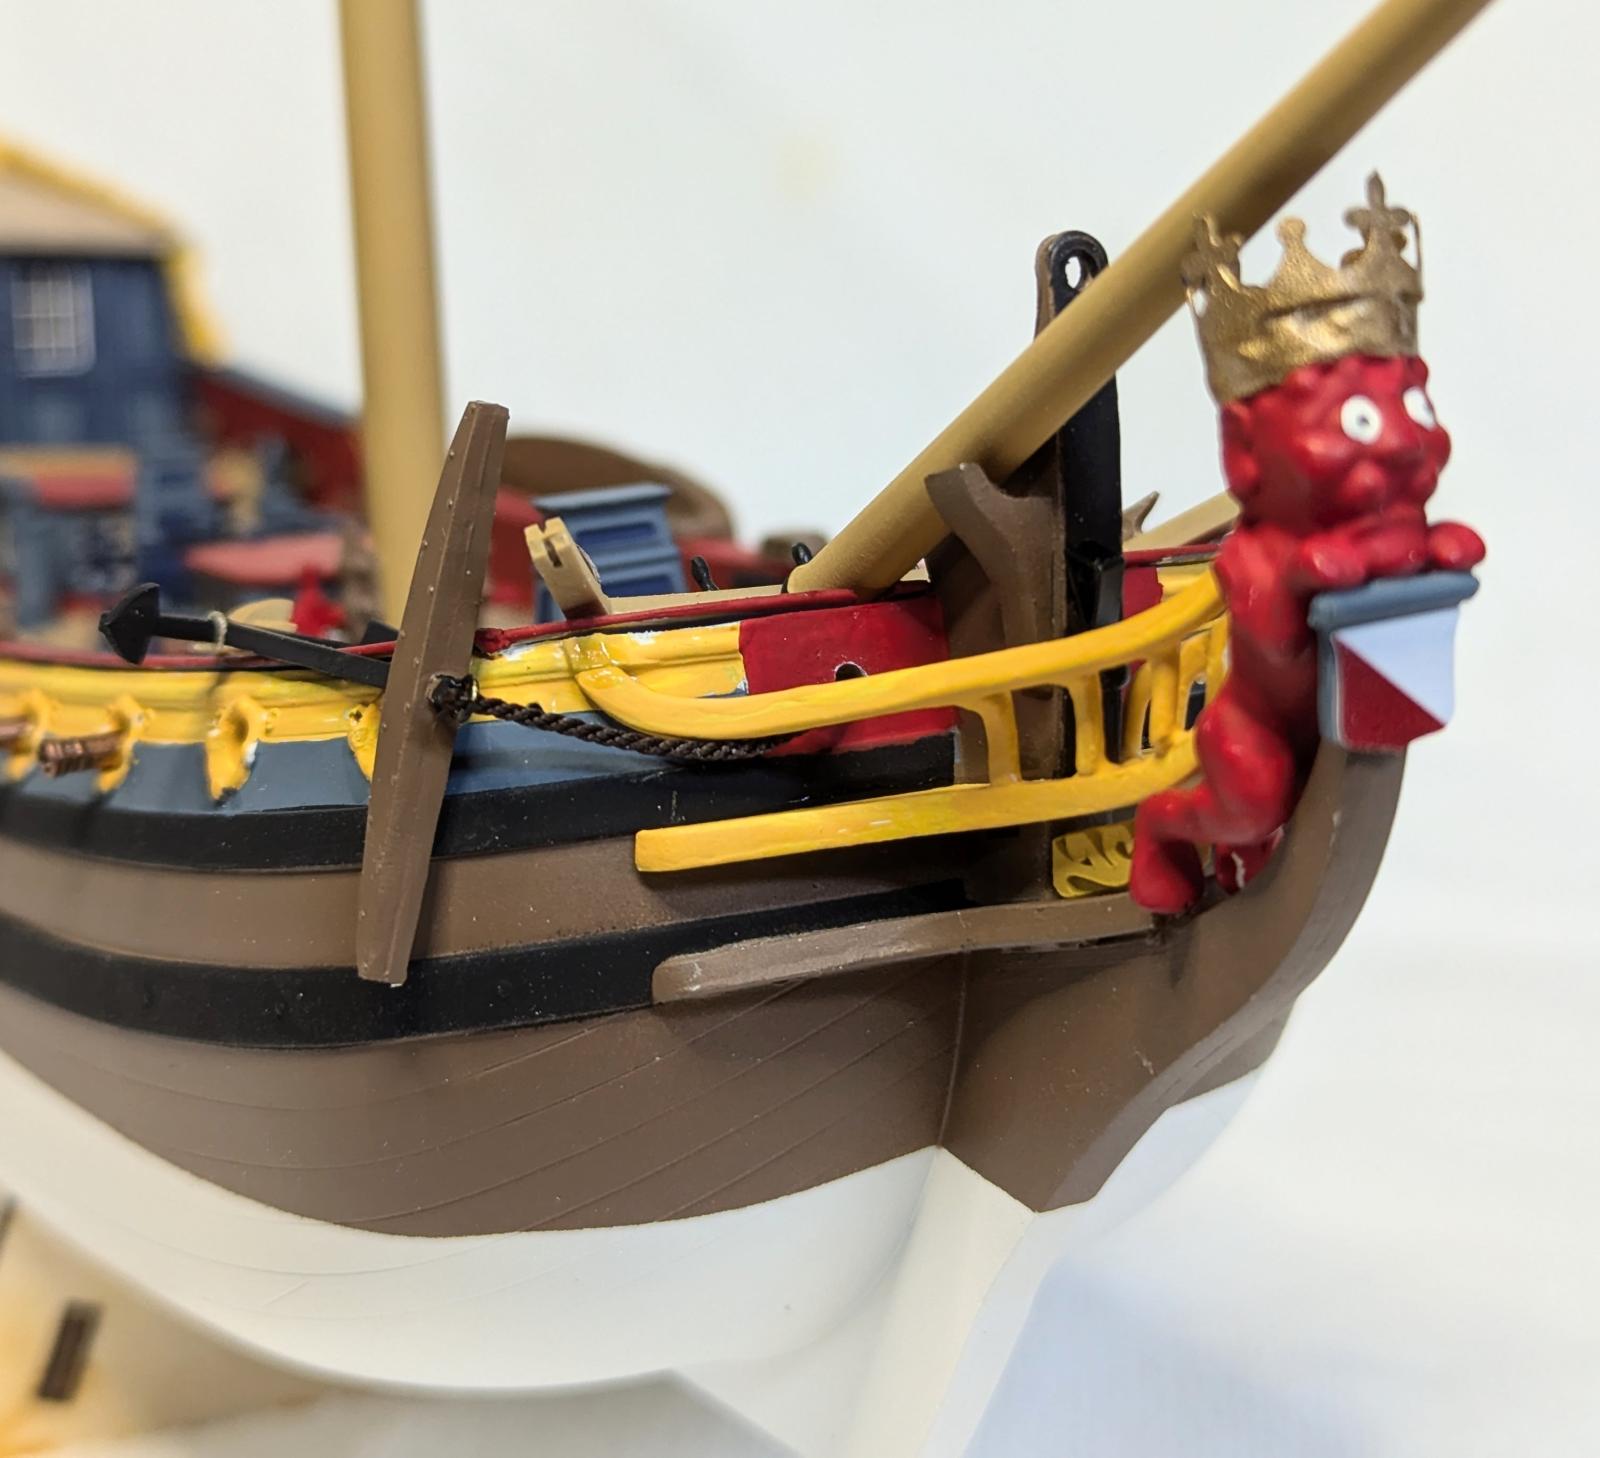
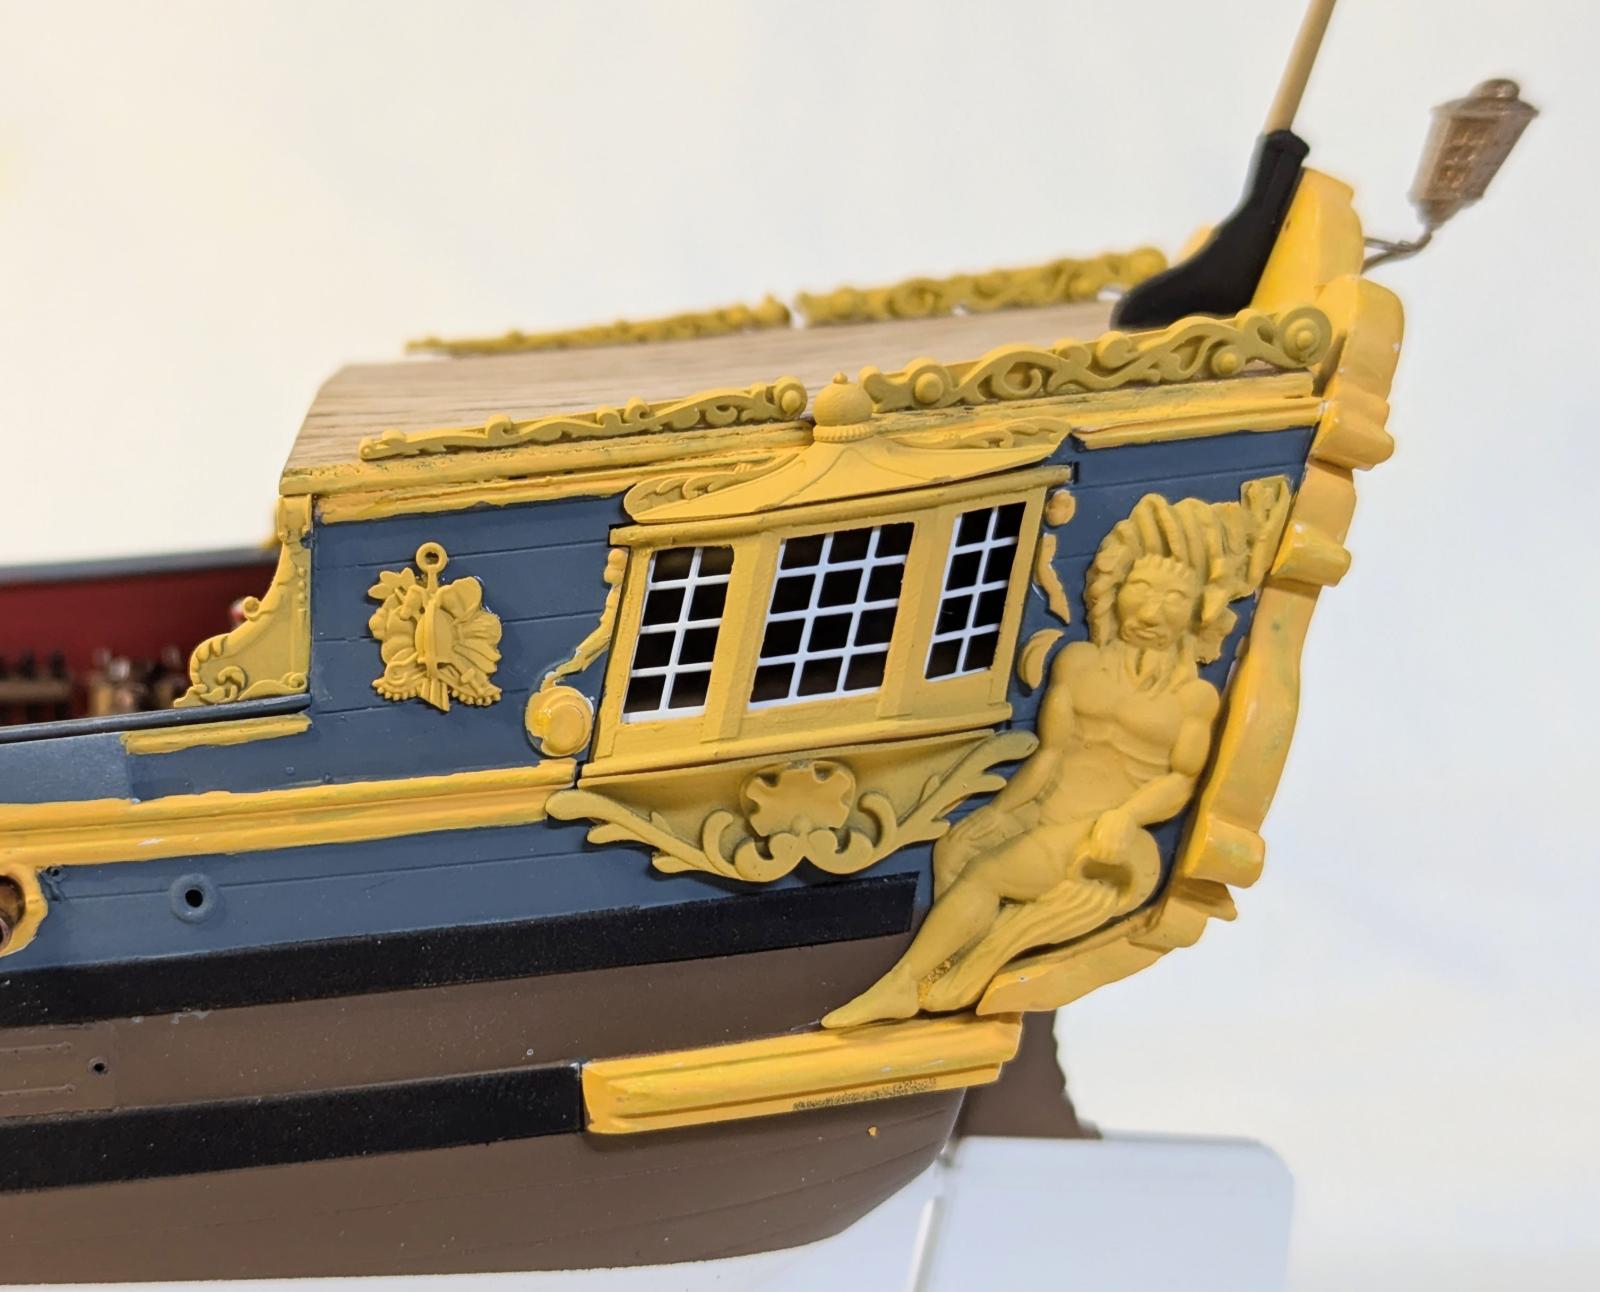
Bow
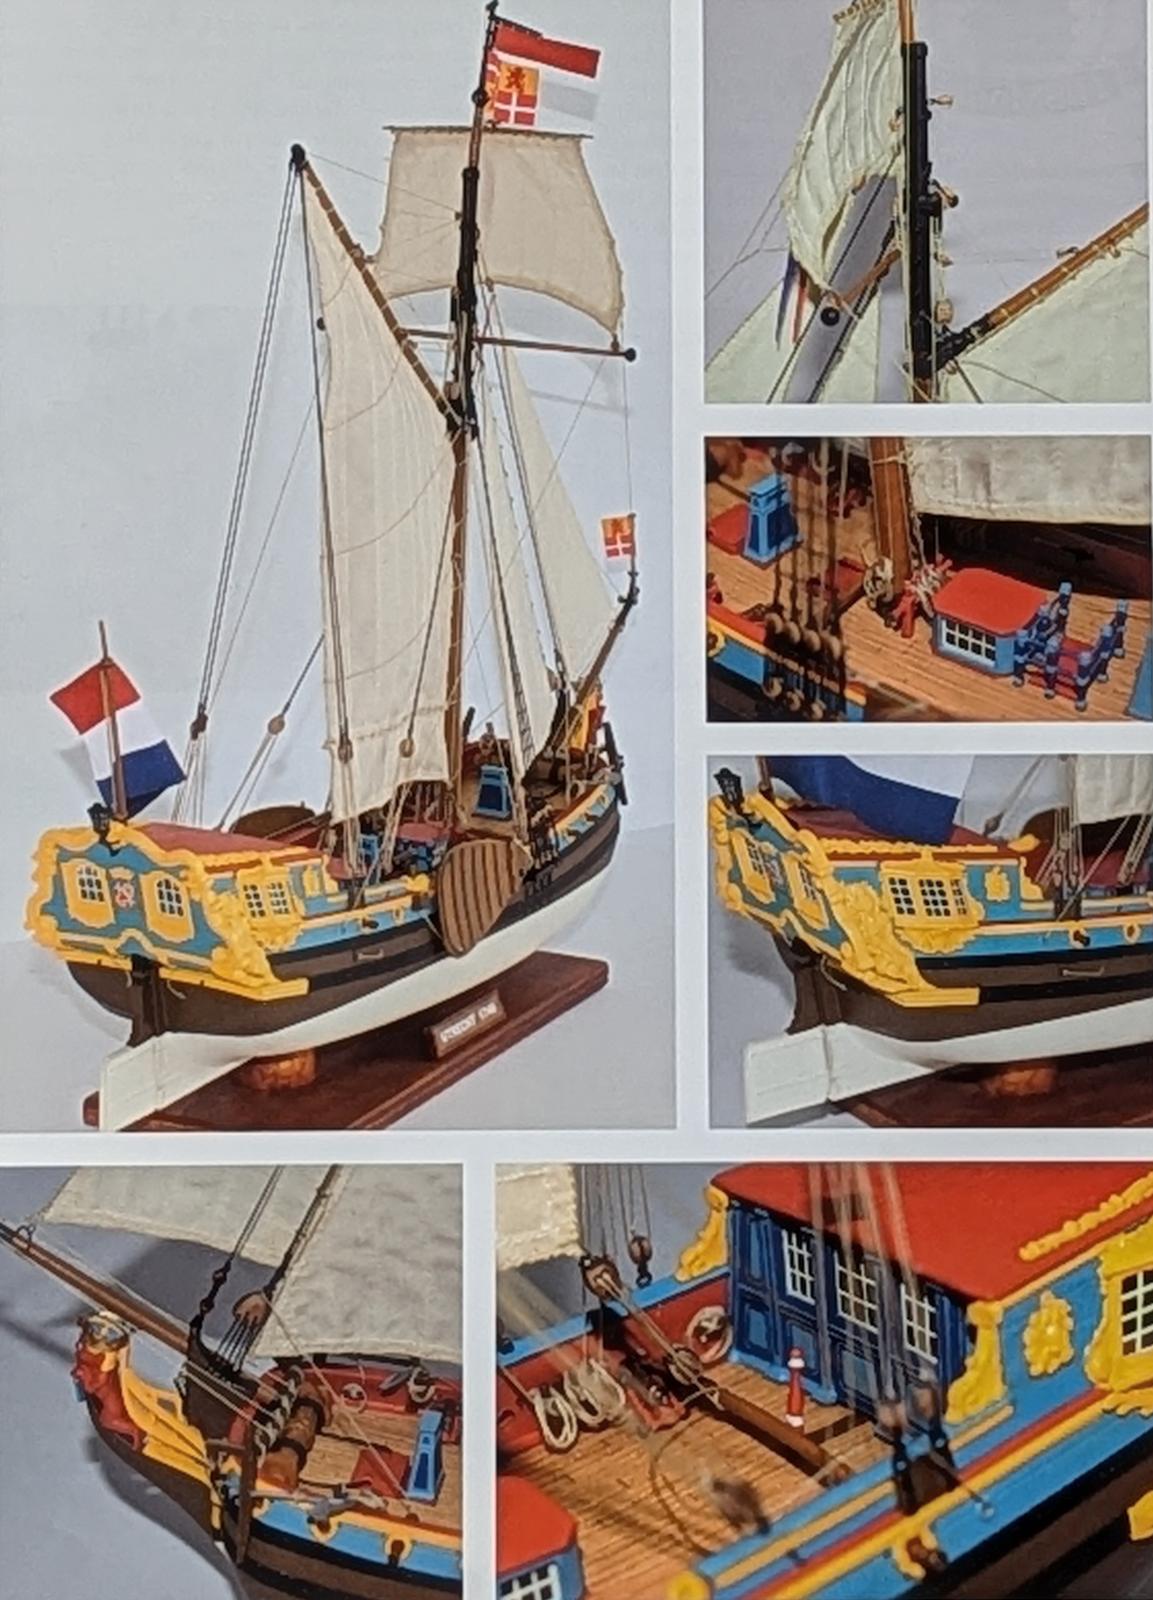
Illustration of rigged ship
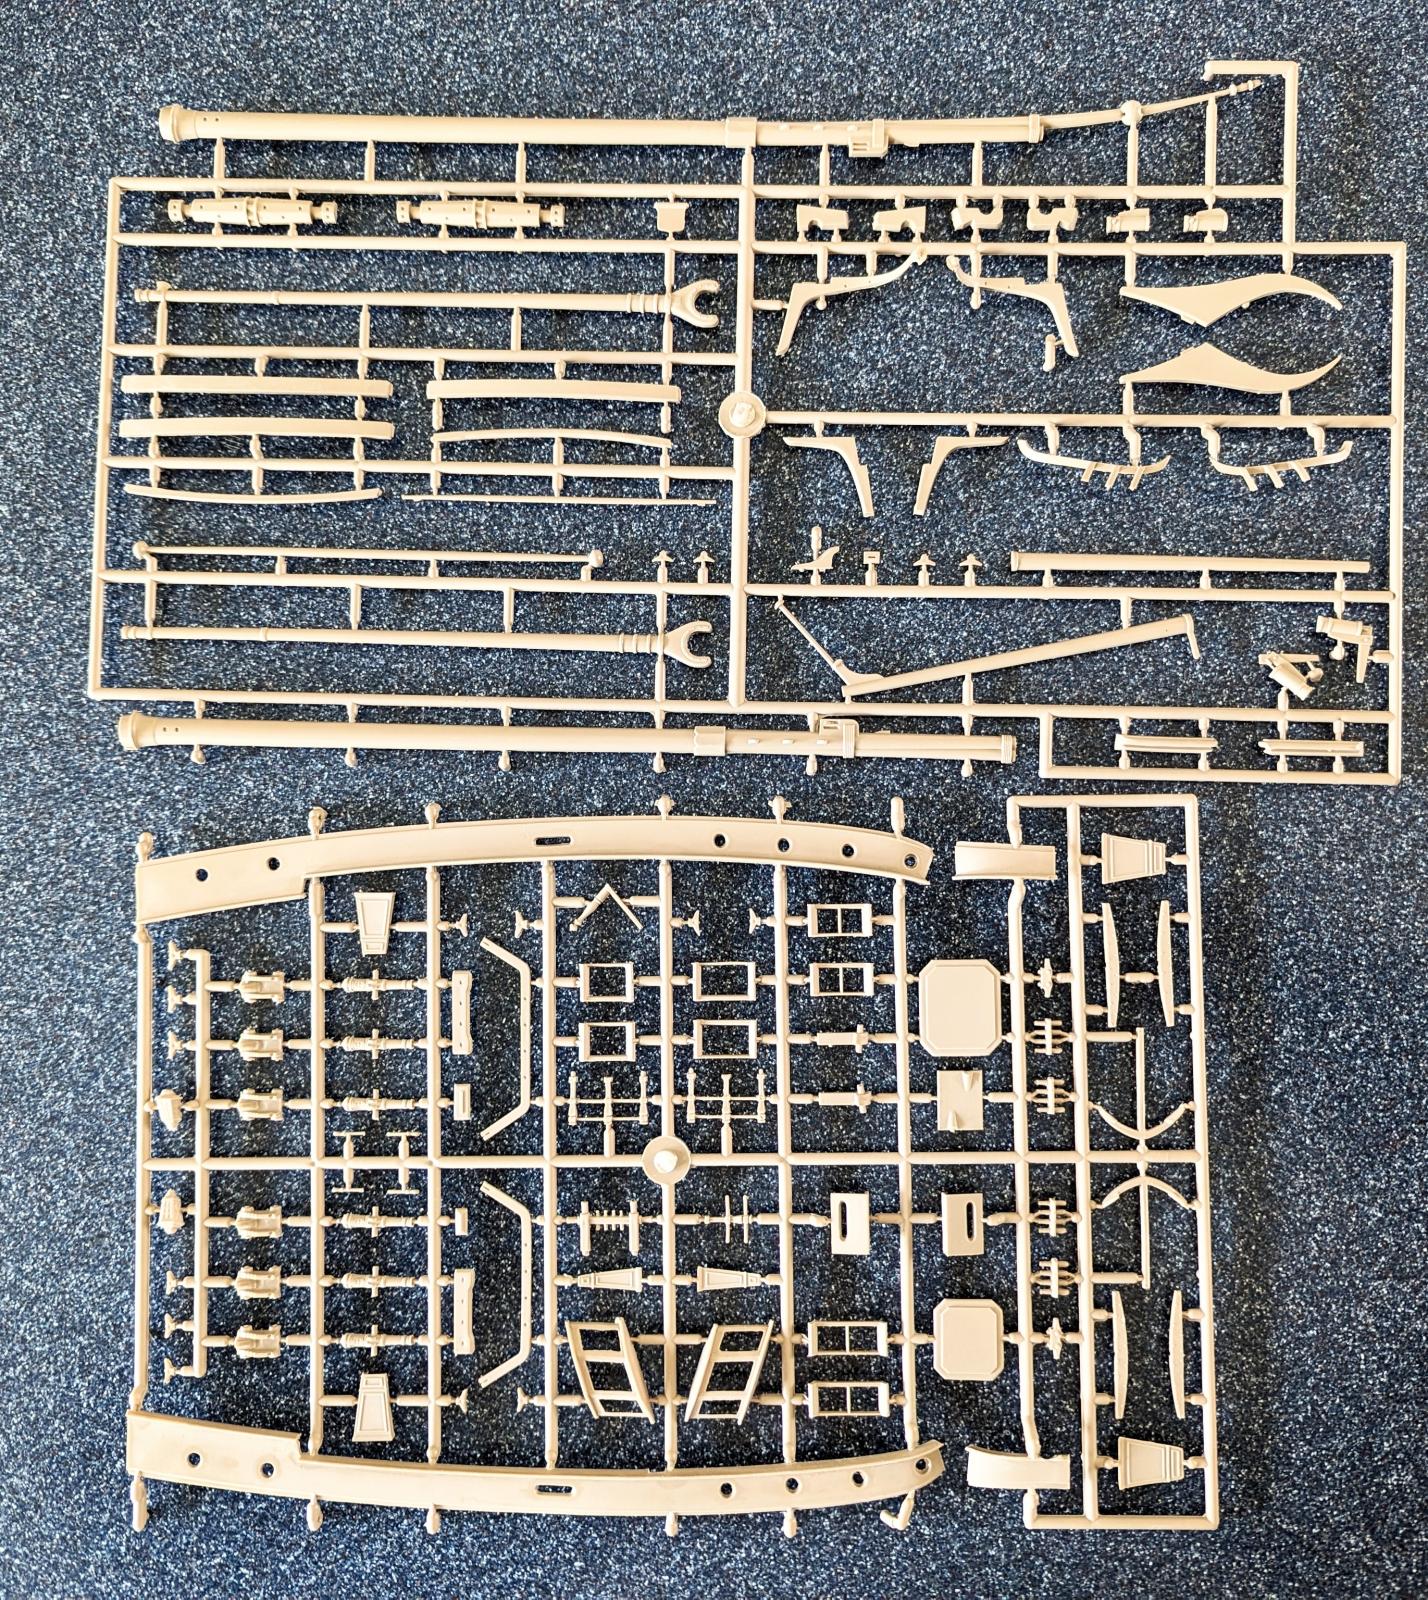
Parts
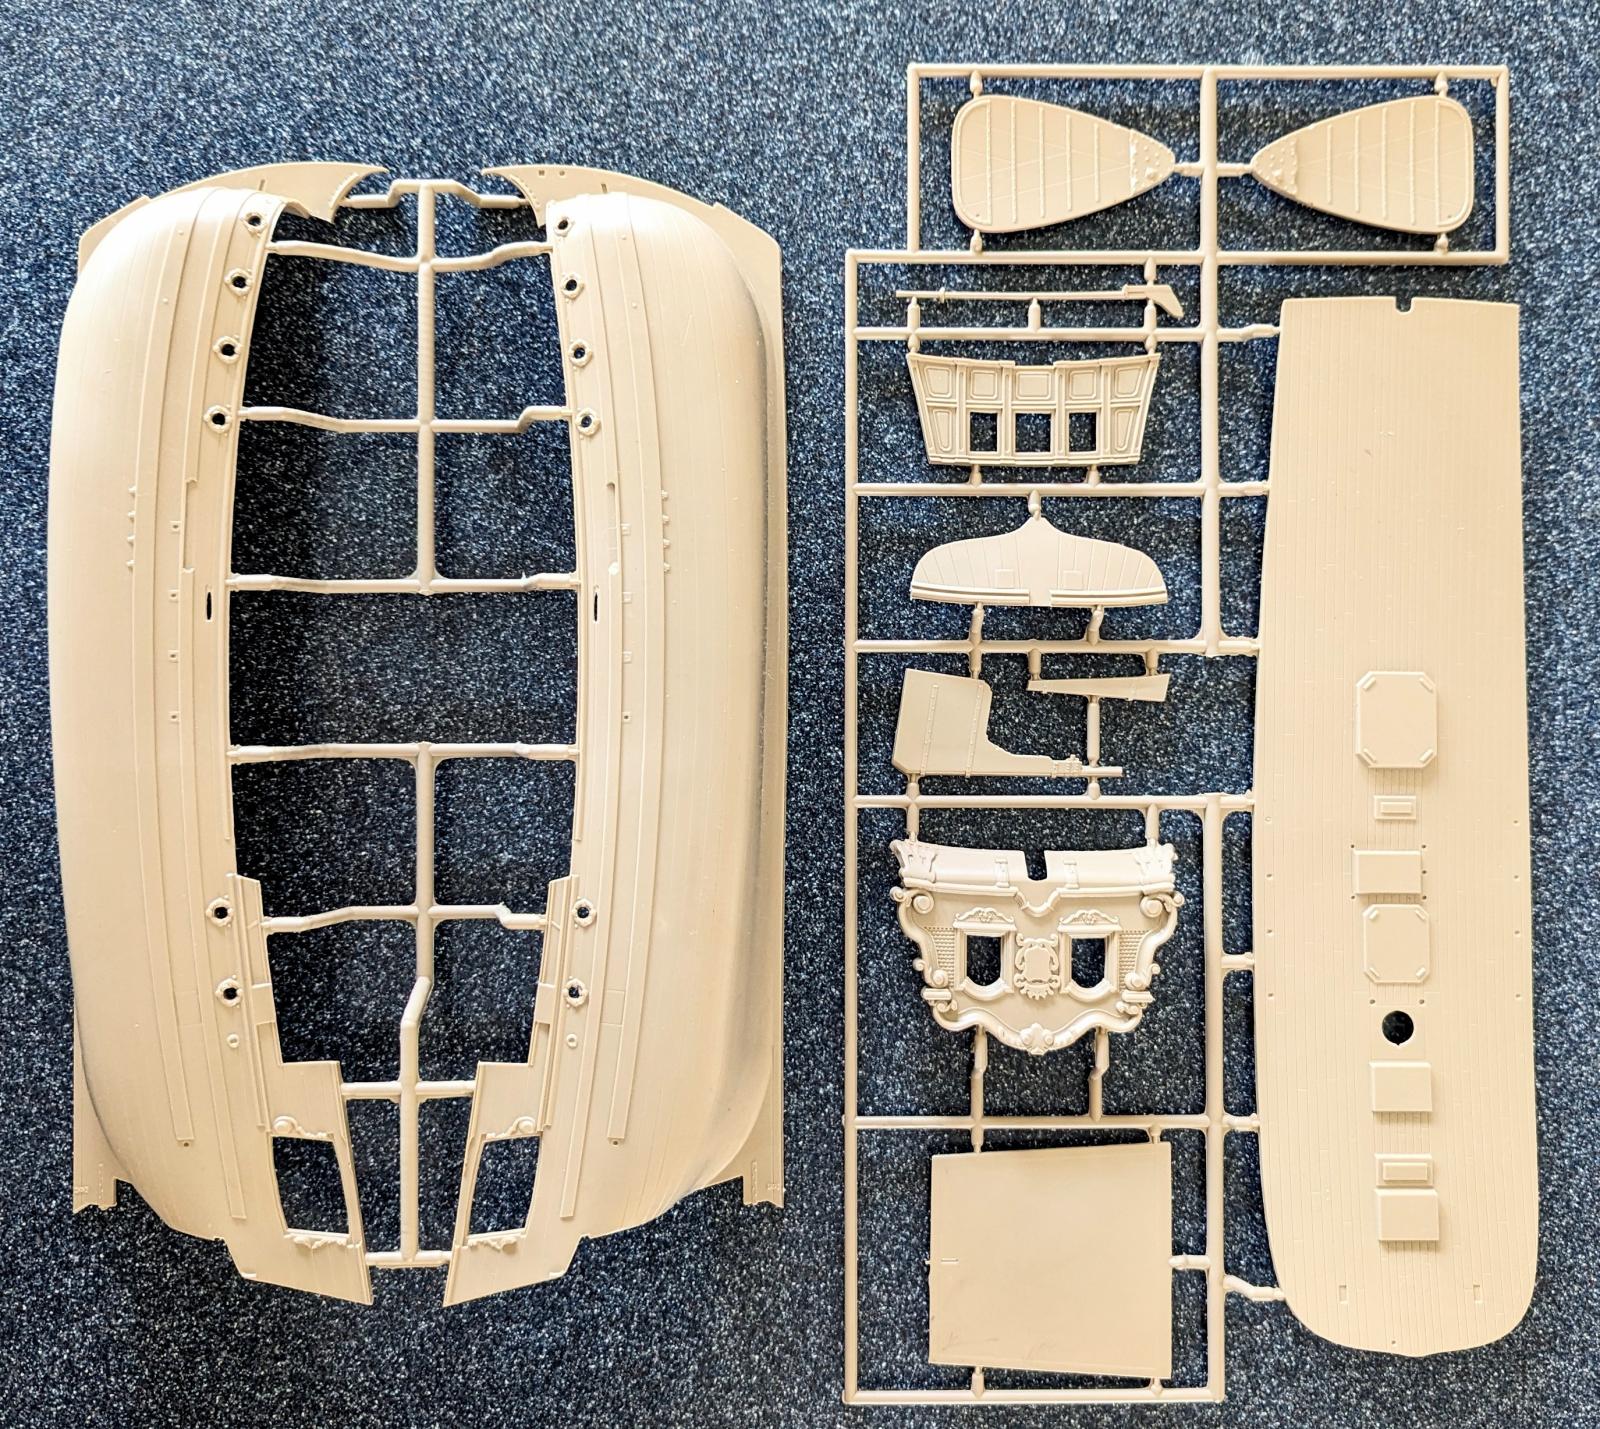
Parts 2
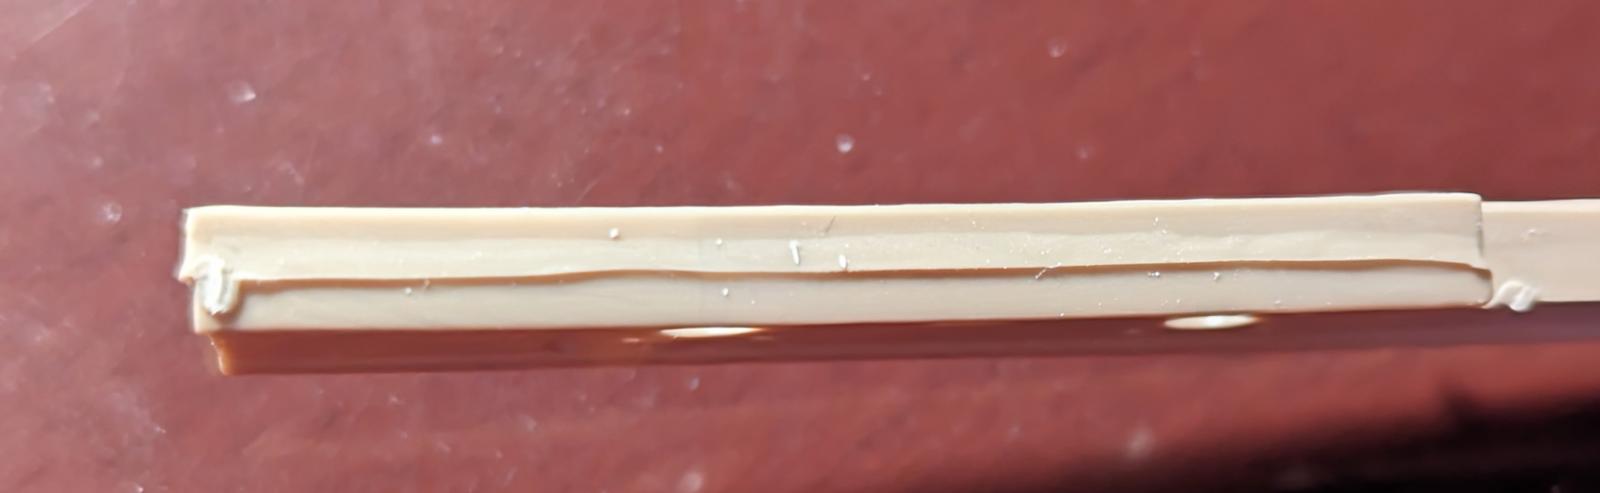
Mold seams and injection marks
Comments
enjoyable write-up
Ron I really like your writing style. Laughed a few times as I read it, plus thought the comments were valuable for anyone who would want to build it. I am almost done with my 1st sailing ship since I was a kid and your review haas me thinking about this ship potentially.
Add new comment
This site is protected by reCAPTCHA and the Google Privacy Policy and Terms of Service apply.
Similar Reviews