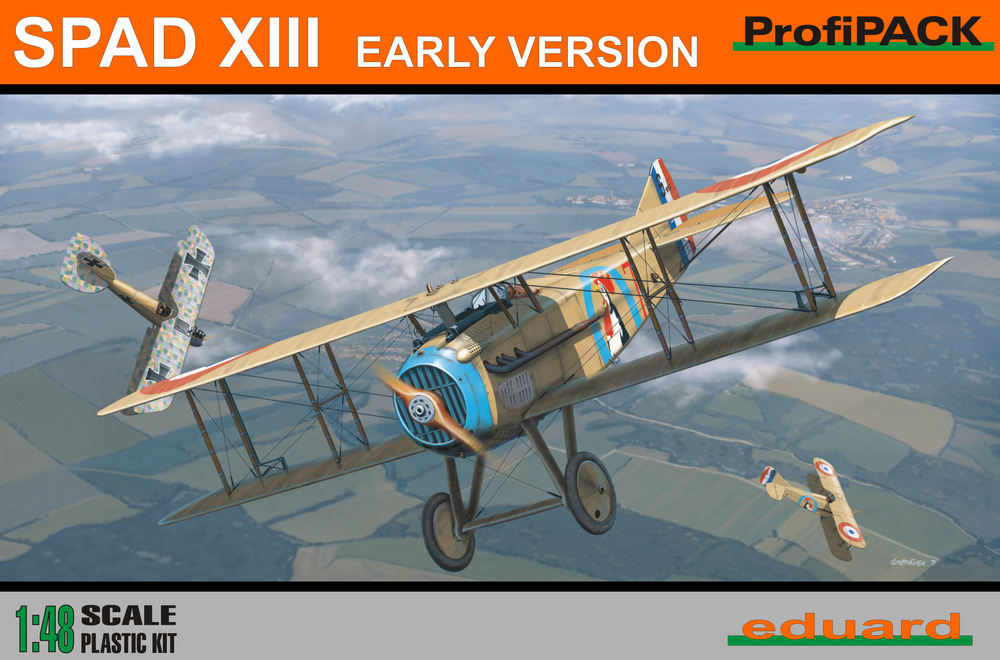
Spad XIII (early)
First delivered to combat units in the fall of 1917, the Spad XIII was a refinement of the successful Spad VII design, featuring increased power and armament. Within months of initial delivery, 15 of 16 operational American pursuit squadrons had transitioned to the legendary French-built fighter. One of those squadrons was the 94th Pursuit Squadron, to which America’s leading ace of The Great War, Captain Eddie Rickenbacker, was assigned.
Eduard’s most recent release of the Spad XIII depicts an early production configuration. The kit includes color instructions and marking guide, markings for 5 aircraft (3 French, 1 British, and 1 Italian), a fret of photo-etched details, a set of masks, 3 sprues of the customary beige injection molded parts, and a single small clear sprue with 3 windscreen options.
Eduard fans and newcomers alike will not be disappointed. Parts are crisply and delicately molded in soft styrene. Recessed and raised detail appears spot-on when compared to references. The PE, as typical in Eduard kits, is virtually flawless. Decals are printed crisply and are well-registered. The windscreen masks fit well, but the masks for the wheel hubs are a tad over-sized. Instructions follow a logical and efficient assembly sequence, and are very clear and without error or ambiguity.
The well-engineered injection-molded and PE parts fell together during the assembly of the cockpit and fuselage. Cockpit and fuselage were together and paint-ready in only a couple of hours – and that accounts for lots of fiddly little PE instruments and belts and tiny injection-molded instrument casings and cockpit structure. A touch of putty was required to blend the fuselage top plate with the sides, but fit was great otherwise.
Wings and interplane struts required a bit of delicate cleanup along the mold parting lines, taking but 10-15 minutes of focused attention with a skinny sanding stick and the edge of an X-Acto blade. Prior to painting, I drilled holes in the wings and fuselage to serve as anchor points for the rigging.
Disappointed in the absence of American markings for my Spad, I chose a scheme from Kagero’s Spad S.IX-S.XXIV book/decal combo, supplemented with some Aeromaster roundels provided by James Caldwell of IPMS/Wright Field Scale Modelers. The Star-Spangled Spad depicts the aircraft flown by Captain Reed M. Chambers at a carnival at Koblenz in 1919.
Tamiya Fine White Primer was applied to the fuselage and lower wing assembly, the upper wing, and the vertical stabilizer, and served as the base coat. The stripes were masked with Tamiya tape and painted with Italeri acrylic Insignia Red, and then the blue fields were masked and painted with Testors Model Master Acryl French Blue. Interplane struts and prop were painted with Acryl Wood and drybrushed with Model Master Enamel Dark Italian Brown to simulate wood-grain effect. Acryl Olive Drab (FS 34086) was used for the background to the 94th Pursuit Squadron logo. Minwax Acrylic Gloss clear served as the smooth base for decal application. With the major assemblies painted and glossed, the dozens of stars and other decals were applied, set, and then sealed with another light coat of Minwax Acrylic. A light oil wash was applied to control surface seams and engine cowling areas, then followed with a 50/50 overcoat Model Master Acryl Flat and Future to seal the wash and knock down the sheen.
Now for the true challenge – wing assembly, alignment, and rigging. Being my first earnest attempt at rigging a bi-plane since high school (nearly 30 years ago), I was heartened to find a great article by John Seaman of IPMS/Austin Scale Modeler’s Society at http://www.austinsms.org/article_seaman.php. I chose the simplest of the options, and followed the instructions to the letter, with the exception of coloring the monofilament with a silver Sharpie (I opted to do that prior to rigging). The only issue encountered during this phase was the extremely tight fit of the struts into their mounting holes in the fuselage and wings, which I attributed to Eduard’s precision tooling and tight tolerances and the build-up of paint prior to assembly. In the future, I will mask those mating surfaces prior to painting.
Once the rigging was complete and touch-ups were done, the little Star-Spangled Spad was declared complete and successful – an extremely gratifying build!
I highly recommend this kit to intermediate and advanced modelers. The PE and rigging call for some general modeling experience and a degree of confidence (or absence of fear). A bit of patience and good “how-to” coaching and articles can really help boost the novice biplane modeler’s confidence in pulling this type of build off successfully.
Thanks to Eduard and IPMS/USA for the sample kit and the opportunity to stretch my skills and broaden my aircraft modeling horizons, and a special thanks to Mr. Caldwell for the decals and Mr. Seamen for his great article on rigging.


Comments
Add new comment
This site is protected by reCAPTCHA and the Google Privacy Policy and Terms of Service apply.
Similar Reviews