
Ryan STM-2 / PT-20
This is part two “The Build”, of my review; the kit review can be seen in an earlier posting.
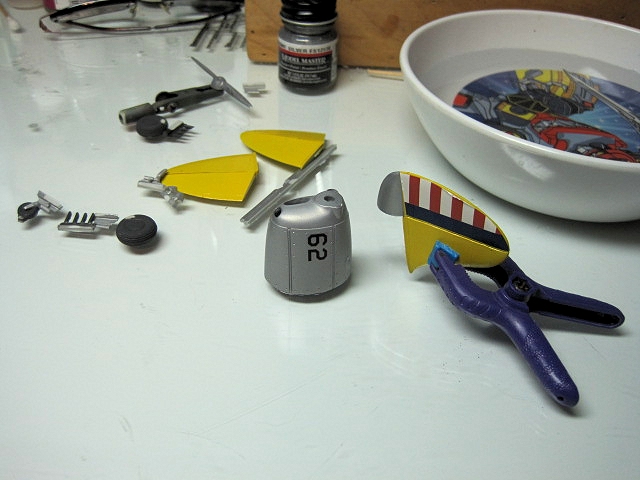
I followed the instruction sheet using Fishers guide for colors and building sequence. The first thing I did was take inventory of all parts. I found I was missing a couple of struts. I emailed Paul Fisher of Fisher Models and within a few days had the replacement parts in hand. Excellent customer service. As suggested, I thoroughly washed all parts using Dawn soap and warm water and let them dry overnight. It took about an hour to “clean up” the parts; this involved some molding lines and a little flash to be removed. One thing about Fisher kits, his molding is excellent and you should have very little clean up to do.
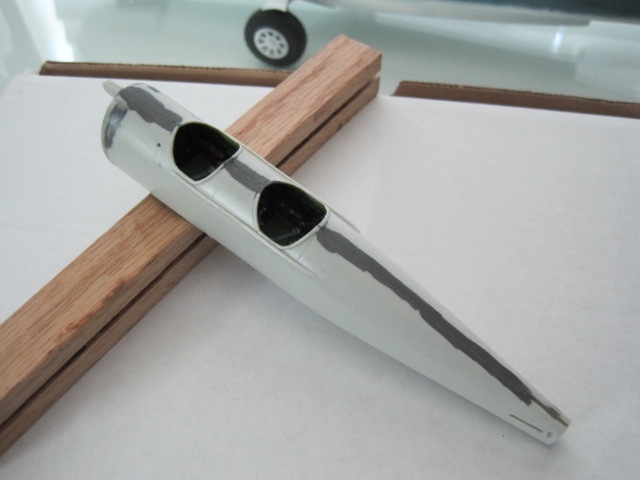
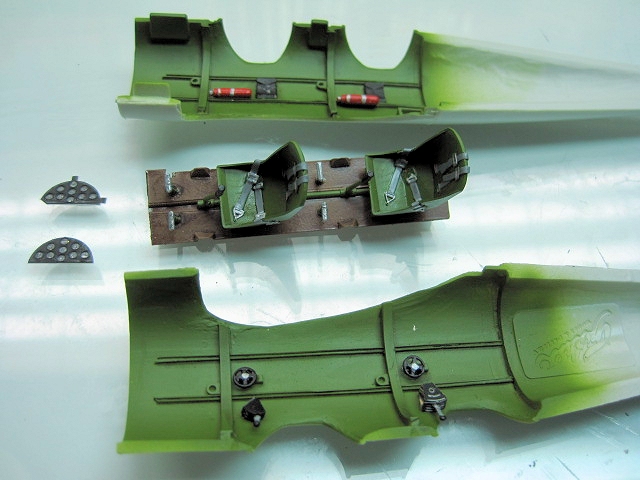
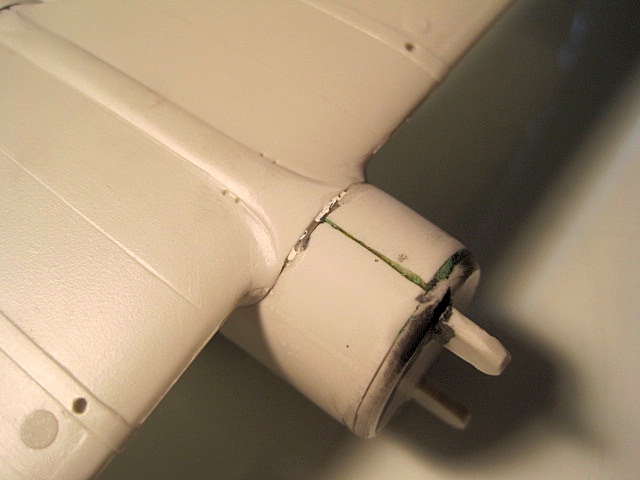
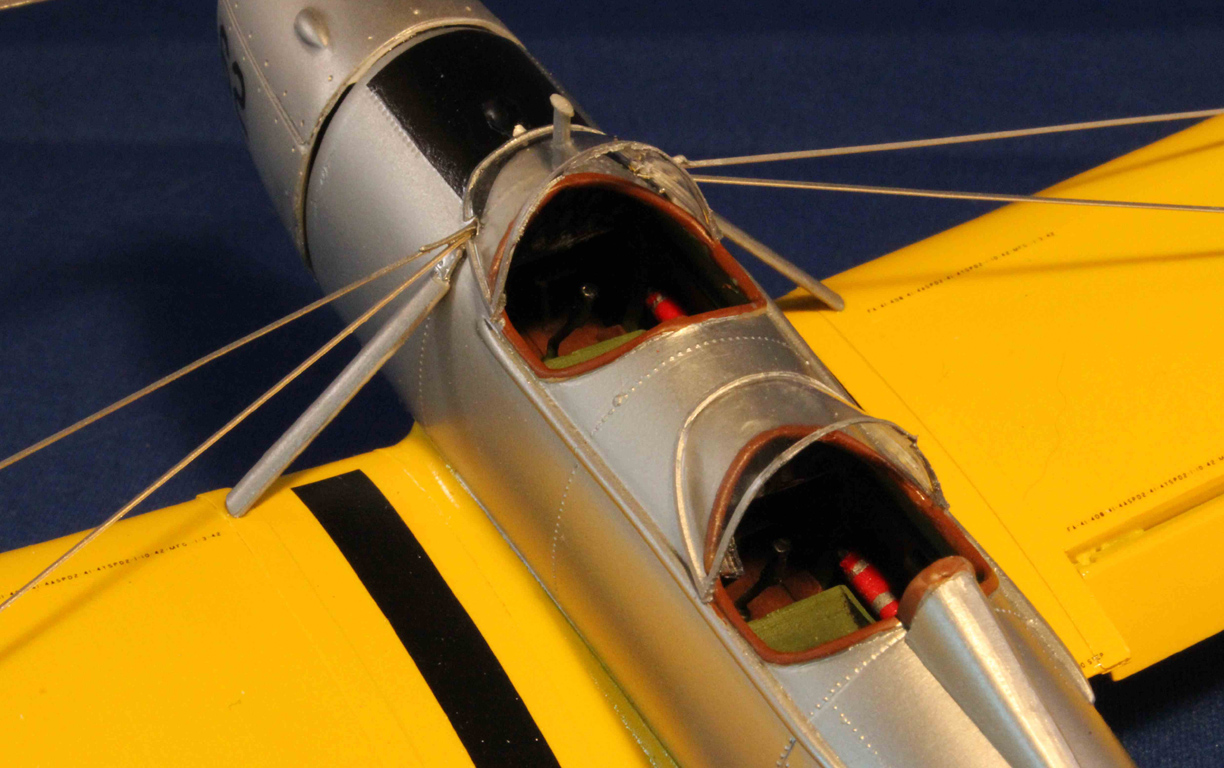
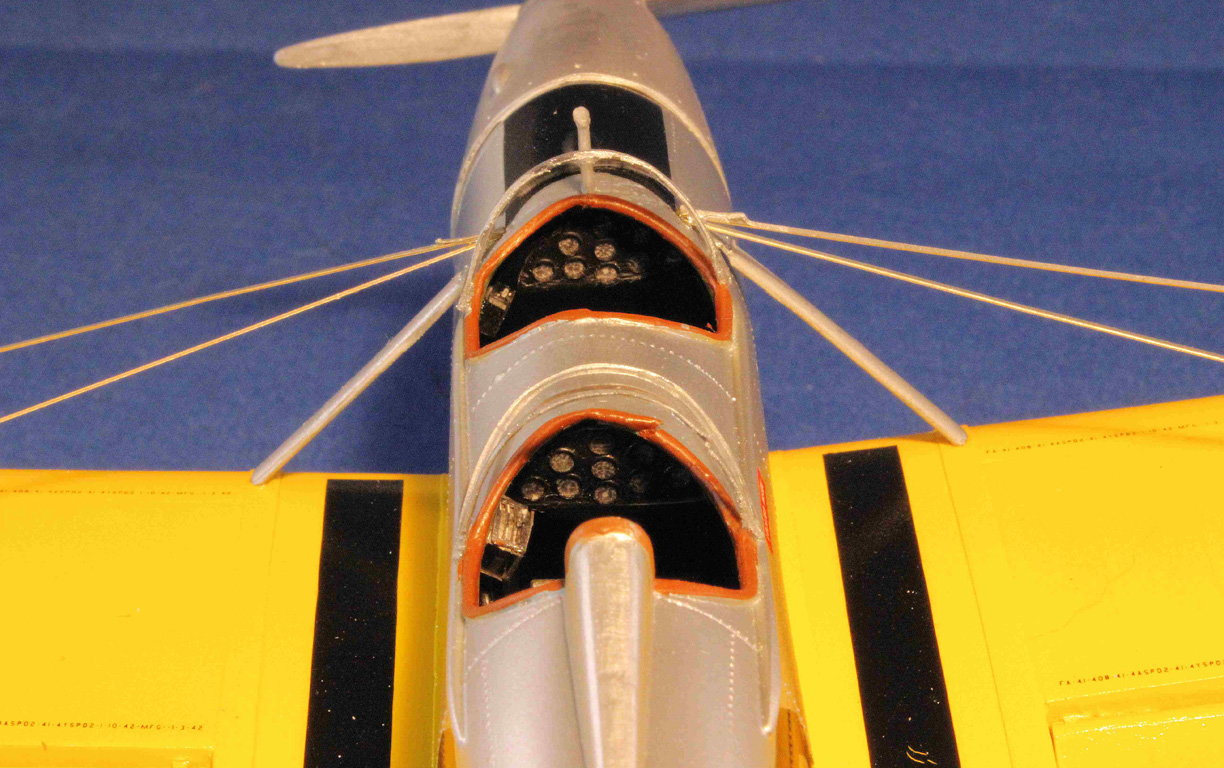
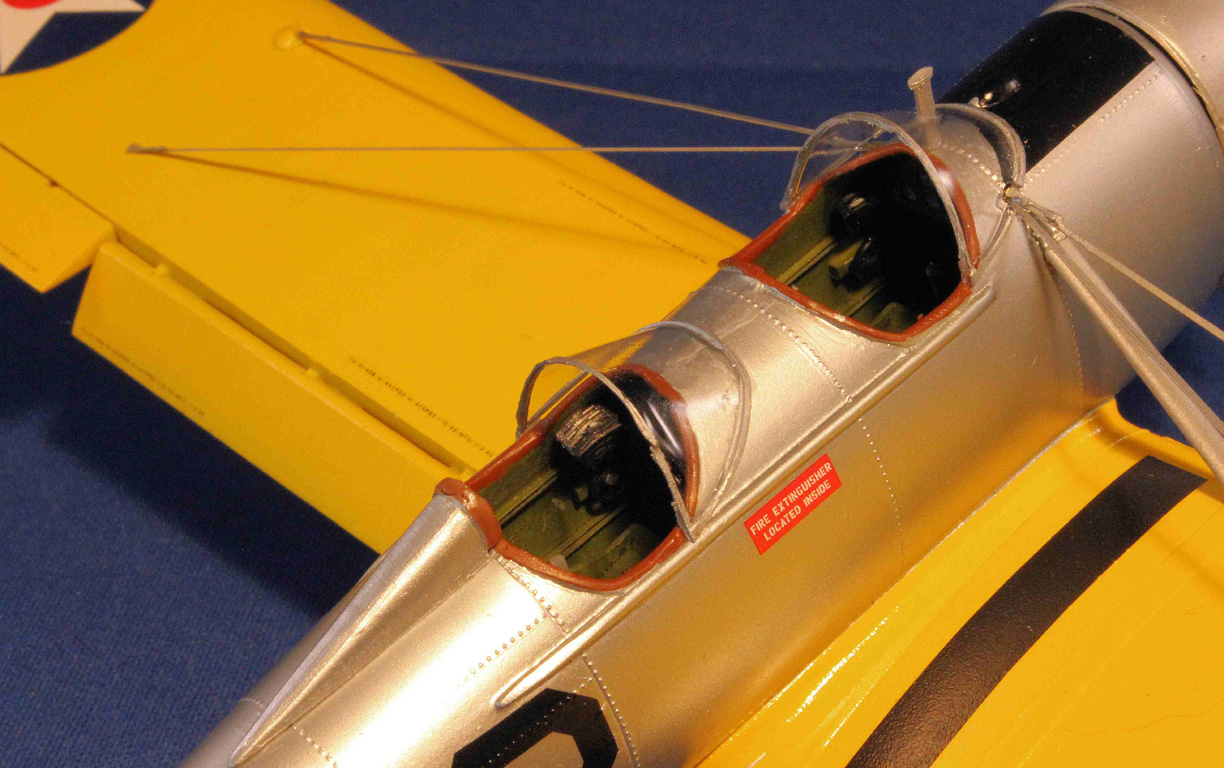
The cockpit was painted according to the instruction. I used Model Masters paint for this area. Assembly went without any hassles or complaints. The floor fit into the fuselage as advertised. I used clear glossy tape to cover the paper instrument panels and this worked really nice. What a simple idea. The two halves of the fuselage mated together without a large seam to fill. I use Model Masters Metalizer paint to check the seam (just brush it over the seam and it will reveal the seam and any gaps that may require attention, dries in about a minute too) and found a little gap to fill. Some filler and a quick sanding took care of it.
The wing was glued on next and there was NO gap to fill. Again excellent engineering.
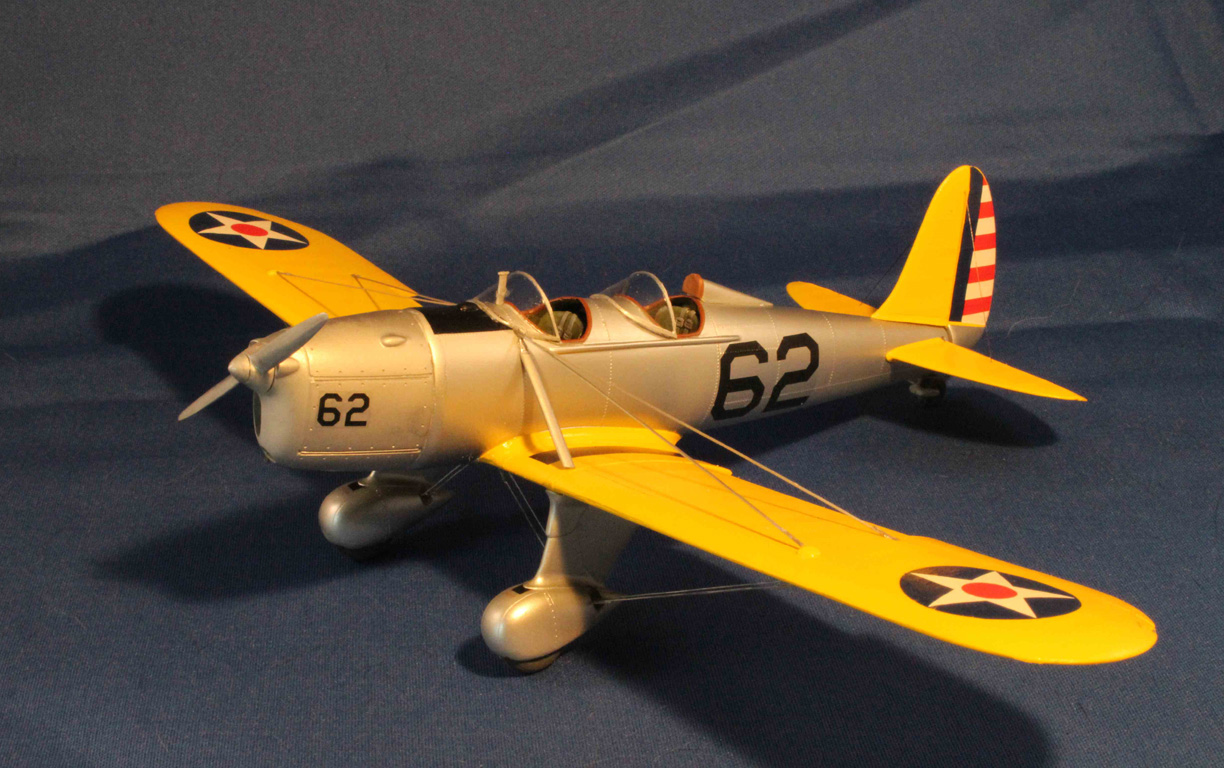
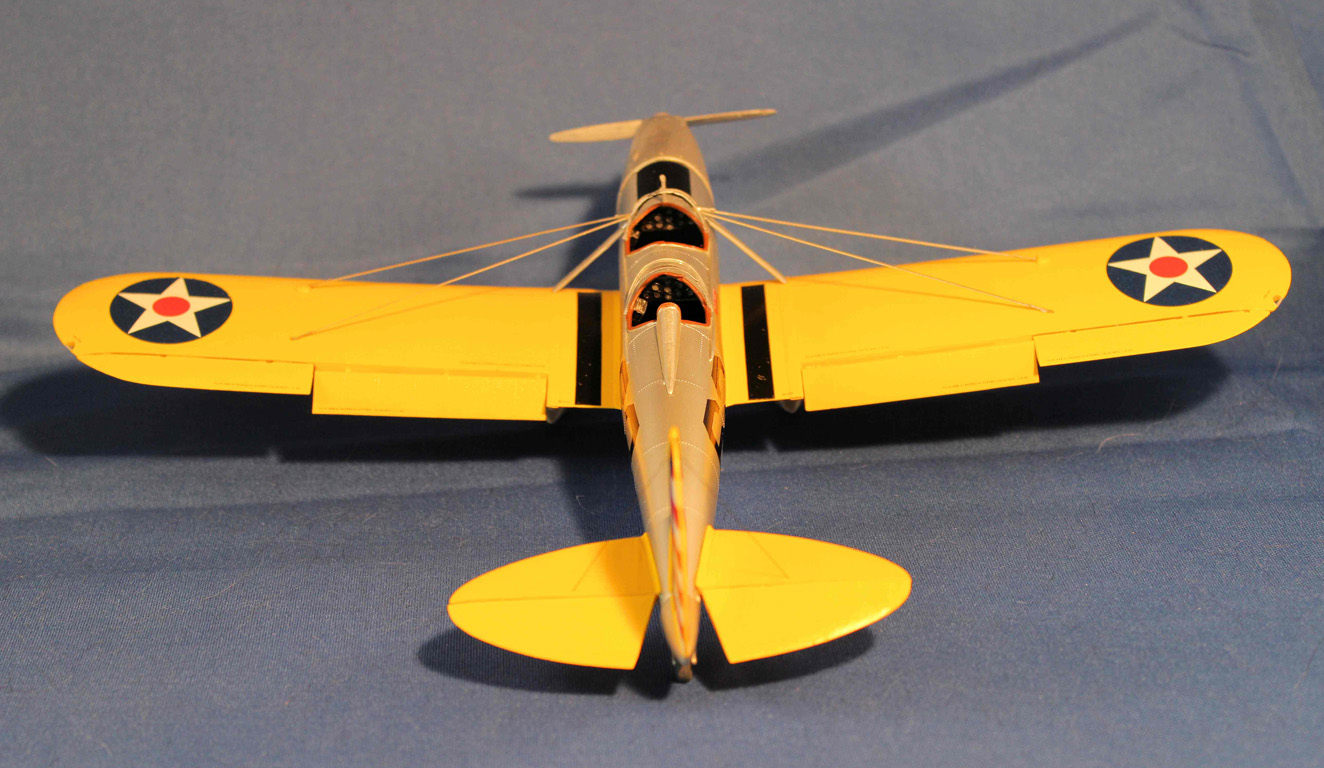
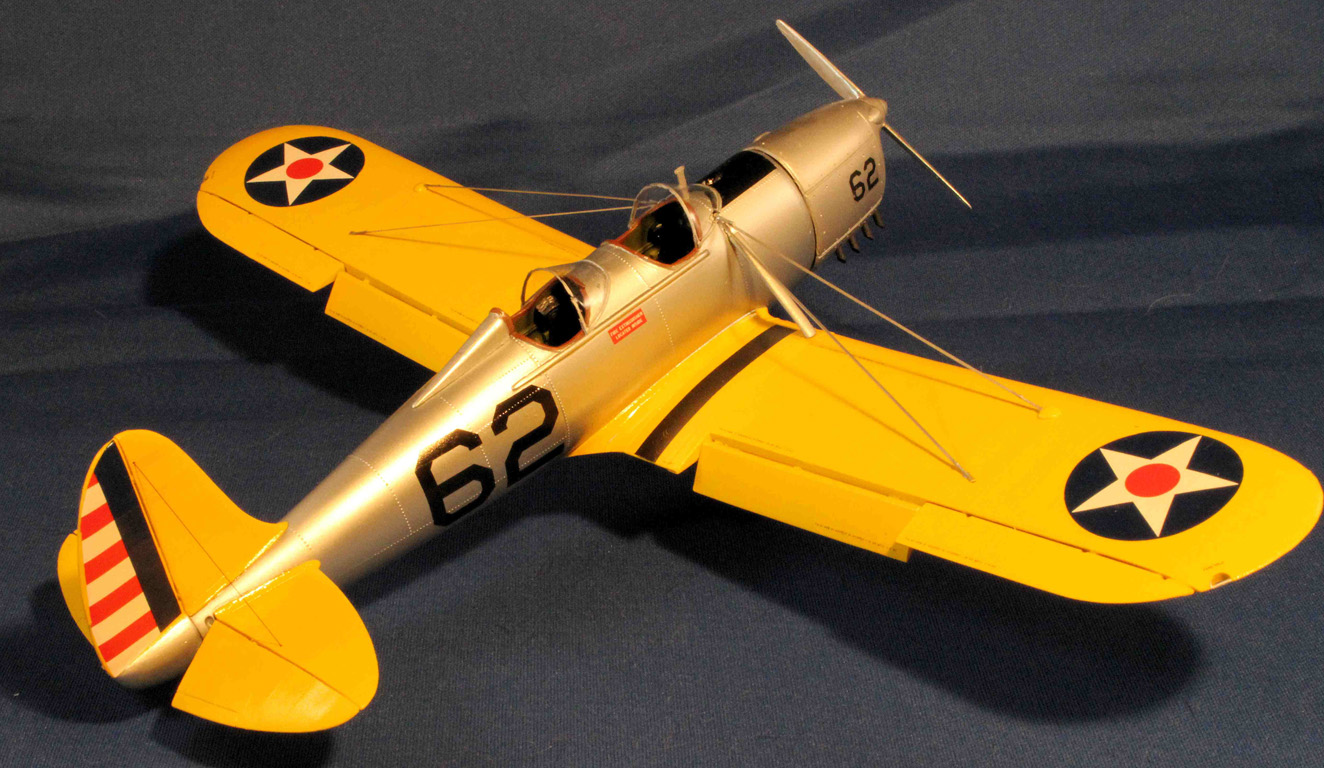
The model was then painted. I used Scale Coat II, Reefer Yellow for the yellow areas. I love this paint it is easy to use, sticks well and finishes in a gloss coat. I waited a day then taped it off for the aluminum color. I used Alclad II Aluminum for the base coat, followed by several other shades of Alclad II for various parts. A coat of Alclad Gloss was applied to prepare the plane for decaling.
Decaling was a snap. They went on with no problem and a little decal setting solution was all that was needed to set them in place. I waited a day or two and again washed the model with Dawn soap to remove any decal residue and finger prints left behind.
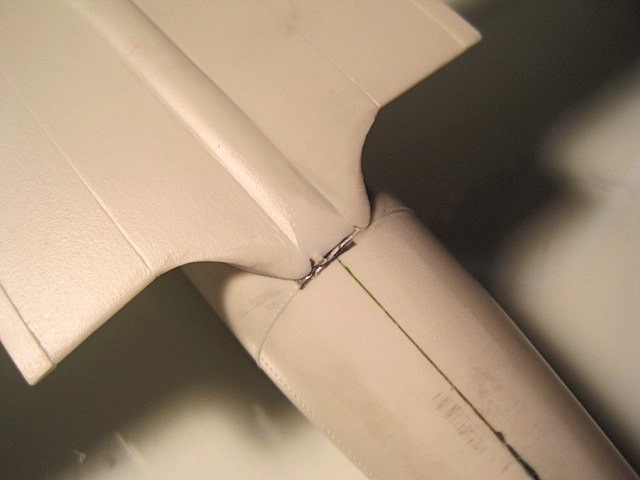
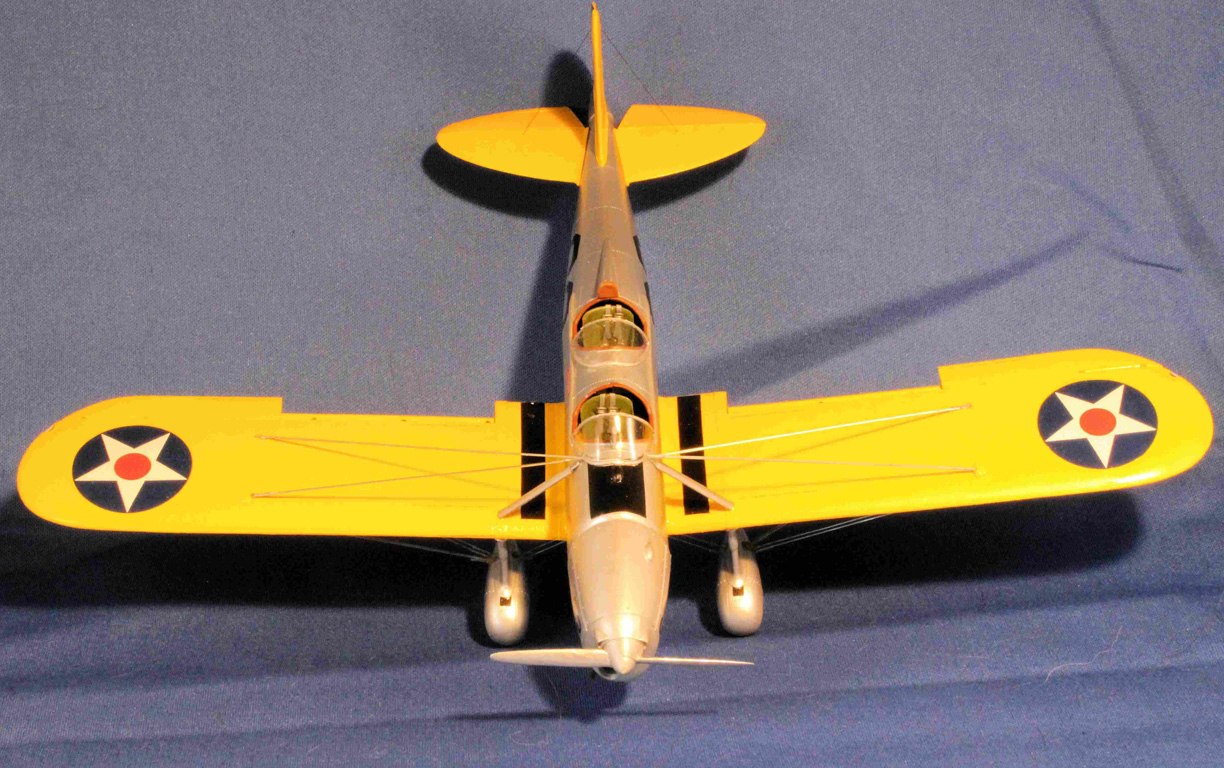
I then rigged the model. Fisher provides photo etch for most of the rigging. I used monofilament fishing line, painted with a black marker pen for the tail and under the wing rigging.
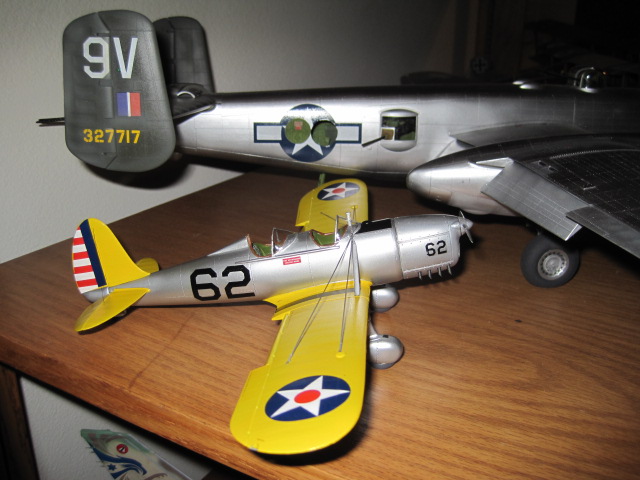
The plane was given a final coat of Alclad Semi-gloss clear for the final finish. Canopies were attached and viola a finished Ryan PT-20 / STM-2. Another beautiful addition to my “Yellow Wings” Collection.
I would like to thank IPMS USA for giving me the opportunity to build this gem of a kit and especially to Paul Fisher owner of Fisher Model and Pattern for providing us with an excellent kit and outstanding customer service. I would highly recommend this resin model kit to anyone that has a little experience with resin and ACC glues and wants to build their feet wet in building first resin kit.


Comments
Add new comment
This site is protected by reCAPTCHA and the Google Privacy Policy and Terms of Service apply.
Similar Reviews