
Russian 9K37M1 BUK
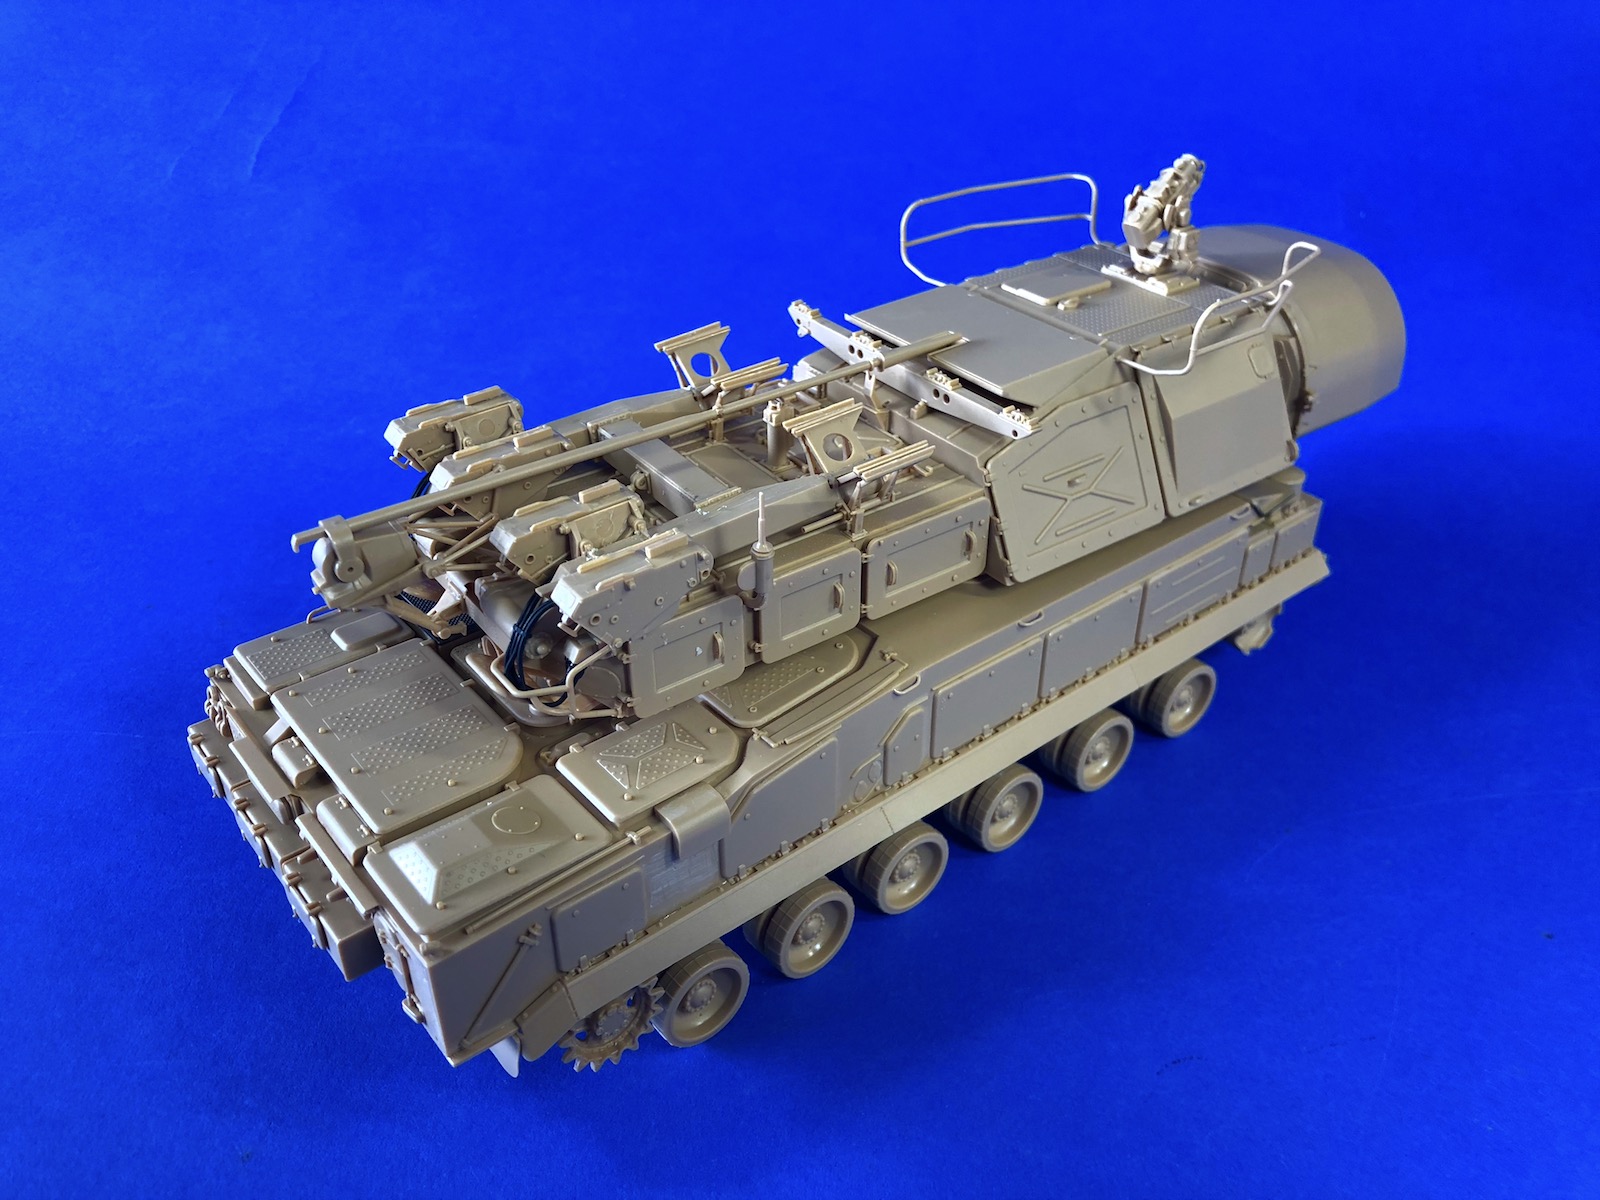
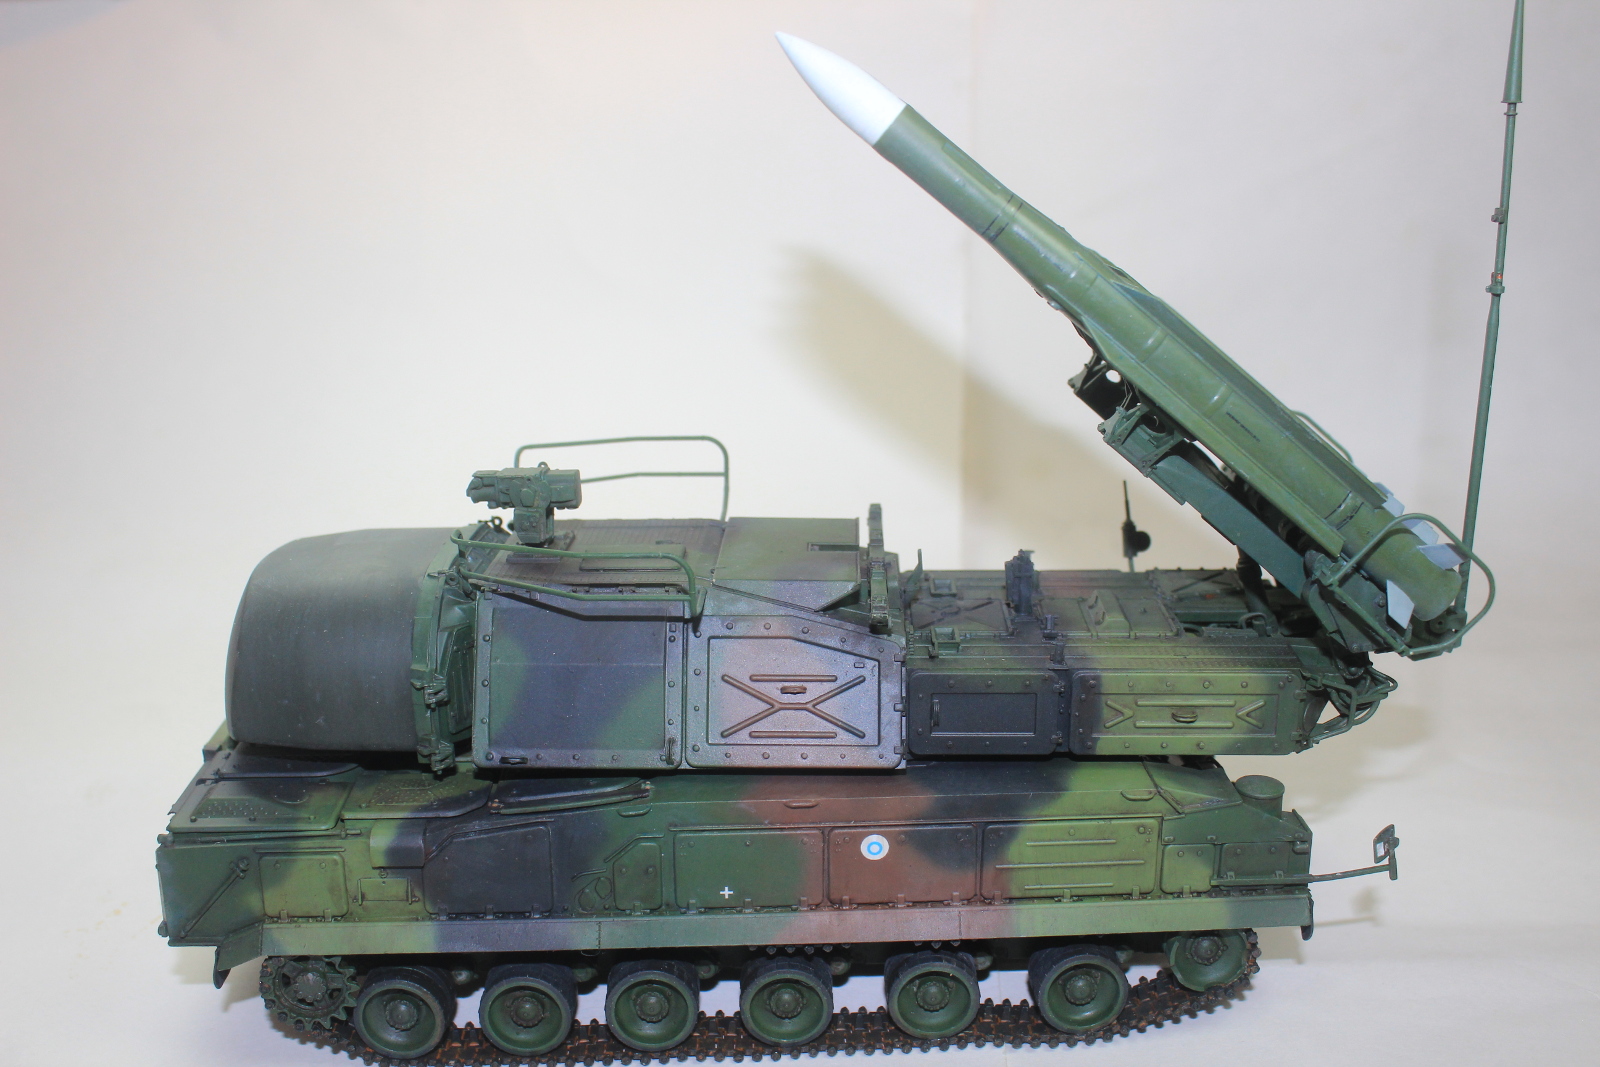
The Buk (Beech Tree) missile system is an integrated system of self-propelled, medium-range surface-to-air missile systems developed by the Soviet Union and the Russian Federation. The Buk system is designed to counter all manner of airborne threats from cruise missiles to unmanned aerial vehicles. This new kit from Meng represents the Buk-M1-2 transporter erector launcher and radar (TELAR) vehicle. TELAR superstructure is a turret containing the fire control radar at the front and a launcher with four ready-to-fire missiles on top.
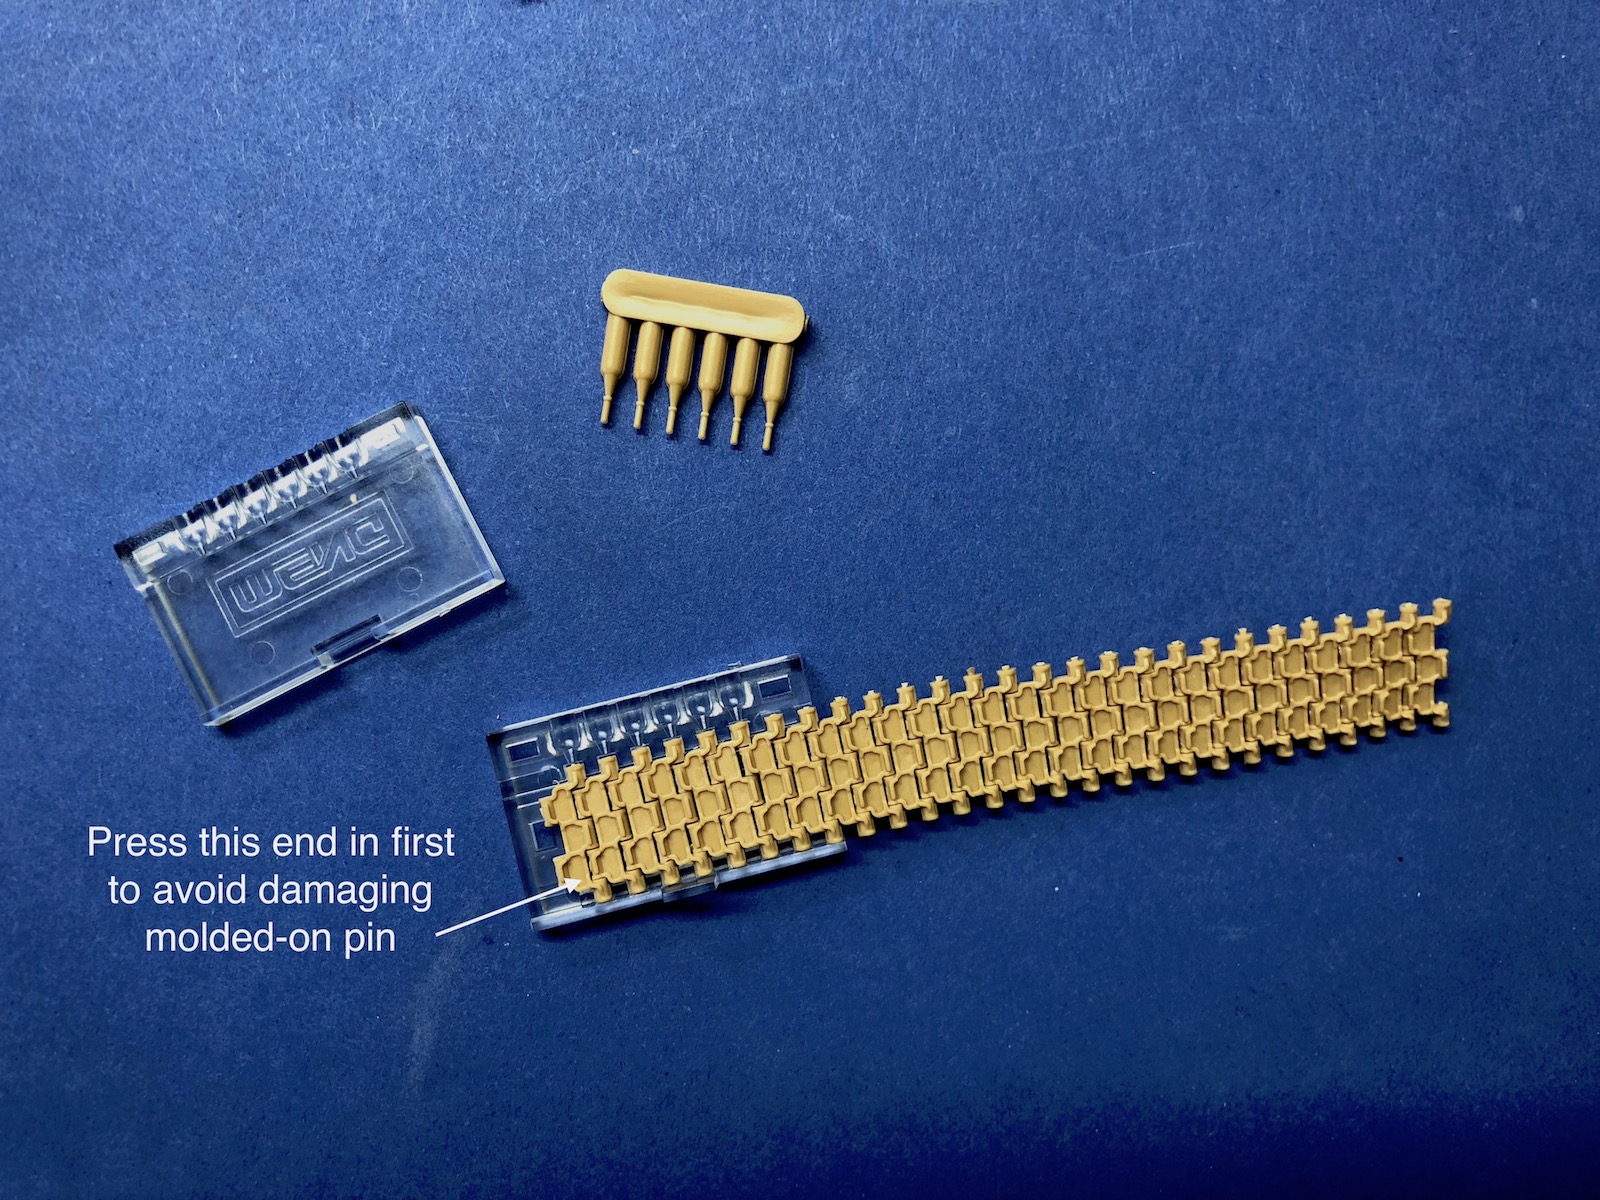
As usual with new Meng releases, the large box includes an impressive collection of extremely well-molded sprues with no visible mold issues or flash. There are eleven sprues, three hull parts in sand-colored styrene, a sprue of clear parts, a sprue of flexible black styrene parts, a ladder of poly-caps, a sheet of Photo-Etched (PE) brass, decal sheet, the instruction booklet, and separate color and markings guide. Included in this kit has a very nice set of Meng’s usual workable individual link tracks with a simplified assembly jig on the clear sprue.
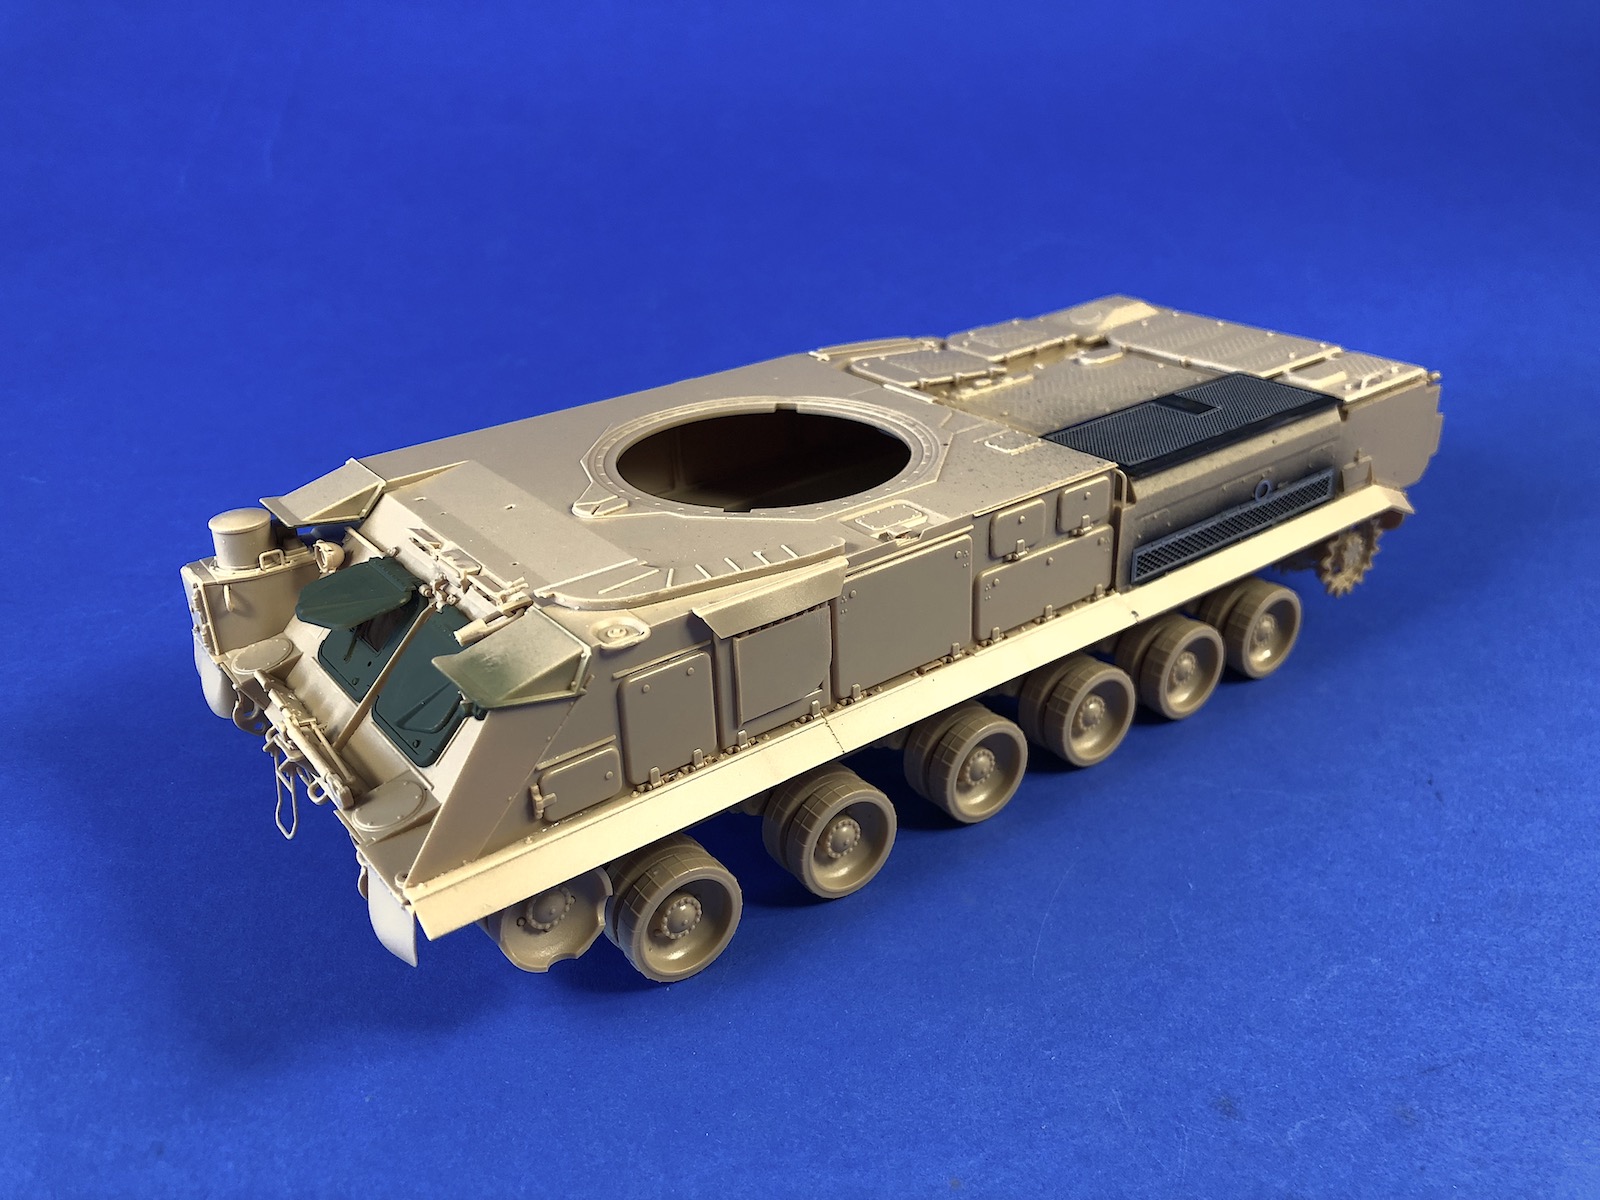
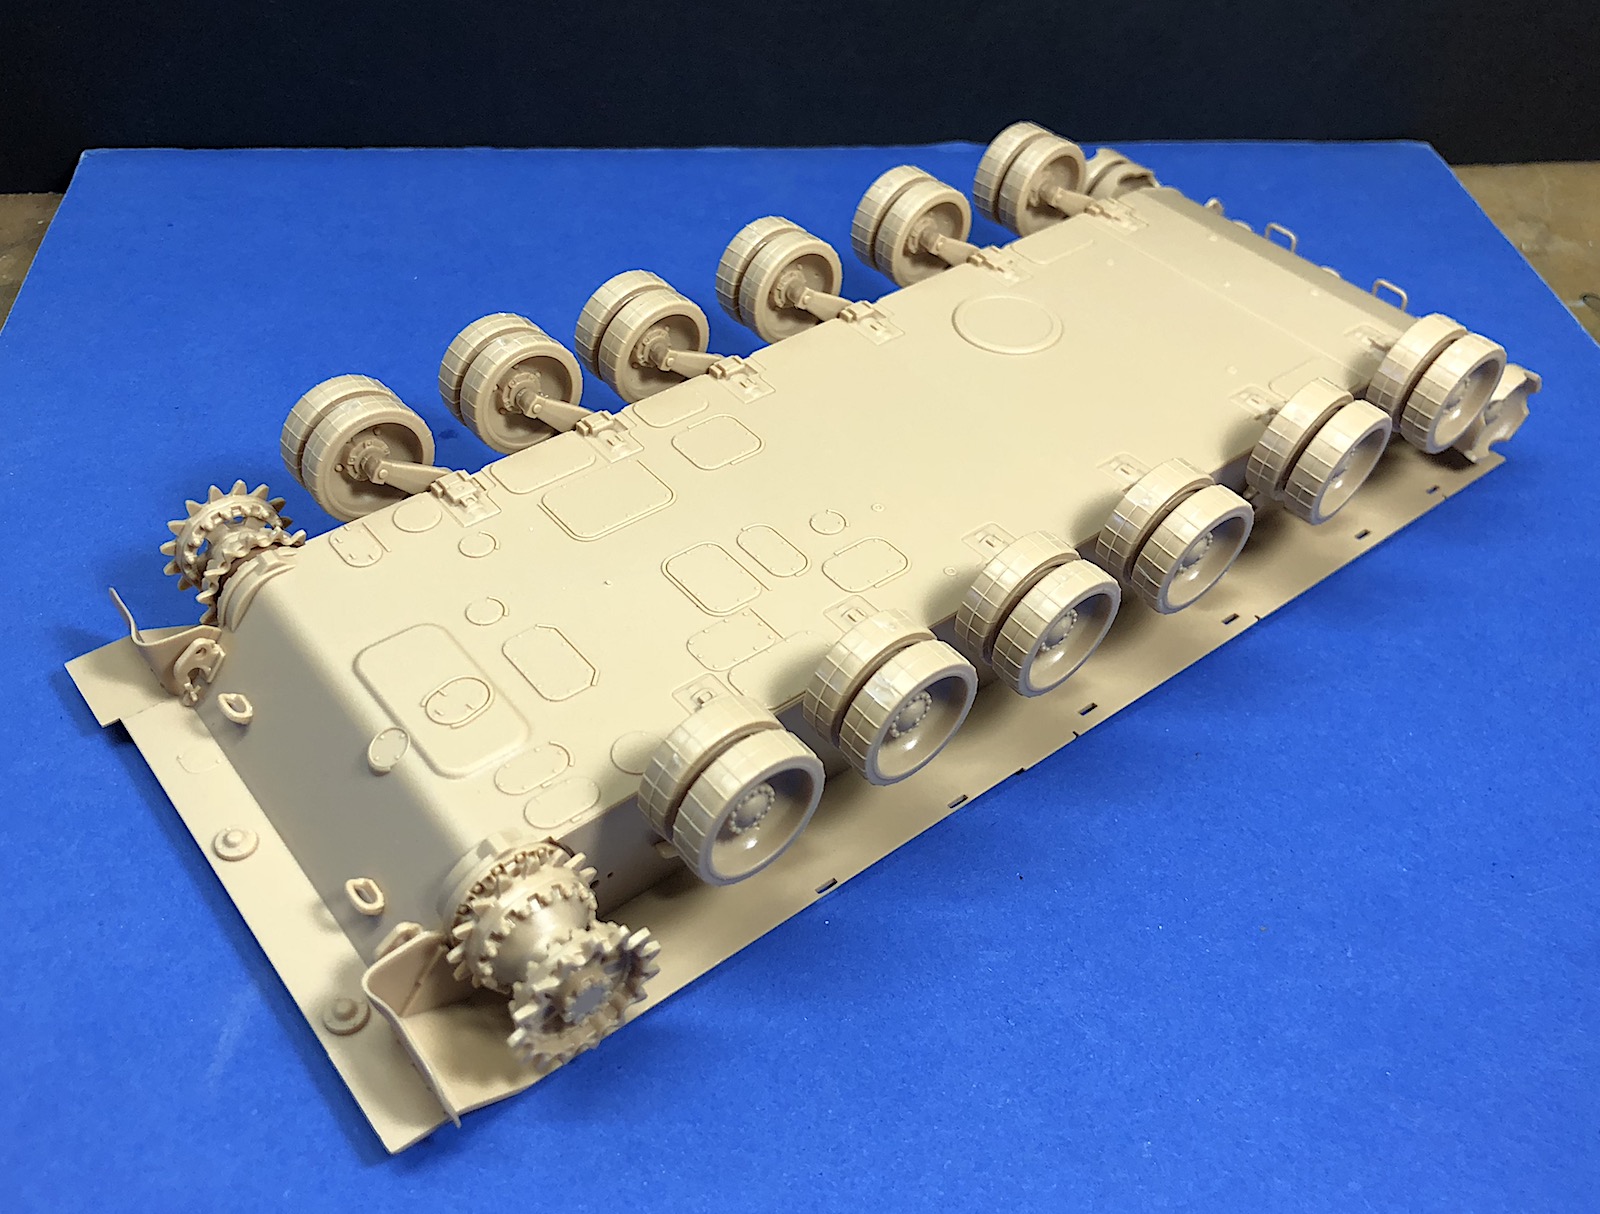
The construction starts with the suspension and lower hull tub, these steps are extremely straight forward. The only issue that I had was with the torsion bars, unlike most of Meng’s kits they are molded in two separate parts. This can make assembly tricky because you have to be very careful with how you glue them together. Also, it seems that this approach makes the suspension a lot more fragile. I had a few of the torsion bars snap while handling during final assembly and weathering. So just be careful.
Moving on to the upper portion of the hull, Steps 6-7 are very straight forward and the overall fits are great. However, you will be able to see the interior through a number of grates on the left of the upper hull. So I would recommend painting the full interior of the kit black prior to completing Step 7. The next few steps complete the assembly of the hull exterior, mostly by adding hatch covers. In Step 12 there is the first instance of optional parts depending on the version you are building. The instructions are pretty clear but if you are building option C, don’t miss the parts in Step 6 that you need to remove and fill. The only fit issue on the hull that I had to fill for was when I installed the rear hull plate, B24, in Step 14. There were some small gaps that were easily cleaned up with a little filler.
Finishing up the assembly of the hull, in Step 16 you are required to install a tow cable, part B28. I left this and all tools off until after final painting but I had some trouble attaching this tow cable. It is molded in plastic and a little stiff, but using super glue gel and a little patience I was able to get into place. Also be careful when installing the small side skirts. Some of mine were slightly warped, they are required to be installed in a certain order and I had trouble installing the tracks with the side skirts on. The tracks themselves are typical for Meng, a really well-designed set of workable single link tracks. The instructions call for 113 links per side, I found this number of tracks to work well and provide a convincing sag. The kit even includes a nice simple jig for assembling the tracks.
Finally, the turret assembly starts with Step 19. Overall the assembly is complicated but the fits are fantastic and the building layout is easy to follow. Just think ahead about how you plan to paint the turret. Once you install the missile rack in Step 31 it can be very difficult to get an airbrush into all of the tight spots. The only fit issue I had while building the turret was when I was installing the actuator arm C28 into Parts C40/C39 in Step 31. The fit was very tight, so if you want the missile rack to be moveable or be in the traveling position, I would recommend sanding Part C28 down to fit easier. I had no issues with the missiles themselves but they did require a little bit of clean up with a little filler as well.
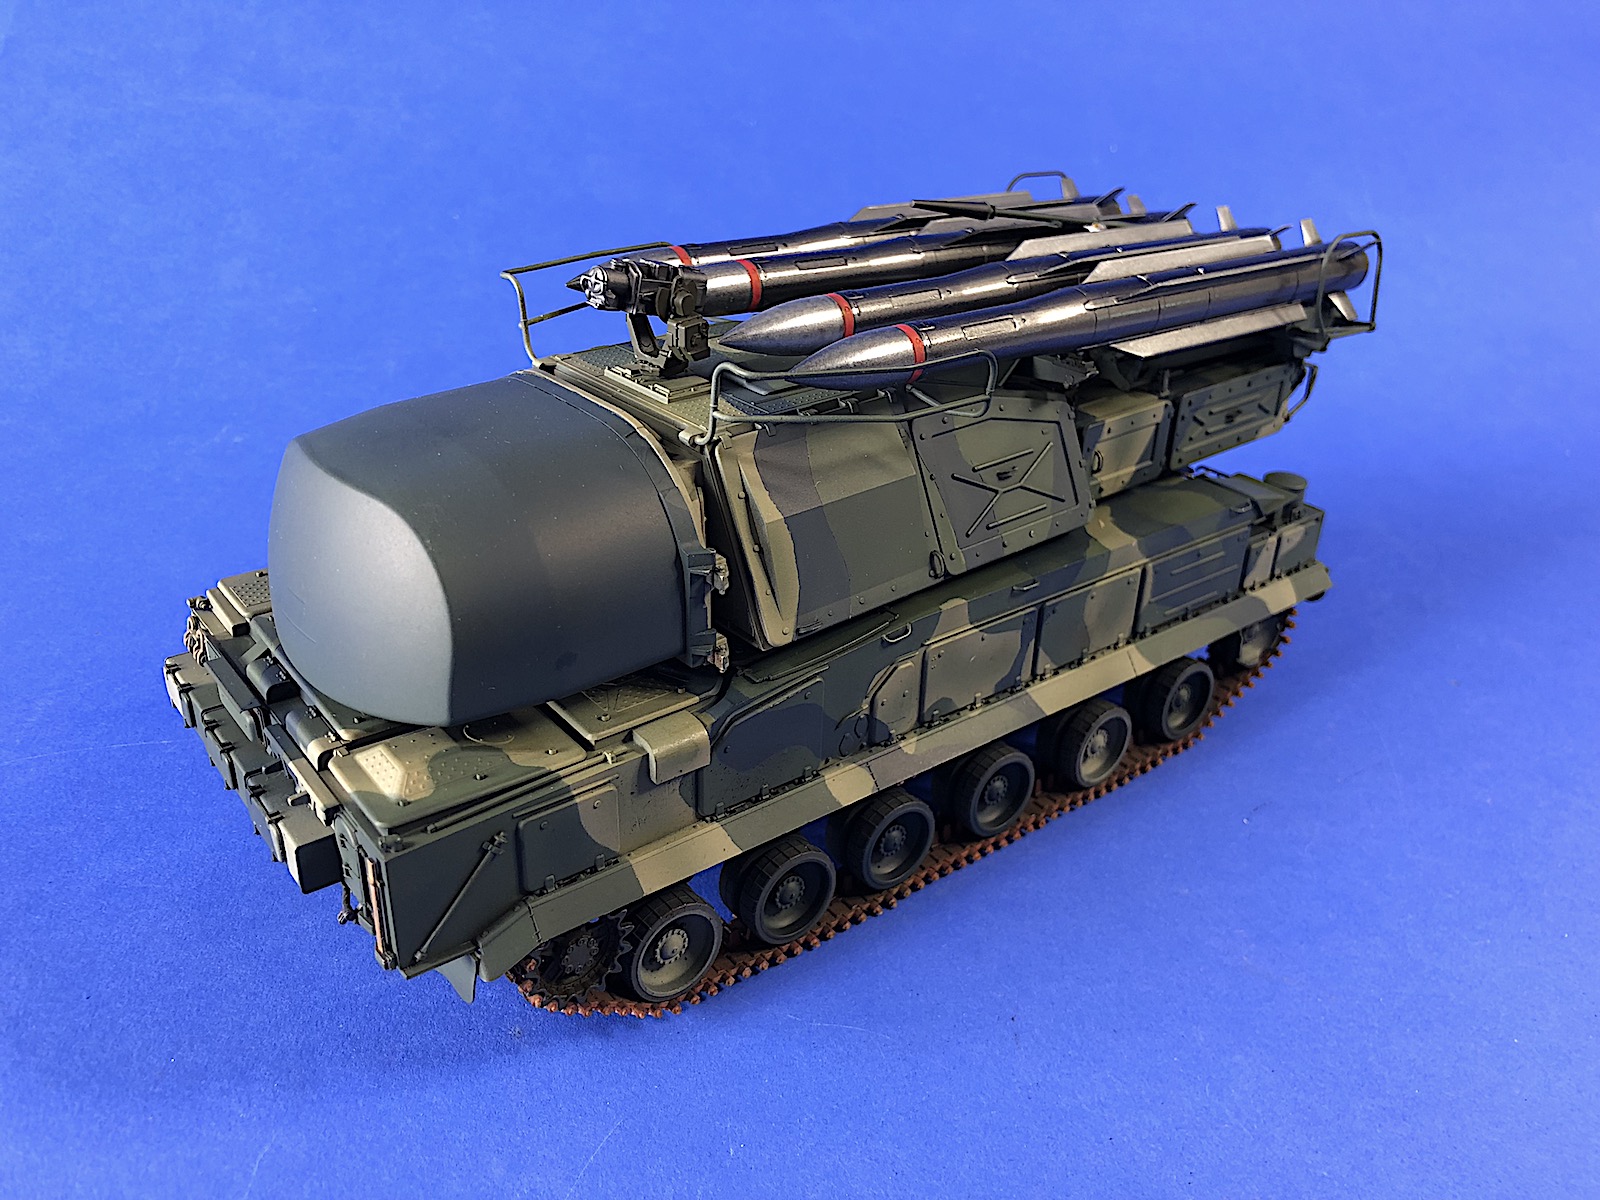
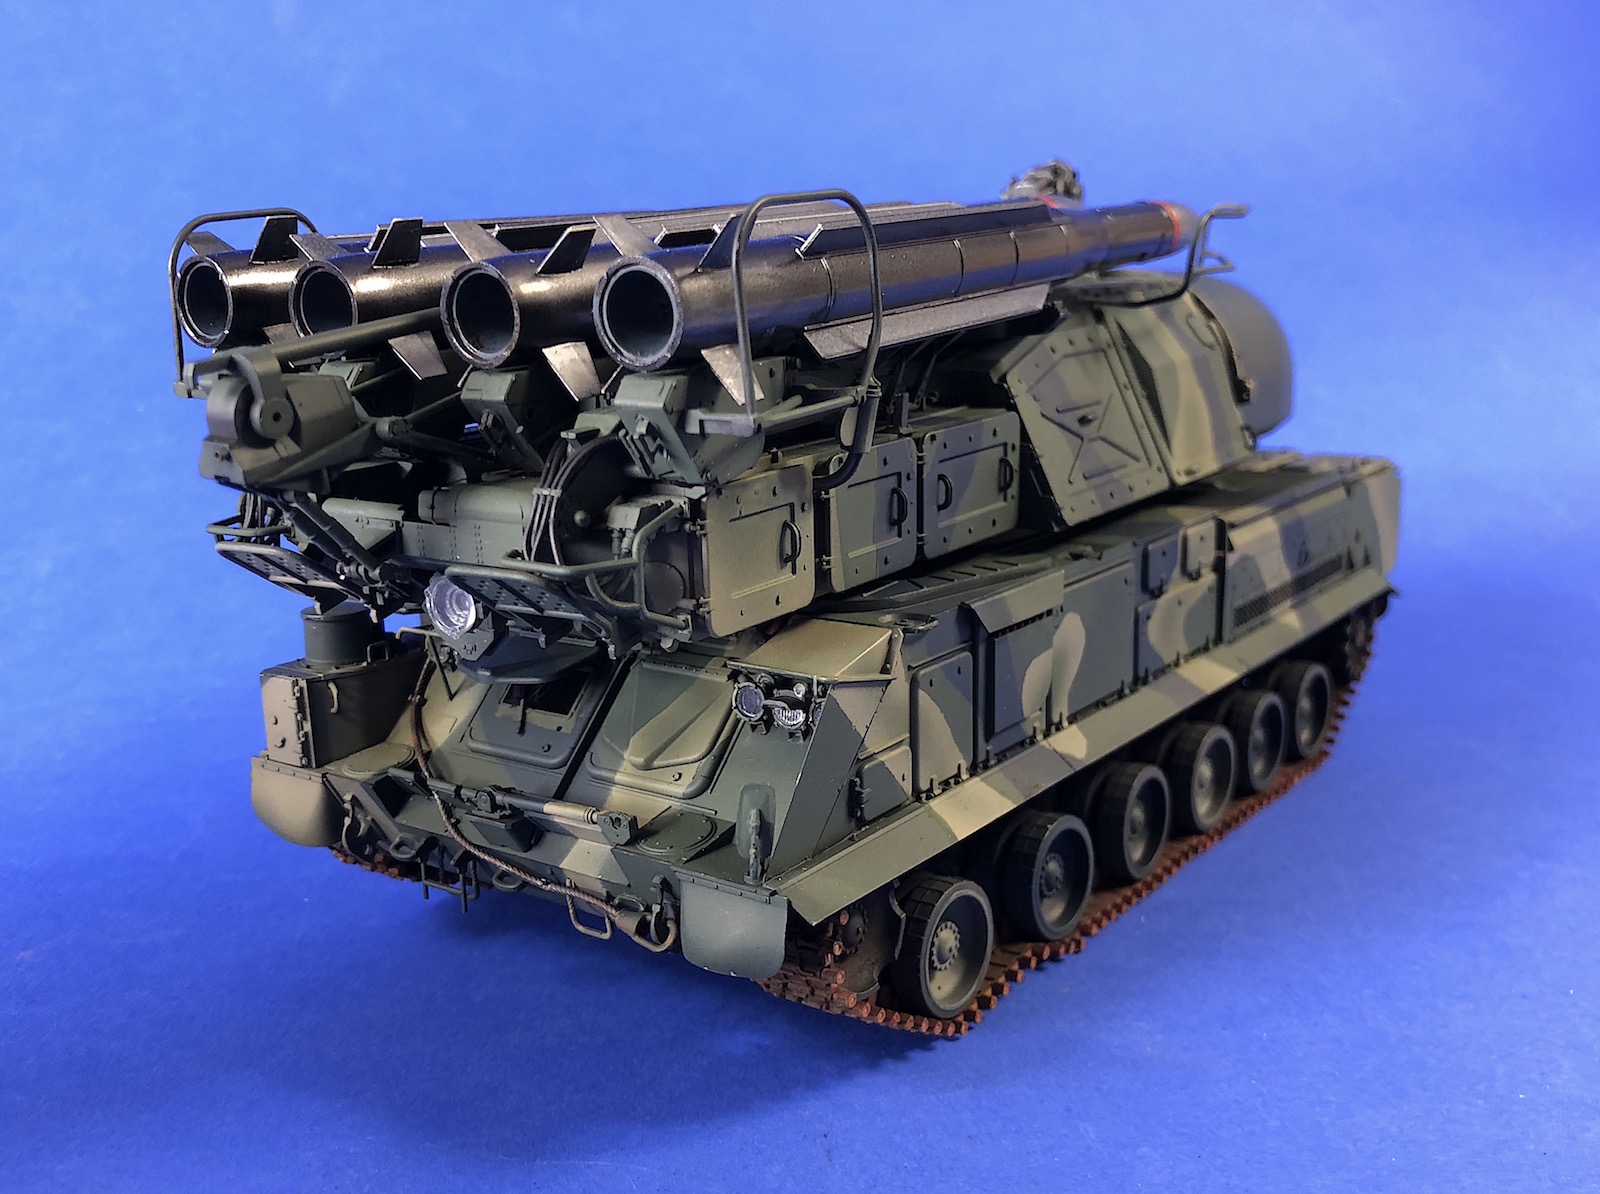
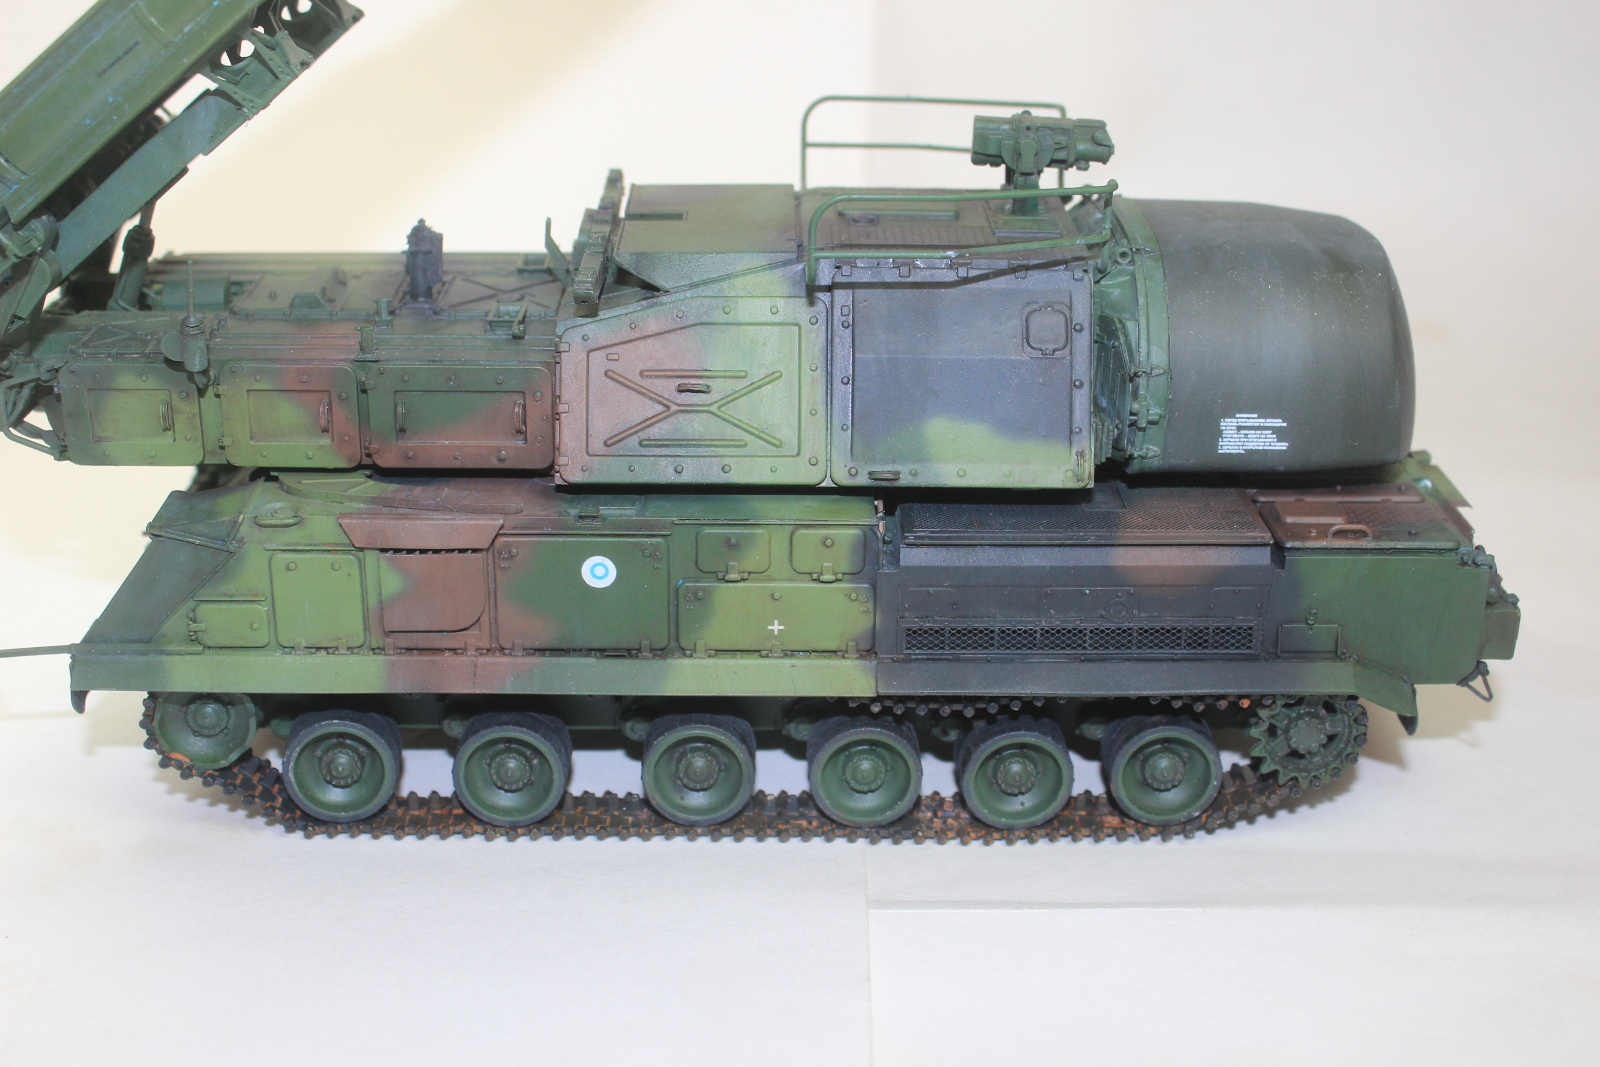
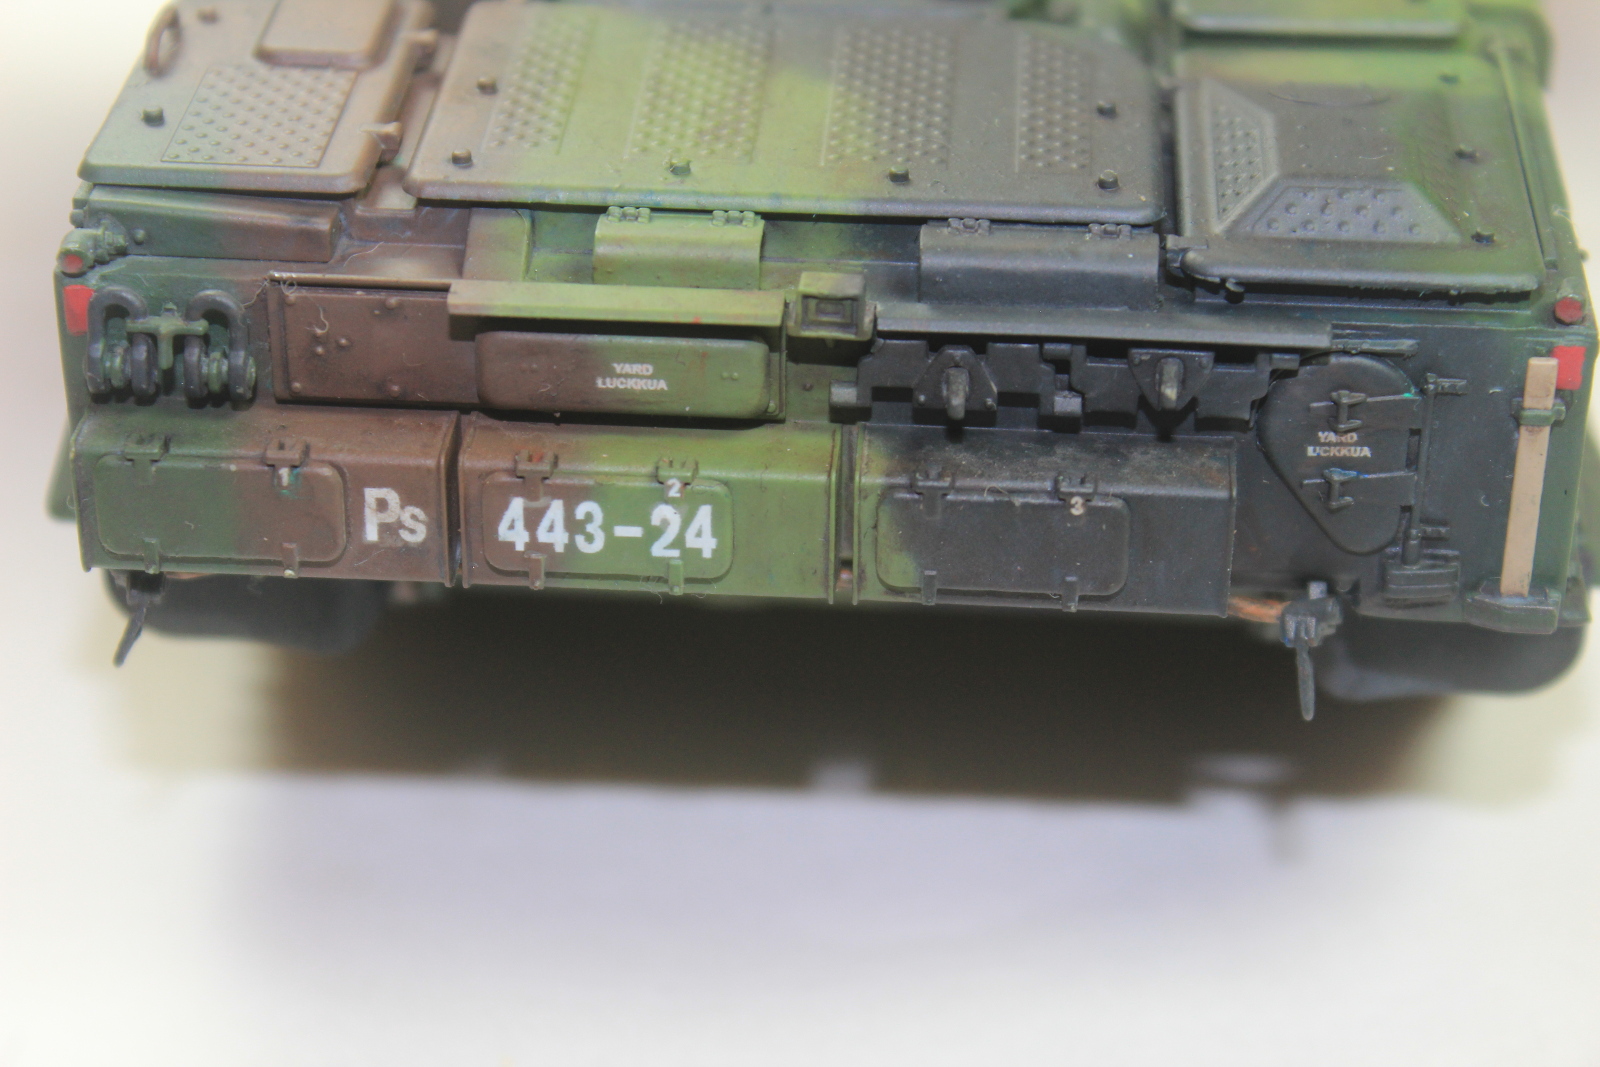
The painting guide provides guidelines for 3 different vehicles all in Russian Air Force 1991-now in Green, Black, Sand Yellow, Ukrainian Army in Green, Yellow, Brown, Black digital camo, and Finnish Army in Dark Green, Light Green, Brown, Black. All call outs are for specific AK/Meng colors. I work primarily with Tamiya paints and the scheme I chose was C for the Finnish Army. I used a custom blend of Light Green for both the light green and dark green. The brown and back in the scheme were both from Tamiyas NATO paint range. Be careful when painting the missiles, there is a stainless steel band between the white nose cone and green body but the print register on the painting guide doesn’t show it well. Refer to your reference photos for guidance. The decals are very nicely printed and seemed to react well to MicroSol products. The only issue I found is that some of the more complicated decals for the missiles silvered badly even after applying them over a nice, hard airbrushed gloss. I was able to eliminate the silvering by poking holes in the decals and flowing gloss into the air pockets.
Overall this is a great kit. It builds up fairly quickly, the engineering is great and the fit is awesome. It seems to be fairly accurate and is very impressive once built. I would highly recommend it for anyone that likes modern military vehicles and has an interest in modern Russian vehicles. My thanks to Meng Models and IPMS for giving me the opportunity to review this kit.

Model Picture
Model Picture
Model Picture

Model Picture
Model Picture

Model Picture
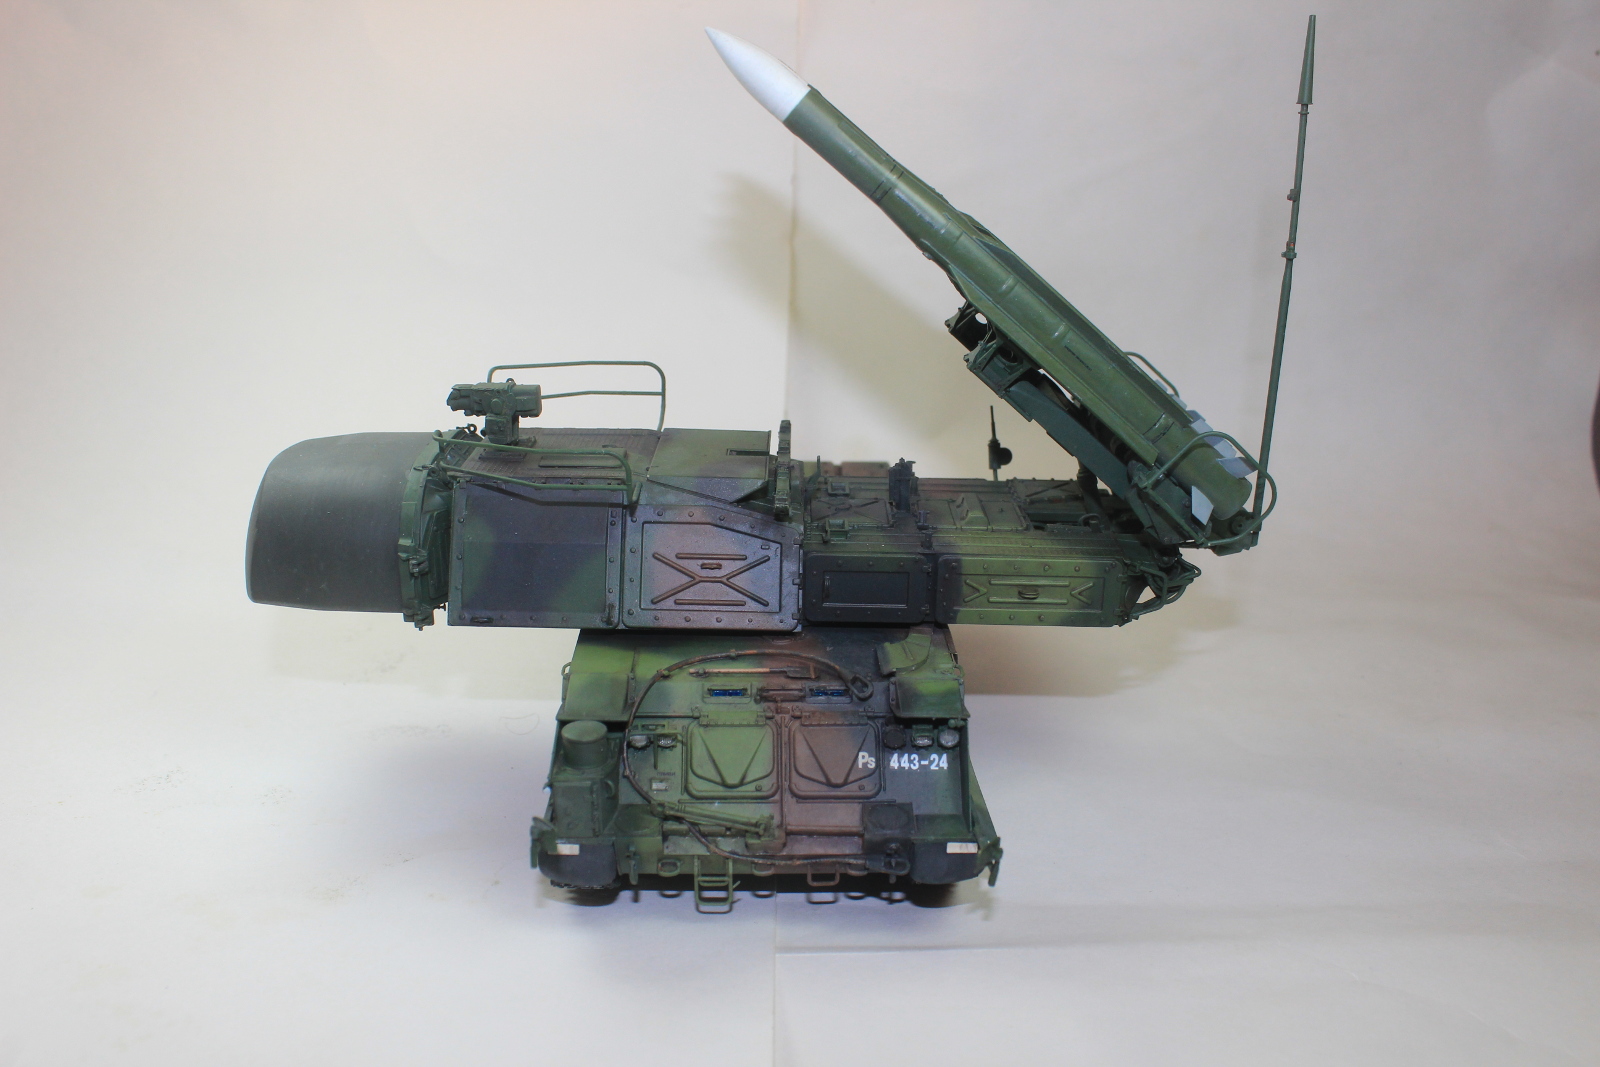
Completed model of SA-11

Completed model of SA-11
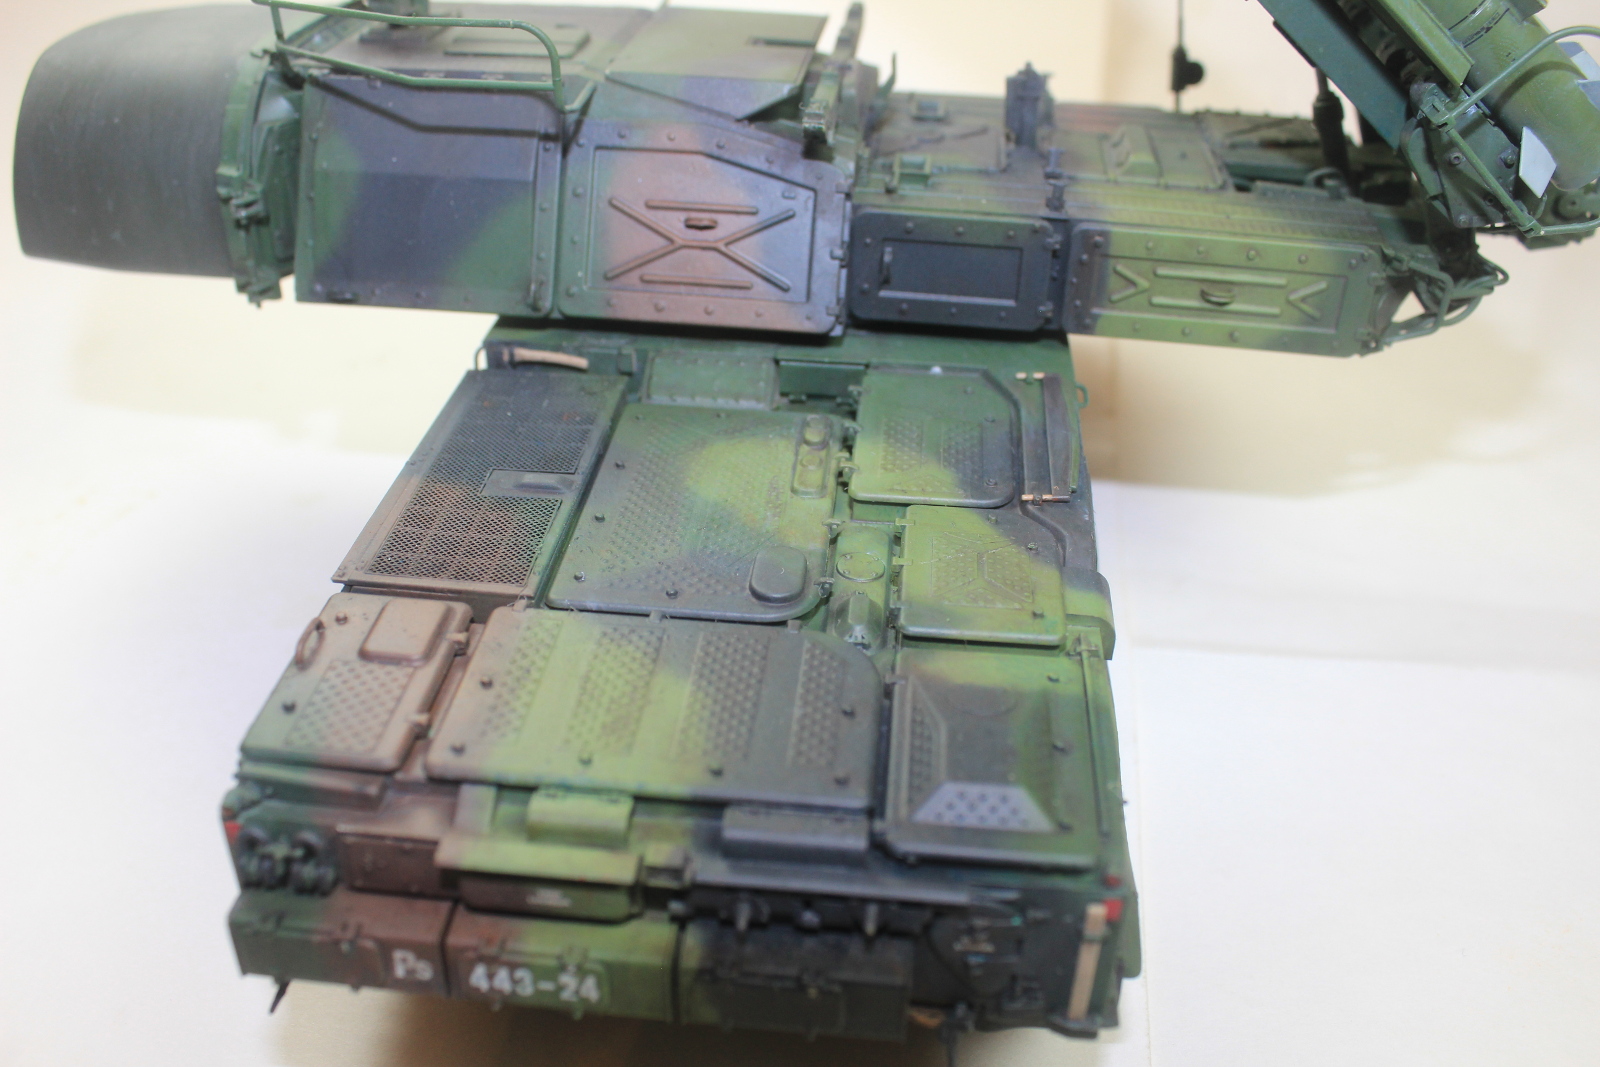
Completed model of SA-11
Completed model of SA-11
Completed model of SA-11
Completed model of SA-11
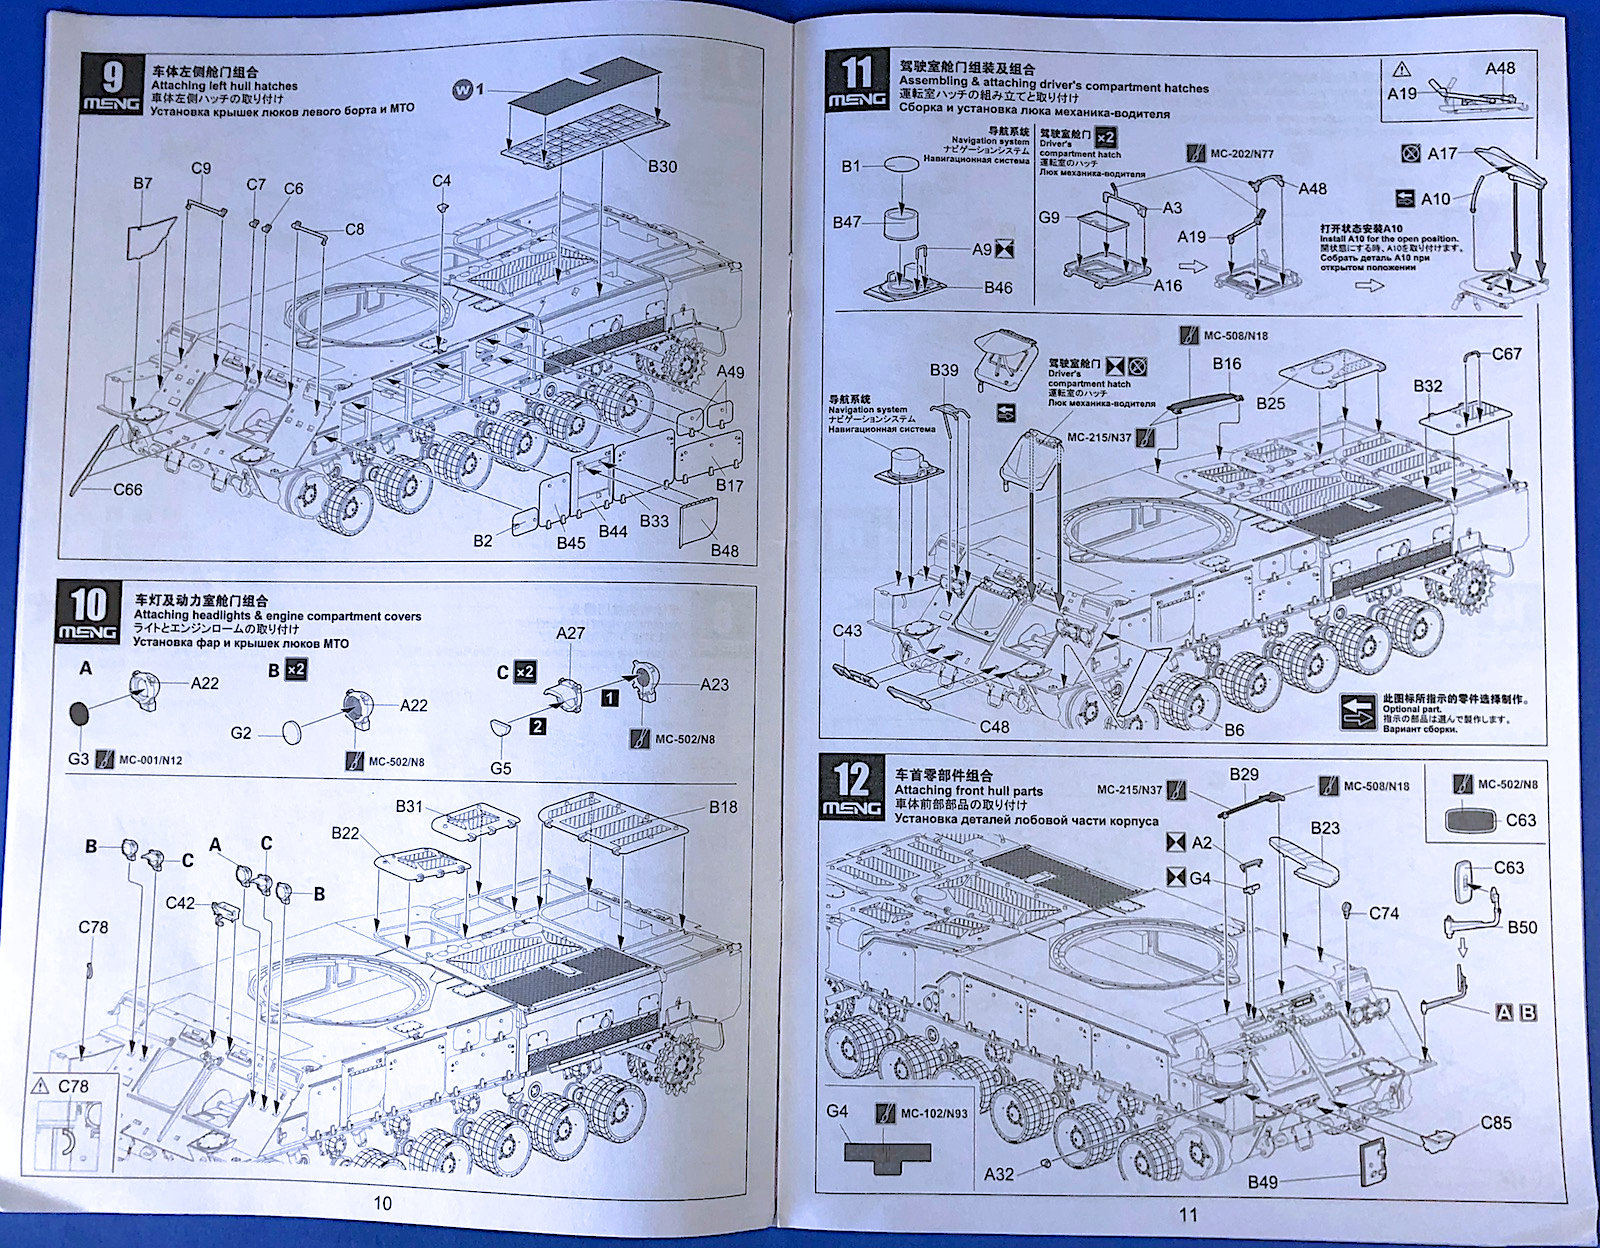
Instructions
Model Picture
Model Picture

Comments
Add new comment
This site is protected by reCAPTCHA and the Google Privacy Policy and Terms of Service apply.
Similar Reviews