
MiG-21bis ProfiPACK Edition
Eduard has generously provided the IPMS/USA reviewer corps with a 1/72nd scale MiG-21bis ProfiPACK Edition. This boxing has markings for six MiG-21bis aircraft from six different countries. The MiG-21 series from Eduard were originally boxed in 2018. Since then, they have produced many MiG-21MF, PF, and PFM variant boxings. This is the MiG-21bis variant, and it contains one new sprue (sprue K).
In the Box
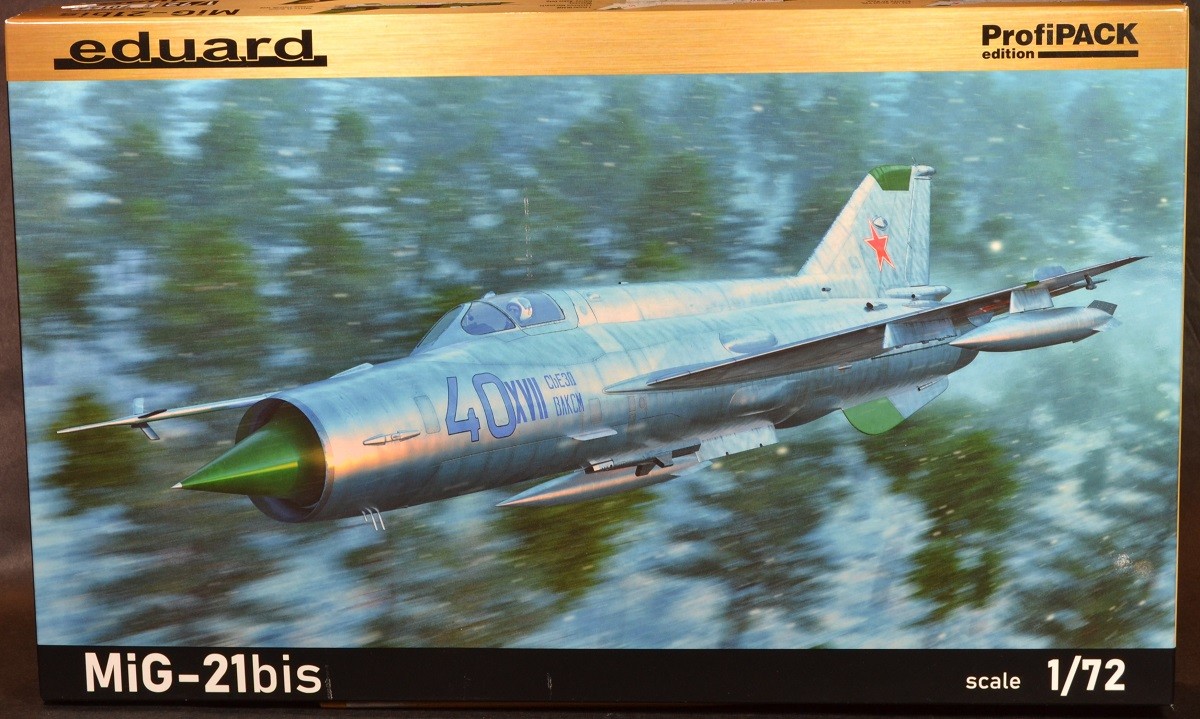
The kit is packaged in a top-opening rigid box with great box art of the Soviet Union jet. Inside there are four gray sprues, one clear sprue, one photo-etched fret, one decal sheet for the different aircraft markings, one decal sheet for airframe data/stencils, and one set of die-cut masks. Decals include the following aircraft options:
- MiG-21bis, 234 IAP, Soviet VVS, Kubinka Air Base, Soviet Union, 1974.
- MiG-21bis, 2nd Lt. Adnan Saeed al-Fadhli, No. 11 Squadron, Iraqi Air Force, Tammuz Air Base, Iraq, 1980-1984.
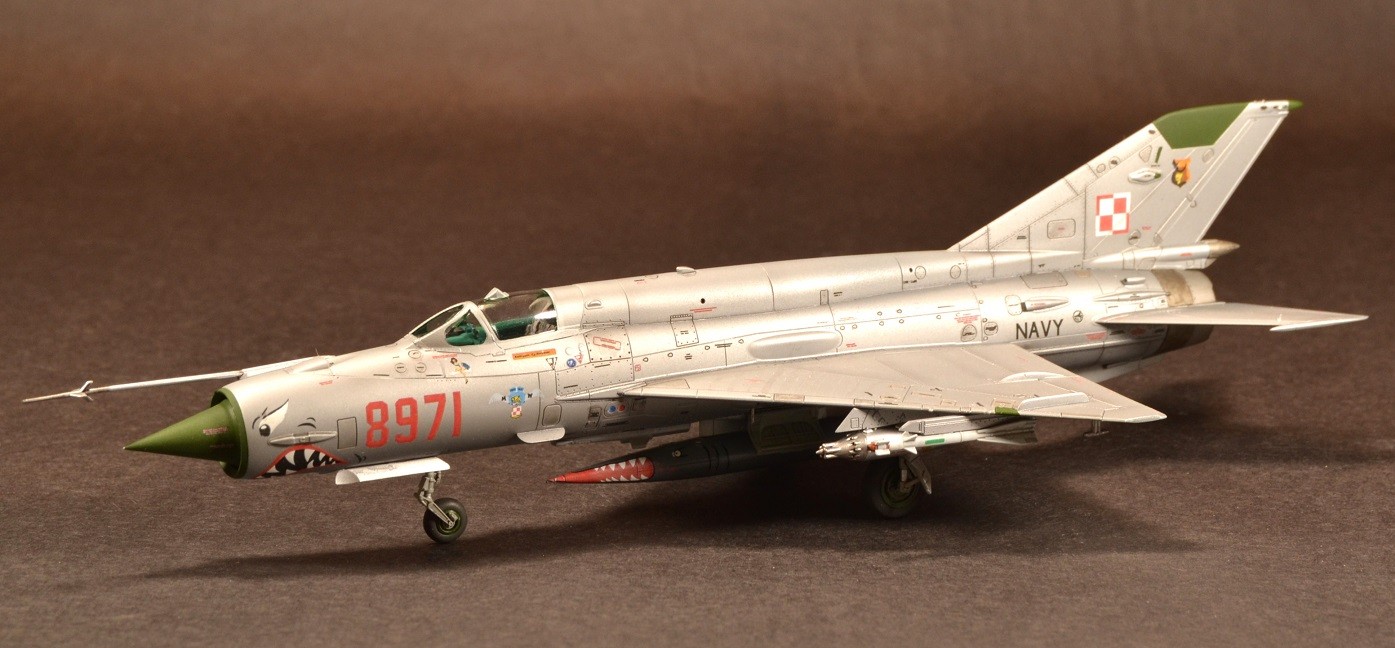
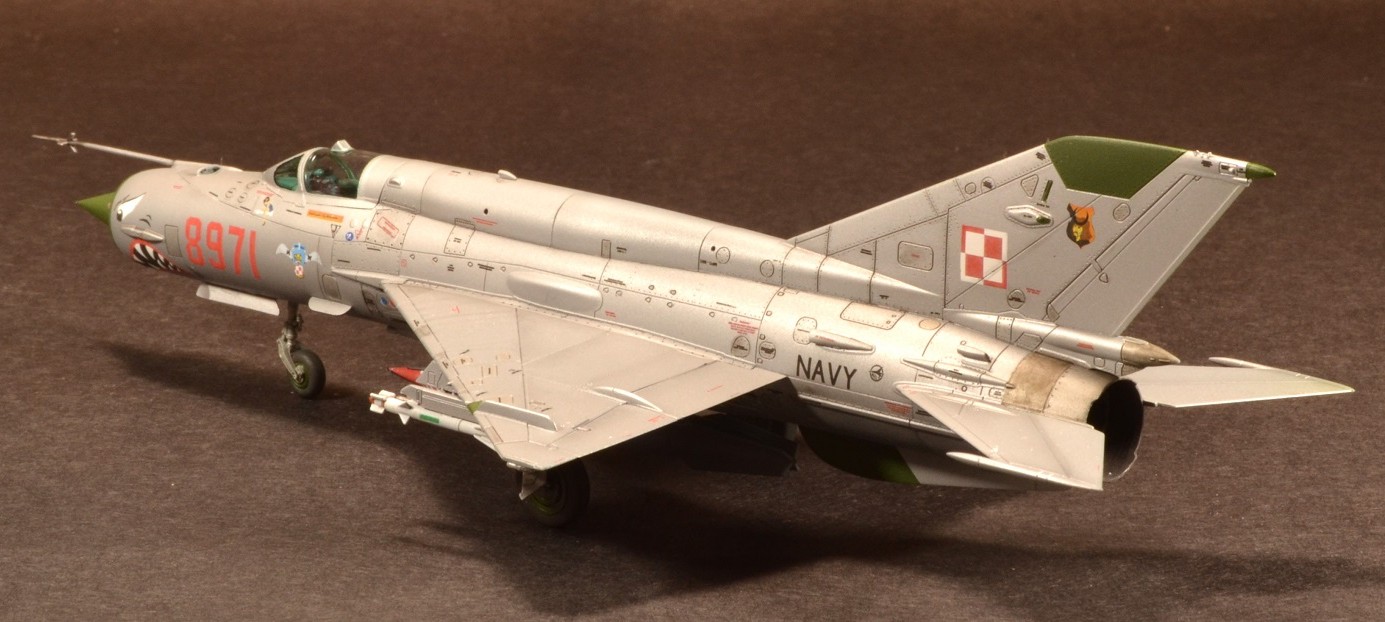
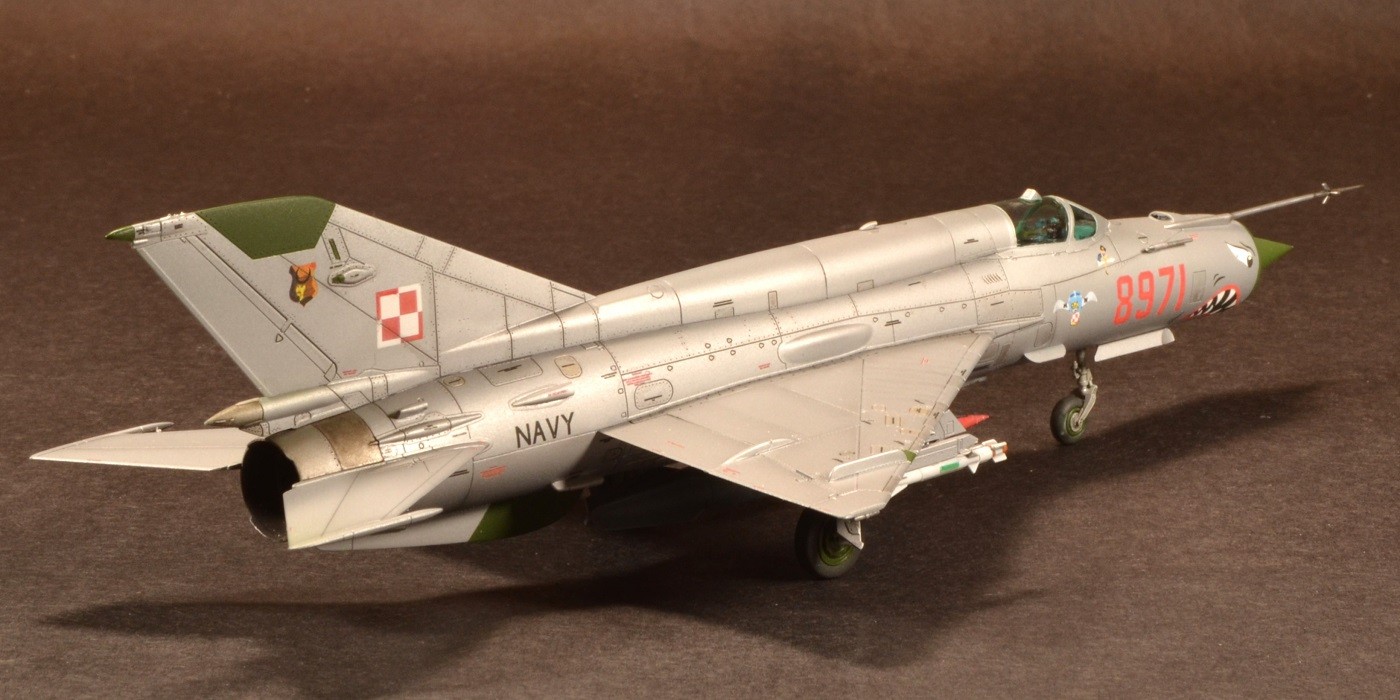
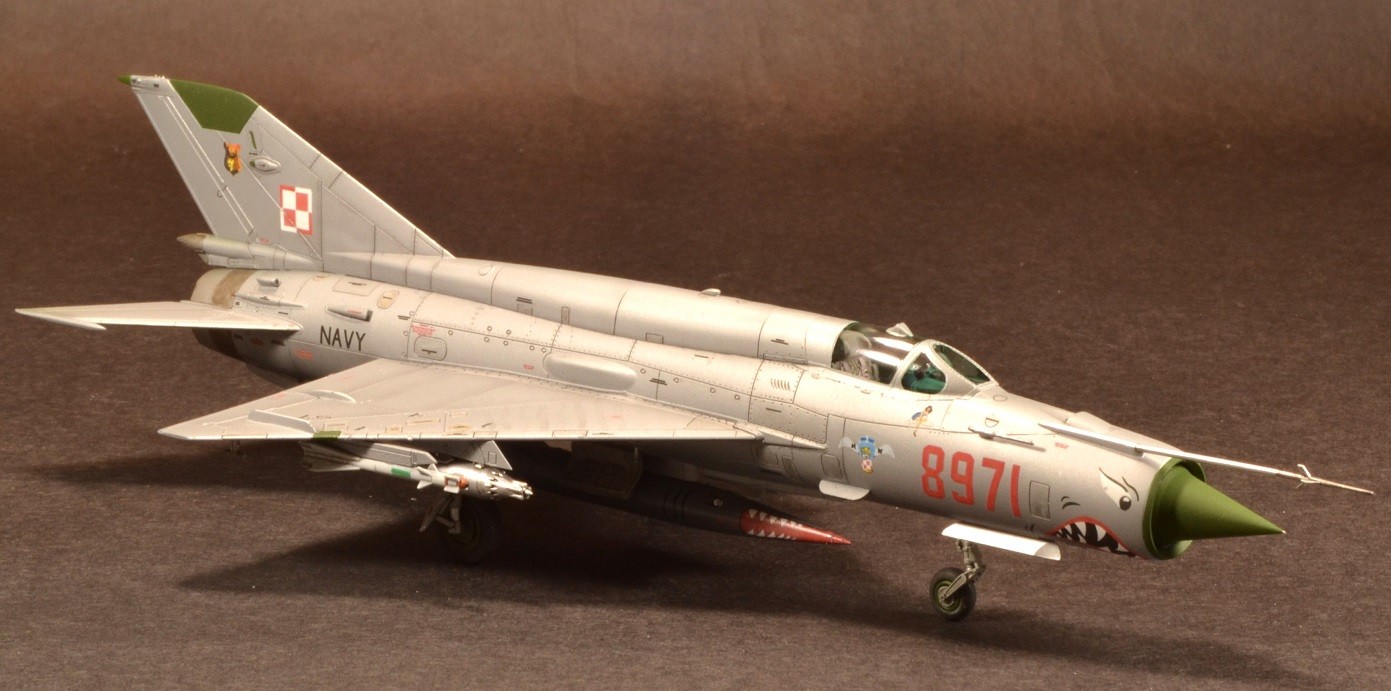
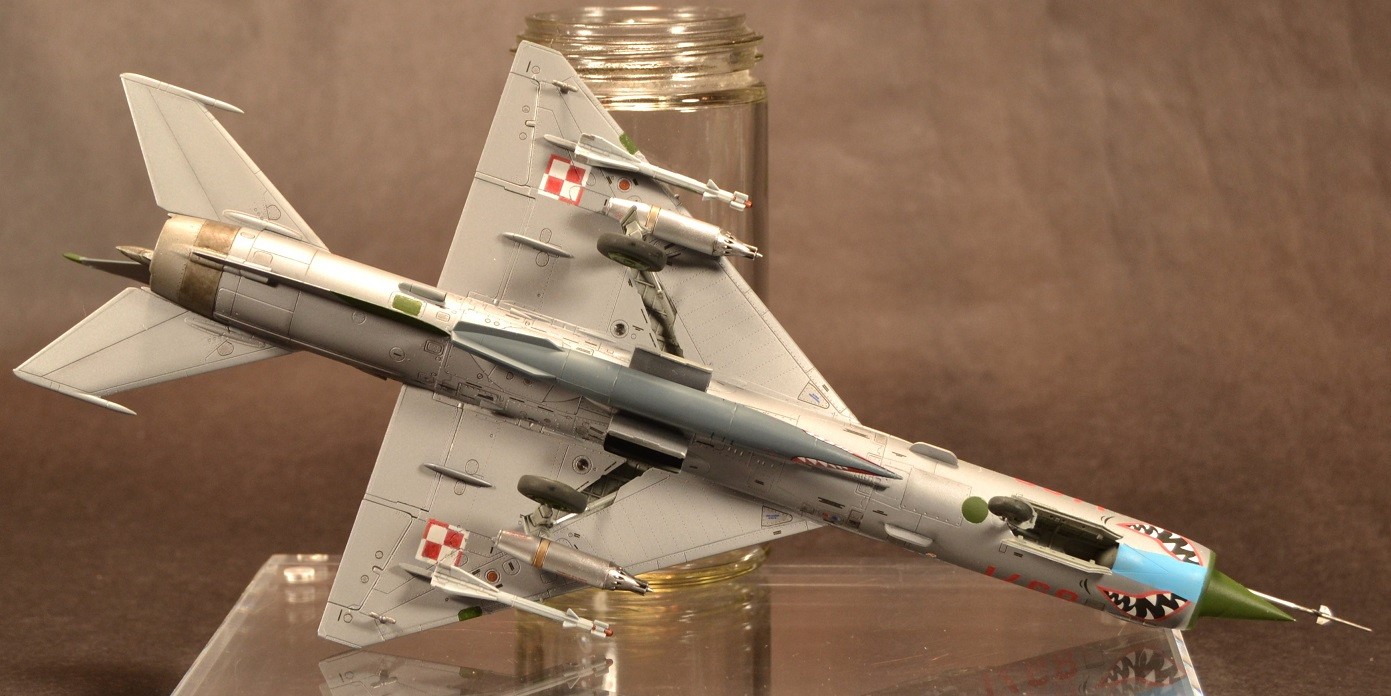
- MiG-21bis, 1 Pucki DLMW, Lotnictwo Marynarki Wojennej, Gdynia-Babie Doty, Poland, 2003.
- MiG-21bis, 204 vb, 101.lae, Serbian Air Force, Batajnica Air Base, Serbia, 2015.
- MiG-21bis, C/N 75084608, HavLLv 31, Kuopio Air Base, Finland, 1998.
- MiG-21bis, 21 ELZ, HRZ, Zagreb-Pleso, Croatia, December 2016.
The instructions are printed in a 28-page booklet, and the illustrations are large and easy to follow. Eduard also has a blank page (Page 27) set aside for notes in case you want to jot down any information from research, assembly deviations, or personal recommendations.
Review Process
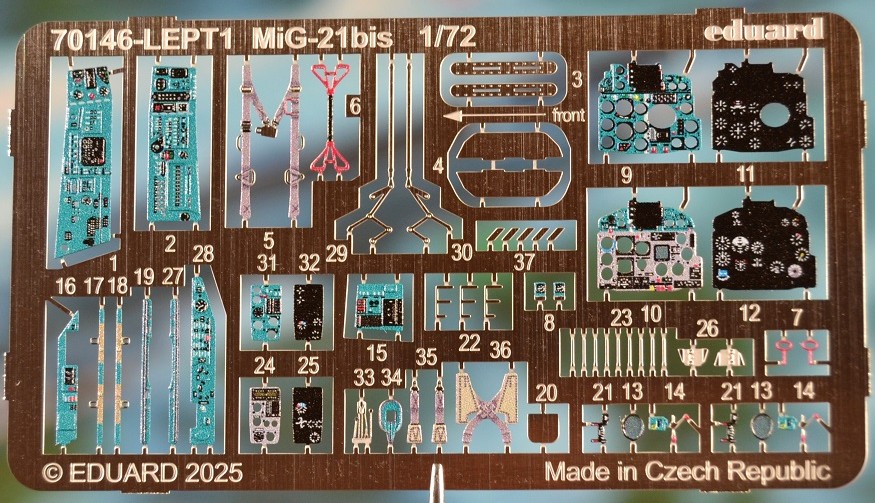
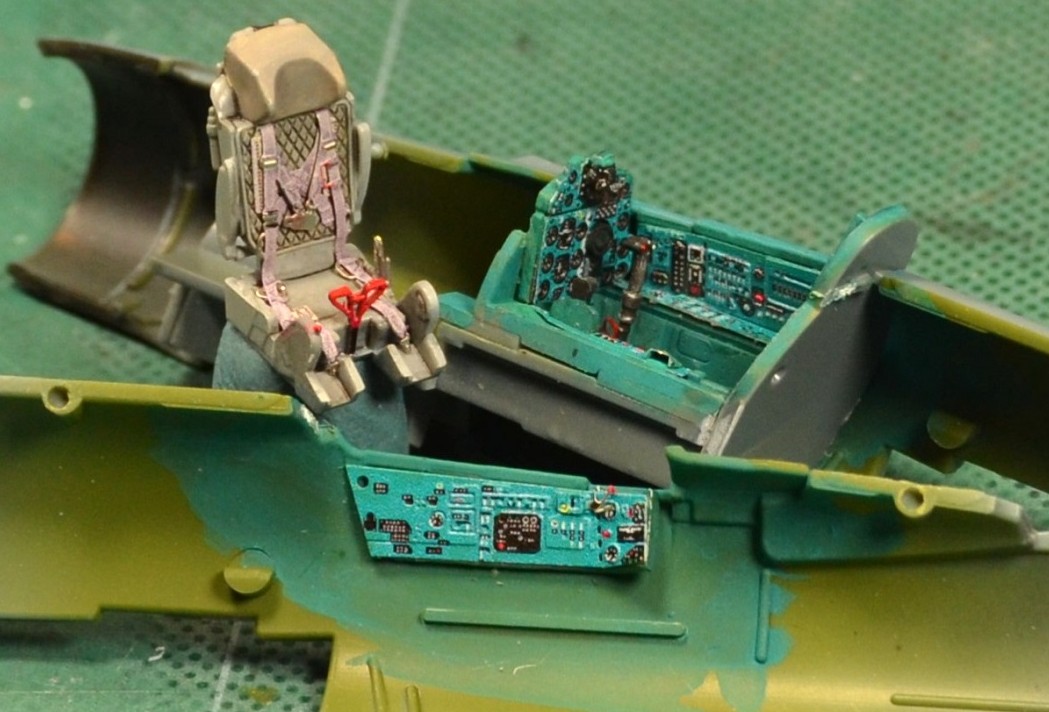
The first thing that must be decided before cutting parts is to determine what country MiG-21bis you will build. This will identify certain parts to be installed for a specific configuration. Construction begins in the cockpit, and it is very well detailed using the PE parts; however, the raised detail on the plastic is very good if you decide to paint it yourself instead.
Note, due to the 1/72nd scale size of this kit, some PE parts may be more of a hindrance than an enhancement to detail, since they might not be seen, or they will be too small to appreciate. So, for this build, I used builder's discretion for whether PE parts were added or not.
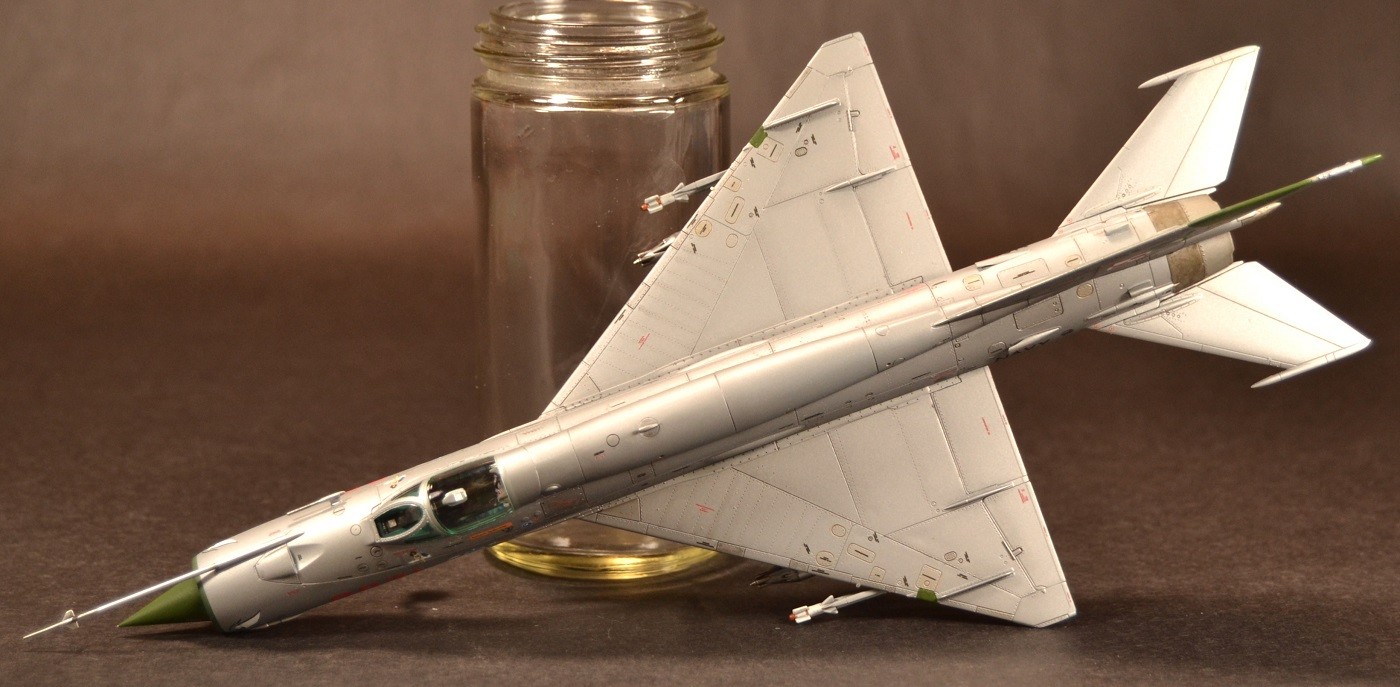
After completion of the cockpit, the exhaust and landing gear wheel bay were installed, and the fuselage halves were then glued together. Fortunately, the top fuselage seam is hidden once the “humpback-tail” (Part K2) is installed. The bottom, however, will need to be filled and sanded. The rest of the assembly (wings, horizontal stabs, etc.) is straight forward, but some areas will require more patience and dexterity because of small parts and fiddly assembly. A good amount of patience is needed in order to meet these challenges.
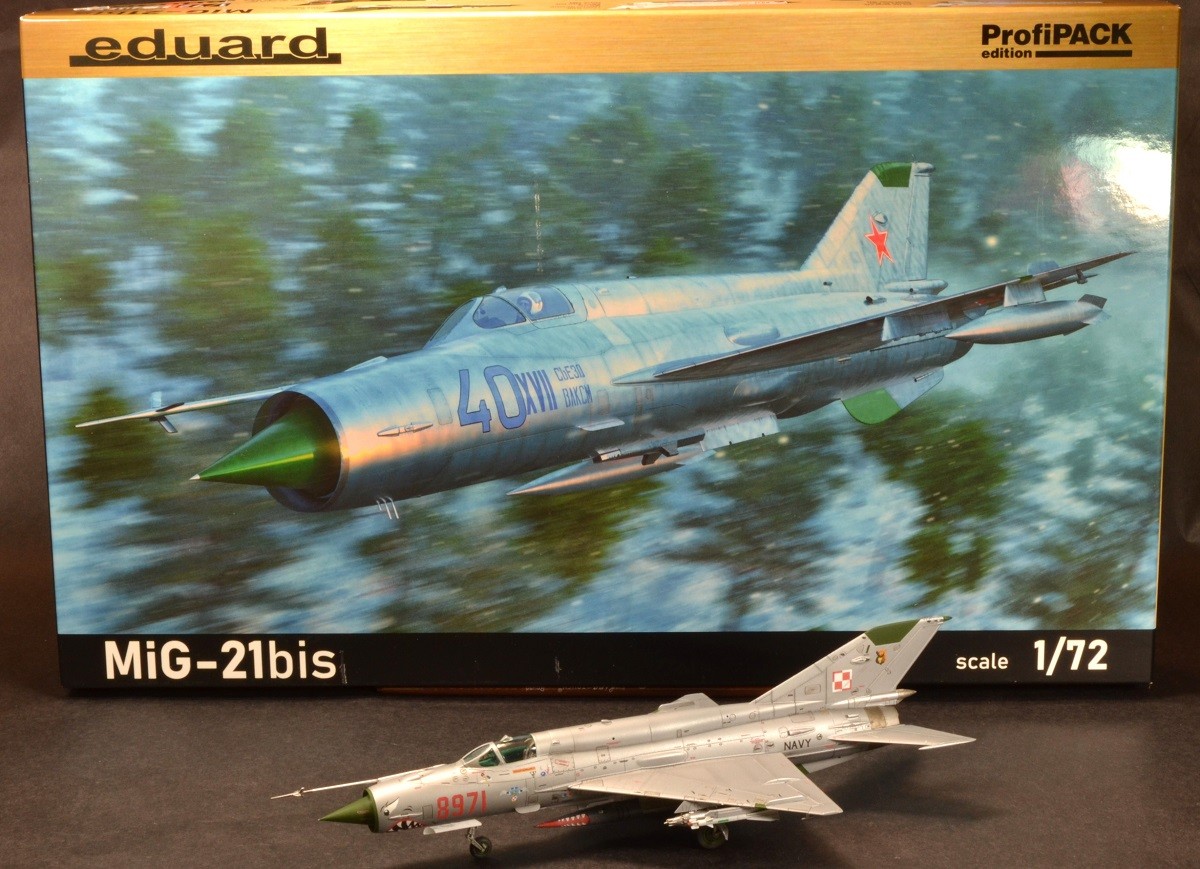
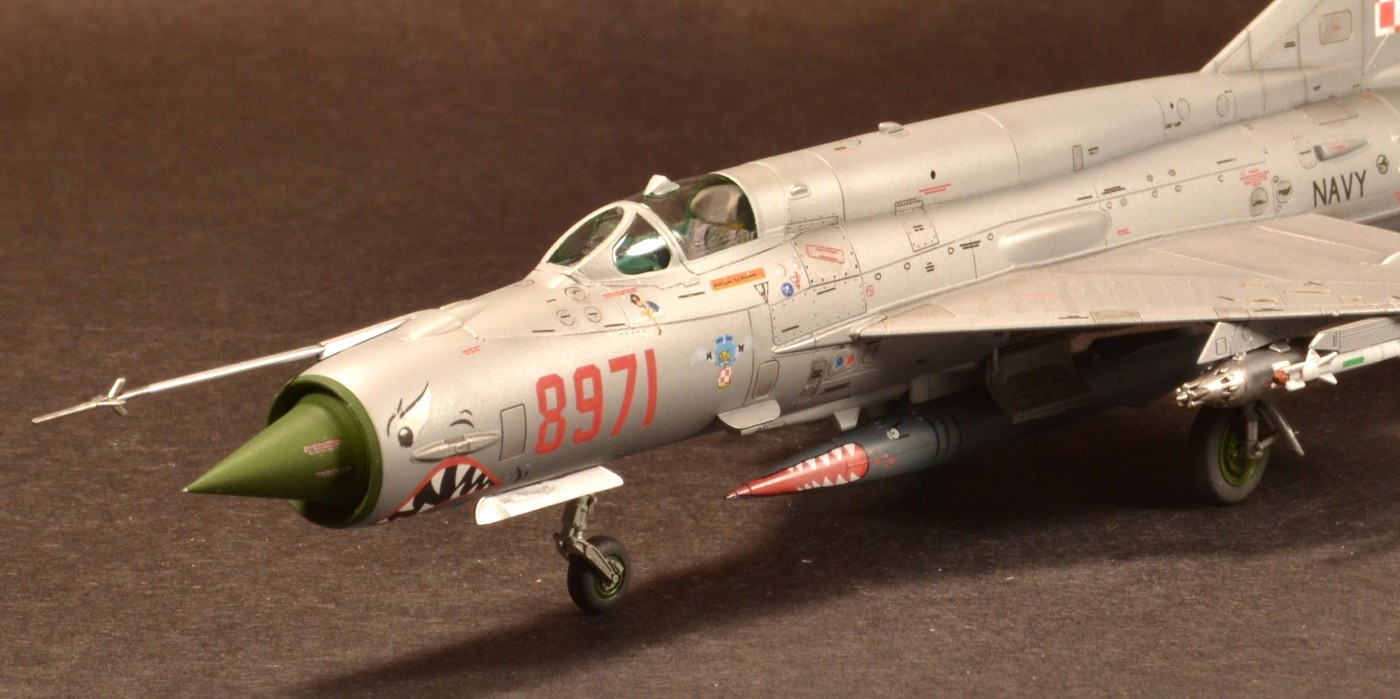
I chose to model the Polish MiG-21bis, which has a natural metal finish along with shark mouth markings. Exterior painting was accomplished using Alclad Aluminum, and I darkened some panels with a home-brew acrylic wash.
The decals are the new versions from Eduard where the carrier film can be removed, if given time to dry overnight. Some of the decals I peeled off the carrier film, while most I left on. A major time commitment is required for the stencil decals. There are over one hundred stencils to be applied if you place them all, so be prepared to allocate plenty of time at the end of the project for decal placement.
After adding the decals, I coated the entire model with Vallejo Clear Satin and applied subtle charcoal weathering. Once satisfied, I sealed it all in with AK Ultra Clear Matt.
Finally, the last item to be installed was the long nose probe. This is a very fragile part, and I decided to tack it to the surface with Elmer’s White School Glue (PVA). The low-tack adhesive properties will allow the probe to “pop off” the surface if accidentally struck but will not hurt the paint underneath or destroy the probe itself. The only disadvantage is having to reinstall the probe each time it comes off, but this is a trade-off I was willing to take.
Conclusion
This is one great kit! The surface detail is amazing in 1/72 scale and the assembly is straightforward. The selection of decal markings, tape masking, comprehensive set of stencils, and the PE parts make this ProfiPACK an economic value. Be aware that there are small parts and some fiddly assemblies that may frustrate some less experienced builders. This is not a beginner's kit, but I would highly recommend it to modelers with some experience of working with small parts.
I want to thank Eduard for providing this wonderful MiG-21bis kit and the IPMS/USA for allowing me the opportunity to review it.

Comments
Add new comment
This site is protected by reCAPTCHA and the Google Privacy Policy and Terms of Service apply.
Similar Reviews