
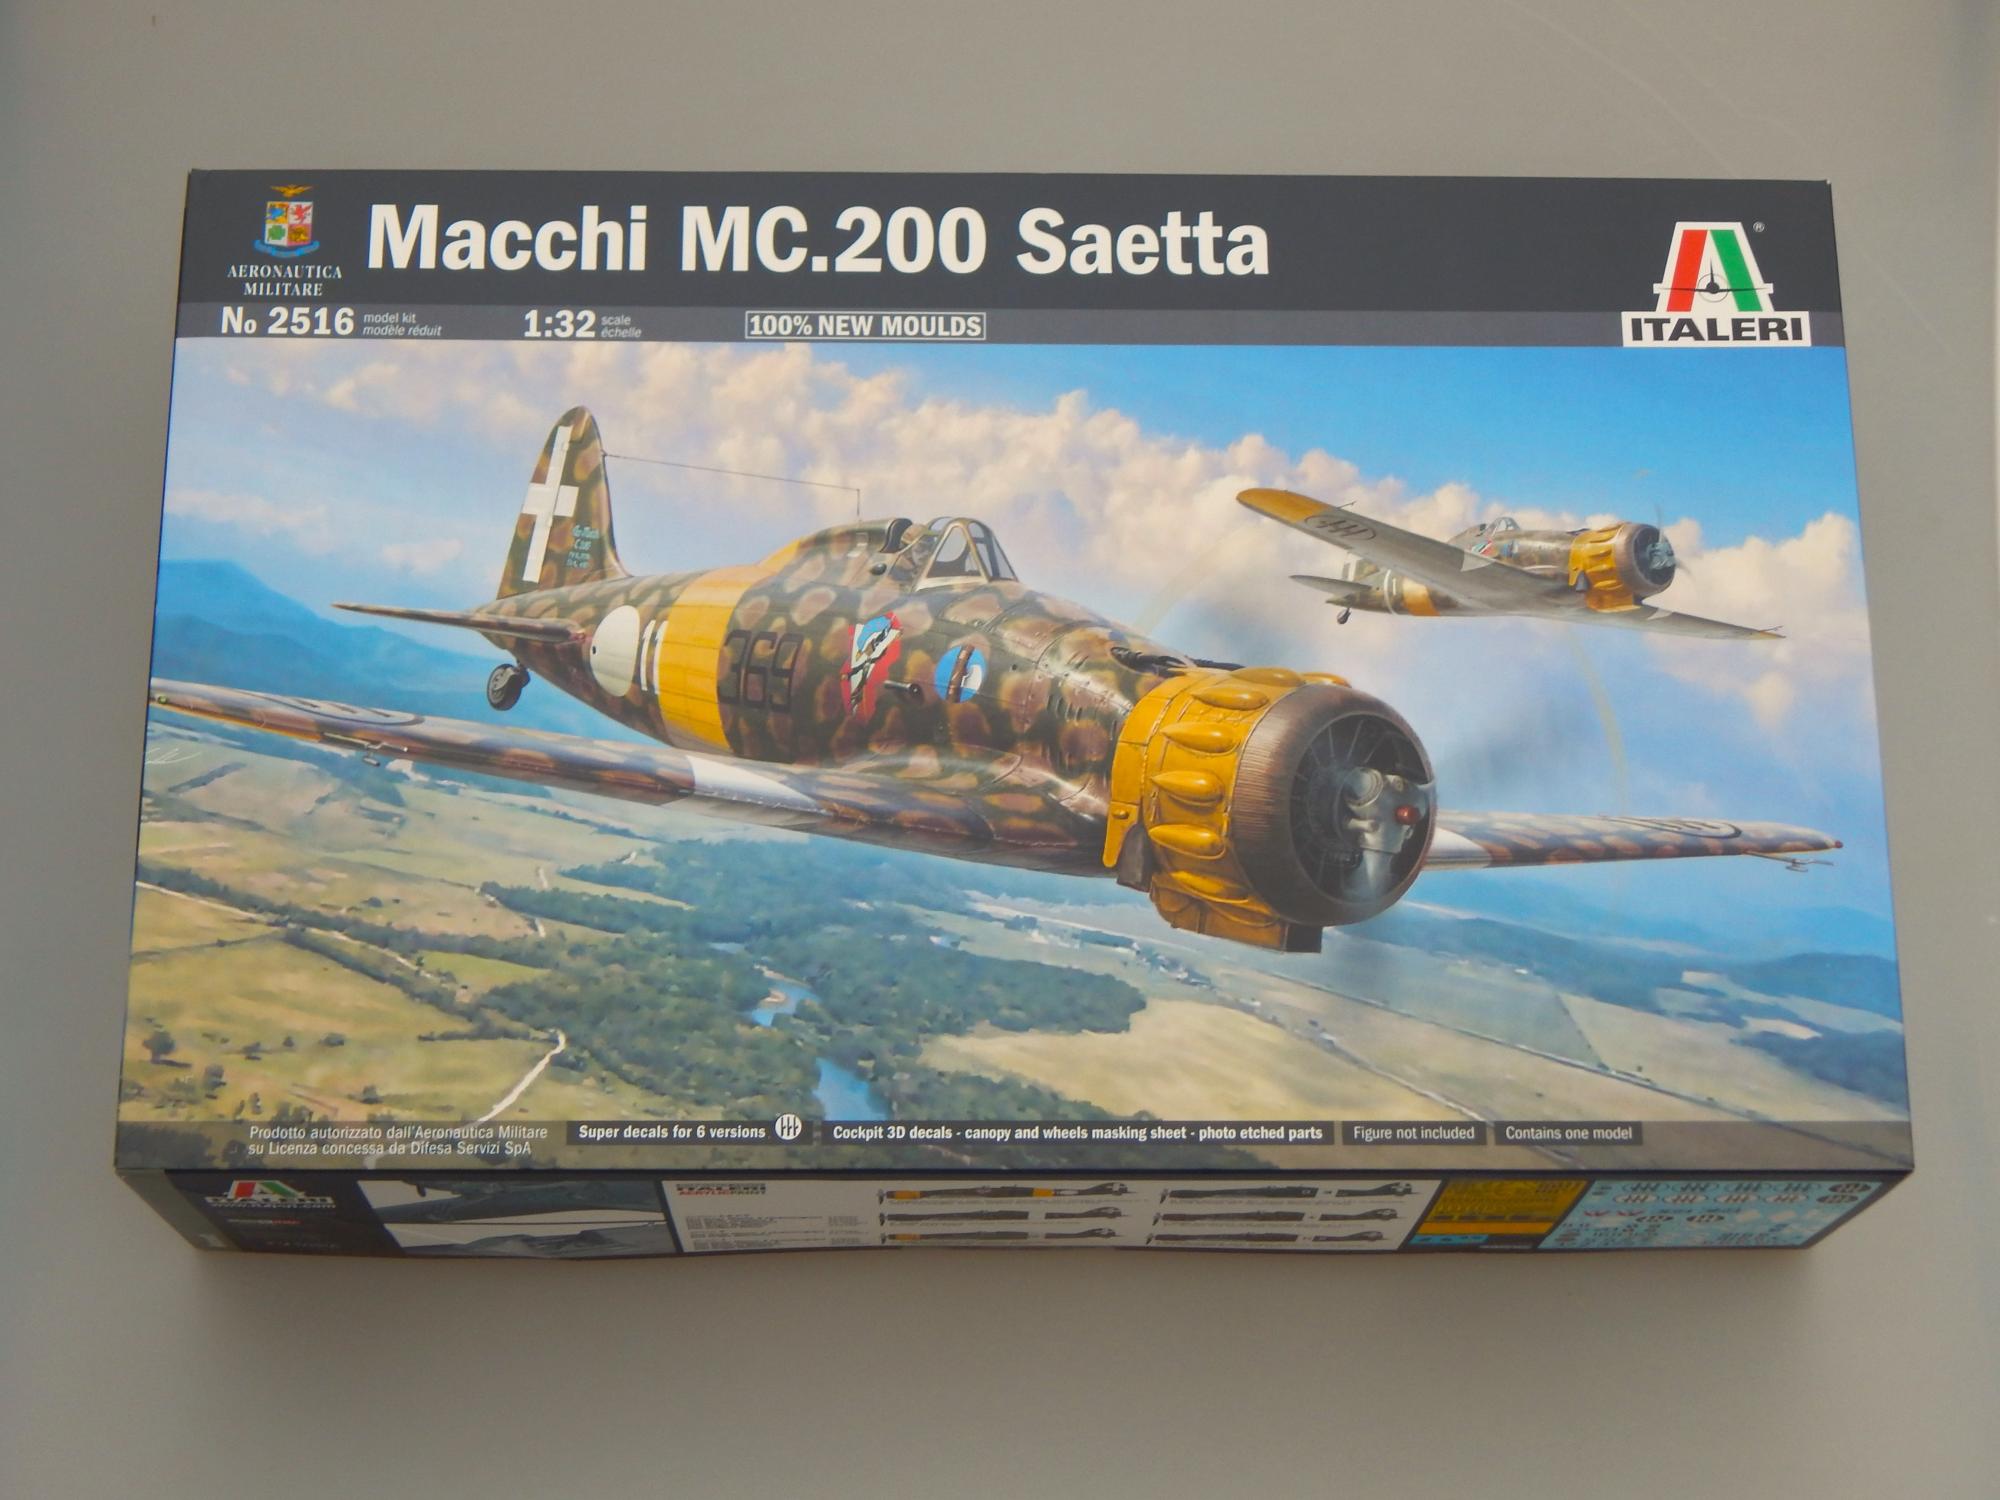
Macchi MC.200 Saetta
What is in the Box
- 4 gray injection molded plastic sprues [247 parts total]
- 1 clear sprue
- 1 decal sheet with 6 markings options
- 1 3d printed instrument panel (three parts)
- 2 Etched Brass frets
- 1 canopy & wheel hub masks
- 1 elastic vinyl tubing
- 1 brass wire
- 1 instruction book in FULL color
Construction
The construction begins with the cockpit and the fuselage interior and this makes up the majority of the early construction sequence. Extra time spent here will pay dividends later in the build and I recommend a thorough reading of the instructions since they will alleviate most if not all construction problems. The sprue gates are on the mating surfaces, so it is imperative to cut them from the sprues with care and be sure not to over sand the sprue gate nubs. Now I have noticed this trend in manufacturers. The cockpit has nice set of 3-D decals which dress up the cockpit nicely. I recommend you use white glue to adhere the 3-D decals to the surface of the instrument panel. Cockpit parts and interior parts were painted with MRP -302 Grigio Azzurro variant Macchi-Reggiane. There are even nice parts included to do the tropical filter with piping, but you are NOT given any markings for such a tropical bird. So if one selects this route they will have to secure aftermarket decals--further upping the price of the project!
The next element in the construction is the engine and cowling fitment. This is critical since any misalignment of the engine parts-even miniscule will make later fitting of the cowling impossible. The instructions are a bit vague here so I see others [online builds] have abandoned the sequence and built up the engine and cowling separate to the airframe and not attach in sequence of the instructions. Further the attachment points of the engine cradle and engine are a bit flimsy, so I recommend you strengthen or beef it up a bit without misalignment-fun trick. I applaud Italeri for giving us a nicely detailed Fiat A.74 R.C.38 engine, but fitting is about tricky. Once all the sub-assemblies were completed I primed the airframe in Gunze Sangyo Black Mr Finishing Surfacer 1500 and prepared it for painting.
Painting and Weathering
The main airfare undersurface was painted with MRP-302 Grigio Azzurro, which was built up in thin layers to develop a weathered and shaded look. This paint is perfect for this, and it dries fast and adheres well. IT sprays right out of the bottle without thinner. I do recommend a thorough shaking. I masked of the underside and then proceeded to do the Italian camouflage. The topside was painted in layers to get a shaded look with MRP-312Verdi Mimetico Colore-9 Verde. Once this dried then I applied MRP-325 Giallo Mimetico spotted camouflage pattern. I recommend you practice this a bit on a scrap piece to get the shape you want. I went for a random look—since this is what is evidenced in most photographic references of the time. The last bit of camouflage was MRP-313 Bruno Rossiccio which is small blotch type inside the Giallo Mimietico spots. It is important to be careful not to overspray too much on the green surface. This camouflage pattern is one that will need a some touch up and correction to get a universal even look. I then painted the white ID band on the fuselage. Once everything was dry I applied decals right on the painted surface since it is a rather smooth semi-gloss finish that takes decals well. The decals are printed by Cartograf and adhere well and are of top quality!. Once everything was dry I sealed it all in with Gunze Flat. Then the weathering was applied. I was sparing with weathering since these airframes seems to be well taken care of. All the small items were now attached—pitots tubes and aerial wires were attached and masks were pulled.
Conclusion and Ruminations
Overall a decent build, but I do recommend extra time on the engine and cowling fitting as previously mentions. One caveat is the price in the US market [MSRP $178.99]. You may get a discount in some online shops, but I haven't seen anything less than $150.00 in shops in the United States. You may get a discounted price overseas, but you will have to pay shipping taxes and import fees which will be at the MSRP or Higher! This kit retails for the same price OR more than a 1/32 Tamiya or Kotare kit which I feel are far superior in tooling and fitting. Since this is not an overly popular airframe I guess we are lucky as modelers to see it in 1/32 by a main stream company. Since the only other 1/32 Saetta was the Pacific Front kit, Limited run. I recommend the kit for any enthusiast of Reggnia Aeronautica World War II types since it is a rather historical significant type for the era. Value vs. what you get is really up to the individual modeler.
Recommended


Comments
Add new comment
This site is protected by reCAPTCHA and the Google Privacy Policy and Terms of Service apply.
Similar Reviews