
La-7 ProfiPACK
The Lavochkin La-7 was in many ways a Lavochkin La-5, strengthened internally and modified externally to improve performance. It was introduced into operational testing in late 1944 and then served with numerous Soviet fighter units as they contributed to the push into Germany in 1945. The La-7 was considered by many to be one of the very best fighters built during WW II. It equipped the elite Guards fighter Air Regiments and Divisions and was the fighter flown by many Soviet aces who achieved that status by downing some of the Luftwaffe’s best late-war aircraft. These included Colonel Vasiliy A. Zaitsev, Ivan N. Kozhedob and Major Vladimir D. Lavrinyenkov.
Eduard has released a new Profipack boxing of the 1/48 La-7 kit that they have offered previously in both regular and Weekend versions. The kit was originally introduced to the market in 2002 in various boxes displaying the Gavia logo, but it has been part of the Eduard line since 2005. In the latest boxing, the plastic is the same as all previous releases but Eduard has souped up the original with a pre-painted photo-etch fret, pre-cut Kabuki type tape paint masks and an expanded decal sheet that provides markings for six aircraft.
The La-7 is an appealing subject for anyone interested in building a model of a significant WW II Russian aircraft and this ProfiPACK kit will build into a very acceptable OOB model of one. The kit is nicely engineered with well-molded plastic parts that display finely recessed panel lines and rivets. The parts fit well and panel line aligns nicely. There are few ejector pin marks to deal with. The photo-etch parts add considerable internal and external detail. The paint masks can shorten masking time on the wheel and some of the clear parts, and the extensive decal sheet is very nice with everything printed in register and opaque colors on thin film.
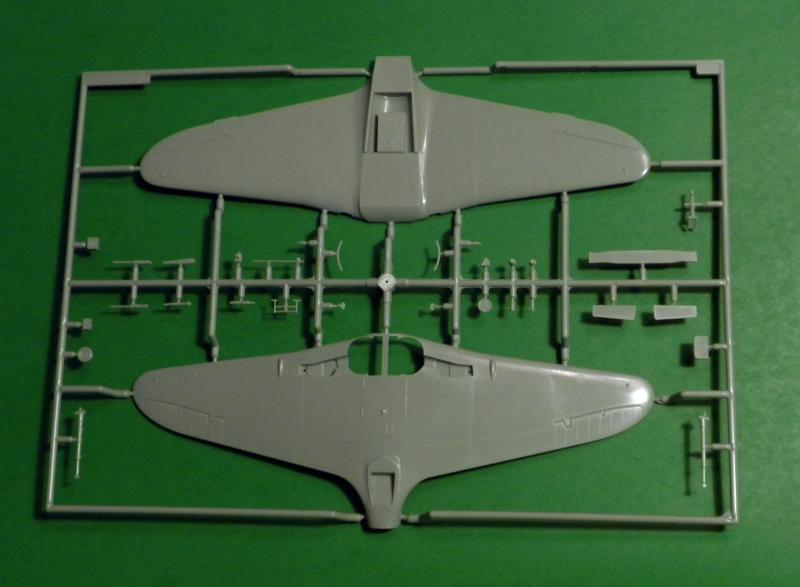
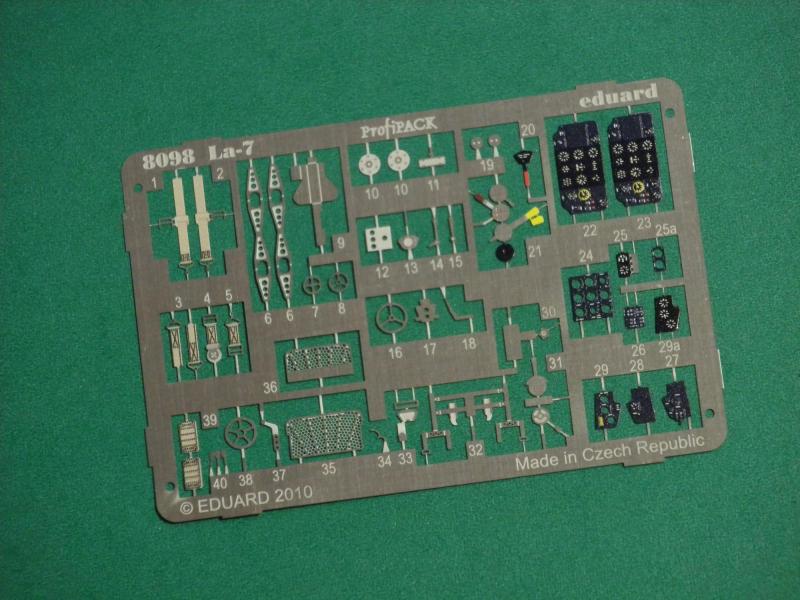
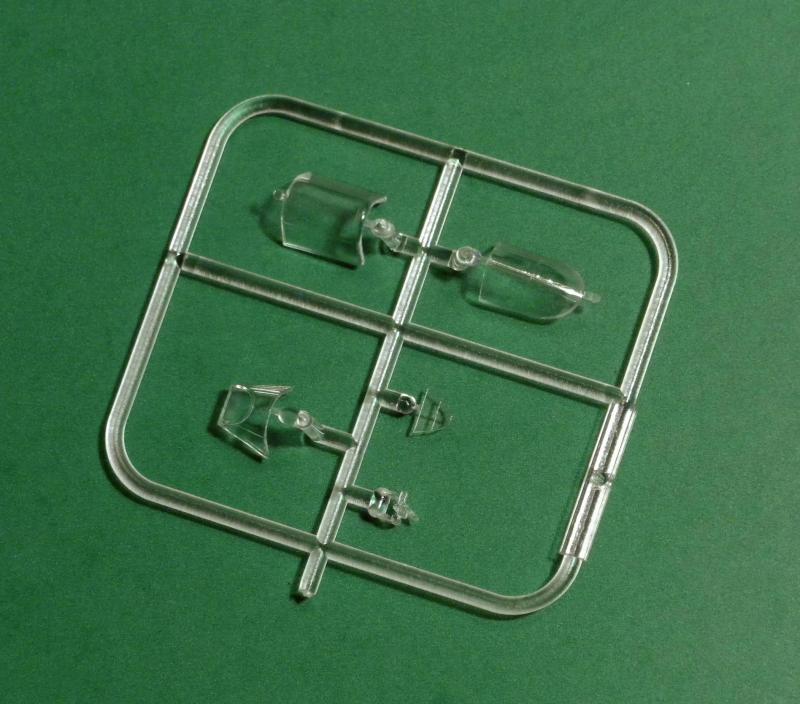
The kit includes two sprues that contain 70 parts molded in Eduard’s typical (slightly brittle) gray styrene, a clear sprue with five transparent parts and 46 pre-painted and unpainted parts on the photo-etch fret (some of which are extras that may come in handy when the carpet monster gets hungry). The instruction sheet is really a twelve-page booklet that describes the assembly steps and provides comprehensive four-view full-color painting guides for six aircraft.
With all of these features to recommend it, the kit’s many good points are offset by a few that fall a little short of the mark. The areas that fall short include some rather shallow recessed panel lines, fairly thick clear parts, inaccurate prop spinner tip, undercarriage struts that appear to be too long, transposed color chips on the instruction sheet, pre-cut paint masks that don’t exactly match the windscreen frame contours and maybe, just maybe, the cross section of the fuselage spine. Each of these will be addressed in the following description of the build.
Before beginning the build, I decided to correct what I could. Most of the kit’s exterior recessed details, although quite crisp, were a little too subtle to assure they would be clearly recognized after everything was painted and finished. They may be closer to the real thing than we are accustomed to in a 1/48-scale model, but I decided to take an hour or two to lightly rescribe them all.
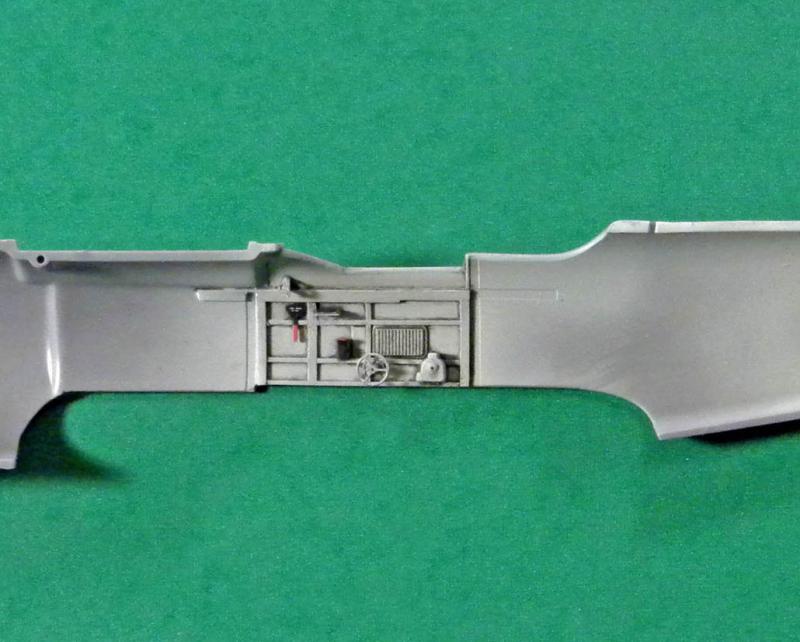
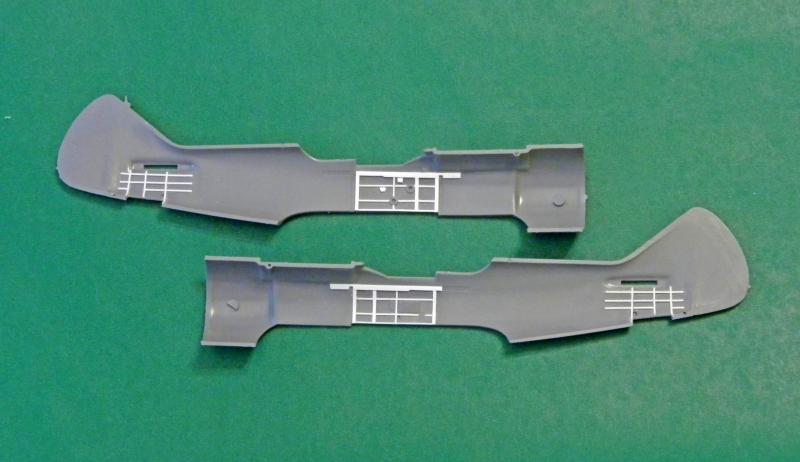
The interior sidewall relief on the fuselage sidewalls was another matter. The fuselage and wings of the real aircraft were built mostly of wood, and that included the fuselage framework, which was quite pronounced. Eduard’s rather subtle definition of those details misses the mark, so I rebuilt all of what should be raised framework with Evergreen styrene. I simply matched the width of the kit’s frames in the cockpit and tail wheel well with the appropriate size strip styrene and layered .010” and .015” styrene over the sidewall details. Again, it took a littler over an hour, but it was not too difficult to do and the results were worth it. The photo below shows how the styrene sidewall framing looked before I added the kit’s plastic and photo-etch parts.
I then painted the sidewalls with the closest color I could mix to match the Soviet’s interior primer ALG-5 (Check the VVS website for a color chip). The pre-painted P/E cockpit parts fit nicely and added much to the otherwise spartan look of the aircraft’s front office. Eduard’s instructions are clear and easy to follow, but I found a curious thing when comparing the ProfiPaACK La-7 kit to the latest Weekend version. The instructions in the ProfiPACK kit would have you delete the part that represents the oxygen control box (Part #A27) but the Weekend kit instructions correctly instruct you to attach it to the matching flat spot along the right sidewall beside the seat. I don’t believe the pilot would appreciate it being omitted, so I chose to attach it.
With the sidewall parts in place and everything enhanced with an oil wash, I closed up the fuselage sides, making sure I had captured the tail wheel strut pins into their respective mounting holes. I assembled the photo-etch parts that make up the instrument panel and attached the completed unit through the bottom opening, and then cemented the seat with seatbelts attached to the cockpit back wall. Again, no fit problems were encountered.
A previous review I once read about the 2002 Gavia boxing of this kit by a model builder whose last name would have you believe he has knowledge of the real aircraft, included his opinion that the model’s fuselage spine is too thin and ‘Spitfire-like’…so he took great pains to shim it up when he built the kit. I have not been able to find proof in any photos of existing aircraft that he is either right or wrong. If he was using a set of drawings as his reference, I know that we live in a world of questionable drawings that provoke many ‘experts’ to roundly criticize whatever manufactures mold in plastic so, in my opinion, the question remains unanswered. But, he may be right and in the absence of photographic evidence, I decided to glue the fuselage halves together with a ‘just in case’ .020” styrene shim strip placed along the spine (up to the fin fillet) and concern myself with other issues that I could see needed attention.
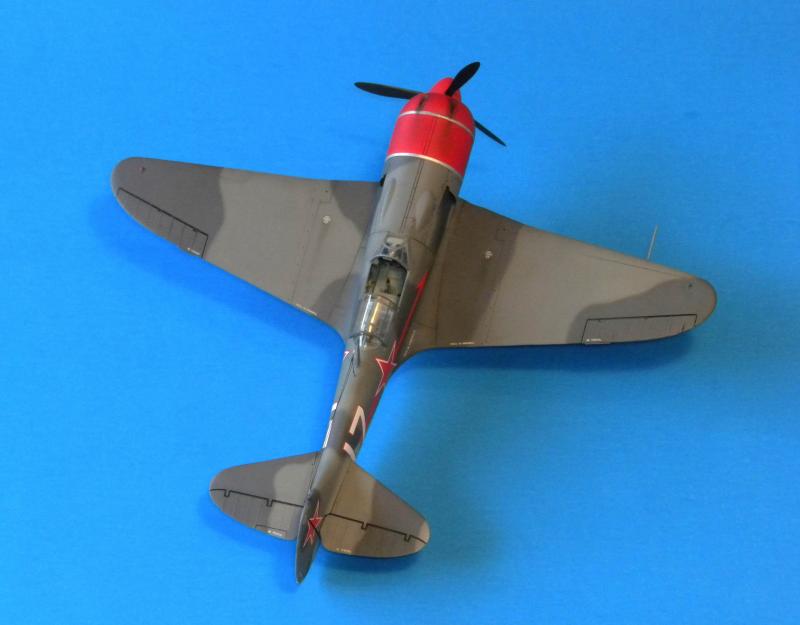
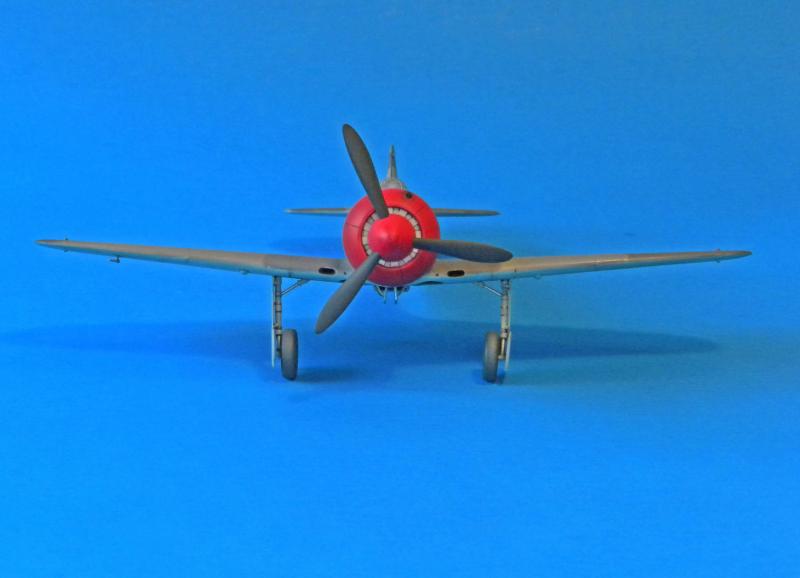
The cowl shutter (Part #A30) is another part with somewhat superficial relief, so I carefully scraped every other blade in the ring with an x-acto blade to increase their depth for a more realistic looking pair of shutters. While addressing front-end details, I removed the unnecessary Huck starter boss molded on the tip of the spinner with a few careful swipes of a sanding stick. The La-7, unlike the La-5, had its own starter so its spinner had a smooth and somewhat somewhat pointed tip. I also sanded down the raised cowling bands to a more realistic depth and changed the rear cowl band to a uniform band width as none of the photos I have seen show anything that looks like the stepped band molded in the kit.
The undercarriage struts appear to be molded in the fully extended position they would assume after the aircraft took off. This has been noted previously in reviews of the original Gavia kit. When sitting on the ground, the weight of the aircraft would compress the oleos, thus shortening the length of the main landing gear. So, I sectioned the oleos of both struts by almost 1/16” to achieve a more realistic stance.
Turning to the wings, the kit’s wheel bay detail is nicely represented, so I thinned the edges of the openings a bit by scraping them with an X-acto blade for a more scale-like appearance. Before attaching the two supercharger intake ducts (Parts #A10 & #A11) into their respective locations in the lower wing, I also took the time to drill and hollow out the solid ends that can be seen through the leading edge openings. All of the parts fit well, so I airbrushed them with my ALG-5 mix and attached them, closed up the wing halves and (after painting the area) added the rudder pedal assembly and control column to the cockpit floor molded on the top of the wing (note that it is necessary to drill a hole in the locating dimple to mount the control column).
When fitting the wing to the fuselage, it appeared I would have to deal with a step that appeared along the joint on the starboard side. However, by applying some pressure to the top of the fuselage, the step almost completely disappeared. So, I used a clamp to keep the pressure on everything while the liquid cement cured overnight. Only a little wet sanding was required to smooth everything out. I then attached the stabilizers, and fitted the armor glass, windscreen and rear canopy piece with no difficulty.
When preparing everything for painting I discovered that the color callouts on the ProfiPack kit instruction sheet actually have the exterior color swatches transposed. The color numbers called out are correct, but not the colors indicated in the swatches. I recommend anyone building the kit just go by the color numbers specified (Gunze Aqueous and Mr. Color) and ignore the color swatches that are indicated. Curiously, Eduard did get it right on the Weekend kit box top where they correctly represent the colors next to the color numbers that are recommended, so if you build the Weekend kit, just follow the instructions.
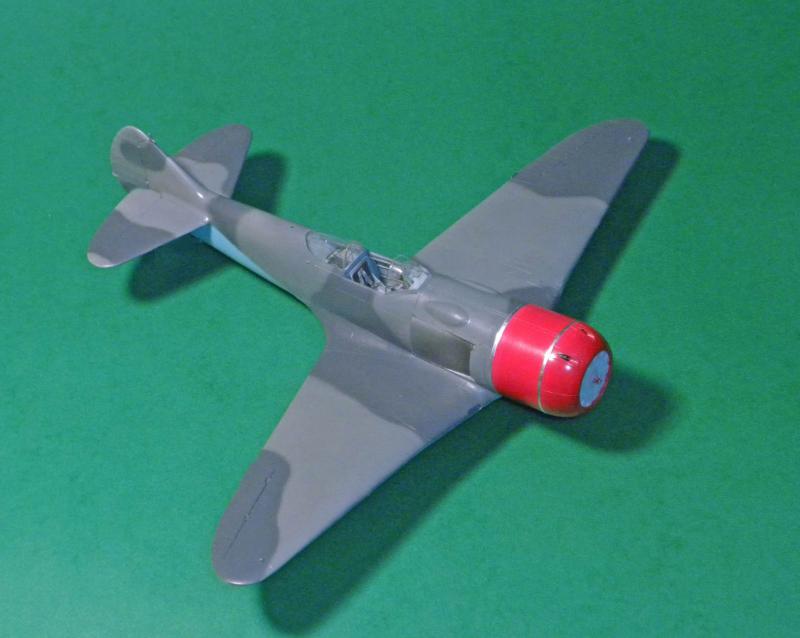
I used Gunze’s Mr. Color paints that are called out and thinned them with Mr. Color thinner – 3 parts thinner to 1 part paint (and added a drop of Retarder). I airbrushed everything at about 16 psi. following Eduard’s color views for the color demarcation. The #317 seemed right for the topside light gray, but the dark gray #331 looked a little to neutral to me, so I added a few drops of German Field Gray to shift the color very slightly to the gray/green side. I also toned down the underside #323 light blue Eduard specifies with a couple of drops of white and a drop of #317.
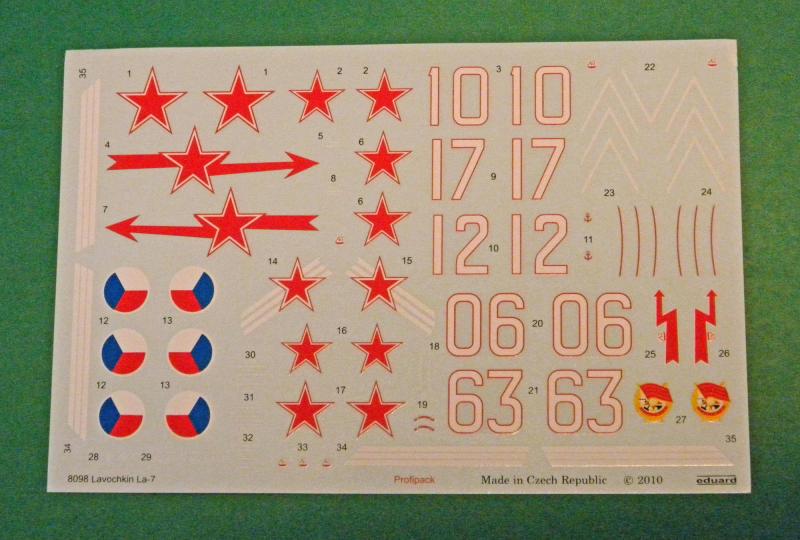
The instruction sheet and decals give the modeler six marking options. They are:
- White 10 piloted by Vasiliy A. Zaitsev, Deputy CO of 1st GSAK, 1944
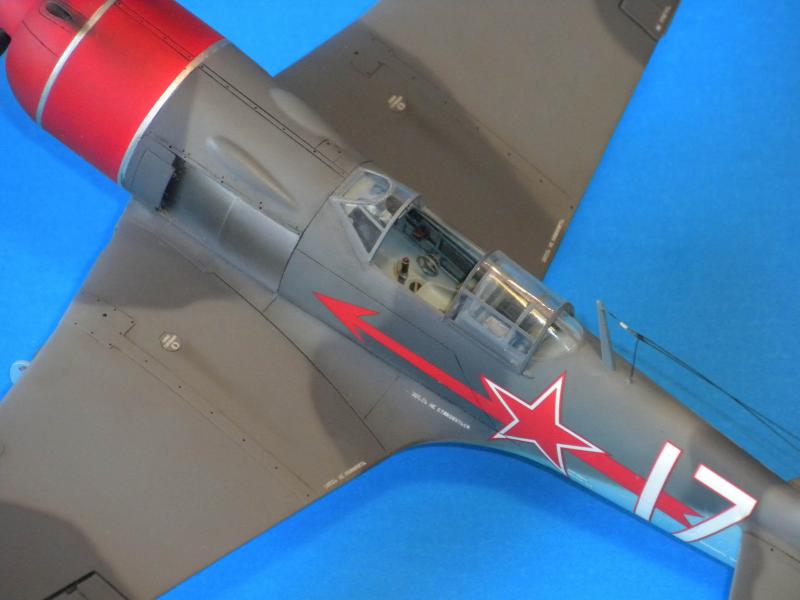
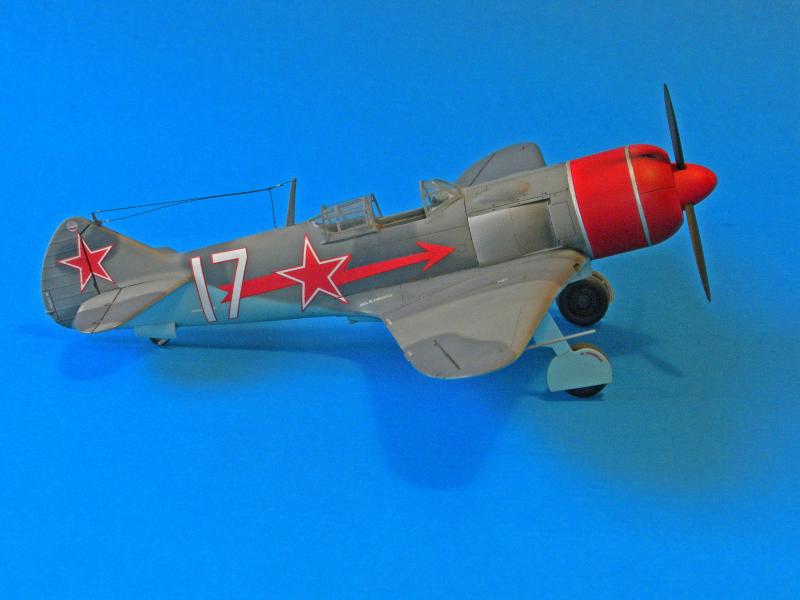
- White 17 piloted by Major Vladimir D. Lavrinyenkov, CO of 9th GIAP, April 1945
- White 63 assigned to the 813th IAP, of 215th IAD, 8th VA, winter 1944/1945
- White 12, piloted by Lt. Col, Filipp M. Kosolapov, CO of 937th IAP, 332nd IAD, May 1945
- White 06, c/n 45210806 of 2nd Czechoslovak Fighter Regiment, Prague, May/July 1945
- White 06, c/n 45210806 of 2nd Czechoslovak Fighter Regiment, Prague – post war - Piestany Airfield, 1946
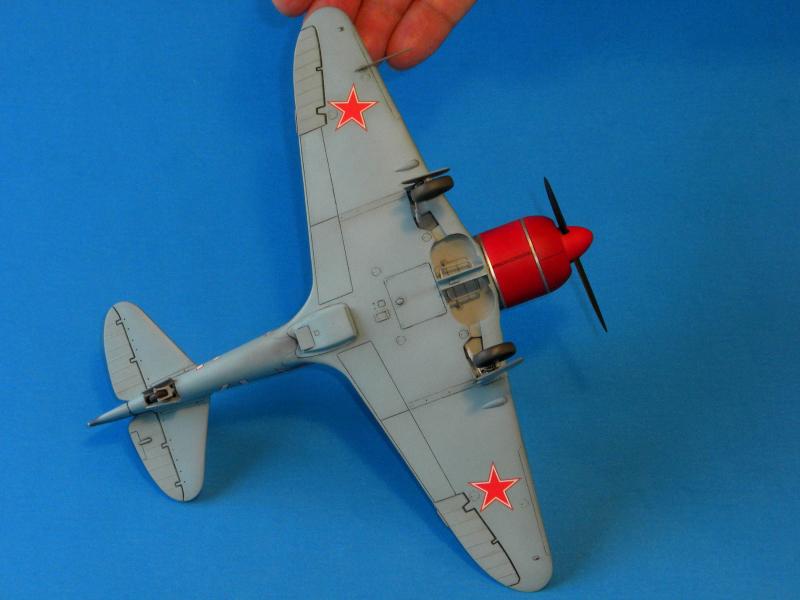
I chose the scheme for Lavrinyenkov’s White 17, so I masked the cowling and, after applying an undercoat of white, I painted it with Mr. Color #5 red thinned as noted above. After a coat of future, I applied the decals. They performed beautifully and responded well to Gunze Mr. Mark Softer. The decal film disappeared nicely when sealed with another coat of future and then overcoated with a light coat of Testors Dullcoat.
I used Squadron’s vac-form canopy center section instead of the kit part because the thickness of the Eduard’s injection molded clear part results in it sitting very proud of the rear section when it is place in the open position. The Squadron canopy is designed to fit the Hobbycraft La-7, but works just as well on the Eduard kit and adds much to the finished aircraft. I then attached the landing gear parts, tail wheel doors (after shortening them front to back to fit the opening), Pitot tube and antenna post, and finished thing off by adding the complicated antenna wire arrangement, made from invisible thread and tinted with a fine tip black Sharpie permanent marker.
As I said at the beginning, this kit will build well OOB, but with attention to some of the issues I have pointed out and spending a little extra time at the workbench, a much better replica can be achieved. I like the kit, enjoyed building it and am happy with the results. I highly recommend it.
My thanks to Eduard Model Products and IPMS/USA for the opportunity to build and review this kit.


Comments
Add new comment
This site is protected by reCAPTCHA and the Google Privacy Policy and Terms of Service apply.
Similar Reviews