
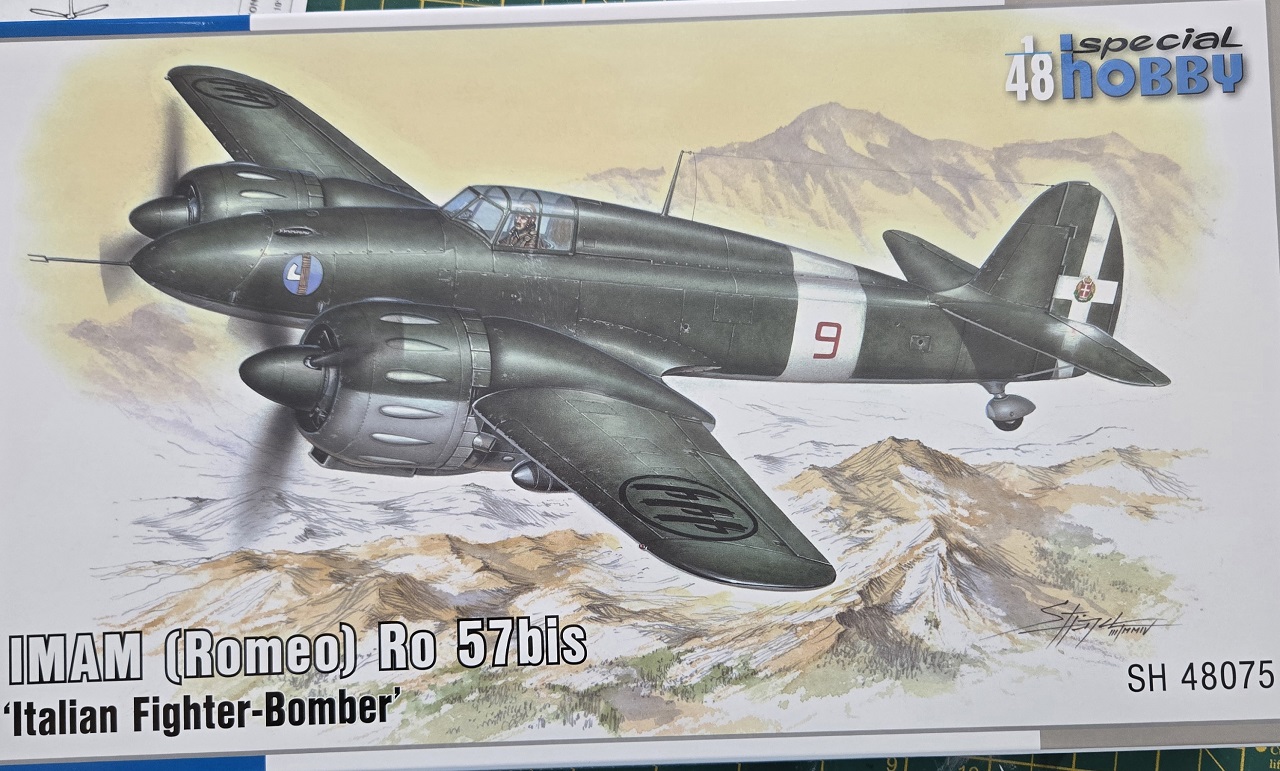
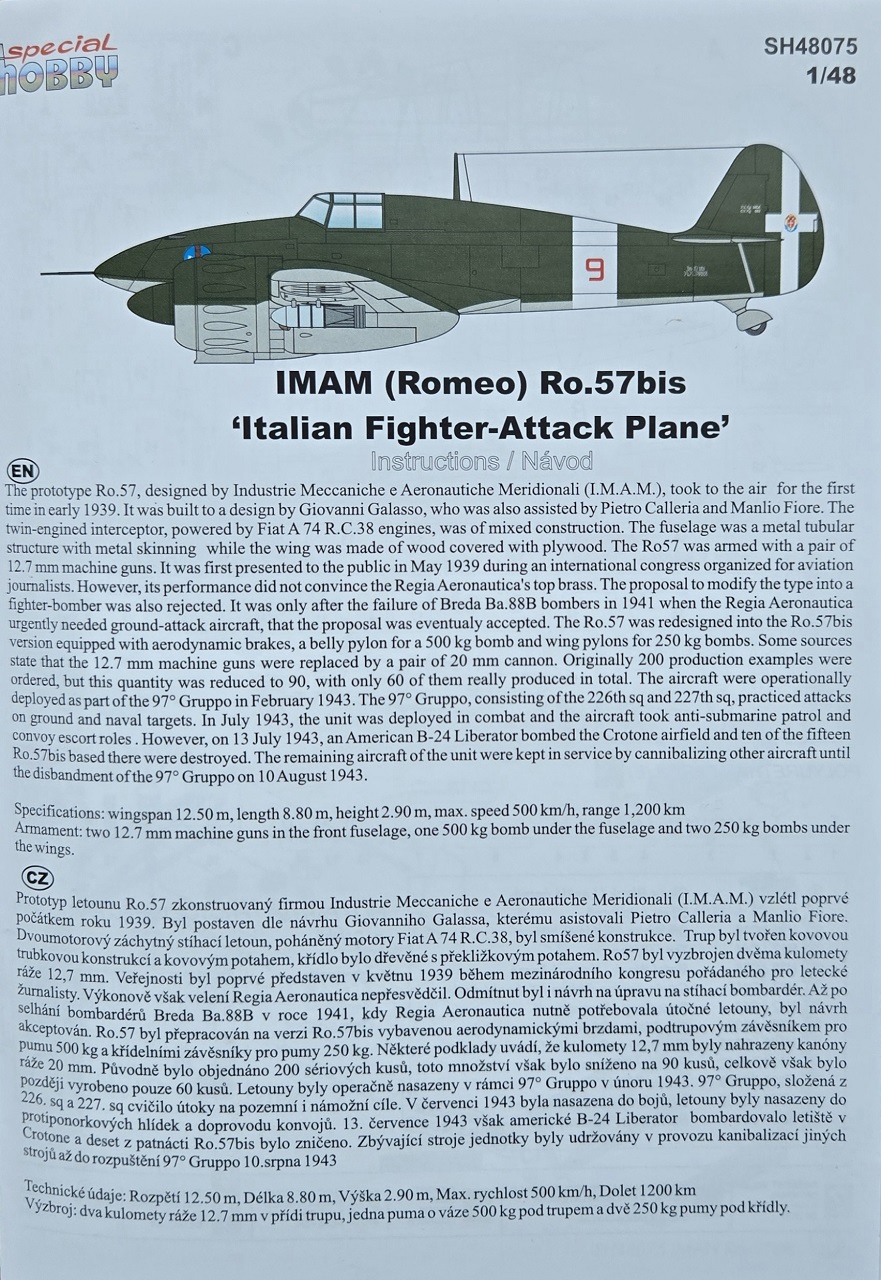
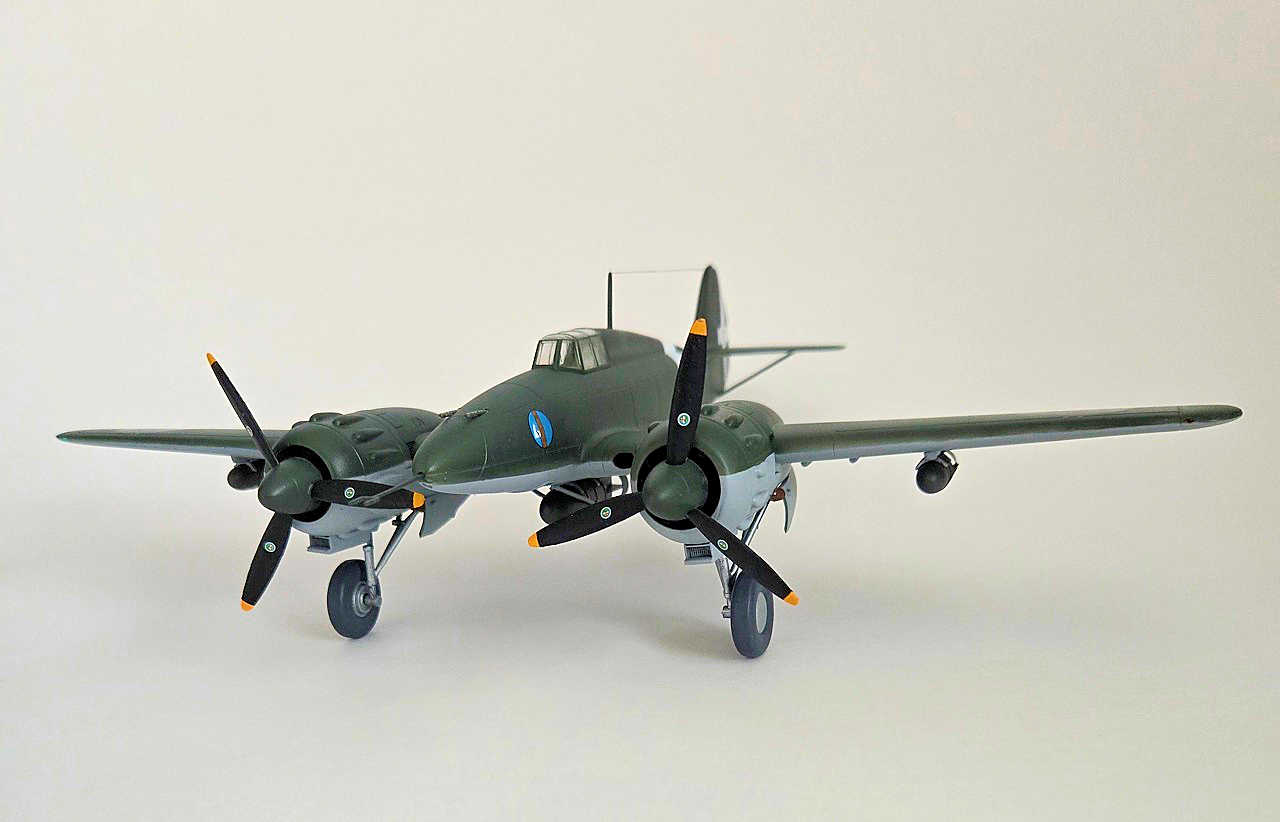
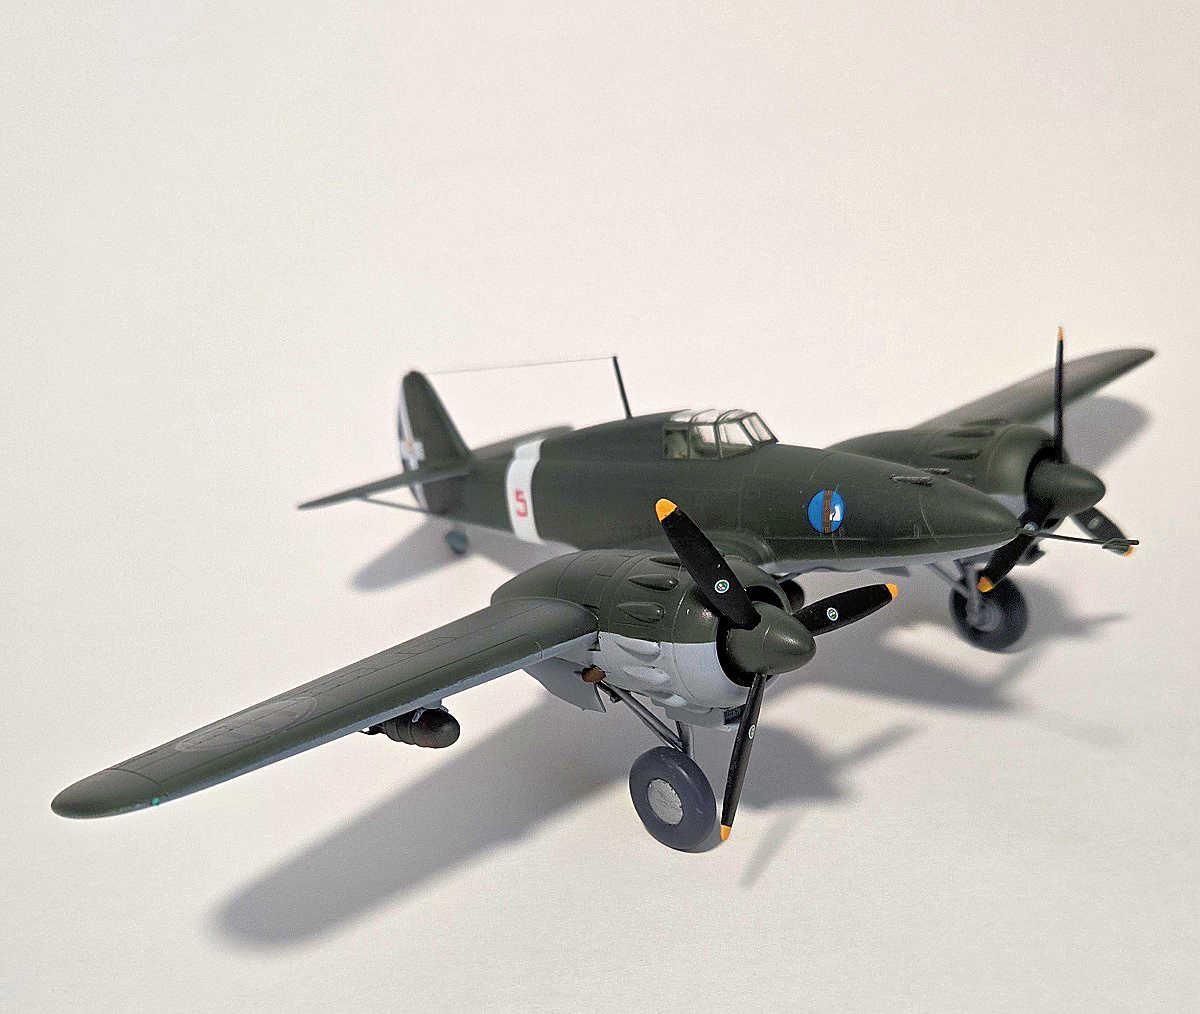
IMAM (Romeo) Ro.57bis
This was a kit I had been looking forward to and even had it in my shopping cart of one of the online retailers. So, I was pleasantly surprised to see this kit in the list of available review items. In my opinion, this is a really cool-looking aircraft. Unfortunately, according to the history on the first page of the instructions, it was a disappointment. It was originally designed as an interceptor, but was later modified for the fighter-bomber role. Only 60 were actually produced.
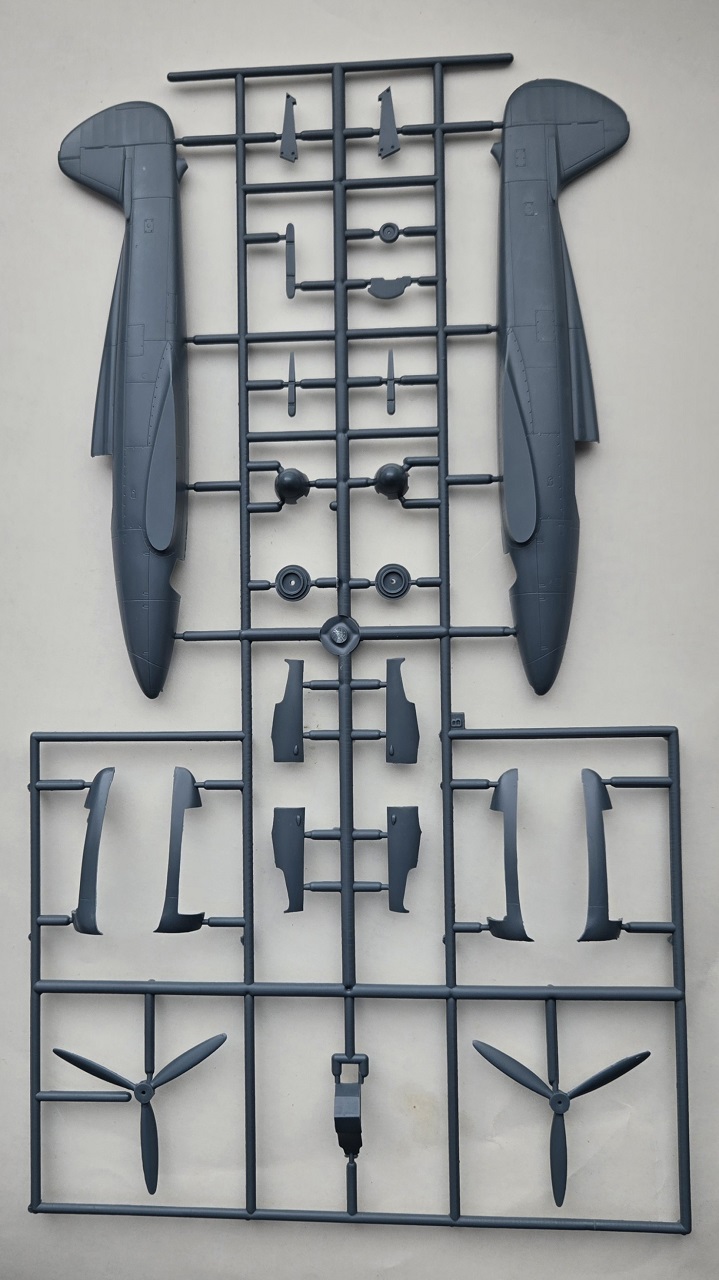
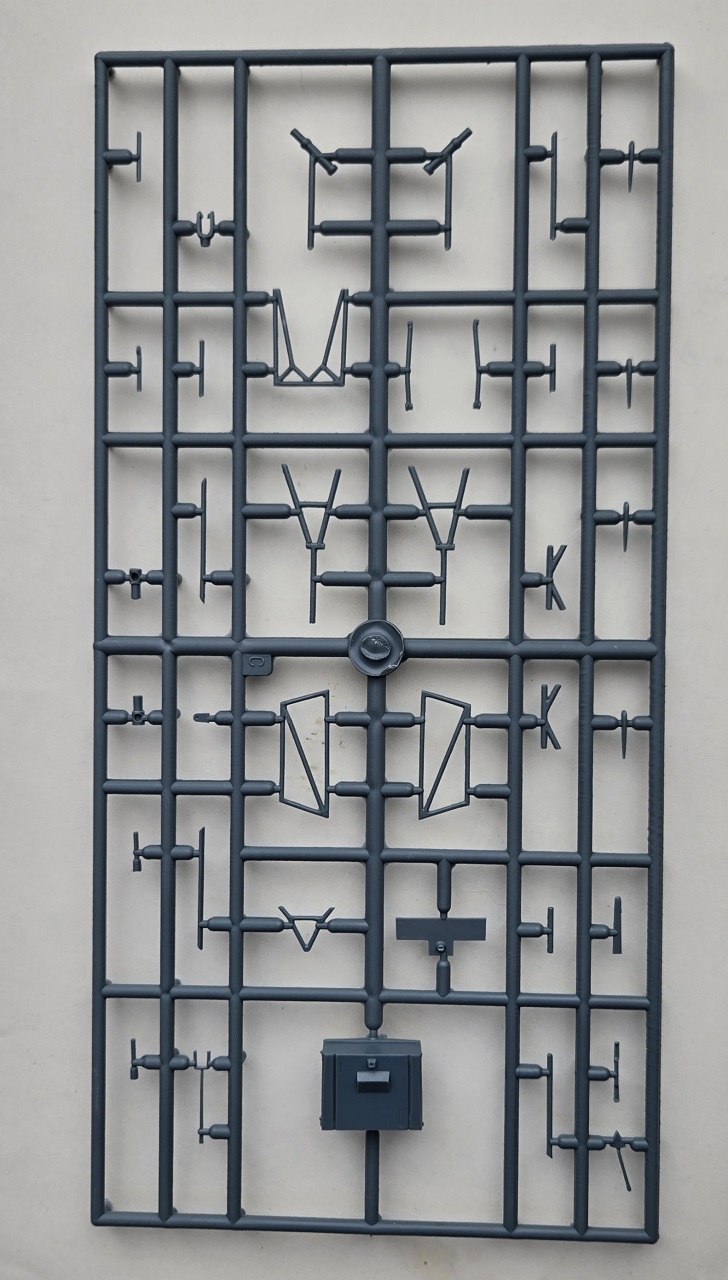
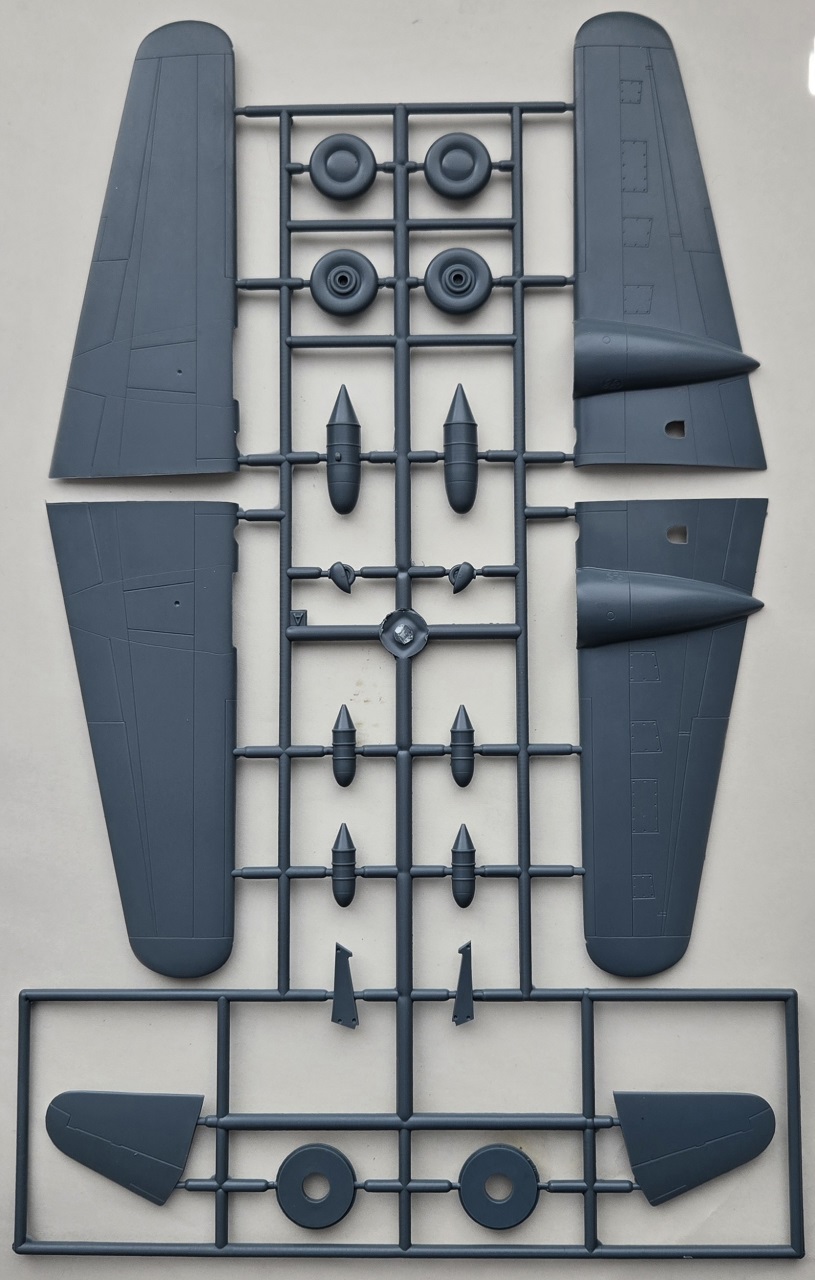
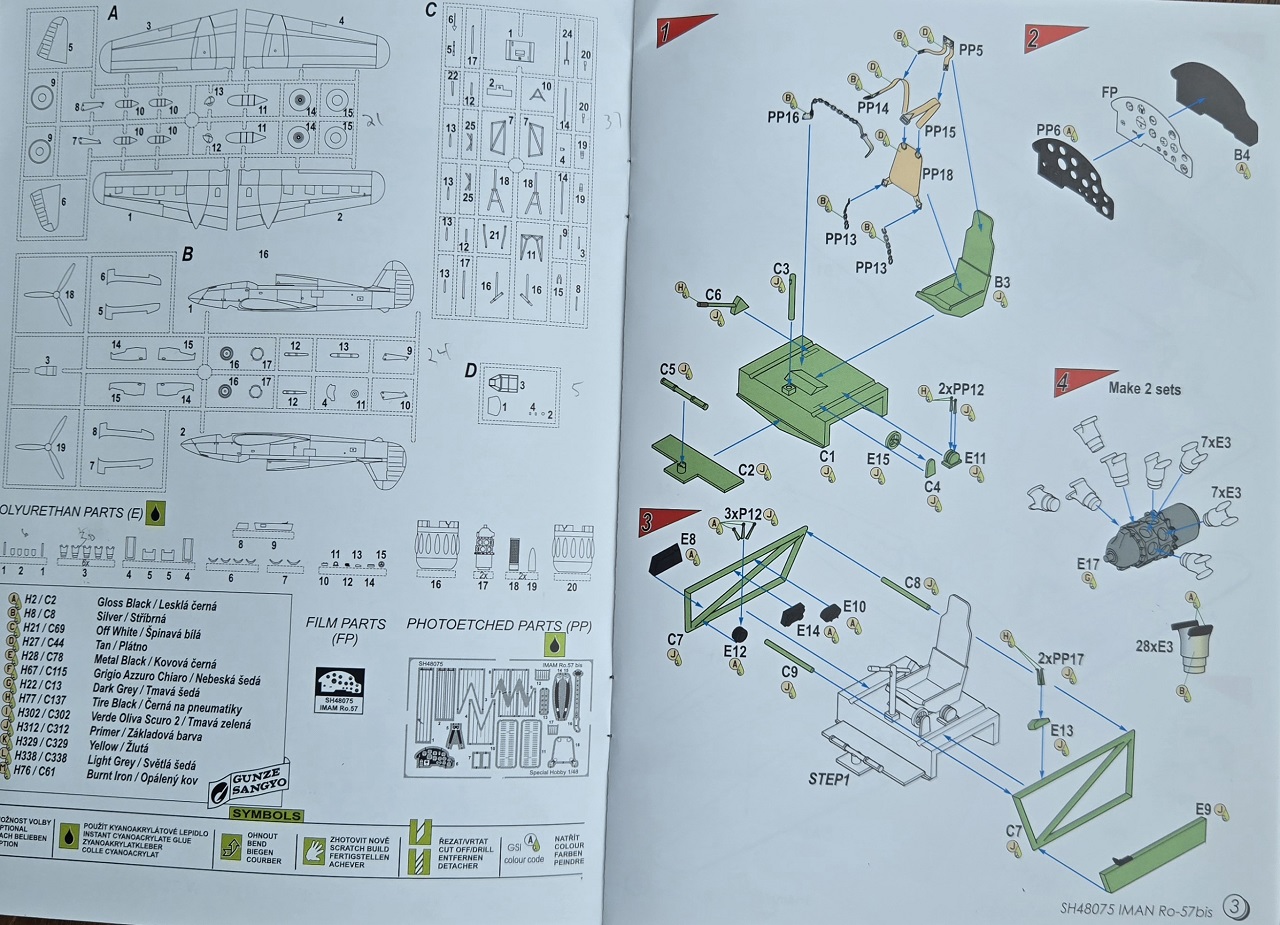
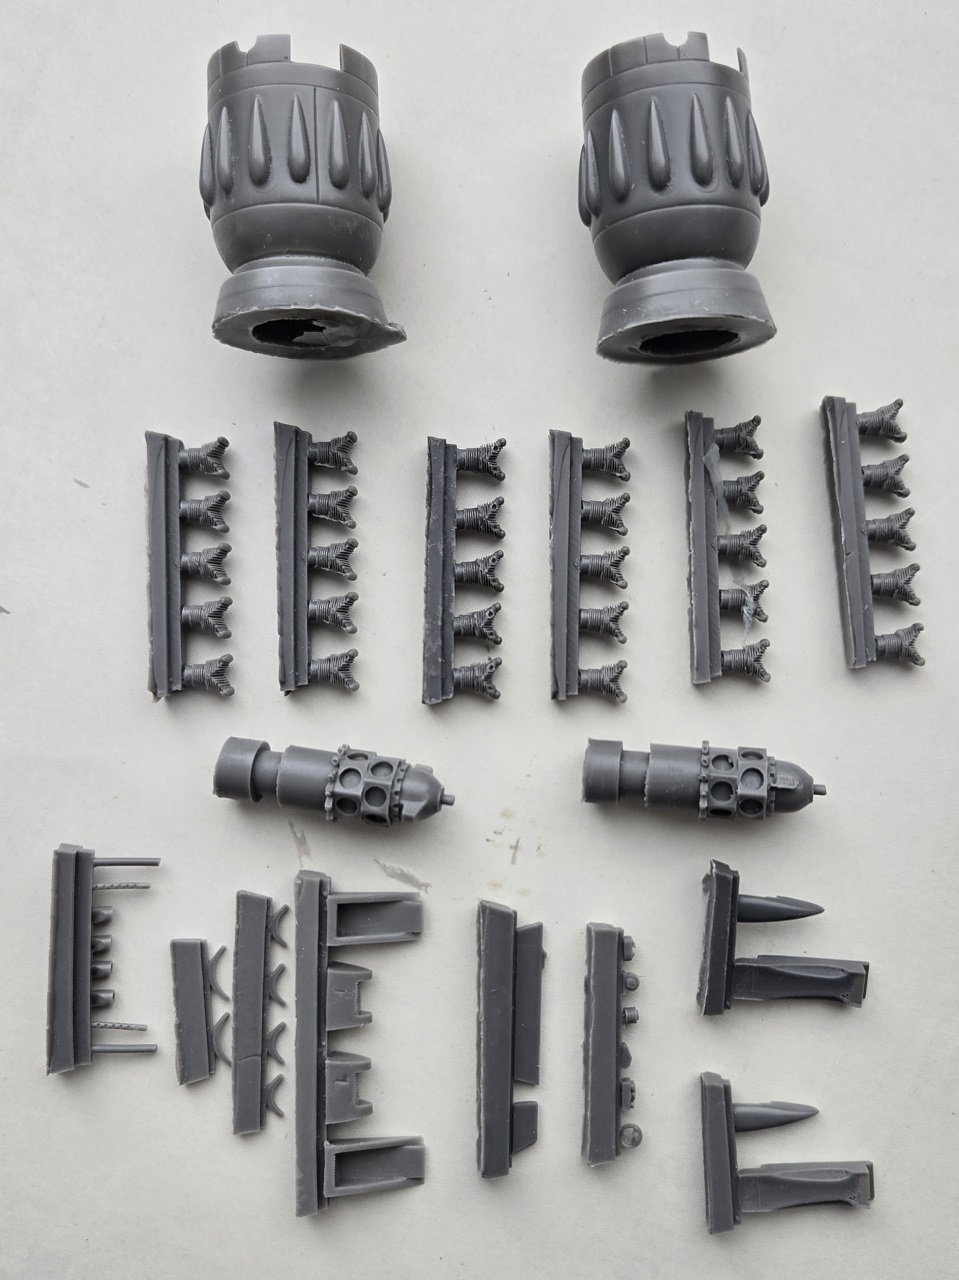
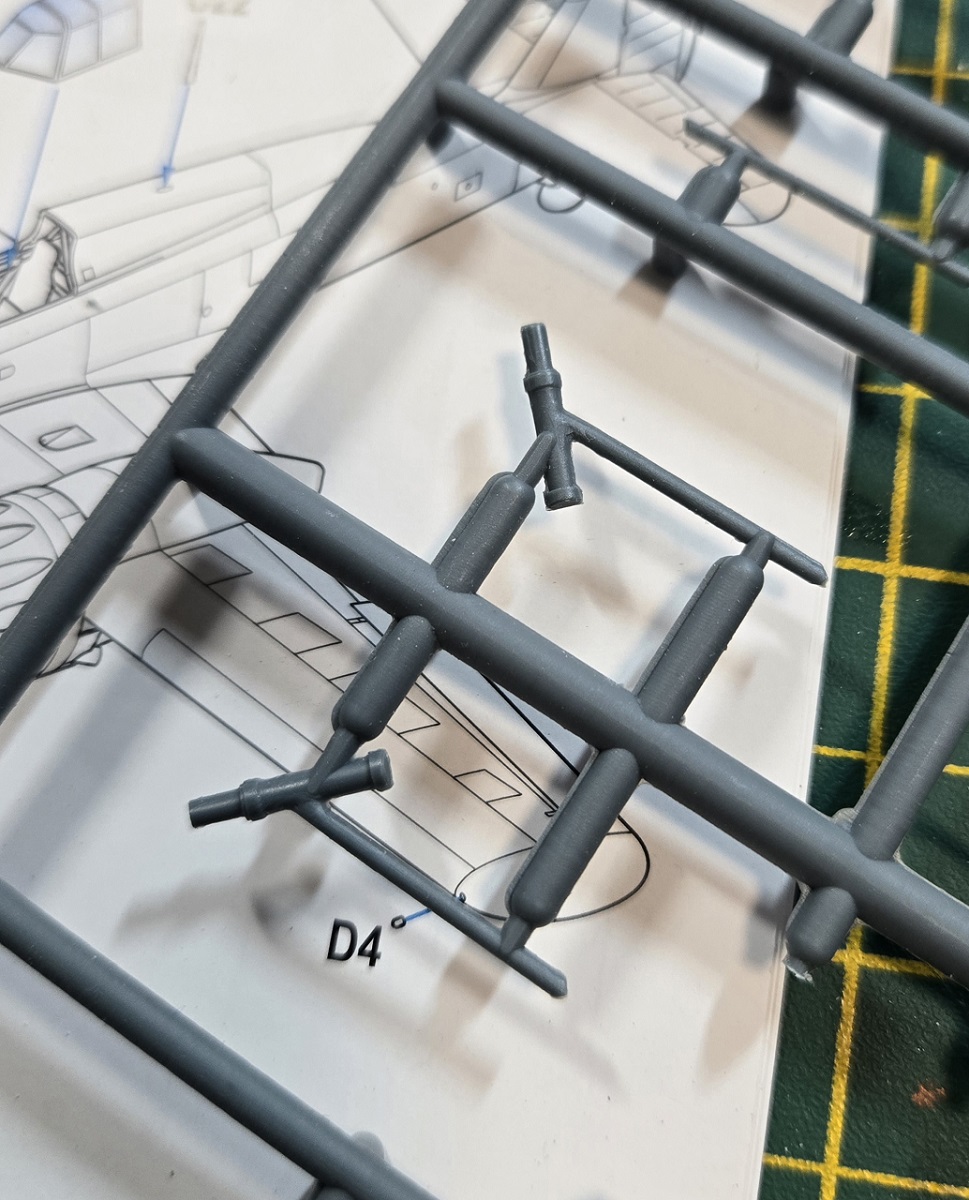
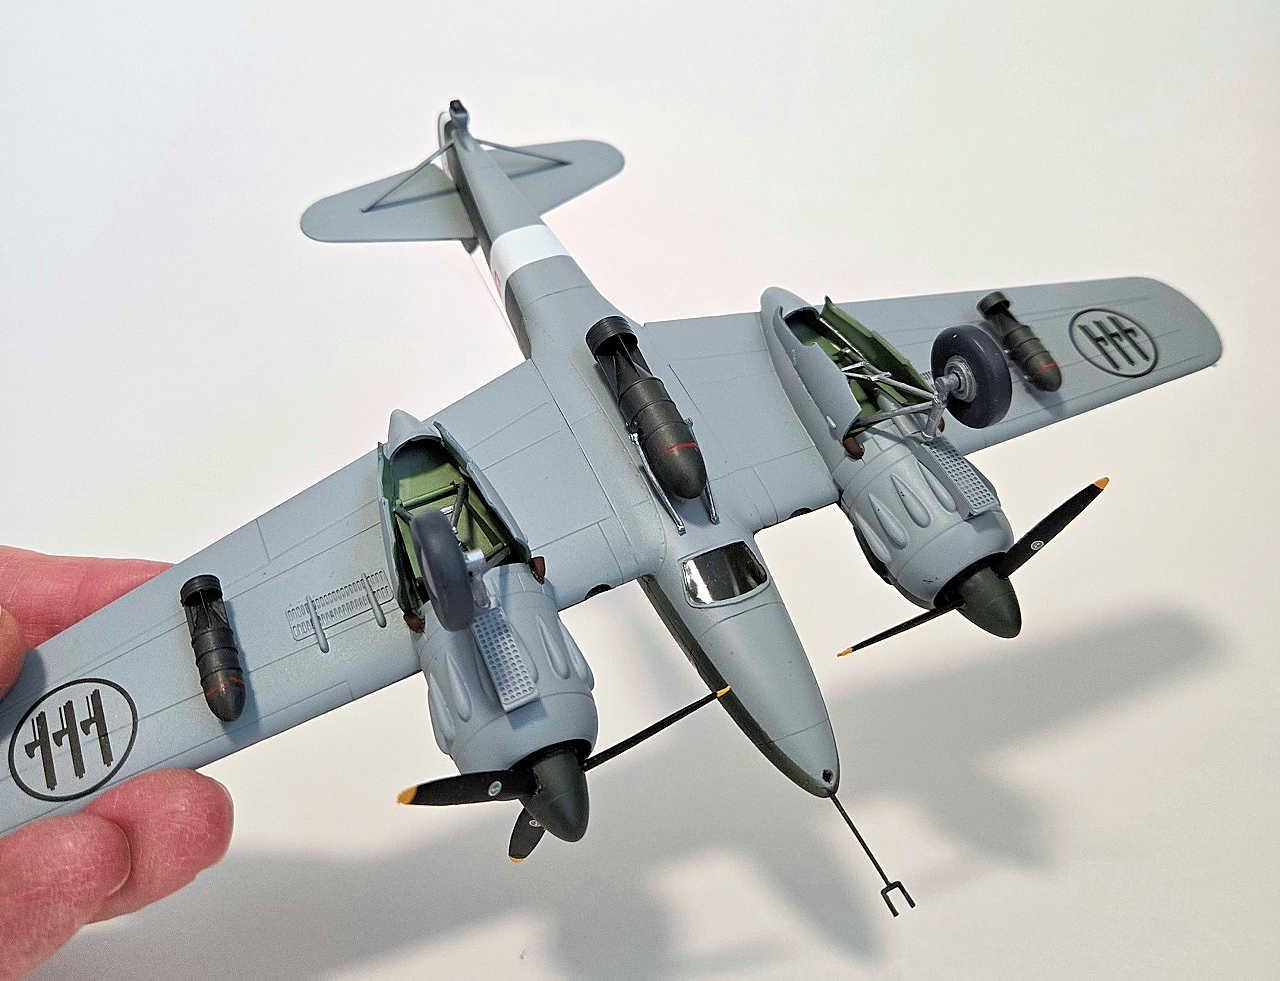
The 85 plastic parts come on three sprues. There are also 60 resin parts and 18 photo-etch parts. There is also a piece of film for the instrument panel. The parts were nicely molded with good panel lines and detail. Unfortunately, many of the smaller parts required extra cleanup because the sprue attachment points were heavy and ran into the part.
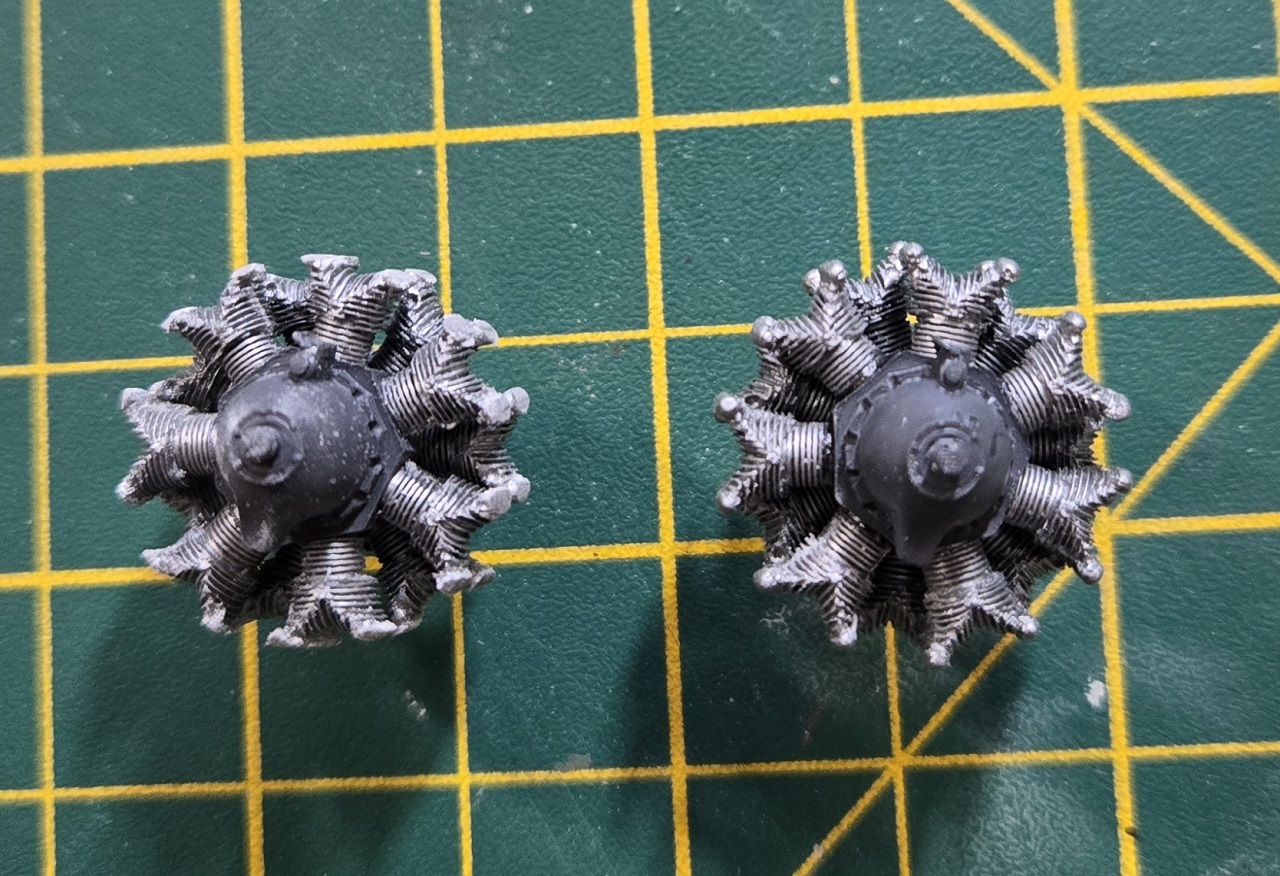
The resin parts were very nice, with individual cylinder heads for the engines. The cowlings were also in resin and looked very nice. The PE parts included bomb fins, seatbelts and dive brakes, among other things.
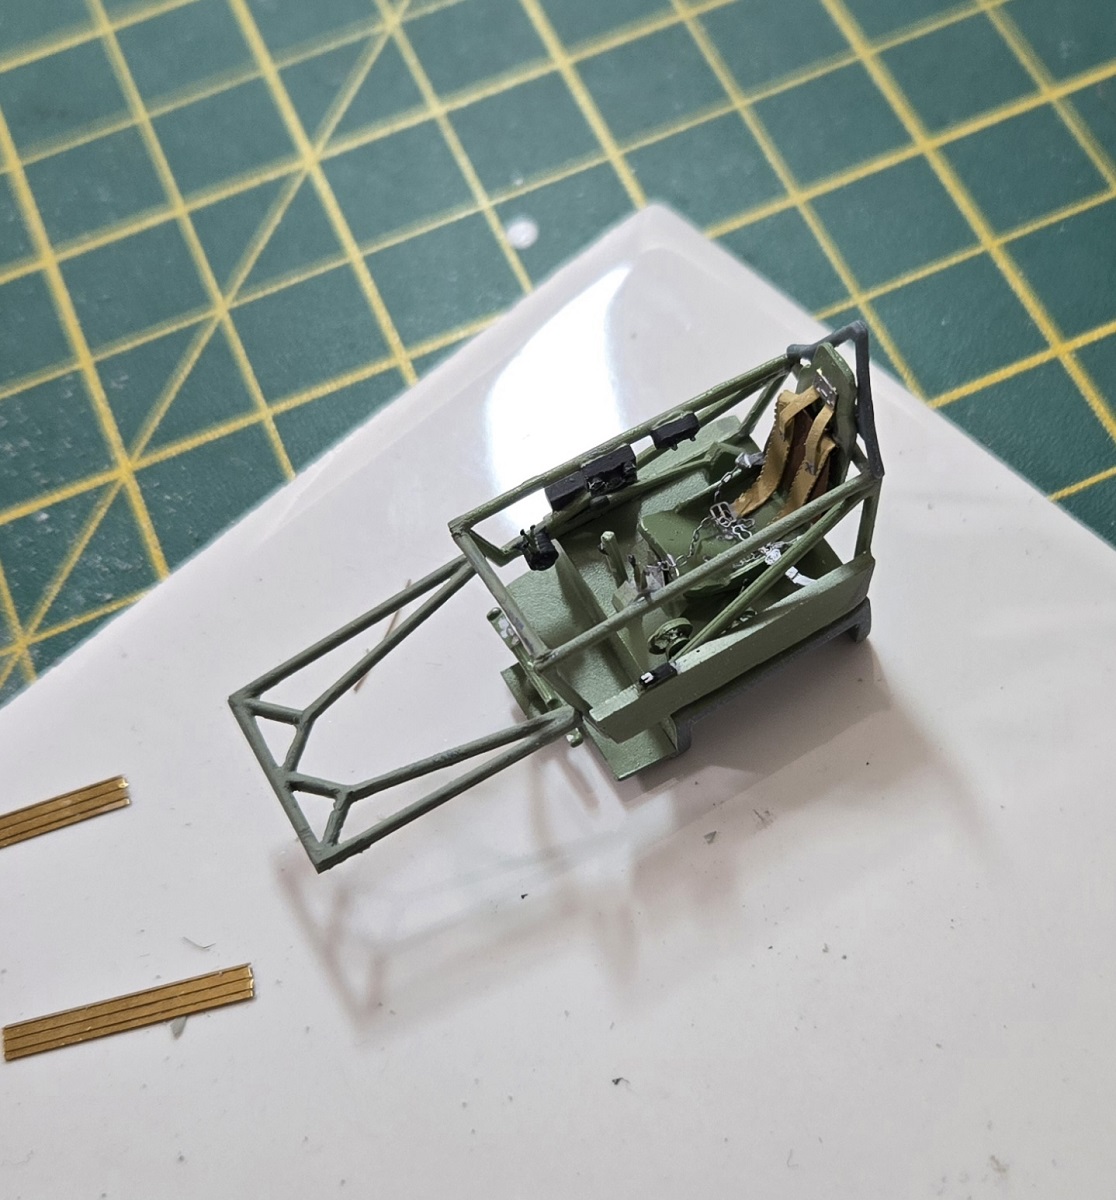
Construction starts with the cockpit. The instructions are a bit vague on placement of some of the parts. I had to refer to an instruction sheet for Eduard PE Italian seatbelts in order to figure out how it should look. Be aware that the cockpit side frames are angled in slightly. I initially glued them straight up and down and then discovered that the cross braces were too short. Luckily, I was able to angle the sides in slightly to match up with the cross braces. I purchase some MRP paints just for this model and I used MRP-317 Vernice Antocorrosiva for the interior. This was the first time I used their paint and it sprayed very nicely. The cockpit is nicely detailed and looks good when finished. There is no option for an open canopy.
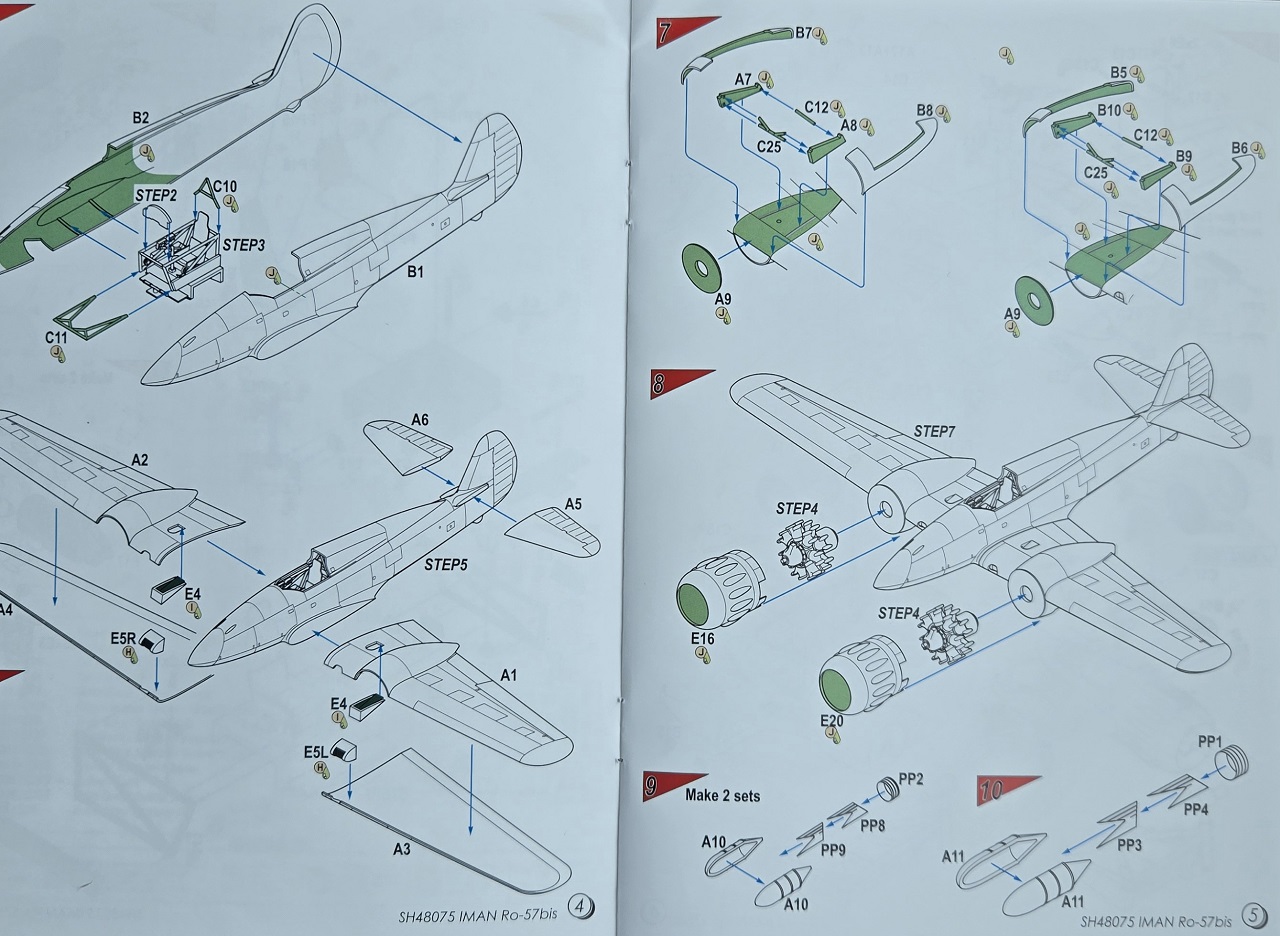
Next up is the engine. All the cylinder heads were glued in place and painted and given a black wash. I cut the individual cylinder heads from the resin stub at the bottom of the part, but maybe I should have them cut them a little higher up. The engines did not fit inside the cowl and I ended up sanding off quite a bit from the tops of the cylinder heads to make them fit inside the cowls. The resin cowlings are quite thin, so sanding the inside of them was not an option. In the end, the engines are not too visible, due to the shape of the cowl opening and the size of the spinner.
The fuselage went together well. The wing halves have some resin intakes glued to the inside of them before they are glued together. The wings and tailplanes are a butt-joint. They fit together well and only required a little filling after attaching to the fuselage.
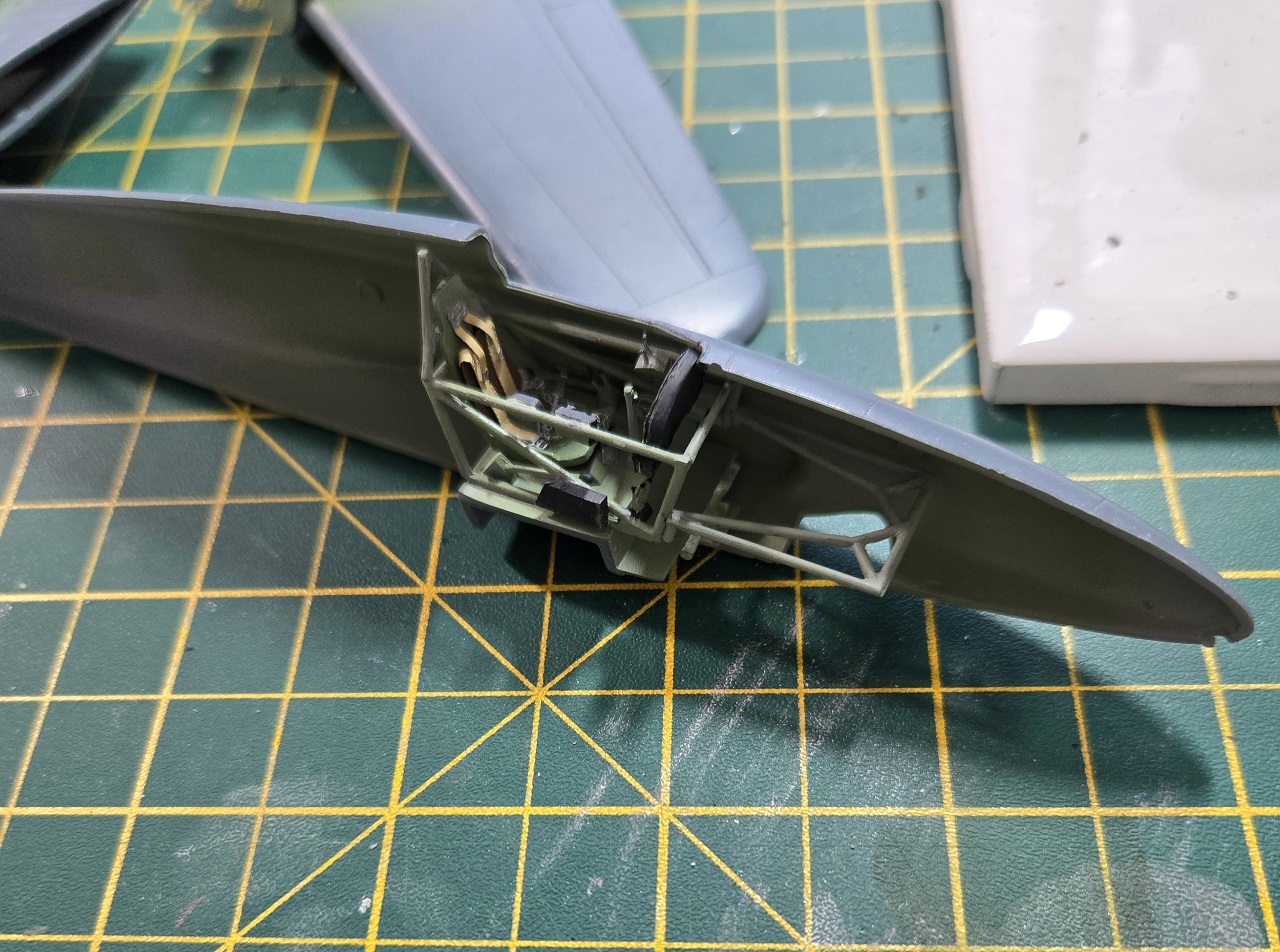
The next step was a difficult one for me, and it could have been my fault. The landing gear base is comprised of four parts, and again the location was somewhat vague. In retrospect, it might have been better to glue the nacelles to the wings first, then glue the landing gear base in, using the nacelle to aid in alignment.
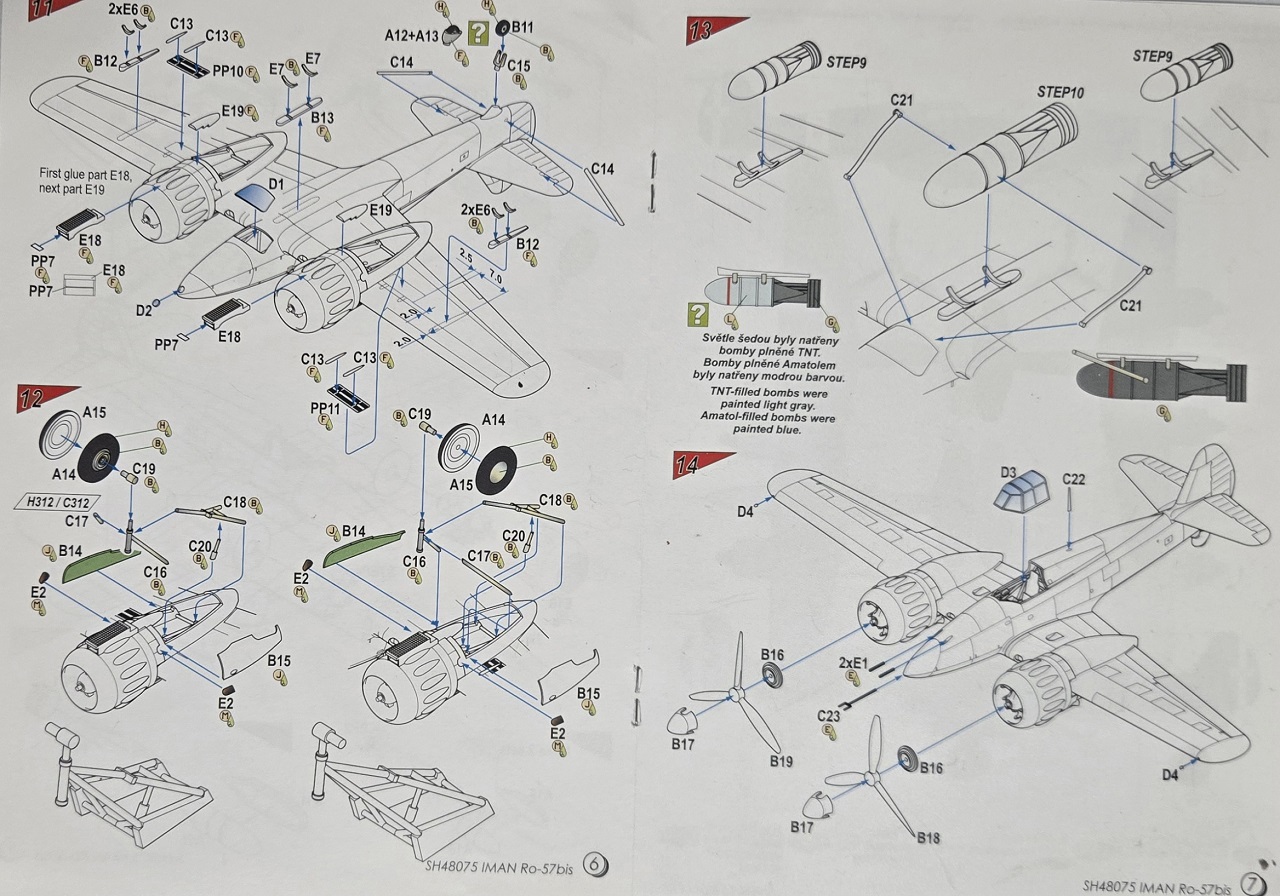
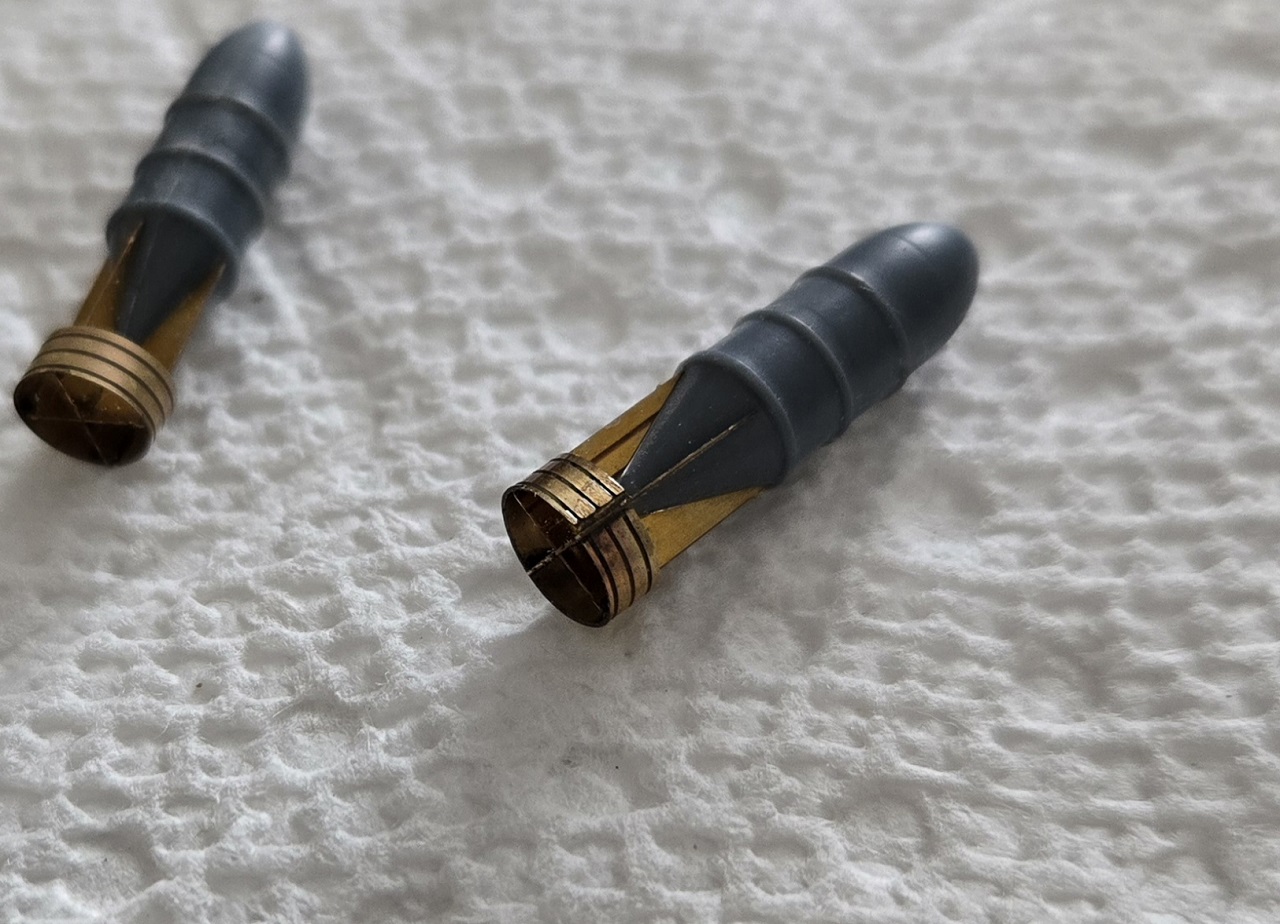
The bombs are built up using two plastic halves, two PE bomb fins, and a PE part that needs to be rolled into a circle and attached to the fins. I annealed the parts to be rolled and was pretty happy with the result. This was the first time that I had done that. Beginners luck, I guess.
The model is turned upside down and a bunch of stuff is attached in the next step. Tail wheel, tailplane braces, bomb racks, intakes and a clear part under the fuselage are all put in place with a mix of resin and plastic parts being used.
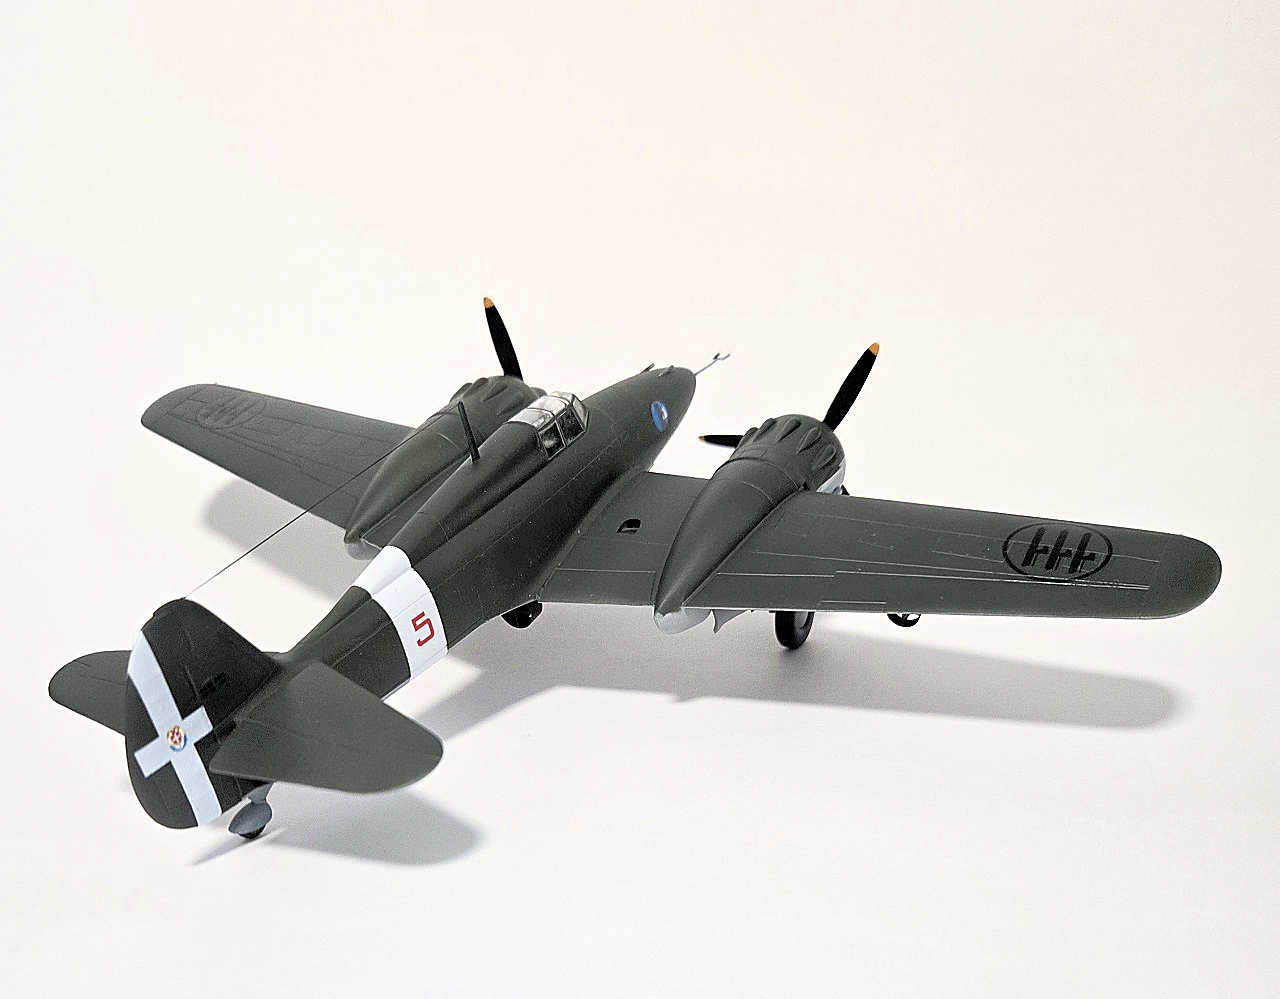
At this point, I primed and painted the model. I used Mr. Surfacer from a rattle can for the primer. I painted the area for the fuselage band with Tamiya Flat White and then masked it. The underside was painted with MRP-301 Colore 1 – Grigio Azzurro. For the upper surfaces I used MRP-303 Colore 2 – Verde Oliva Scuro.
Next up is the landing gear, which was quite complex and fiddly. Fortunately, there are a couple of drawings of what the finished assembly should look like. I also referred to the side view drawings in the painting instructions to get a better view of the orientation. The main leg that holds the wheel is well forward of the opening in the nacelle. It’s a rather strange looking arrangement.
After that, it was just a matter of final details like antenna, pitot, cannons. The openings for the fuselage cannons were not opened up, so drilling those out was a little extra work that I wasn’t expecting to do.
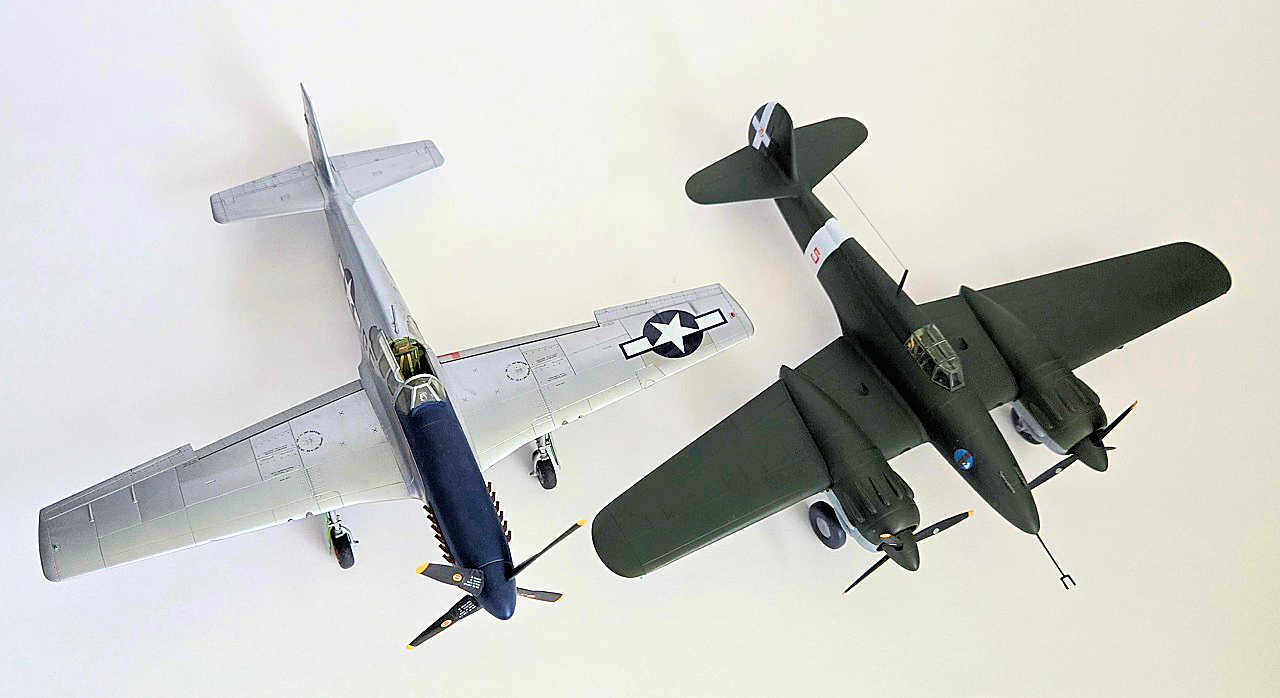
All in all, I was pleased with the final result. It seemed like a lot of work for such a small airplane, and should only be tackled by experienced modelers. The finished model is not even as large as a P-51, which seem small for a twin-engined airplane. I recommend it for fans of Regia Aeronautica aircraft. It’s not the easiest of builds, but I believe the finished product is a cool-looking airplane. Many thanks to Special Hobby for the opportunity to review this kit. I really appreciate that they continue to produce kits of more obscure aircraft in 1/48 scale.
My thanks to Special Hobby for producing the kit and allowing IPMS/USA a copy for review.


Comments
Add new comment
This site is protected by reCAPTCHA and the Google Privacy Policy and Terms of Service apply.
Similar Reviews