
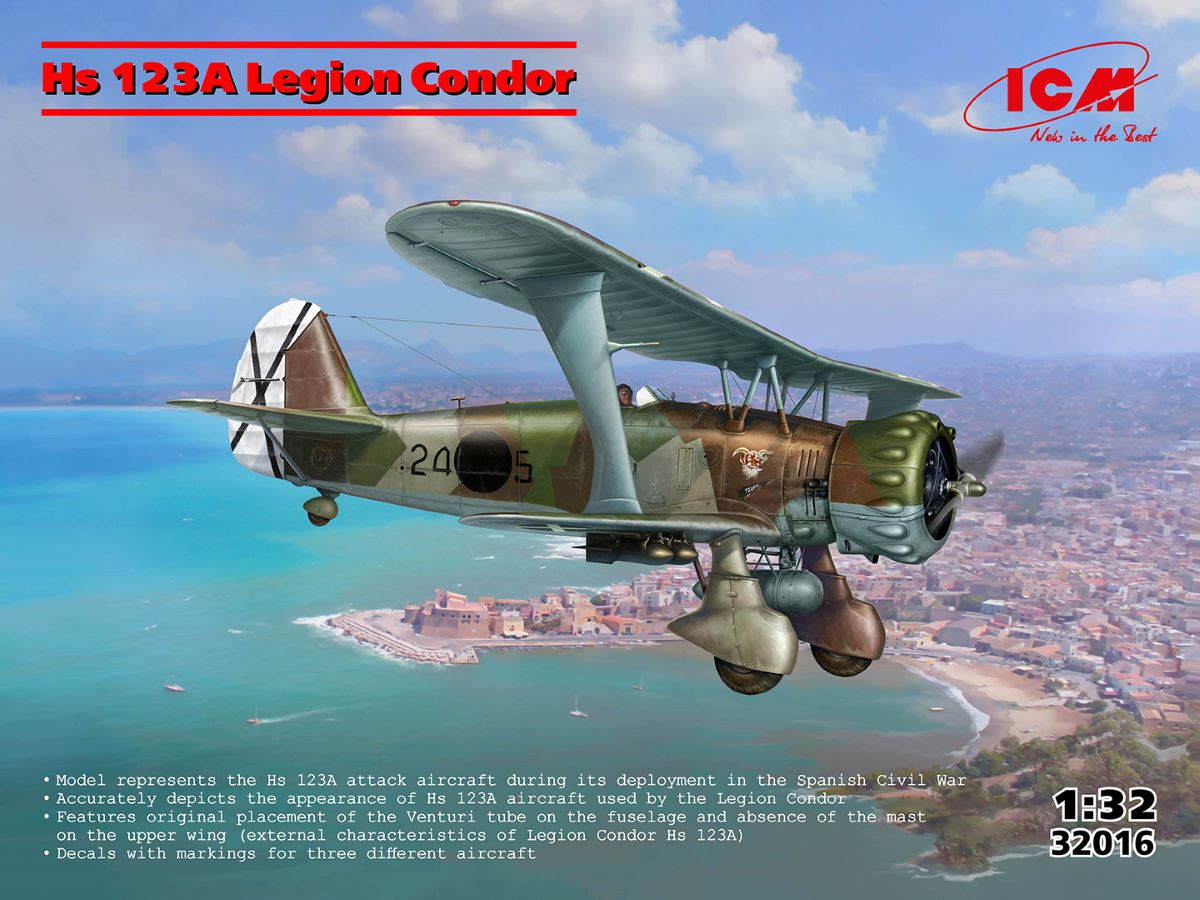
Hs 123A Legion Condor
The Henschel Hs123 was developed from a 1933 requirement for a dive bomber by the then-emerging Luftwaffe. This aircraft was fairly advanced for its day, featuring an all-metal construction powered by a 725 horsepower BMW 132A radial engine. This gave the Hs 123 a 200 mph top speed. Its sesquiplane design made it extremely maneuverable and its twin 7.92 mm machine guns gave it some teeth as well. Although many regard this as one of the best biplane fighters of World War 2, the Luftwaffe considered it mostly as a stop-gap measure until the Ju 87 Stuka could be put into full production.
With the commencement of the Spanish Civil War, Germany saw an opportunity to test the dive-bombing principle then being developed, and five were sent to Spain to serve with the Spanish Nationalists as a test case. Sturdy and quite able to use short, unprepared airstrips, the aircraft proved extremely popular with the Legion Condor and more were requested, although the conflict ended before more could be dispatched. Of the five, three were combat losses, with the last two serving for a time with the newly-created Nationalist Air Force.
The Hs123 served with the Luftwaffe itself beginning with the 1941 Operation Barbarossa (the invasion of the Soviet Union) and continued to serve in the ground attack capacity until 1944.
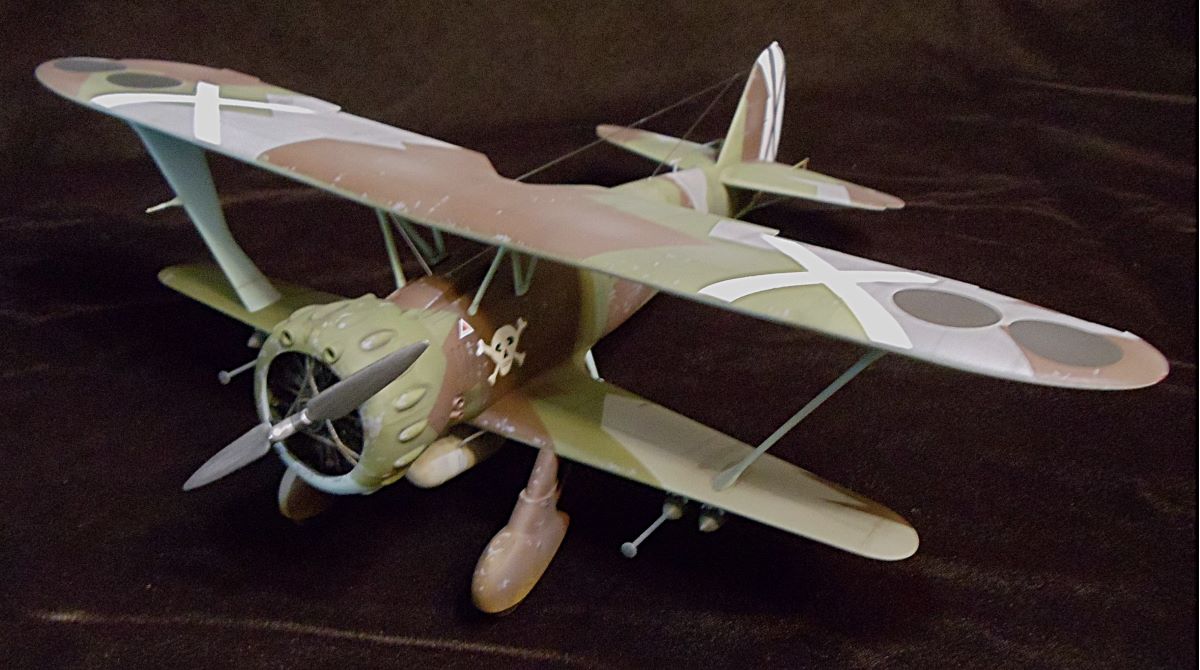
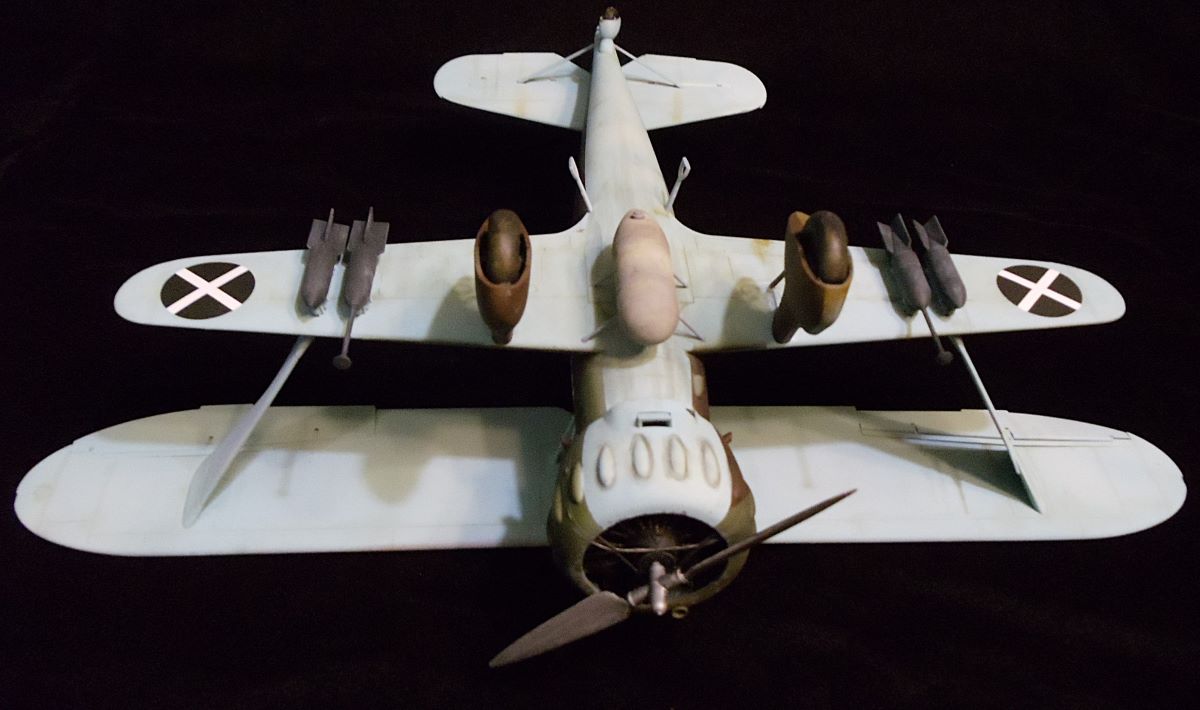
ICM’s catalog lists no less than three 1/32nd scale iterations of this aircraft, but I had the chance to assemble the very first of these – the Legion Condor version as serving in the Spanish Civil War. This, to me, was always the definitive version with its striking foreign sales splinter camouflage, and I was particular eager to take a shot at this one.
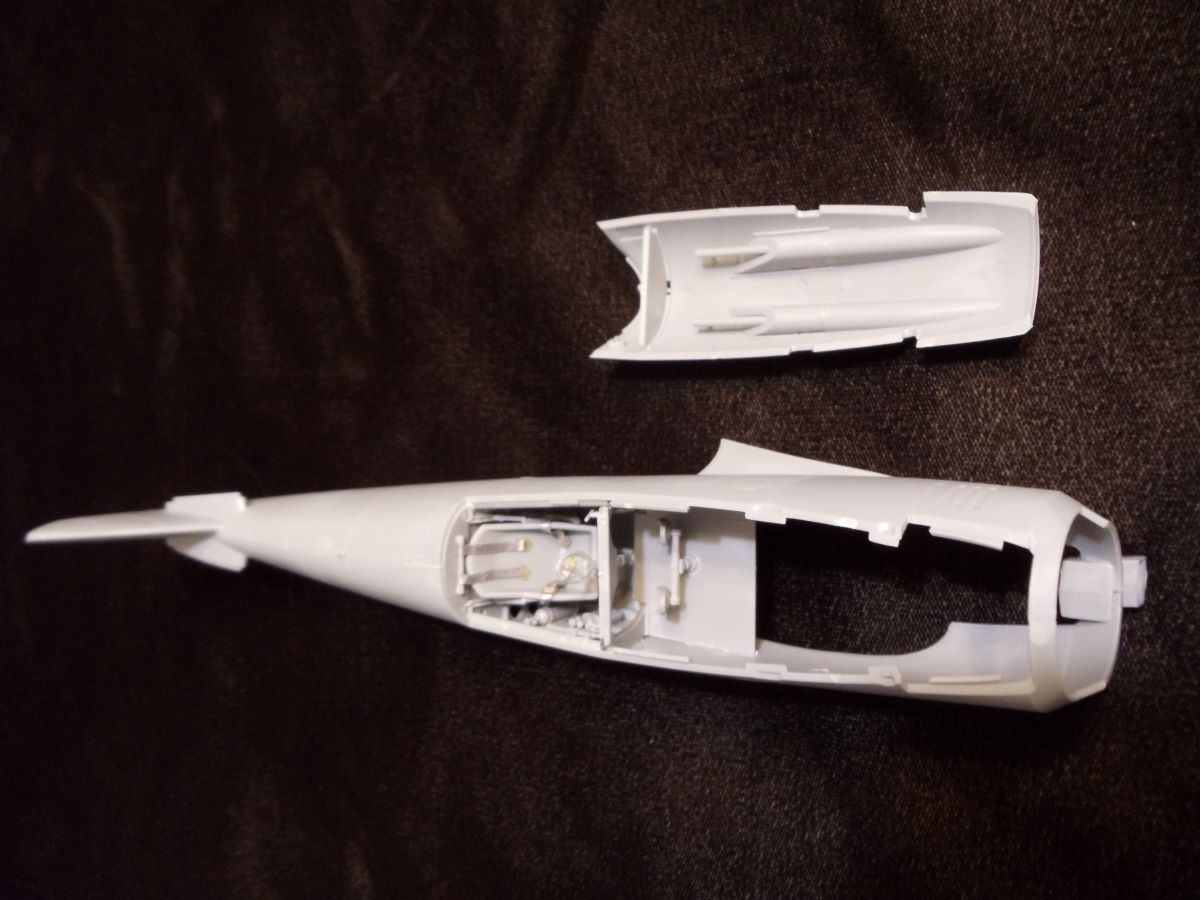
As is typical for 1/32nd ICM kits, this model features a highly detailed interior and engine, as well as VERY well engineered fit. As a dive bomber, the kit includes a central drop tank as well as a full suite of both standard and extended-fuse bombs. Three of the five Hs 123s issued to Legion Condor are provided on the decal sheet, each of which displays one of the standard variants of the splinter camouflage.
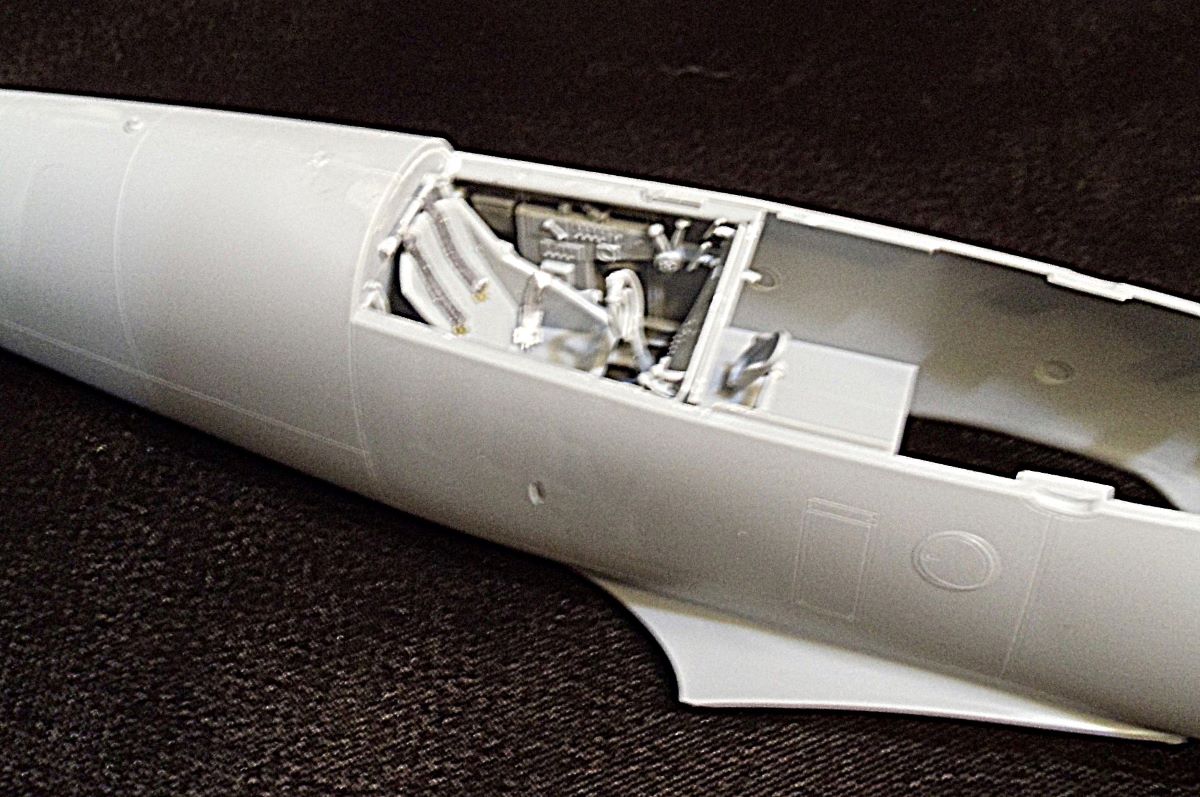
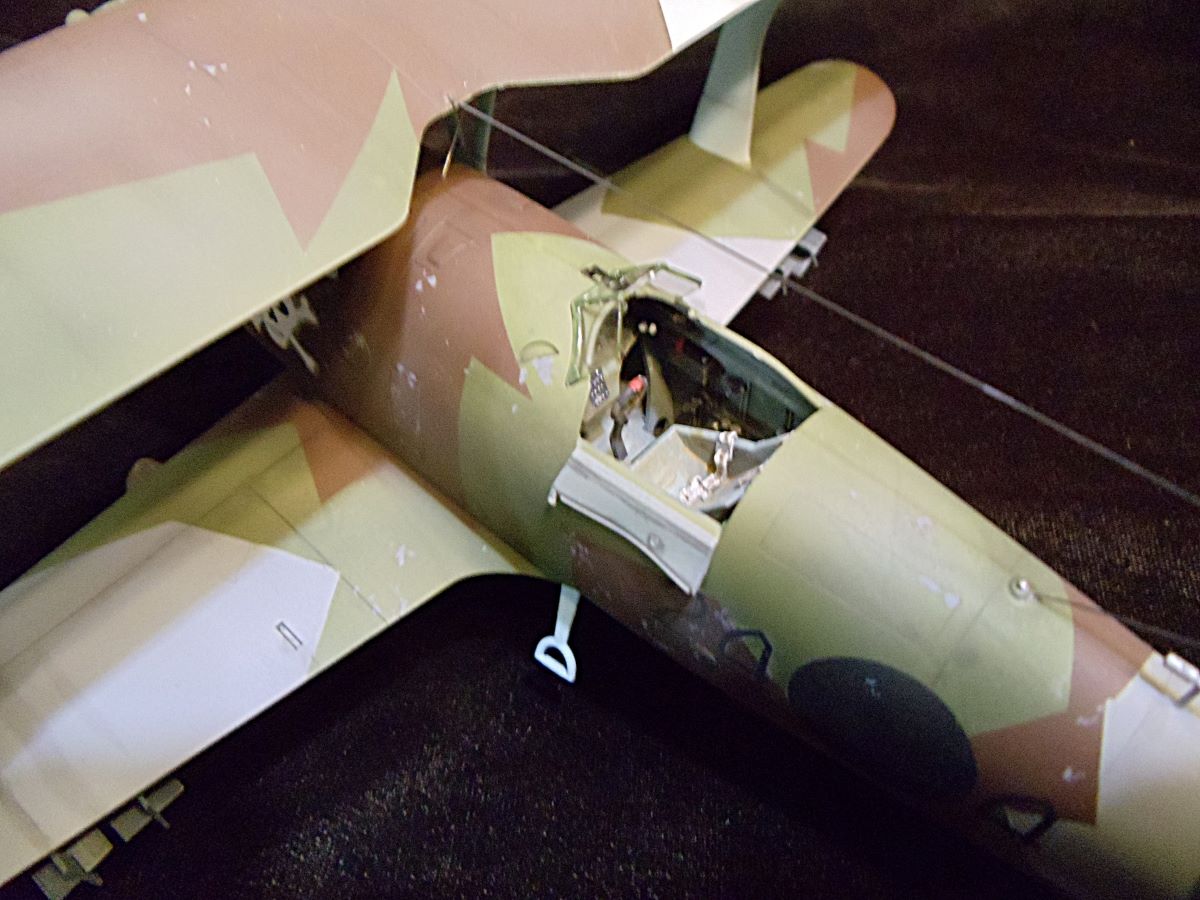
Starting with the cockpit, I note that in typical ICM style, no provision is made for seat belts, which either need to be scratchbuilt or gleaned from some other source. Otherwise, everything else possible is provided, including decals for the control panel gauges. Even the levers of the control panel are provided as separate pieces. Take your time and enjoy the level of detail while completing this subassembly.
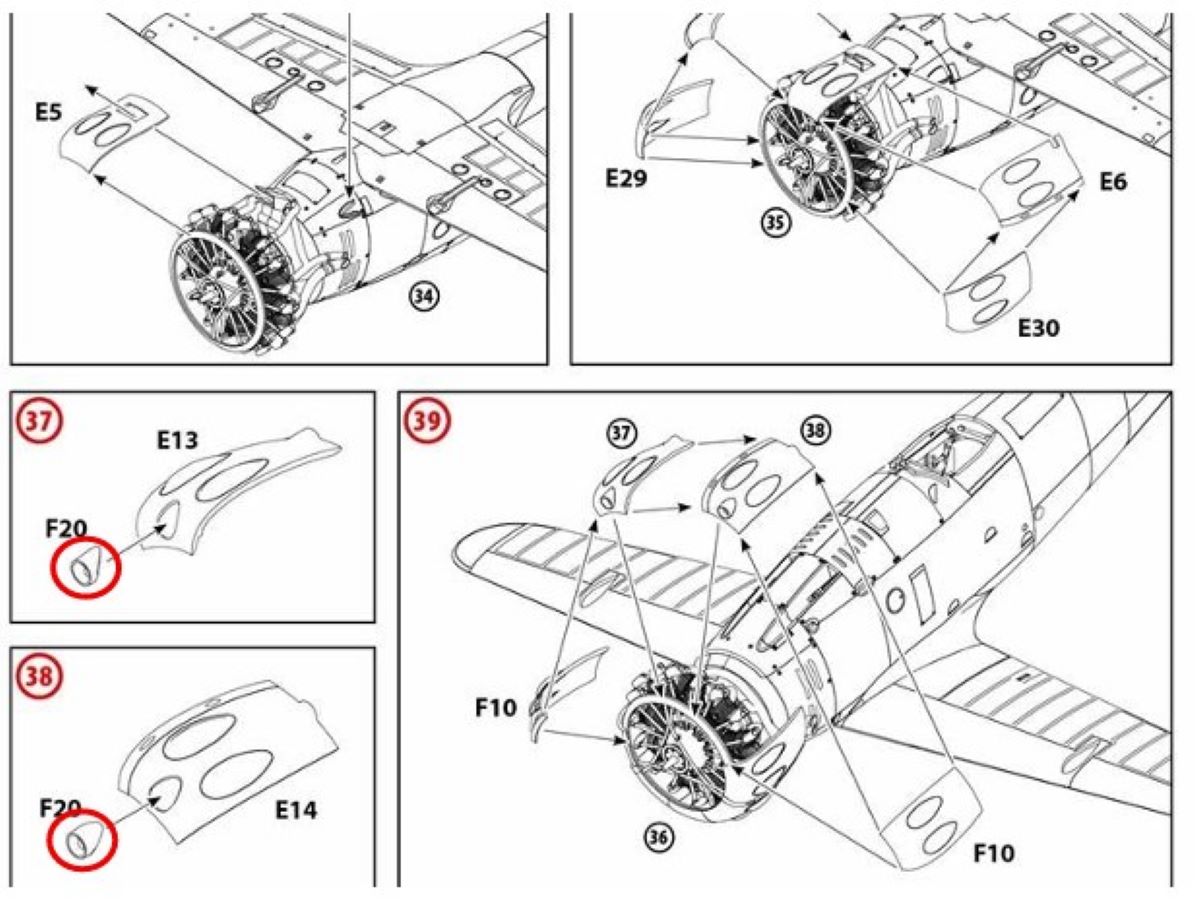
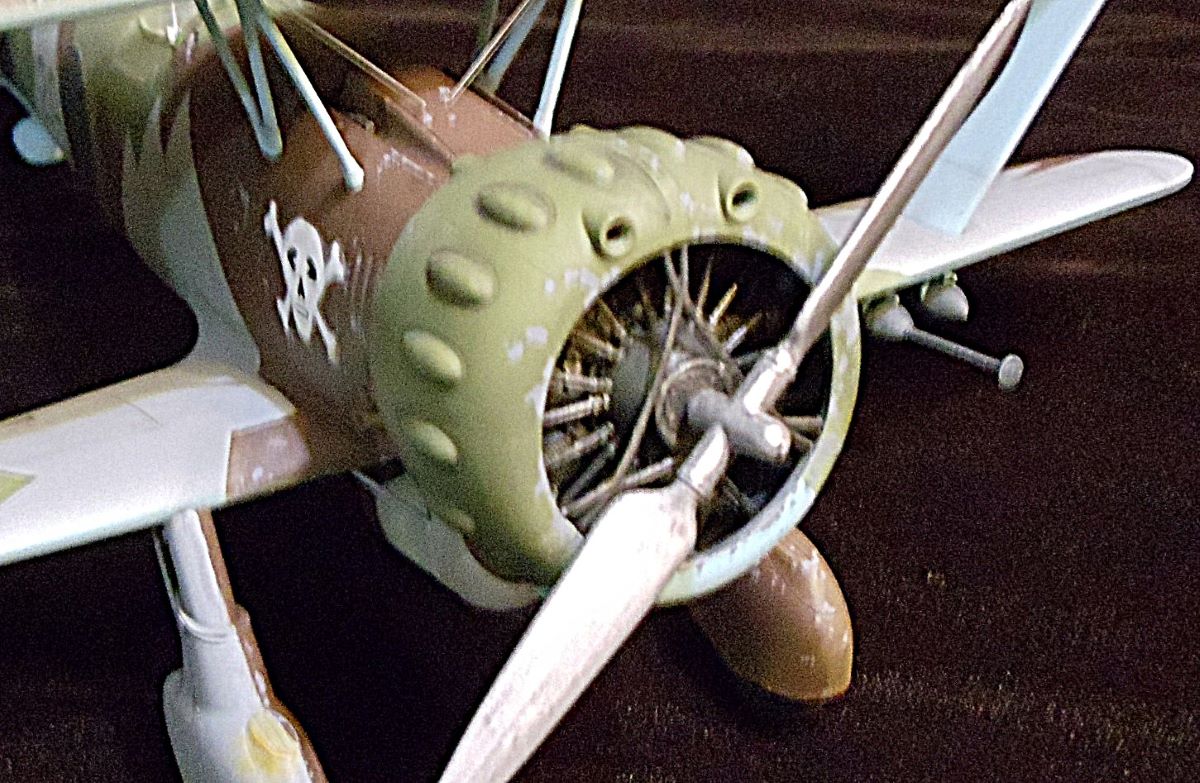
Next up is the highly detailed engine. The last part of this subassembly includes the exhaust pipes, which partially tie in to an oil cooler slung under the fuselage. As I wanted to simplify my masking challenge, I opted to add these very carefully but not actually glue them into the oil cooler, so that I could deal with the engine cowl separately from the fuselage. The last stage of this section was the cowl assembly itself, consisting of nine separate pieces so as to accurately model the cowl bumps in detail. Although you can leave some of these off to display the engine, I opted to do the full assembly, which required some very careful fitting to keep putty work down to a low roar. Actually, I was pleased to discover that despite the number of parts, it all fit together very well, so only a dab was required. However, the gun trough add-ons (F20) were molded solid, so I found it useful to drill them out. Otherwise, everything went according to the instructions.
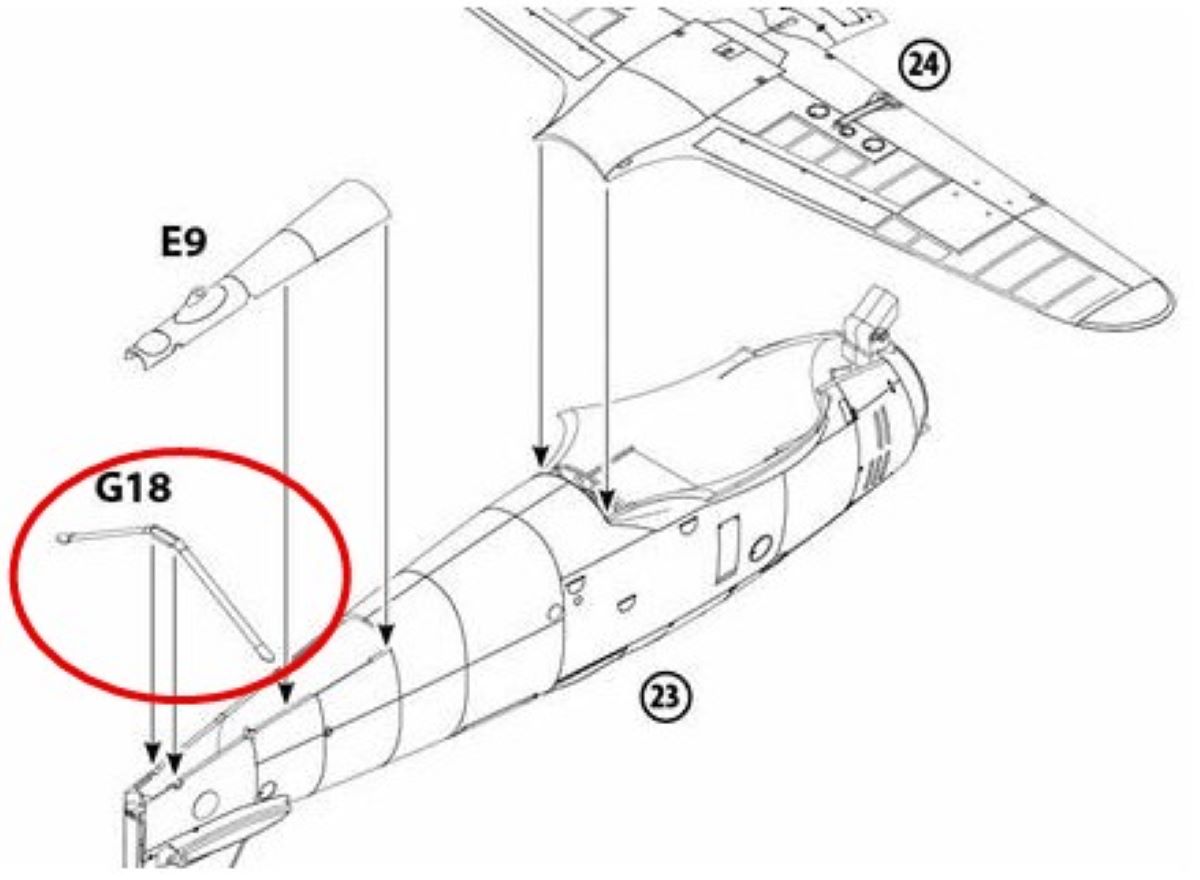
During this entire assembly, I stayed very conscious of the challenging splinter camouflage, so that I made subassemblies accordingly. As stated before, I kept the engine/cowl assembly separate, but also the wheel spats, rudder and top wing, the latter which I carefully assembled with all the interplane struts attached. The only modification to the entire assembly process was to leave off Part G18 (stabilizer struts) while assembling the fuselage. Later, I would cut this piece in two and install these separately after completing the camouflage masking.
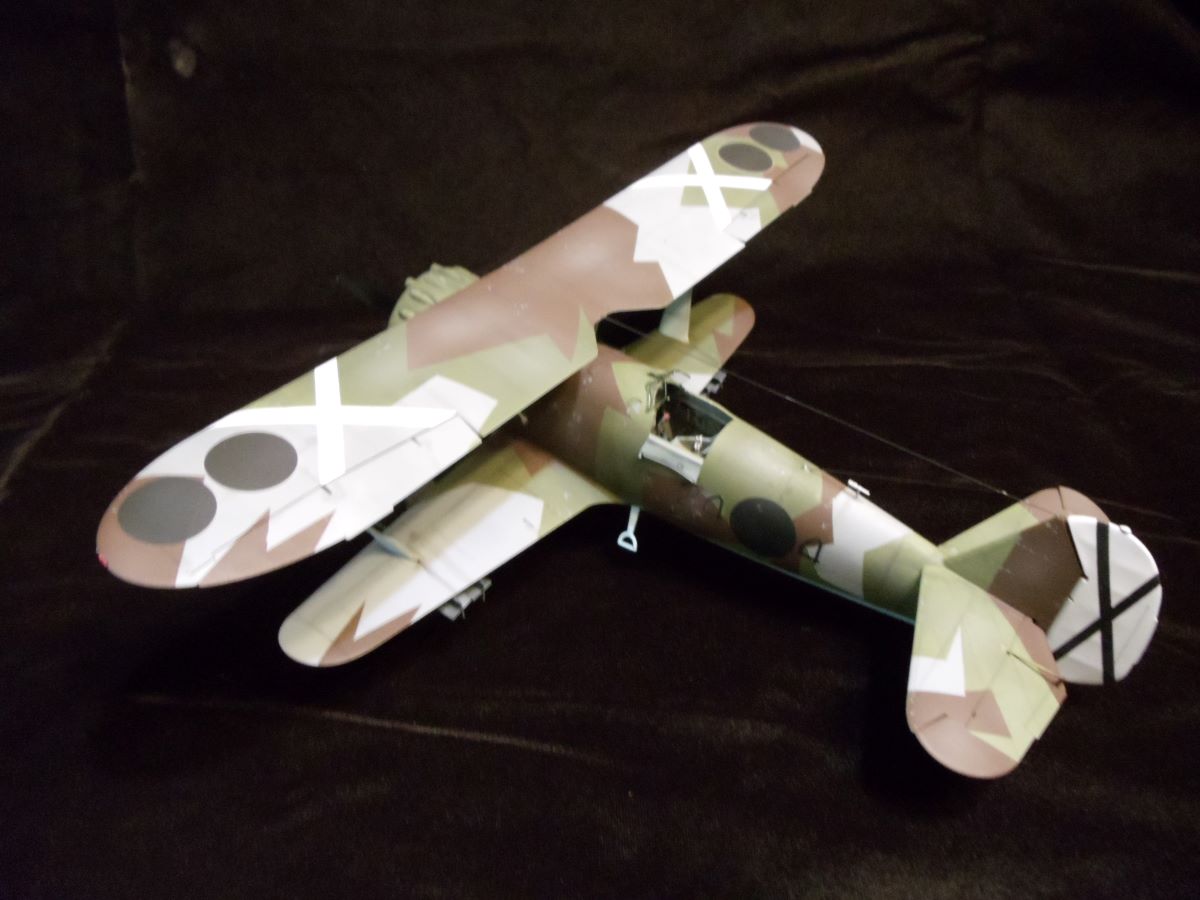
I actually took considerably more pictures of the assembly process, but they were inadvertently lost during a trip, alas. However, as I said, assembly was smooth with no real challenges. Everything in this kit is so well-engineered that almost no putty was required at any time during assembly, which made it all the more fun when I got to the dramatic paint scheme. Although the national markings are almost ridiculously simple (with the exception of the aircraft numbers) I only opted to airbrush the cross on the tail and the large white crosses on the upper wing. Nonetheless, you will find your masking skills pushed to the limit with this one.
The end result is nothing, if not spectacular. I’ve always loved the look of this little beast, and it makes a truly dramatic addition to my collection. ICM’s flawless engineering and attention to detail will make this one stand out in any setting. I can’t recommend this one enough for anyone interested in biplanes or early war aircraft. Well done, ICM!
My hats off to IPMS/USA for letting me have a shot at this bird, and to ICM for finally completing my collection of World War 2 biplanes. This lovely creature, along with ICM’s Gloster Gladiator and CR 42, makes my set complete. Happy modeling everyone, and stay safe!


Comments
Add new comment
This site is protected by reCAPTCHA and the Google Privacy Policy and Terms of Service apply.
Similar Reviews