
Home Alone ’86 Dodge Ram Van
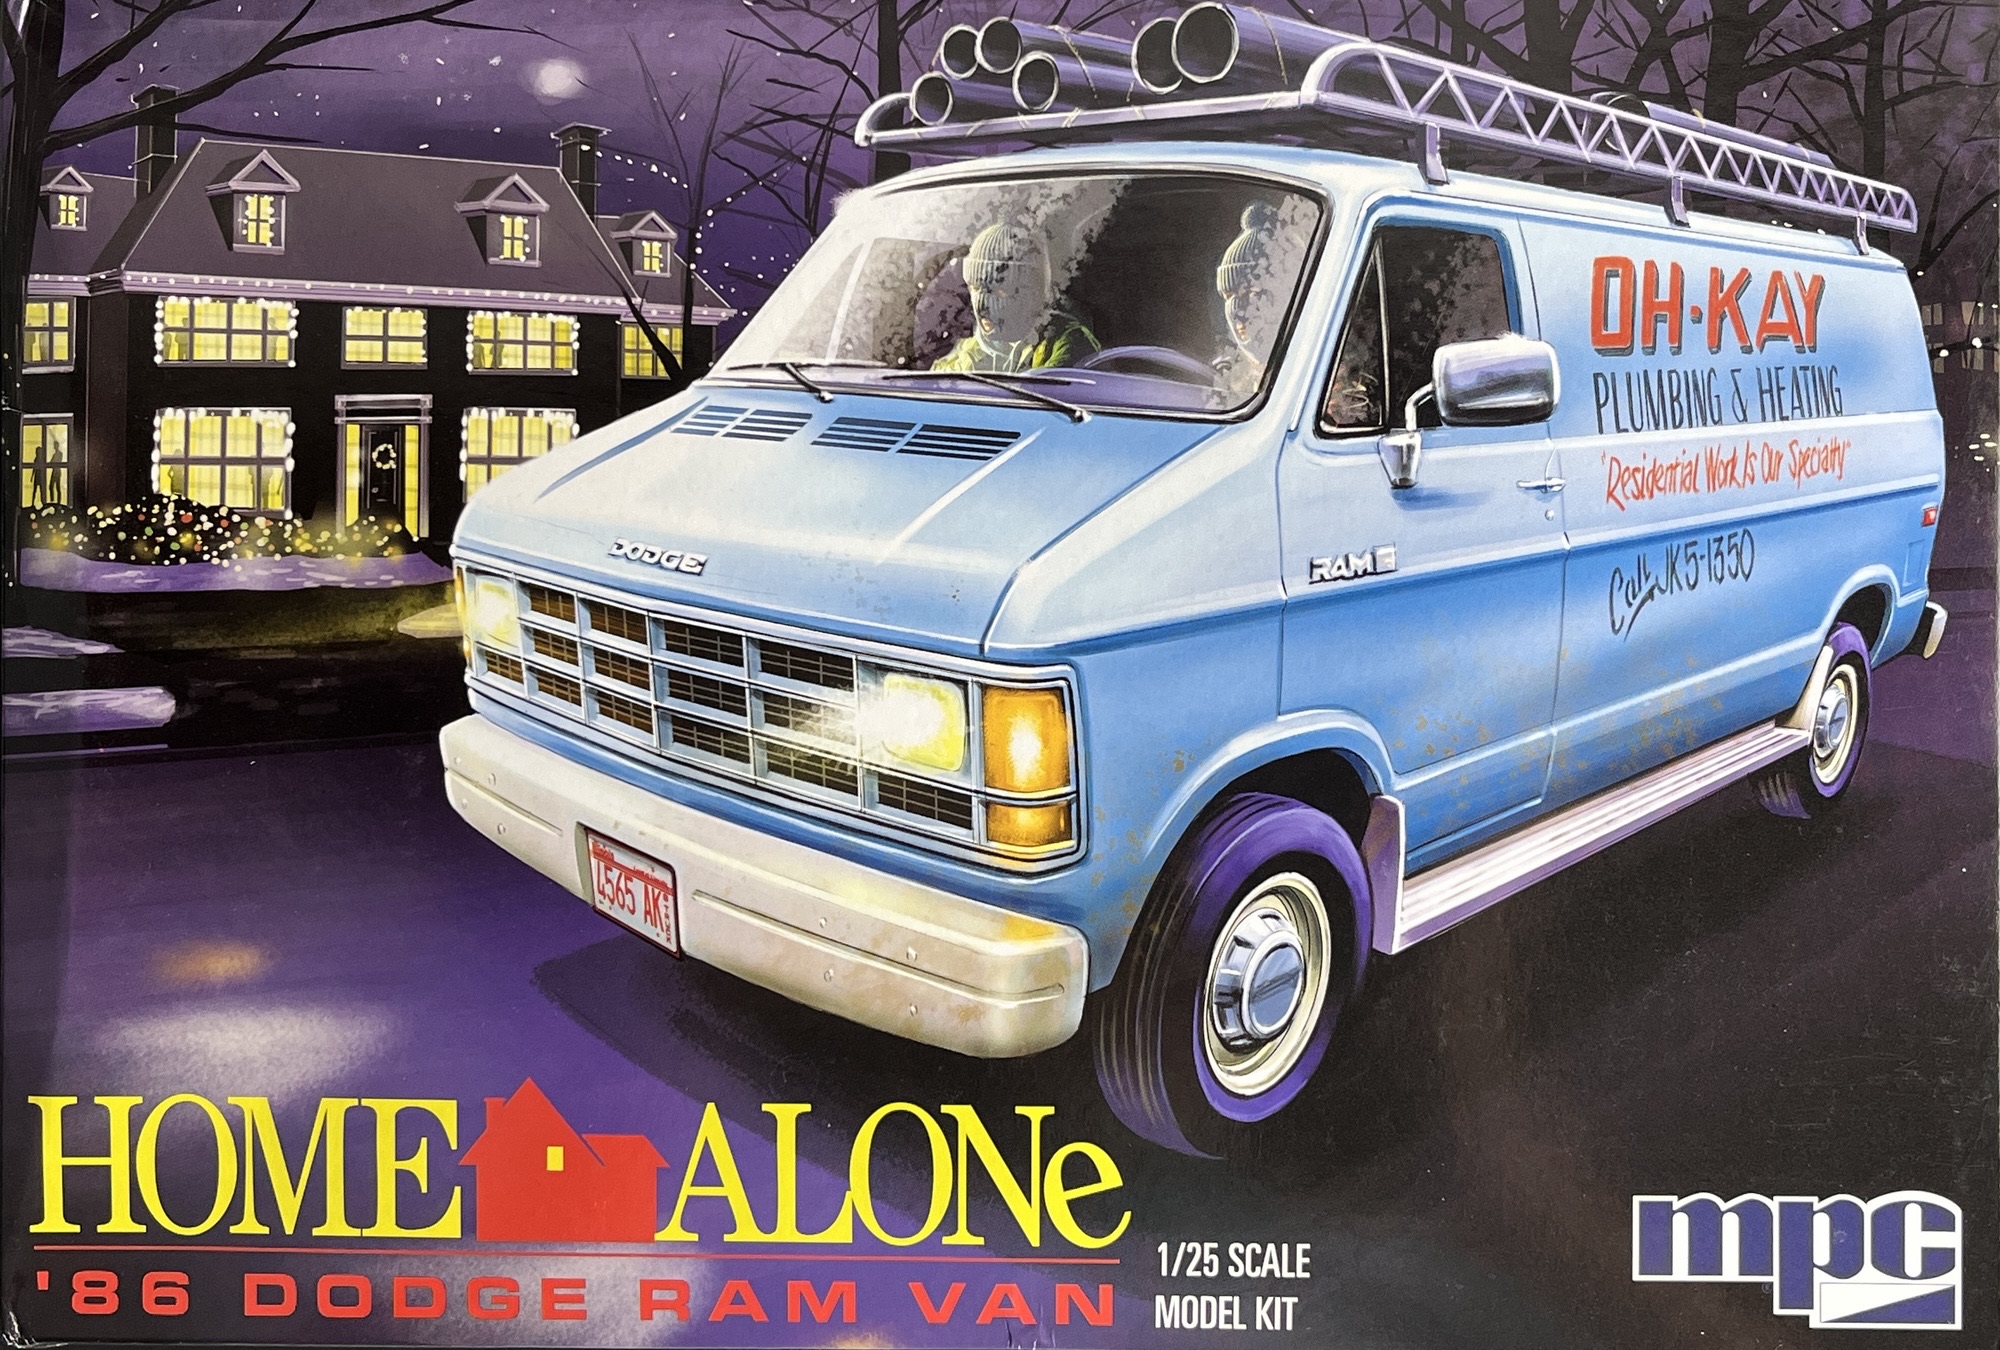
Fans of the movie Home Alone have been waiting years for a model of the van used by the two hapless robbers, the Wet Bandits. Portrayed by Joe Pesci (Harry) and Daniel Stern (Marv), the robbers use the repair van as cover for their cat burglarizing at 8-year-old Kevin’s (Macaulay Culkin) home after he inadvertently gets left behind as his family leaves for overseas. Released in 1990 (has it really been that long ago?) the movie is a timeless classic and has become an icon of modern popular culture.
MPC have made additions to their Dodge Ram Van and decked it out with all the paraphernalia seen in the movie. The kit was originally released in 1978 as the Magic Van, several releases of the Bad Company Van from 1982 and 2015, and most recently in 2021 as the Turtle Wax Van.
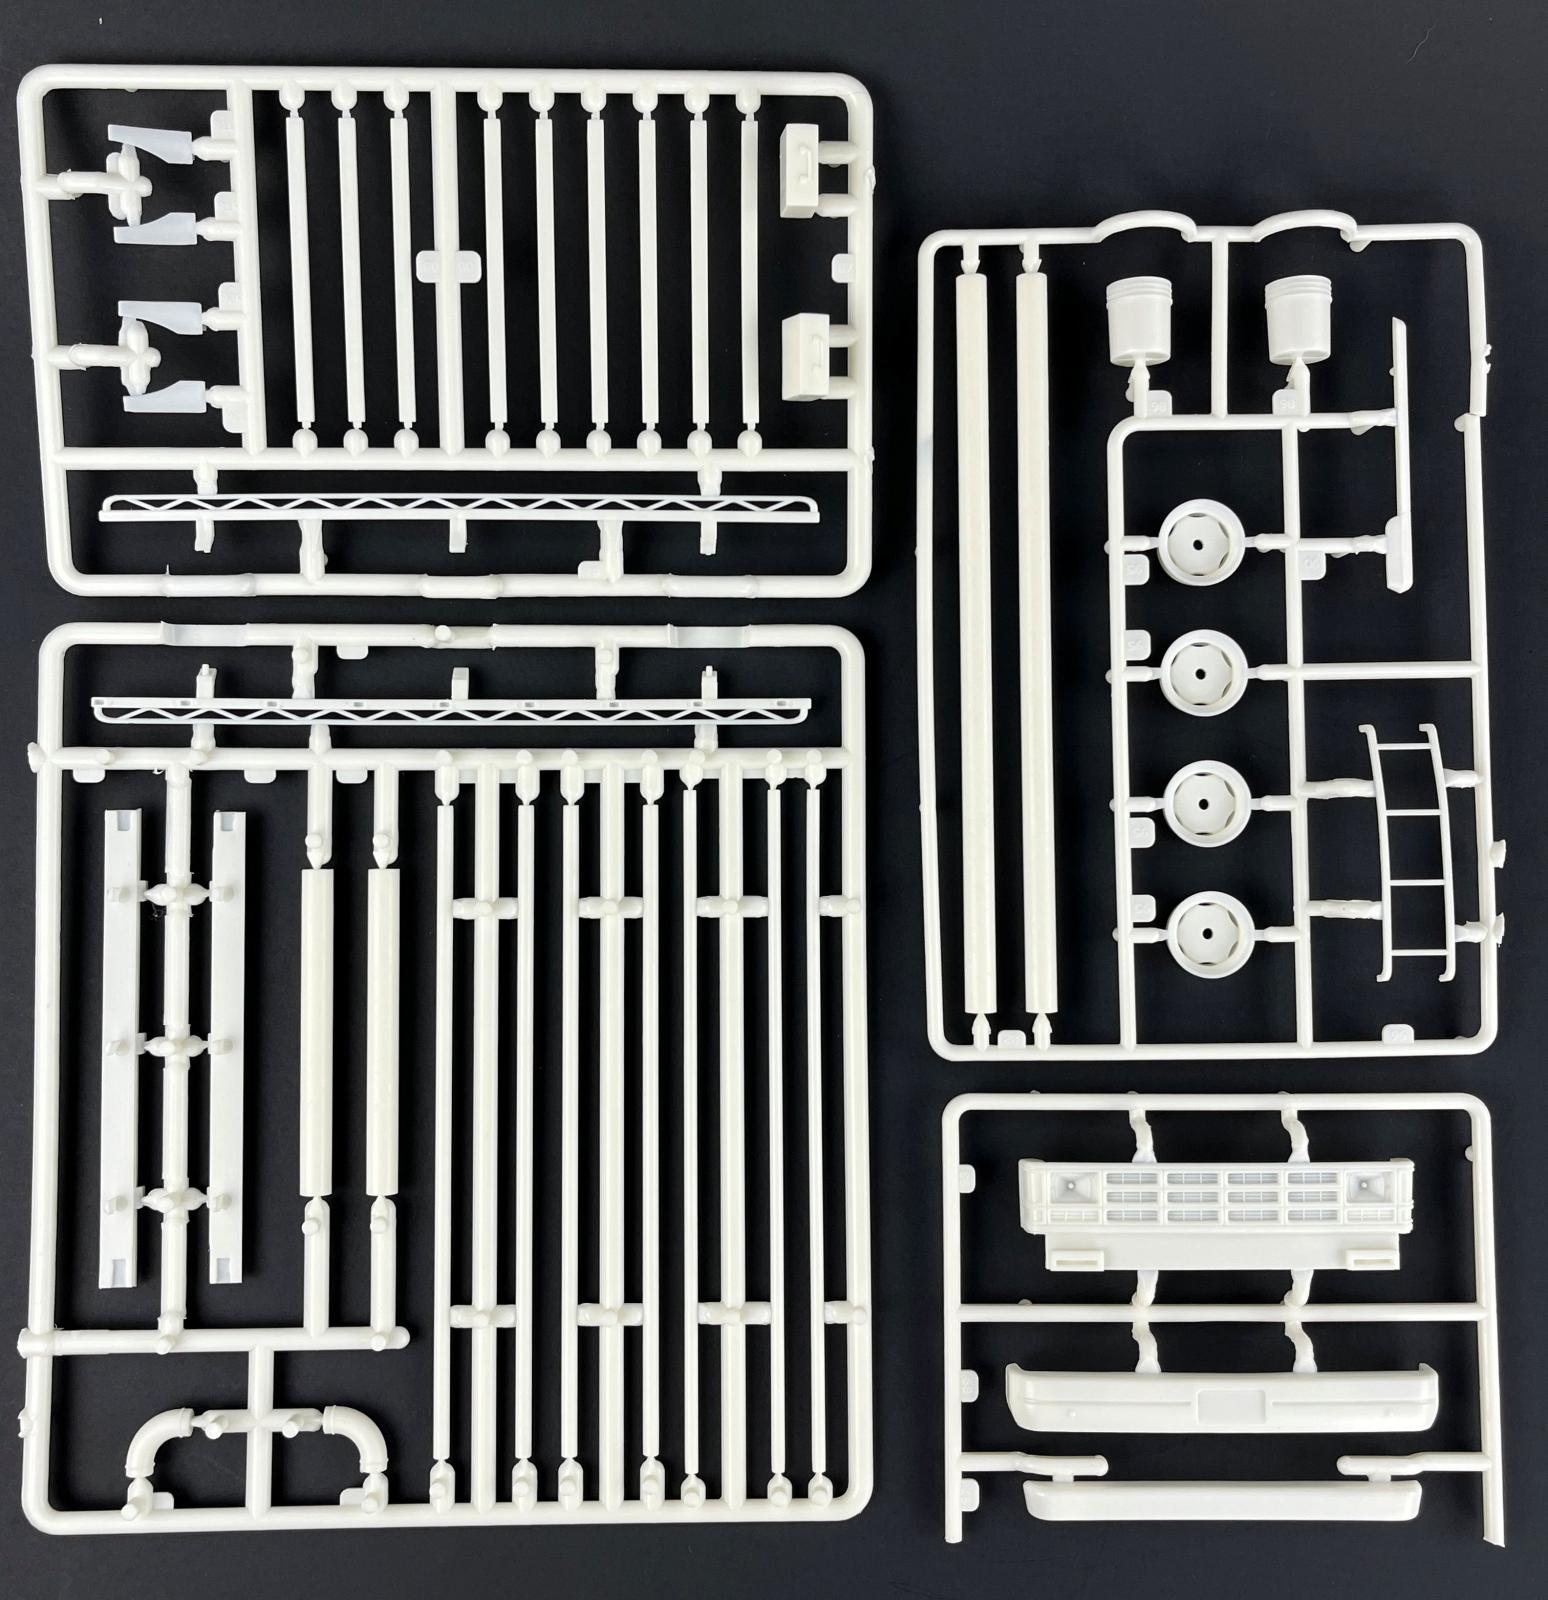
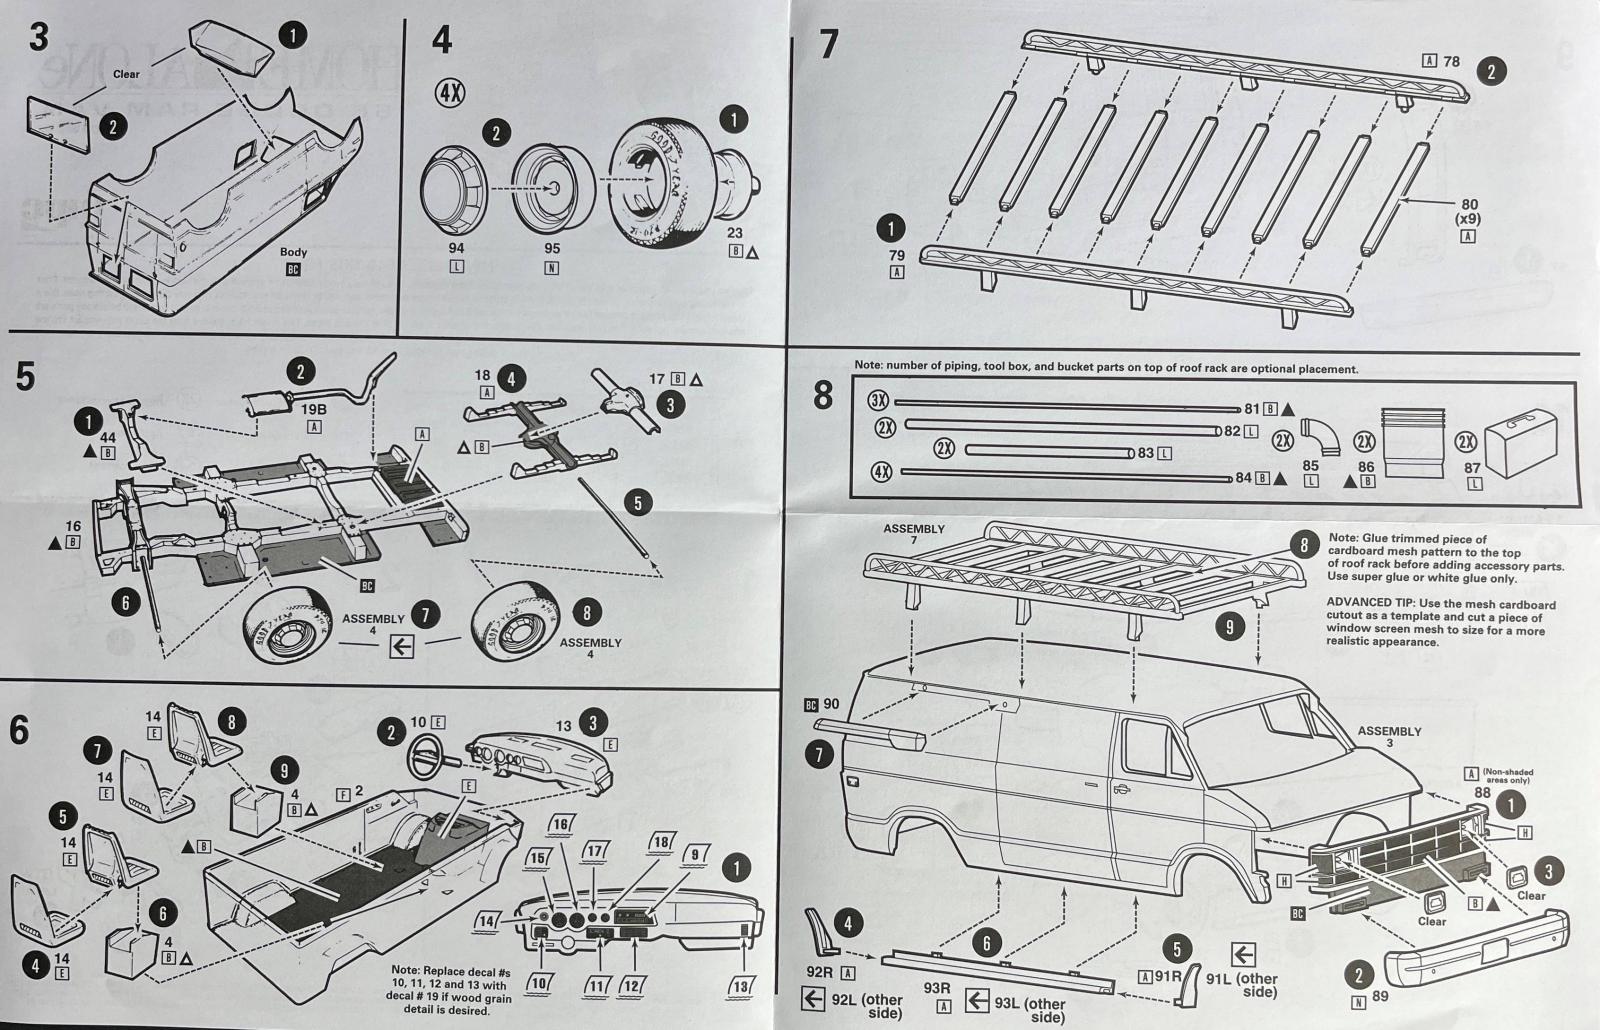
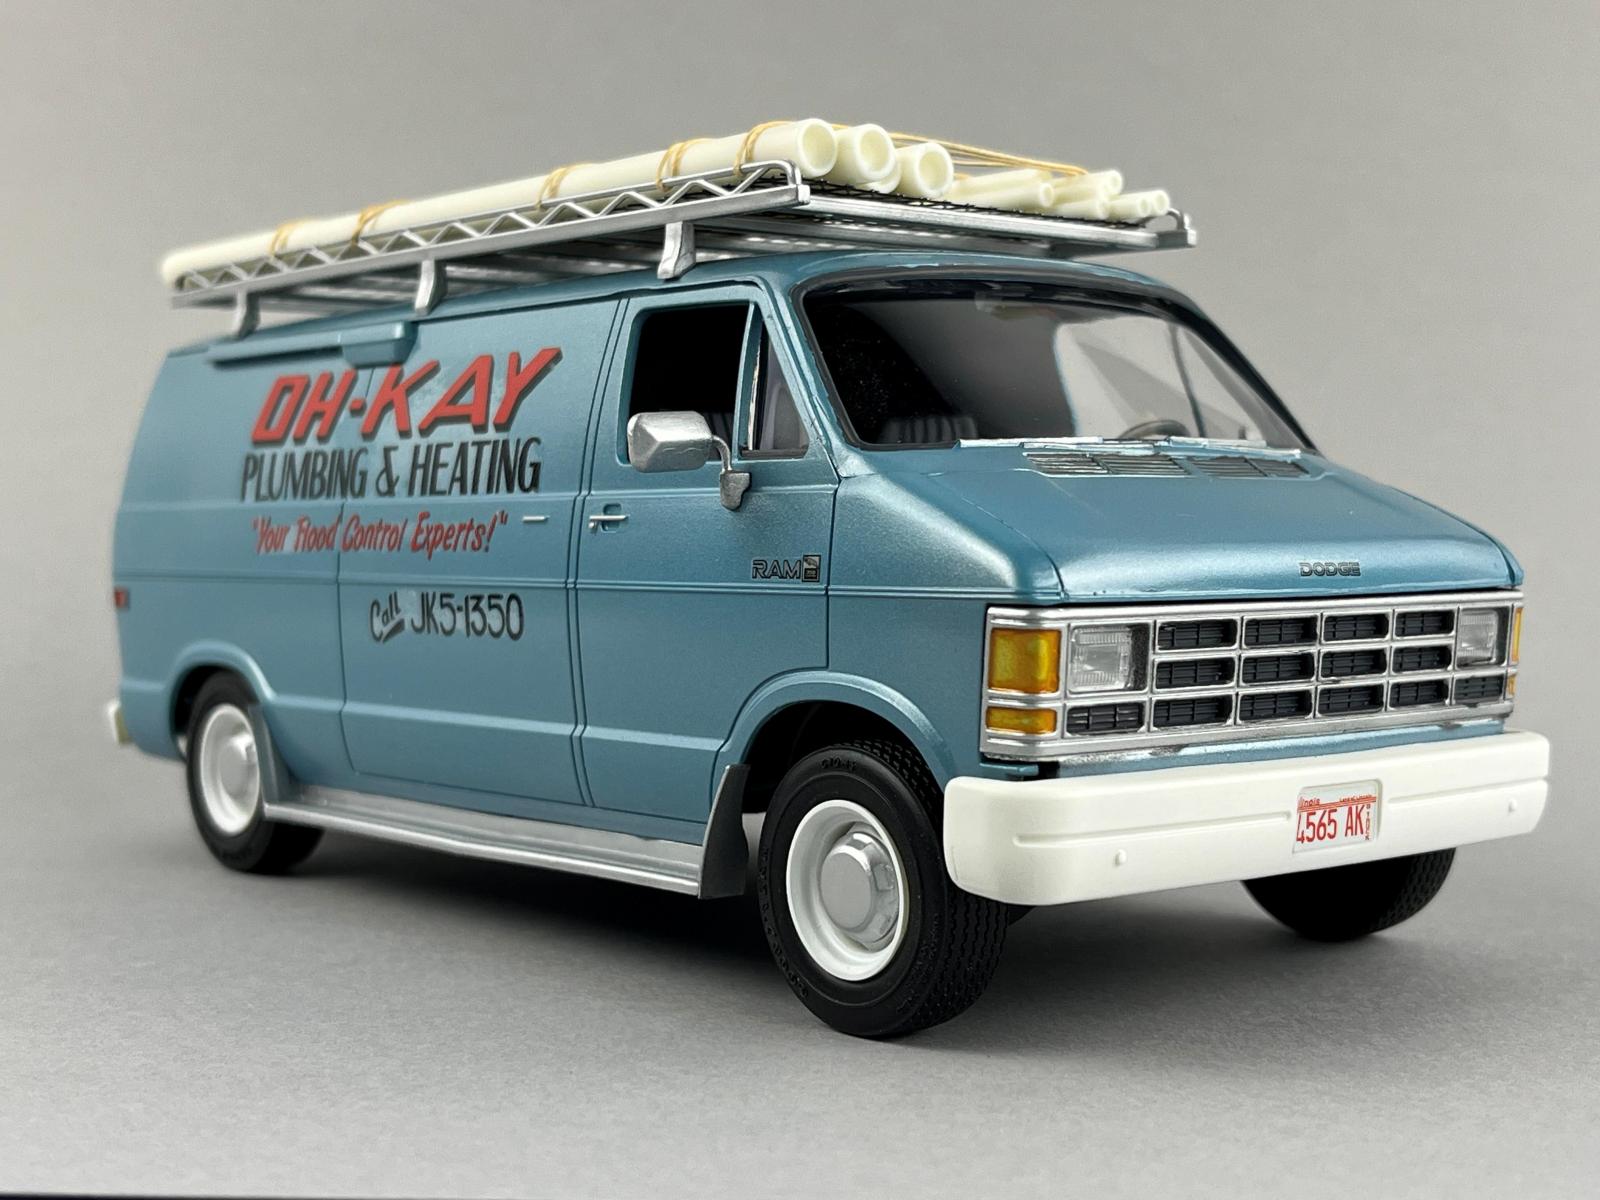
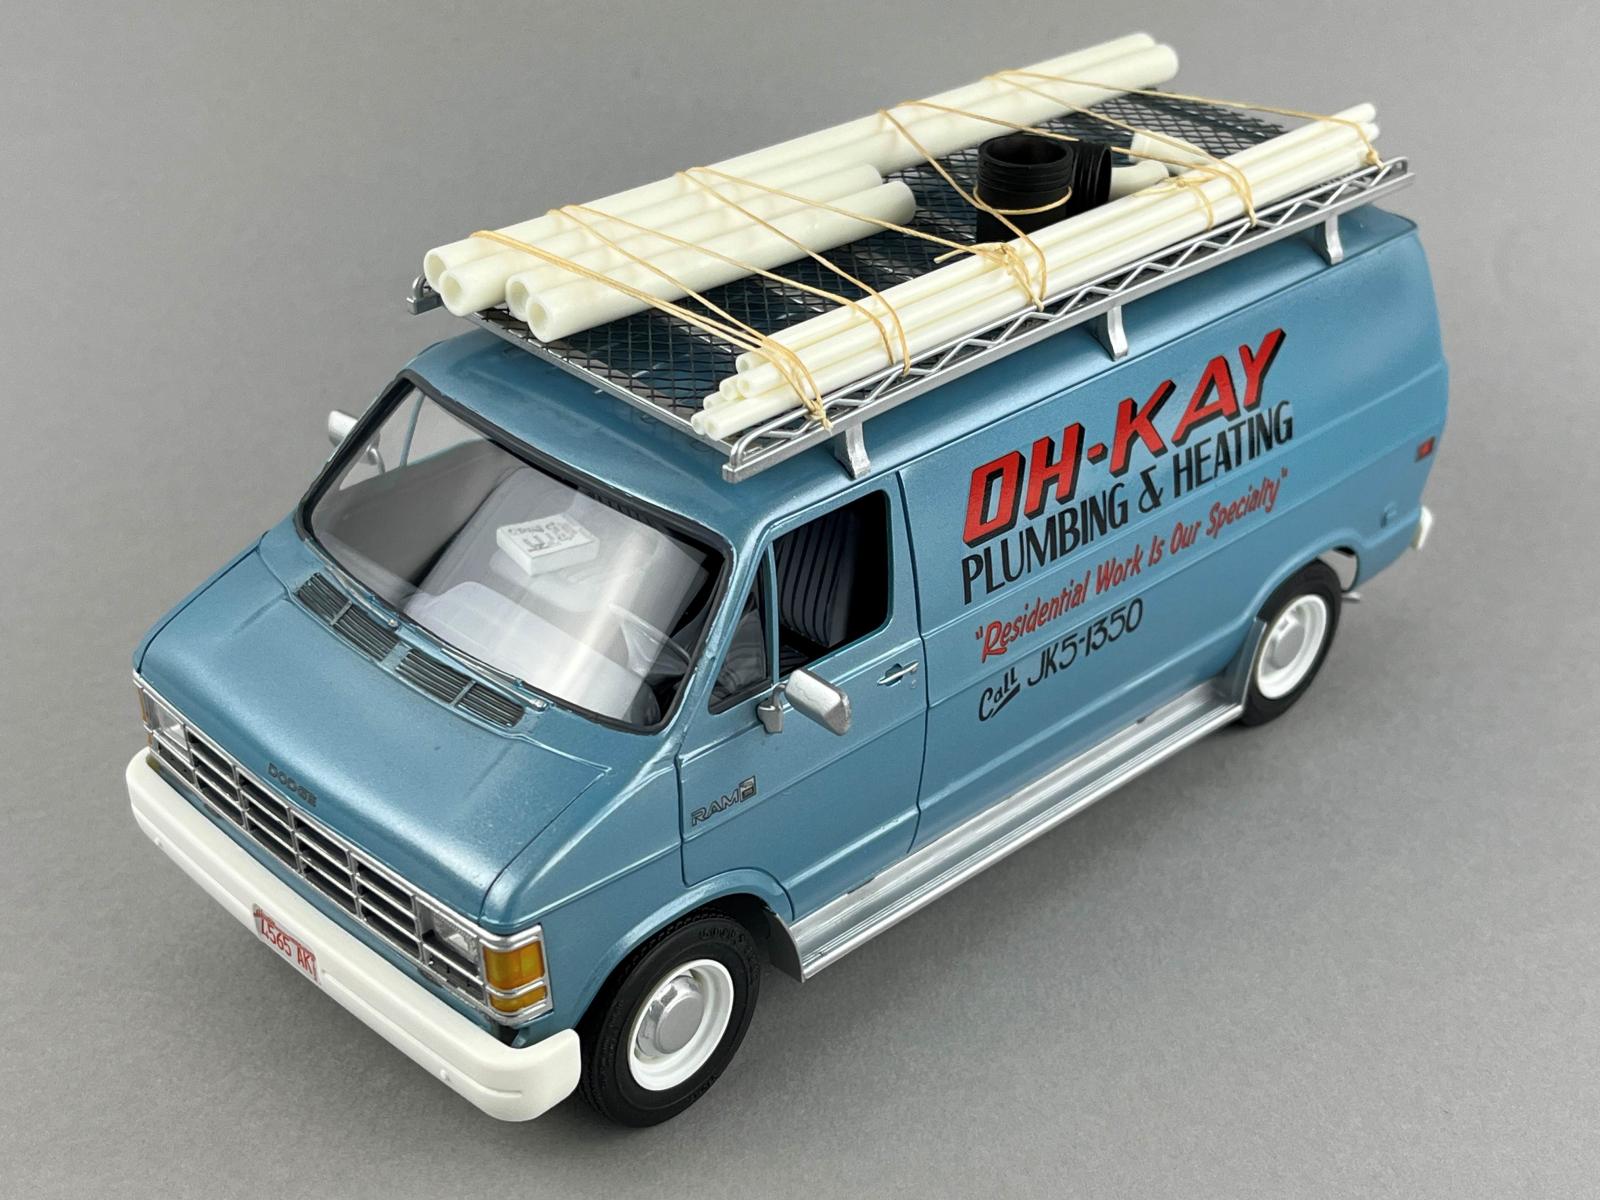
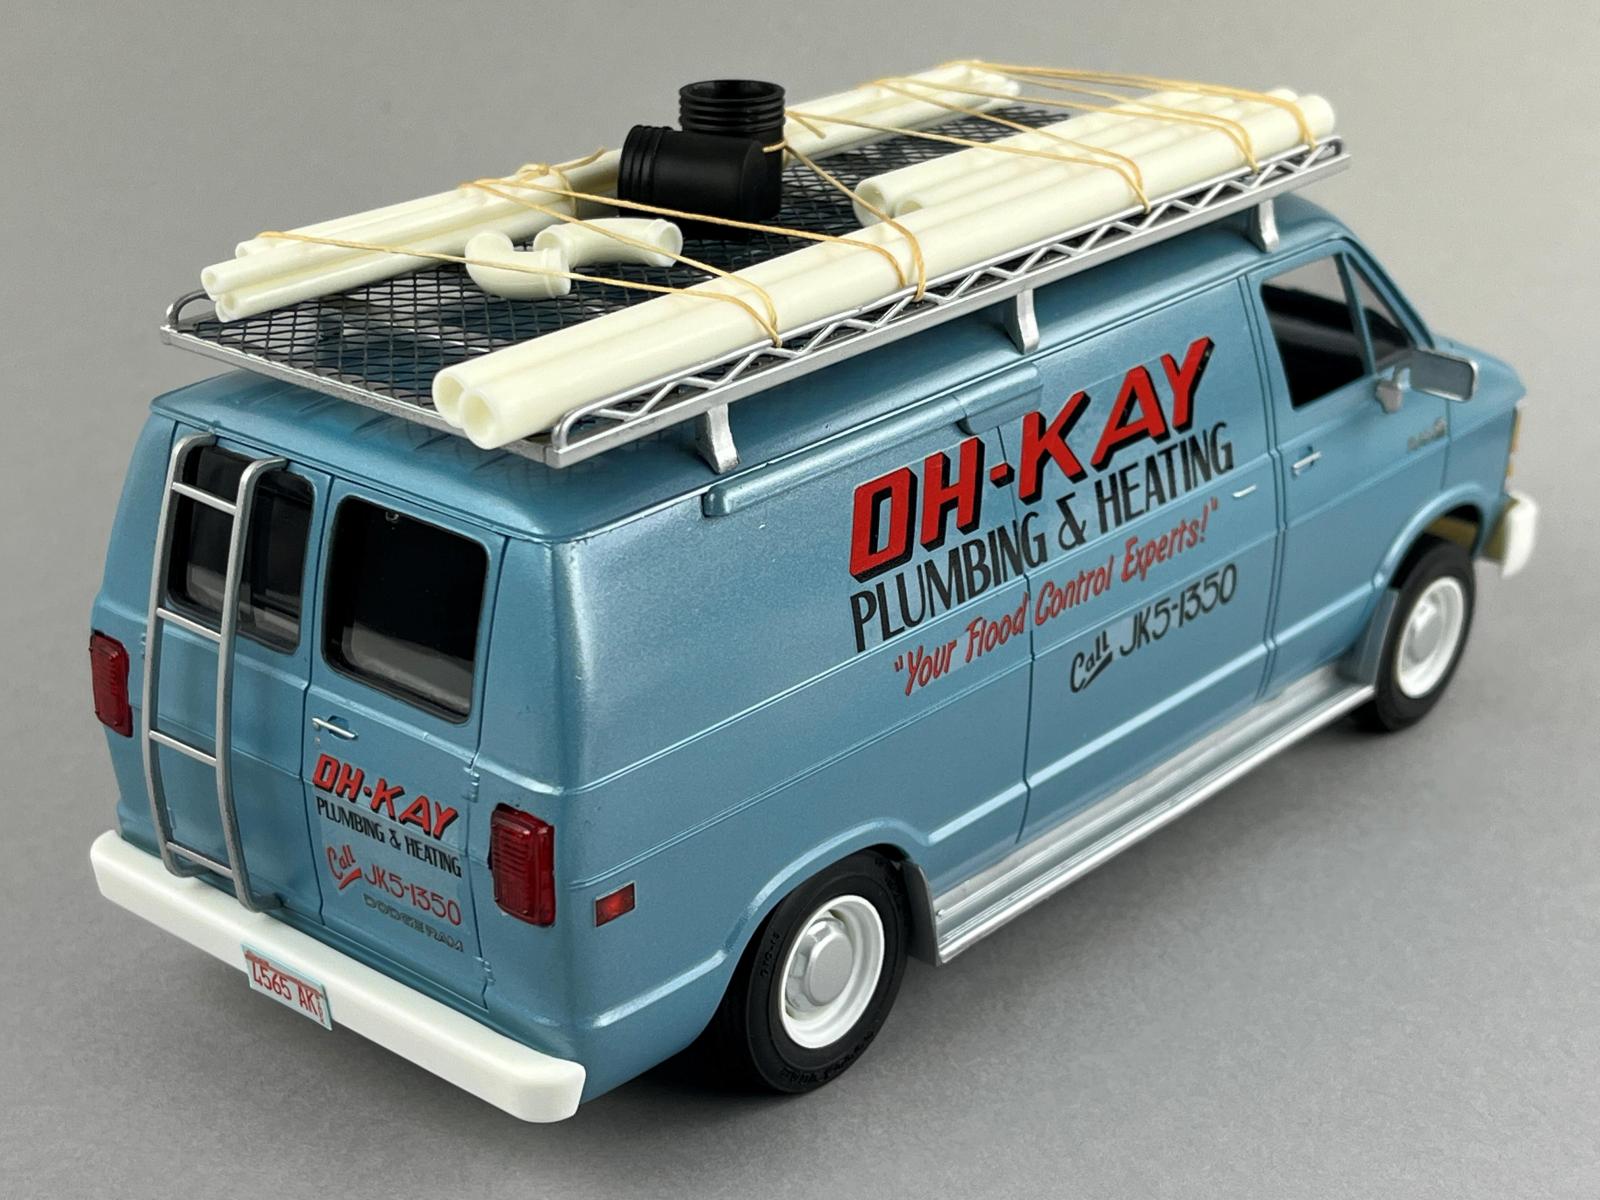
MPC have included a roof rack, depictions of PVC pipes and elbows, a couple of five gallon buckets, and two tool boxes to dress up the work van. Also included are the aluminum running boards and the correct hub caps. The decal sheet is excellently printed and includes the OH-KAY Plumbing graphics, license plates and even a pizza box for the dashboard or seat.
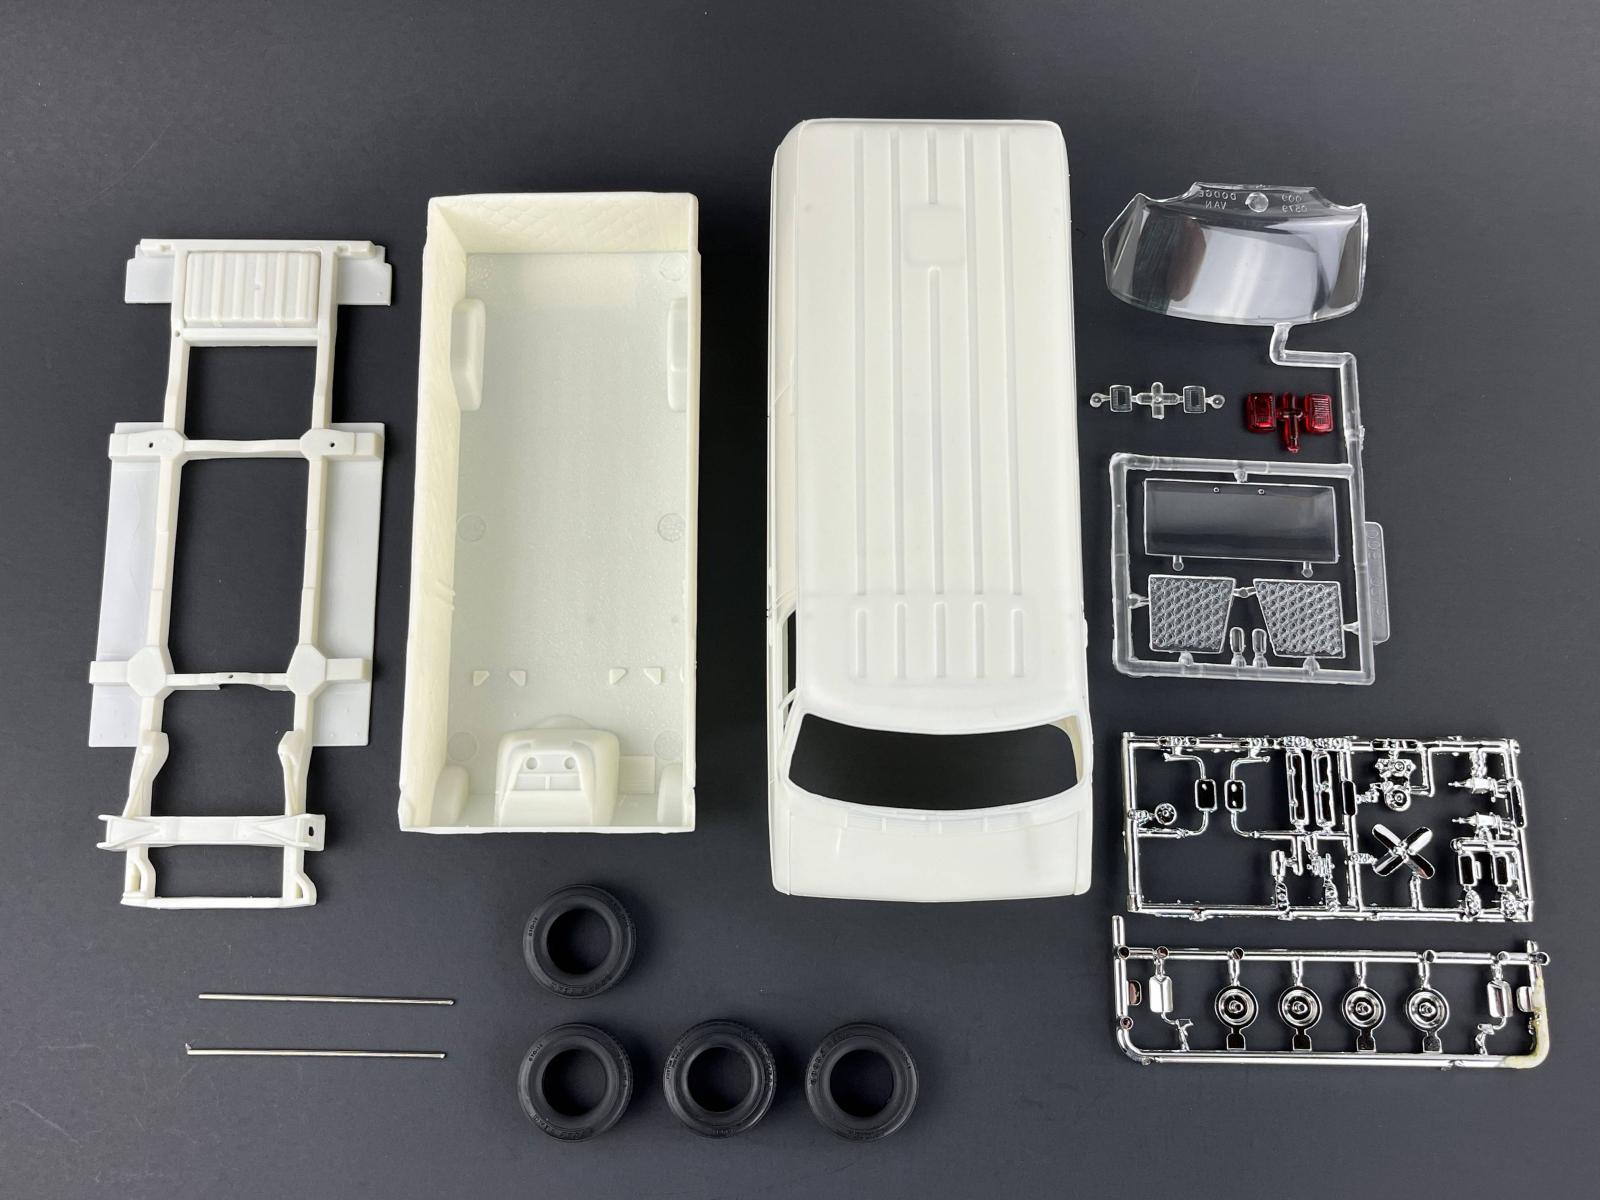
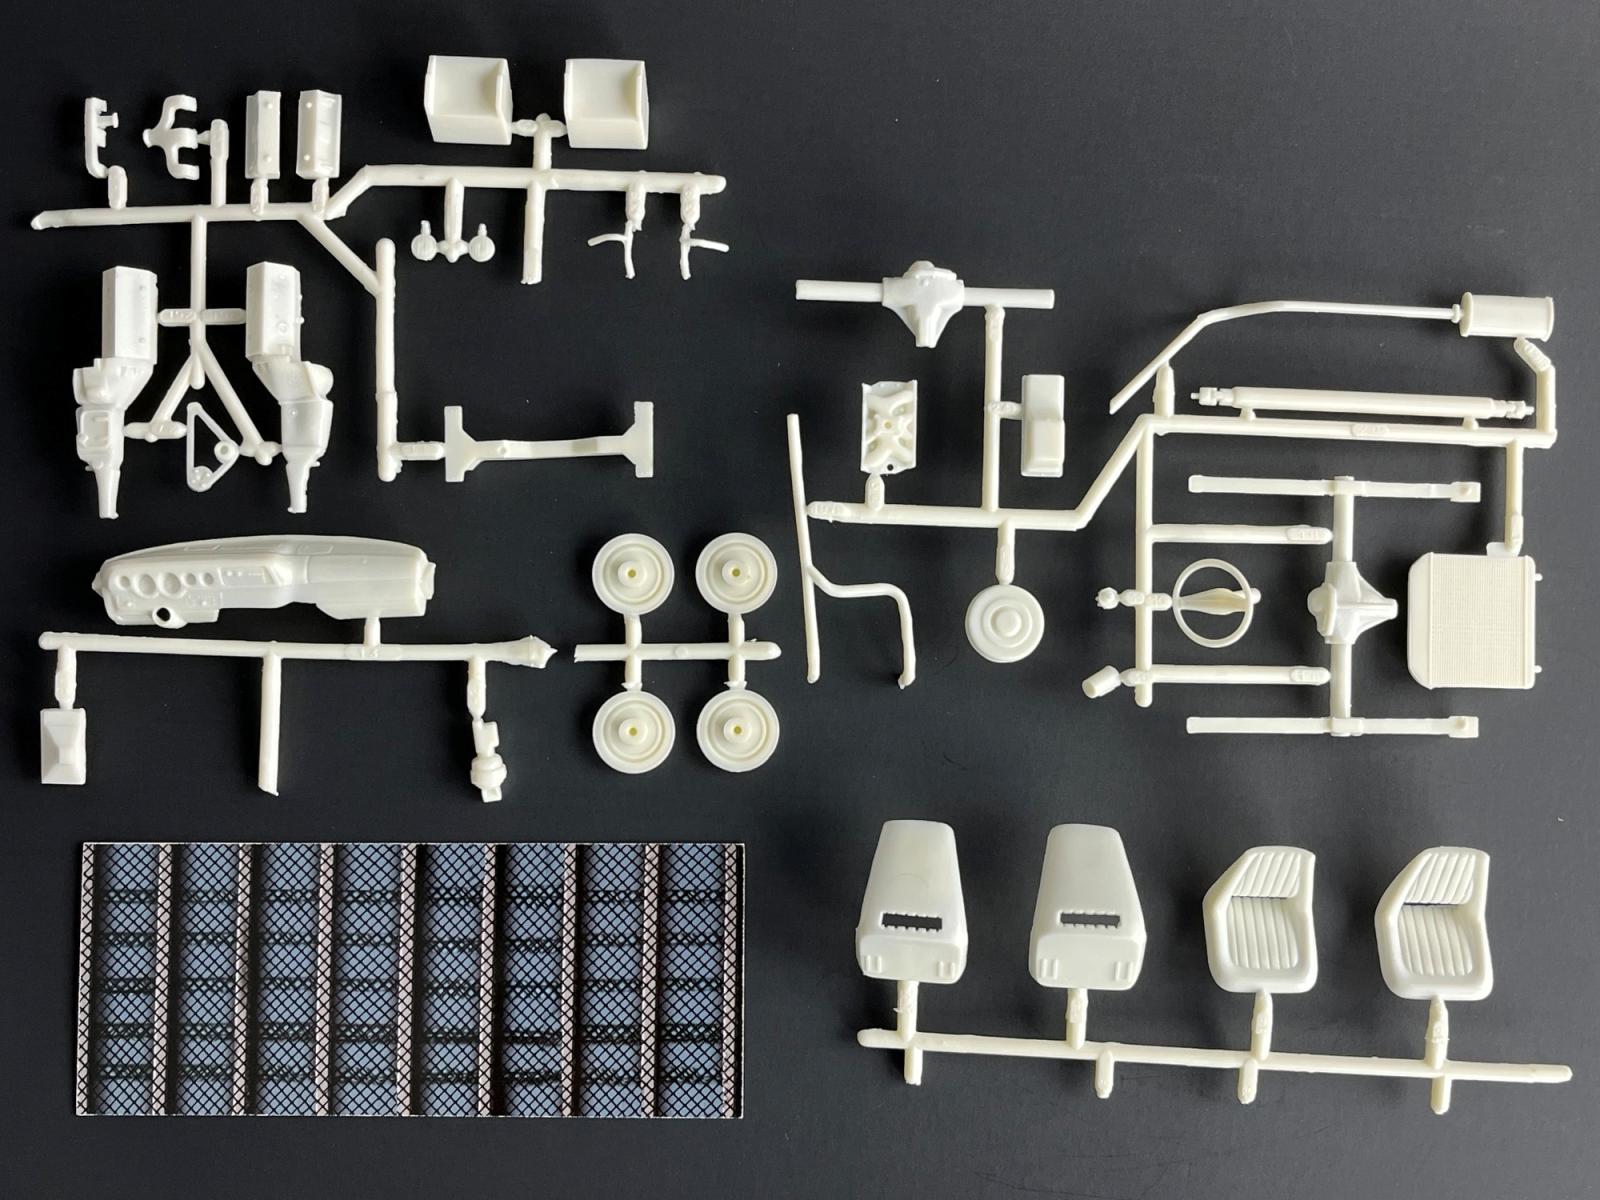
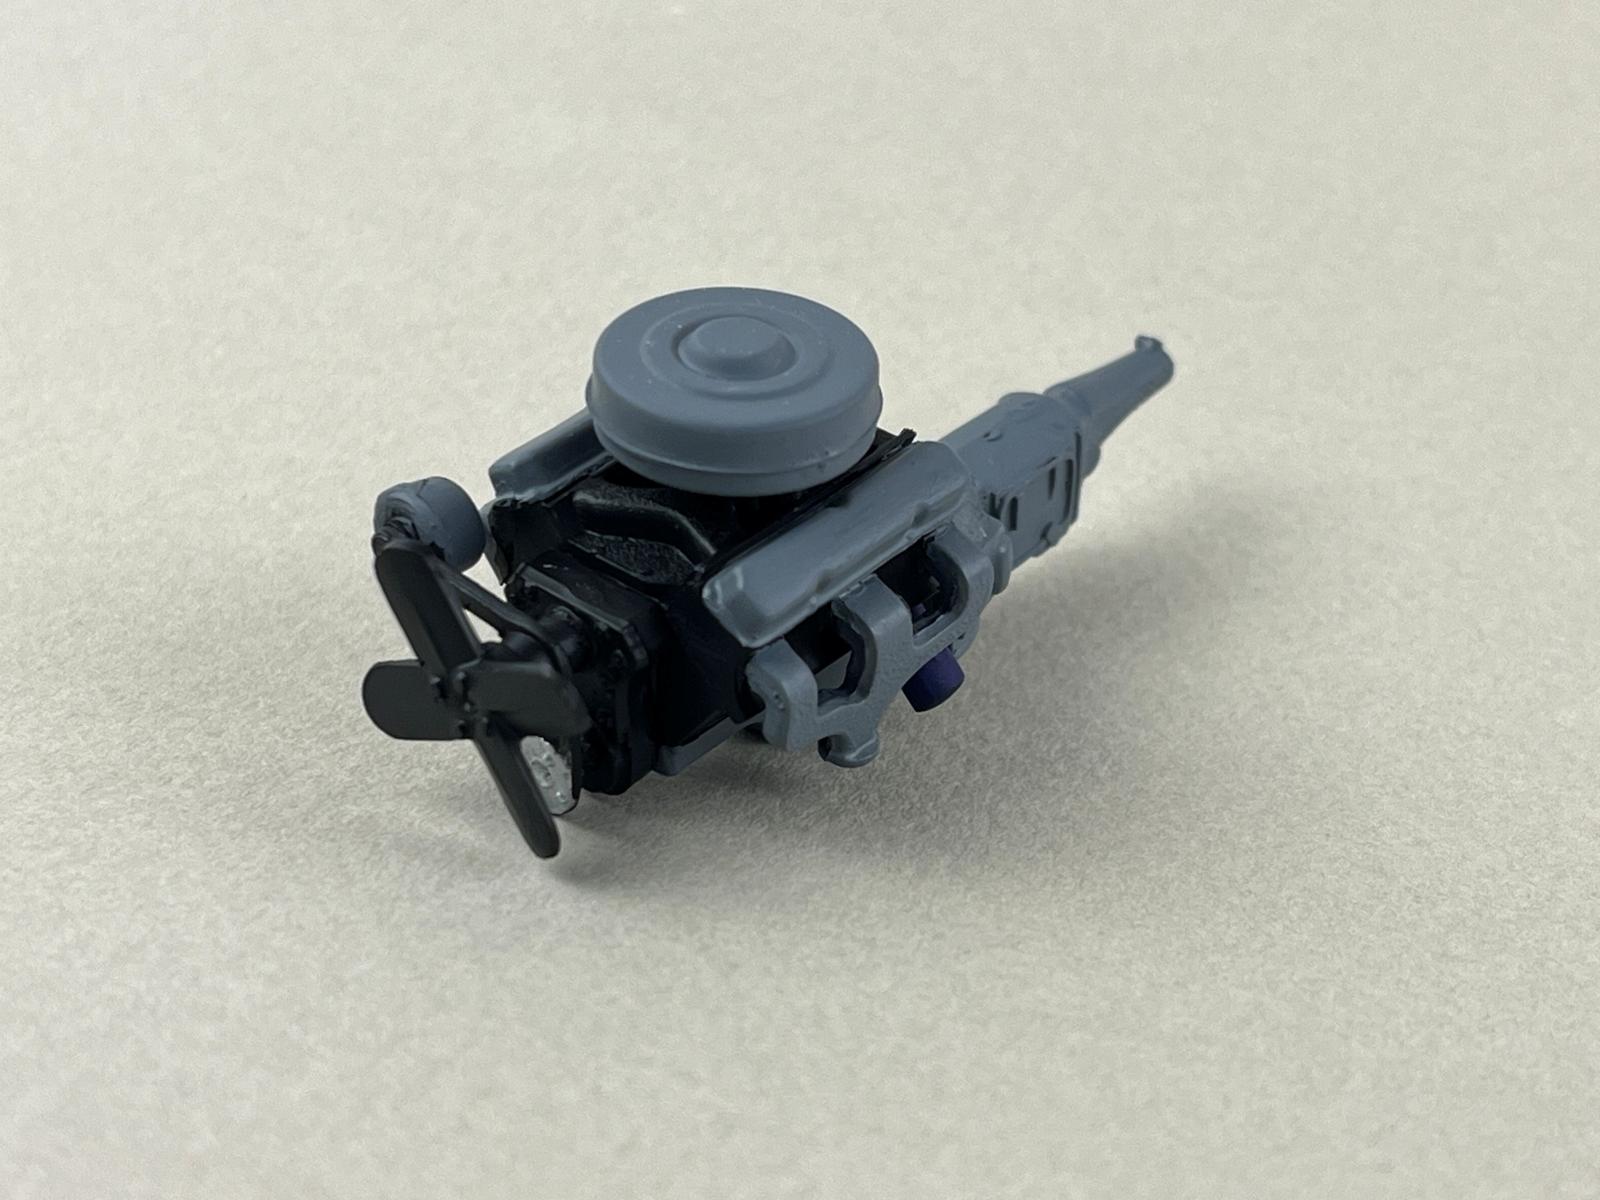
I began assembly by stripping the chromed parts to make painting and assembly easier. Some people use bleach but I use the product LA’s Totally Awesome. It seems safer than bleach plus it smells nice. The engine is rather representative of a Dodge engine but not much of it will be seen unless you commit to surgery on the hood to open the engine compartment. I had to trim off some of the locating pins on the engine parts since nothing seemed to line up as it should. A paint color key is included on the first page of the instructions but no particular brands are named.
The van body required a little clean-up of mold separation lines and one of the windshield pillars. I primed the chassis plate and body with Mr. Surfacer 1000 in the rattle can. I visited several auto parts stores but could not find an accurate match for the metallic blue seen in the movie, so I decided on my own custom mix of the Testors little ¼ ounce glass bottles. My first attempt looked a little too Scooby’s Mystery Machine turquoise so I had to repaint and my final Testors enamel formula is as follows: 2 parts Metallic Silver (1146), 1 part Gloss Turquoise (1107), 1 part Gloss Blue (1110), mixed and thinned well with Mr. Leveling Thinner. I made sure to airbrush the bottom of the chassis plate since the body color carries over the underside. While this was drying I primed the wheels and bumpers with Tamiya white rattle can primer, and decided this required no further color. After the body was completely dry, I used a silver sharpie to color the wiper blades, door handles and locks.
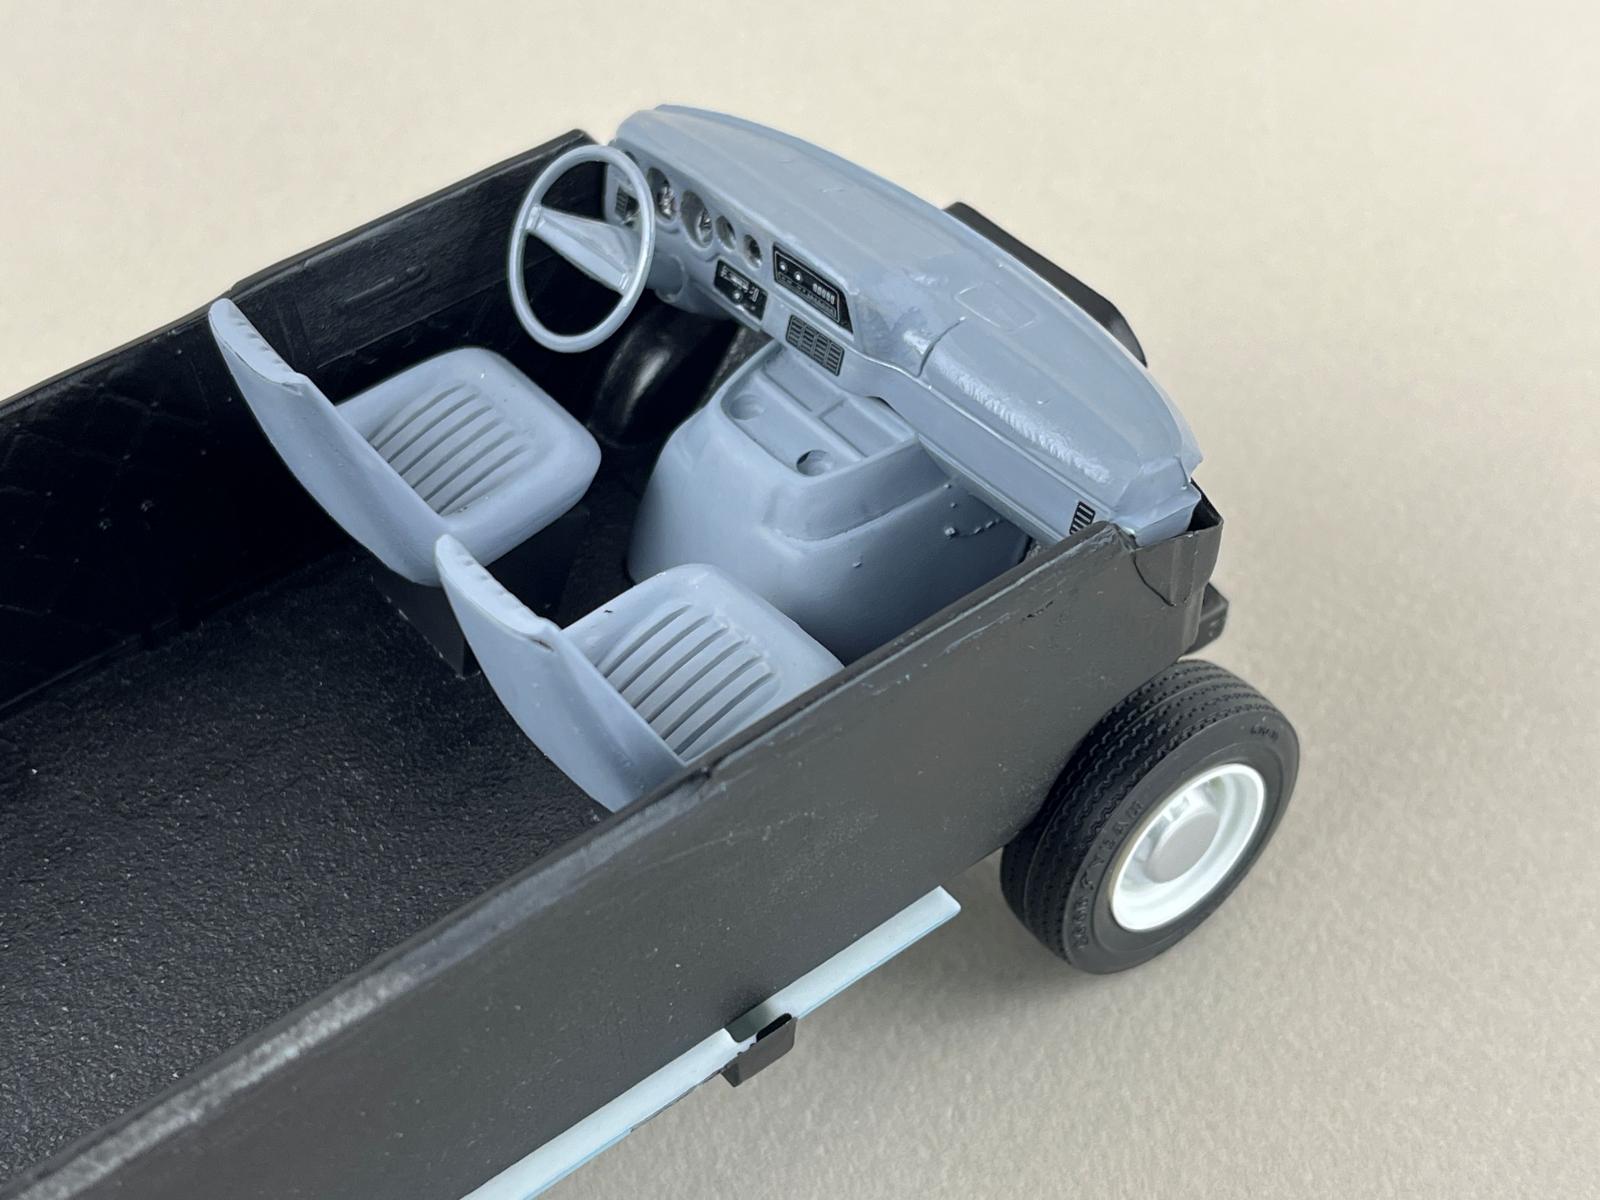
I primed any chromed parts (grill, mirrors, hub caps, ladder rack) with airbrushed Tamiya LP 5 Semi-Gloss Black thinned with their thinner and then airbrushed with Vallejo Metal Color Aluminum 77.701. I was surprised that this water based paint requires a little more air pressure (18-20 psi) to spray properly. I also masked off the frame part of the chassis and airbrushed the aforementioned Semi-Gloss Black. I hand brushed the interior of the van with light gray and the floor black. I clear coated the dash and certainly the most tedious task of the build was placing the instrument panel decals. They defied my attempts to get them to float into place and snuggle down, in spite of liberal use of decal solutions. I waited until near final assembly to drill the holes for the ladder/roof rack since I did not want to mar the exterior paint. The windshield and rear windows fit well and I used canopy glue and let capillary action draw it into the mating surfaces in the interior. This avoided smearing or dripping of glue onto the clear parts.
As I mentioned, the decals are excellent and in register, although again I had problems with silvering of the large carrier film on the sides and rear signage graphics. This is my luck with decals lately and don’t think the kit is in fault. Warmer water and more liberal use of setting solution may be required. Rear marker lights are provided as decals as well as the license plates. The front bumper has a cutout for the plate but mistakenly the kit provides none for the rear bumper. I used an old car builder’s trick and cut out the license decal but glued it backing paper and all to the center of the rear bumper.
I was skeptical of the fit of the running boards, but they attached firmly with little dots of superglue. I drilled out the ends of the PVC pipes to give them a more realistic look. A printed card insert is supplied for the ladder rack but I took the advice of the instructions and used it as a template to cut a piece of metal screen which was attached with white glue. The various pipes and fittings were attached to the screen with white glue and after this was dried I used heavy cotton thread to tie it all down.
I dressed the front grill with Testors Signal Amber (2723) and darkened recesses were filled in with an AK Real Colors marker, Rubber Black (RCM 001), and this was cleaned up with a damp cotton bud before it had fully set.
Fit problems became apparent when mating the chassis assembly to the body. No matter how I positioned the body, I could not get the rear wheels centered in the wheel wells. Looking back at step 5 in the instructions, it would be best to leave off the differential and leaf spring (parts 17 and 18) until final assembly. This way the rear part of the leaf springs can be shortened and adjusted to get a good fit of the rear wheels and tires.
I saved the side mirrors for last and attached them with super glue since I was convinced otherwise they would be damaged or knocked off.
This was a fun build and brought back good memories of the movie, which still makes the rounds each holiday season. A beginner can enjoy this kit as well as seasoned veterans with advanced skills. Highly recommended. Thanks to IPMS for this opportunity and to Round 2 and MPC for supplying this kit for review.
Comments
Add new comment
This site is protected by reCAPTCHA and the Google Privacy Policy and Terms of Service apply.
Similar Reviews