
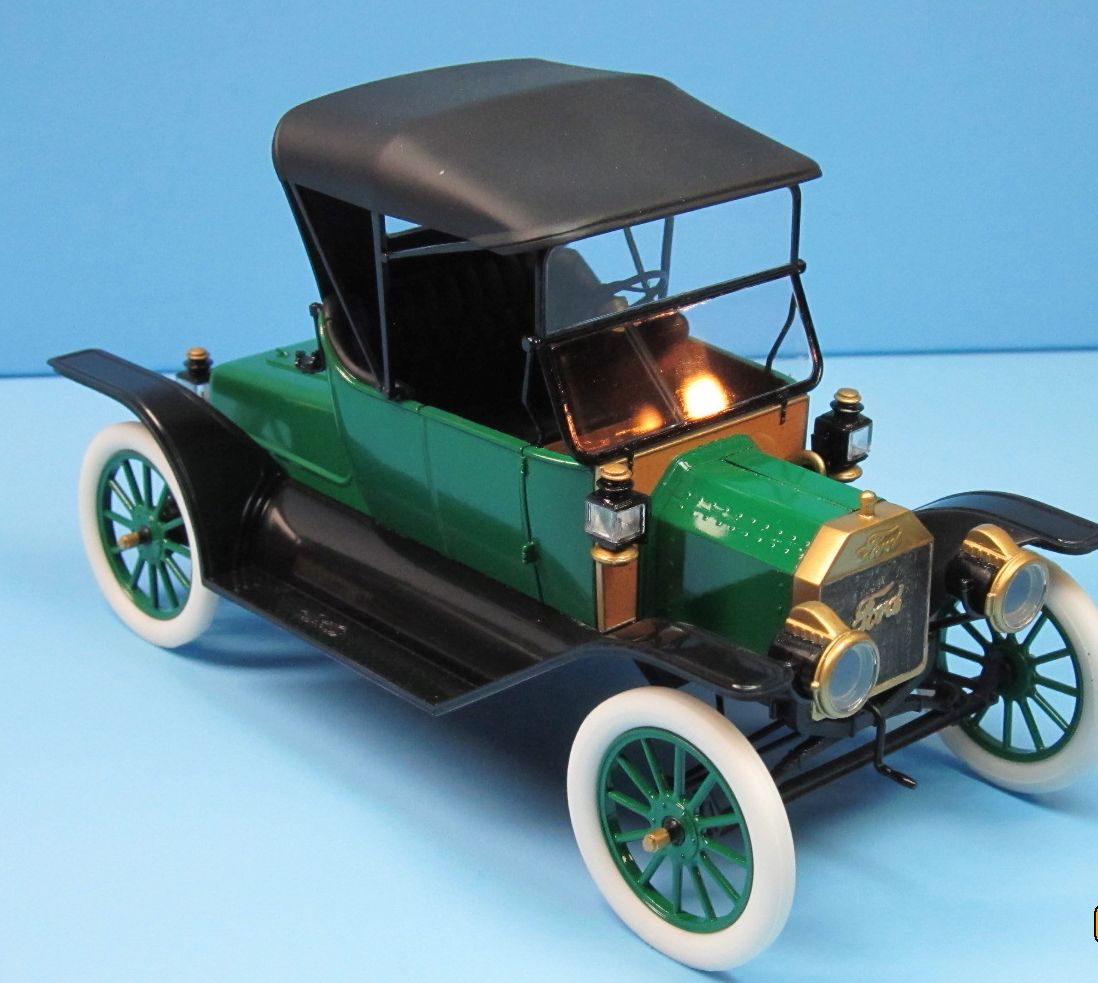
1913 Ford Model T Roadster
I am no expert on the Ford Model T cars, but by using the internet I have found out several things. The Model T was the first affordable car that opened car ownership to the American middle class, which was due to the assembly line production method that reduced car prices. The Model T's made in 1913 were priced at $525 for a runabout, which is another name for this model car. 170,211 Model T's of all types were made in 1913 and this was the last year in which you could get a color choice. The colors being black, gray, green, blue and red. The first Model T was made in 1908 and production lasted for 17 years. Even today the Ford Model T is a name that is recognizable to a majority of American car owners as there are still several thousand of these cars that are still running. If you go to most car shows you will still usually find one or two Model T's on display.
ICM has provided us with 107 parts that are cleanly molded with no flash in a gray/brown styrene. All the parts are in one large plastic bag, within are several other bags that contain the clear parts, the plated parts and the tires. The majority of parts are on sprues A, B, and C. Sprue D contains the brass plated parts. Sprues E1 and E2 contains the wheels and the soft white vinyl tires. Sprue F has the clear parts and no decals are provided for the modeler. There are some punch out marks, but for the most part these are in locations not visible. The punch out marks are very shallow and are easily dealt the using some sandpaper where they need to be removed.
The first 24 steps deal with building the engine and the components that go on the underside of the vehicle. The four cylinder flat head engine is a very nice model in itself. It is unfortunate that the hood can not be displayed open, perhaps someone in the future will make a photo etch set that would be thin and workable and allow the hood to be open. When you glue in part B24 to the frame make sure to check the alignment against what is shown in step 10, as much later the steering wheel column will be glued to this part. Also, in step 19, when you glue in parts B2 make sure that the exposed parts are sitting horizontally as they are suppose to hold the exhaust manifold in place. Finally, the tires are made from soft vinyl material that I have had a hard time finding anything that will glue it to the tires. I have tried various liquid cements and even CA but none have worked so far. At least the fit is tight enough to hold the tires to the wheels, just don't try pushing your model along the floor.
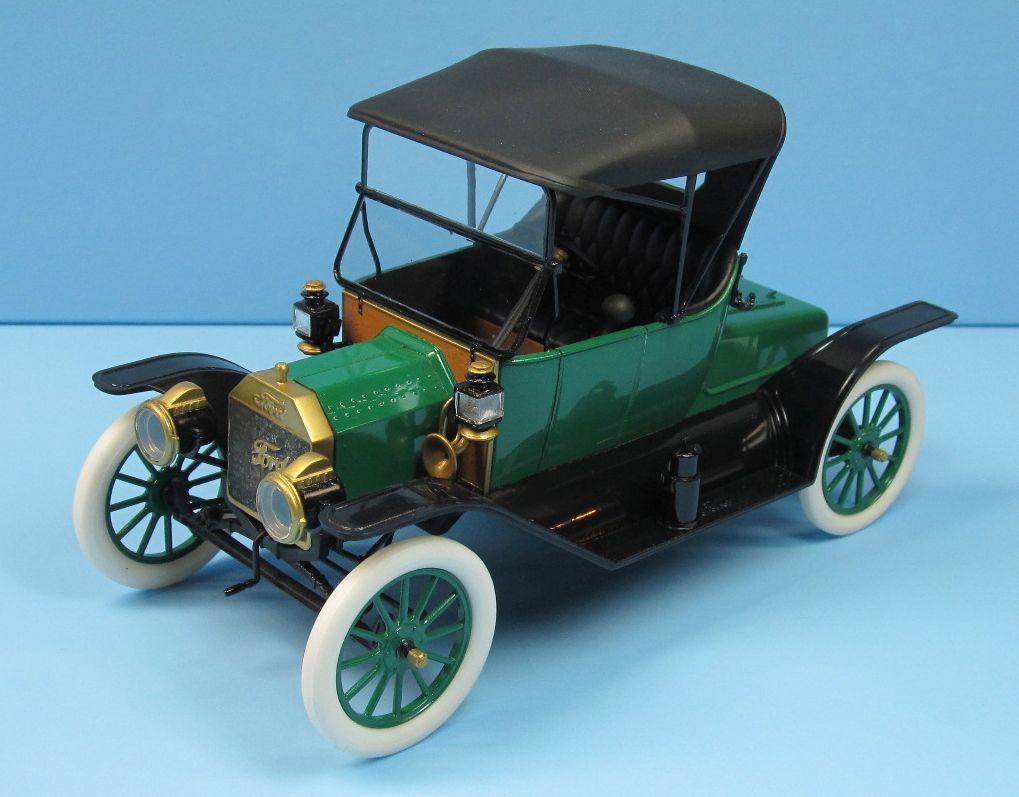
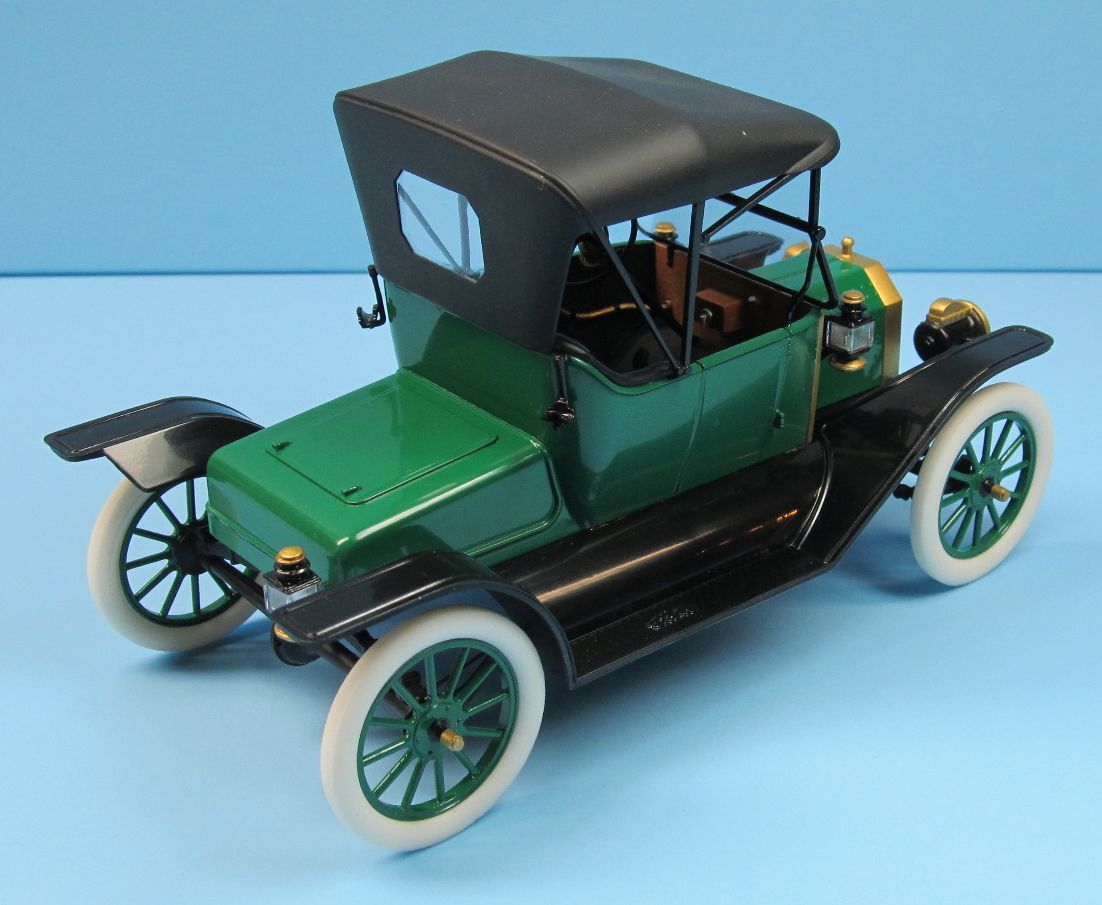
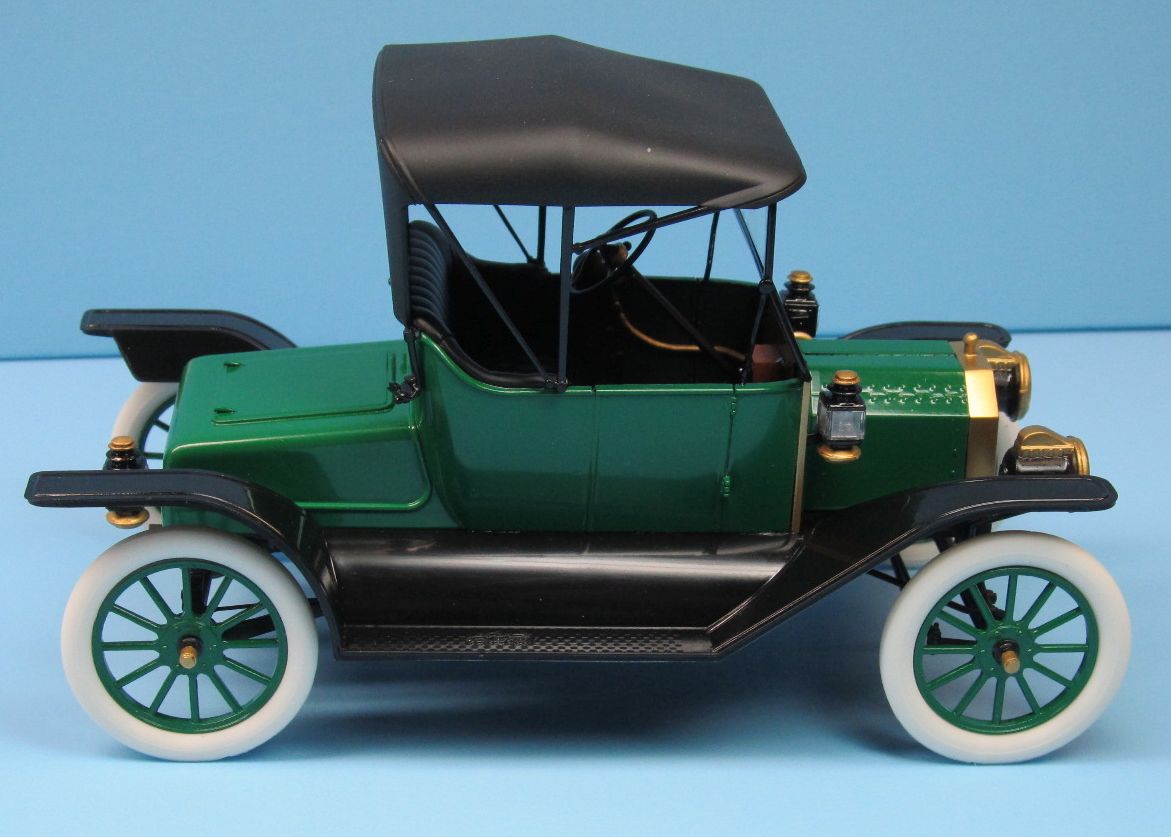
The model builds easily enough as does the body, but you will find you will spend most of your time in painting. What scheme you chose will determine the length of the project. If you decide to paint the car all black, then you can glue the body to the fenders/running boards and paint everything black at one time. If you decide to go with another color, then you will have to paint the fenders/running boards gloss black. Then paint the hood and the body the color of your chosing. In my case I went with a gloss green color for the hood and body. Once all the parts are painted and allowed to dry completely then one can glue the body to the fenders/running boards. Normally I use lacquer paints, but in this case I had no gloss black or green in lacquer so I went and bought some Krylon rattle cans of enamel paints for my painting purposes.
When I build cars one thing that I usually do is to strip the chrome off the plated parts I find that the various coats that are applied to the plastic parts will cover the part's details. If I strip that off ( I use ammonia in a ceramic mug) then the details will be much sharper. I will then use some Alclad Chrome or in this case I used some Mr. Color Brass to restore the finish. With the added layer of brass it took about two days of soaking to remove the coating. I would take out a few parts at a time, wash then in cold water and then use a small wire brush to remove the clear lacquer coat which is first applied to the plastic parts before plating and isn't affected by the ammonia very much unless you give it a good scrubbing. Another reason to remove these parts was that they were not always brass to begin with. Ford sold the cars at a base price, if you wanted to pay extra for all brass parts all well and good, if not, then you often had the parts that were painted black.
If you look at period photos, some cars will have very little brass parts, some a lot and others with a mix.
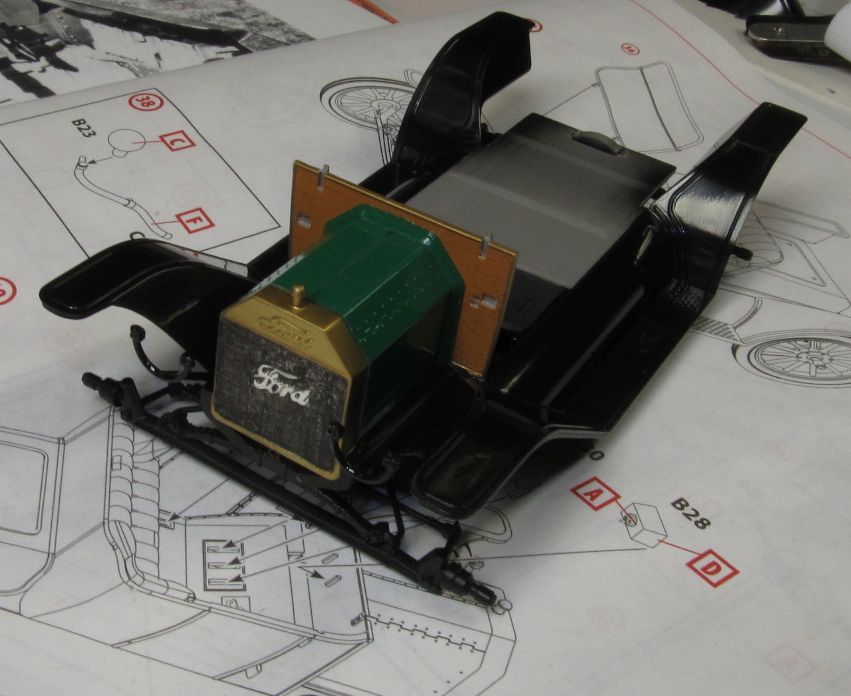
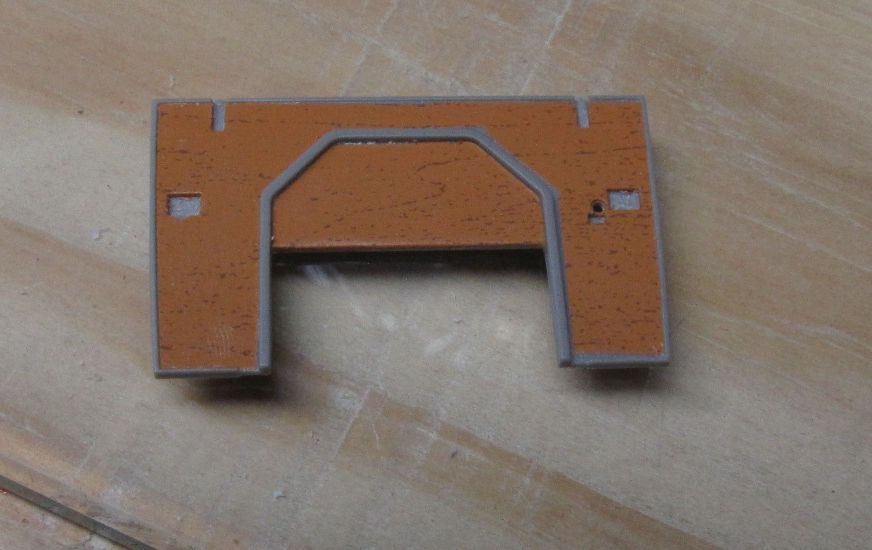
Part C8 is the firewall, Model T's of this period had the firewall made out of wood. Now there are two ways to make this effect that I am aware of. First, one can paint this piece a light tan color and when dried completely use a smearing technique with a darker brown to create the wood grain effect. It's like a dry brushing method, but more material is put on and rubbed horizontally to create the appearance of wood. You should practice this on a piece of plastic to get use the method. The other way is to get some wood grain decals and apply that. In this case I had some Superscale TF-27 light wood grain trim film that I cut to fit into the firewall ( both sides) and applied them.
A note on step 38, with installing the pedals (B30). From left to right they are the clutch, the reverse and the brake. In the real Model T these pedals were connected to the transmission via linkages, but the model has you glue the pedals into the slots. The clutch needs to be glued in the upper part of the left most slot. The reverse is glued into the middle slot at the lowest position. The Brake is glued into the furthest right slot in the upper most position.
The only fit problem I had was in getting the hood parts (B14, B21) in place. The radiator (D4) is glued to the frame early on and needs to be 90 degrees to the frame. The firewall (C8) needs to be glued to the frame (step 26) at 90 degrees as well and the body can be used to assure that. Just be careful not to get the body glued on at this point. I found that the hood parts would not fit unless I trimmed off a little at the front of the pieces until I got them to fit. Not a big deal but one you may want to be aware of.
Gas to The headlights for this year Model T used acetylene gas to create the bright white light. The gas was made in an acetylene generator which was a canister that held water in the upper chamber and calcium carbide pellets in the lower chamber. When water and calcium carbide mix the result is acetylene gas and lime as a by product. I mention this because in 1914 Ford began to switch over to electric lights for the headlights and these generators would disappear. The kit generator (D2, D3) has a seam all around it and I decided to make a new one out of plastic tubing to save some time, so this kit is not OOB. Another note, most of the pictures I seen of the acetylene generators they were painted black, with only of few all brass ones to be seen.
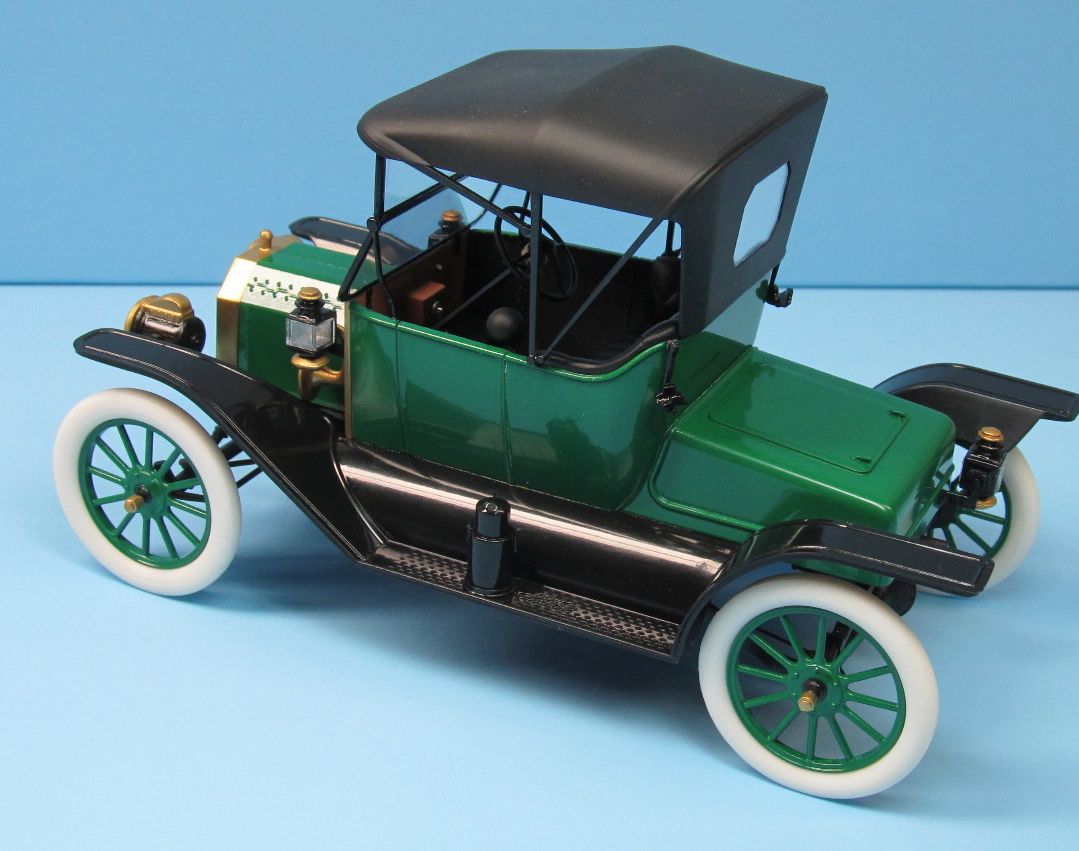
Overall this is a very nice kit that is relatively easy to build and definitely looks the part when completed. With some research and extra detailing this model can be made outstanding. There are only three things that I wish ICM had done. First, made the tires out of plastic and not vinyl. Secondly, make the canvas top folded, in that way all the find interior details could be more easily seen. Thirdly, make one side of the hood in a open position so all the fine details of the engine could be seen. None of the above really effect the kit, but I feel that these would enhance the kit. I would highly recommend this kit to anyone who has an interest in early automobiles.
I would like to thank MMD/Squadron and IPMS/USA for giving me the chance to do this review.


Comments
Add new comment
This site is protected by reCAPTCHA and the Google Privacy Policy and Terms of Service apply.
Similar Reviews