
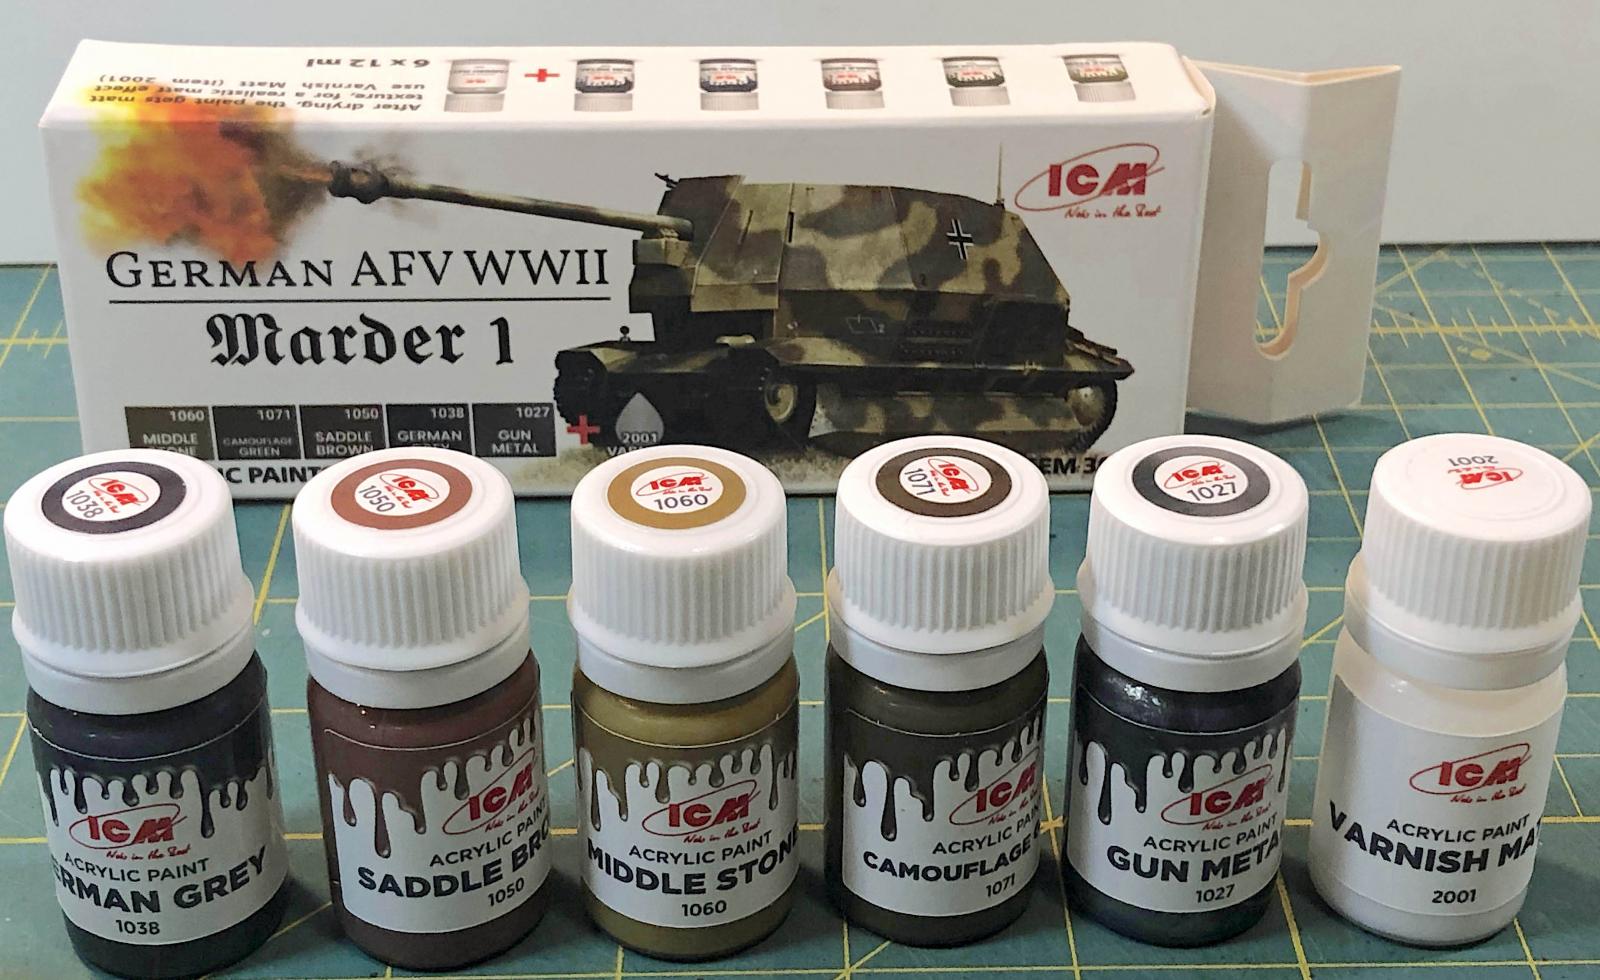
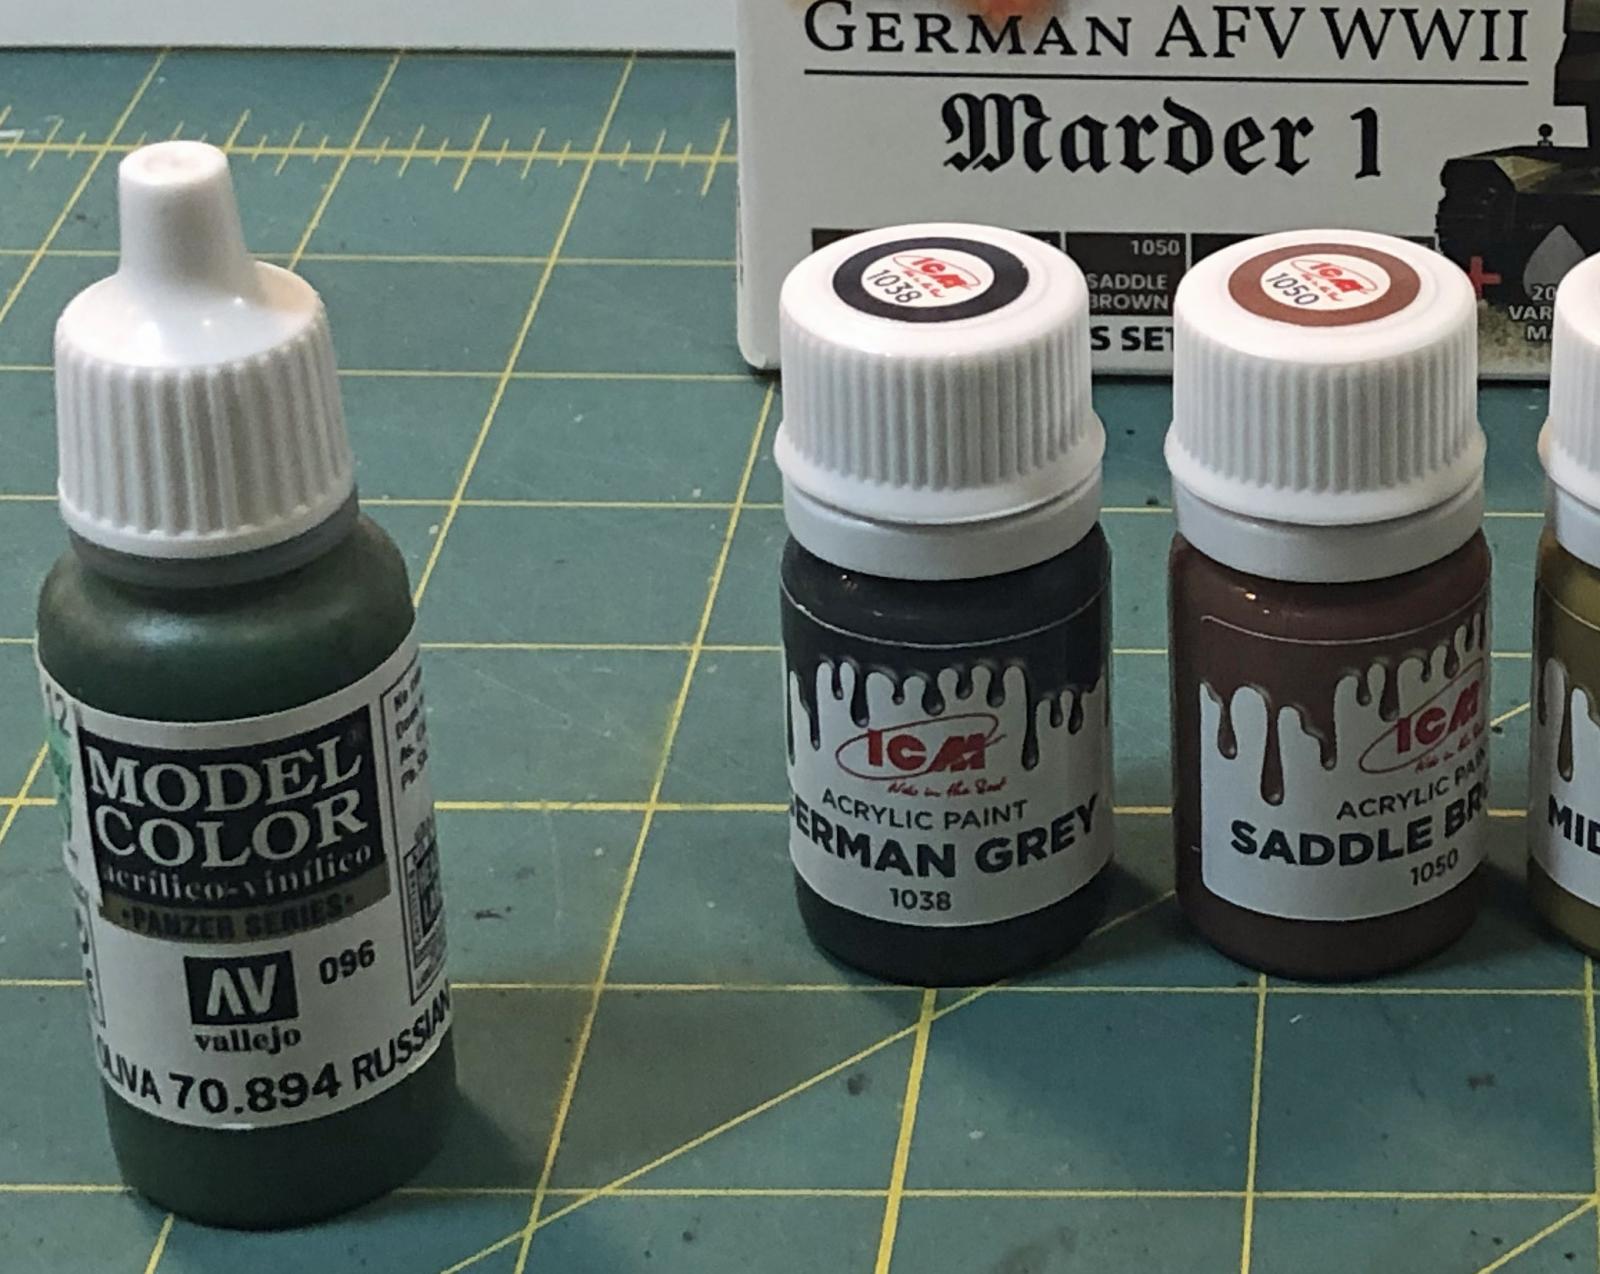
German AFV WWII Paint Set
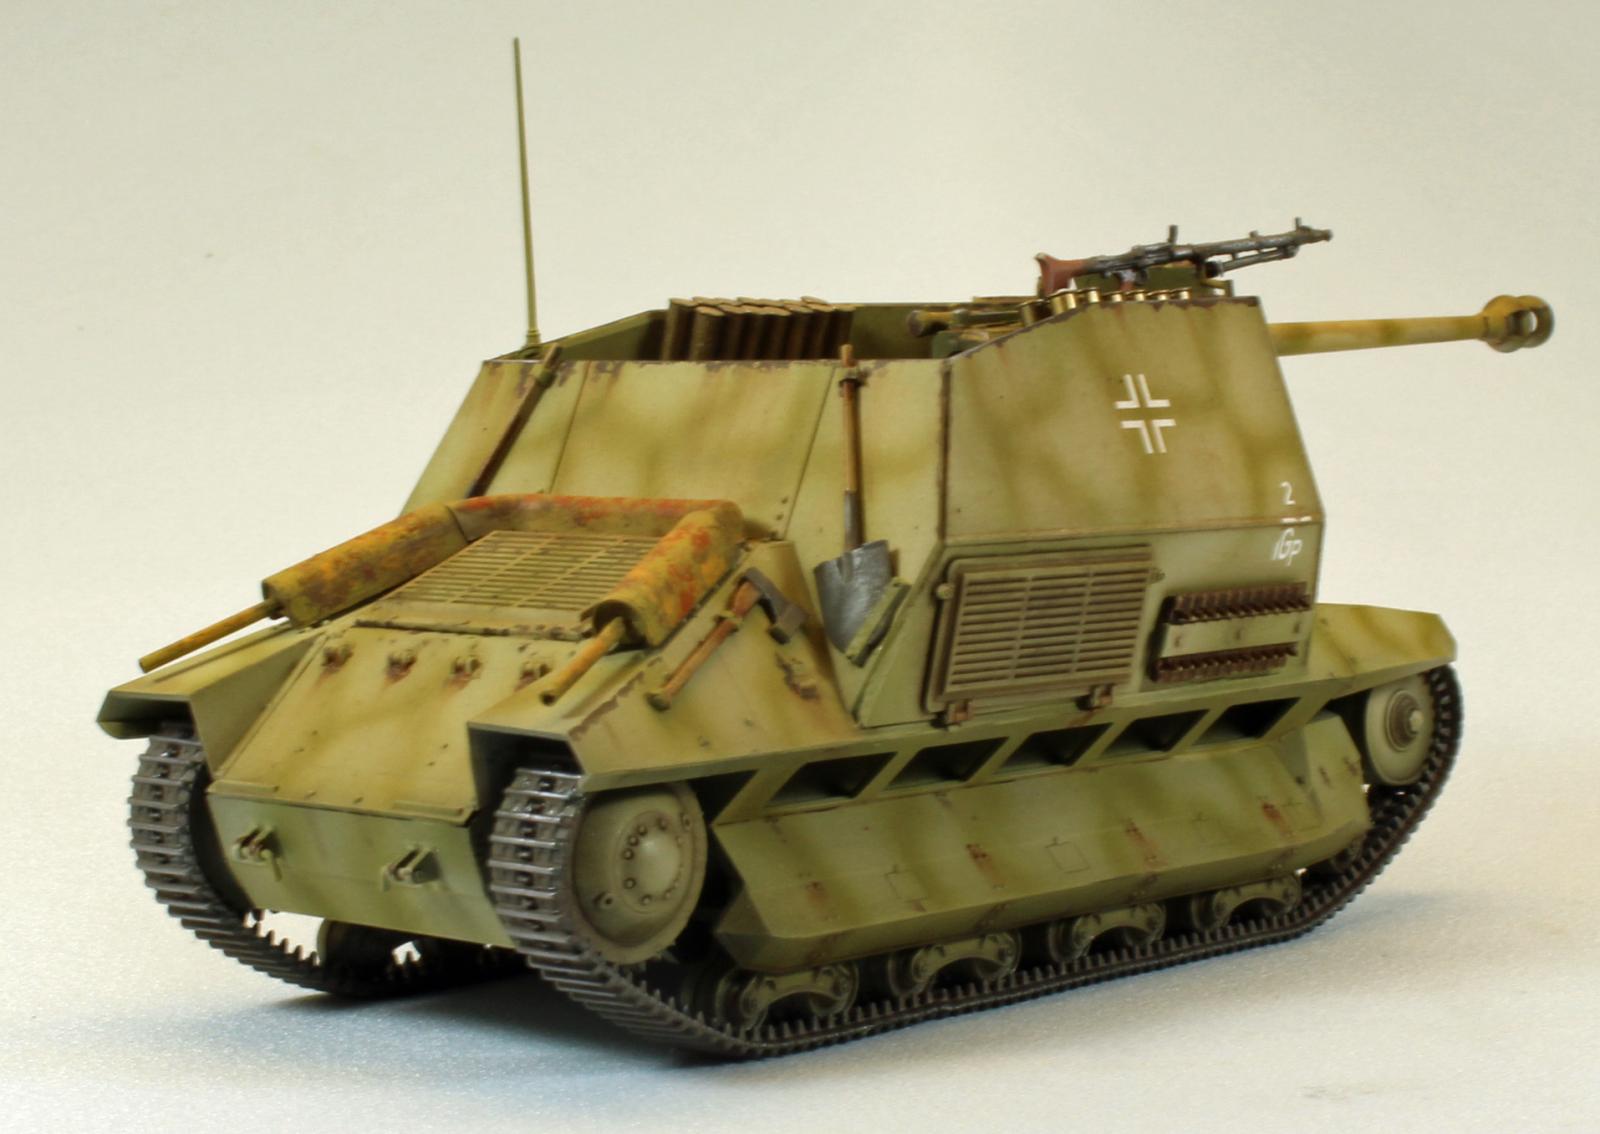
Prolific Ukraine-based ICM has apparently set its sights on the competitive acrylic paint market. First out of the gate is nicely packaged six-bottle paint set specifically catered to their new 1/35th scale release of a German Marder I based on the French FCM 36 chassis (see separate IPMS review here).
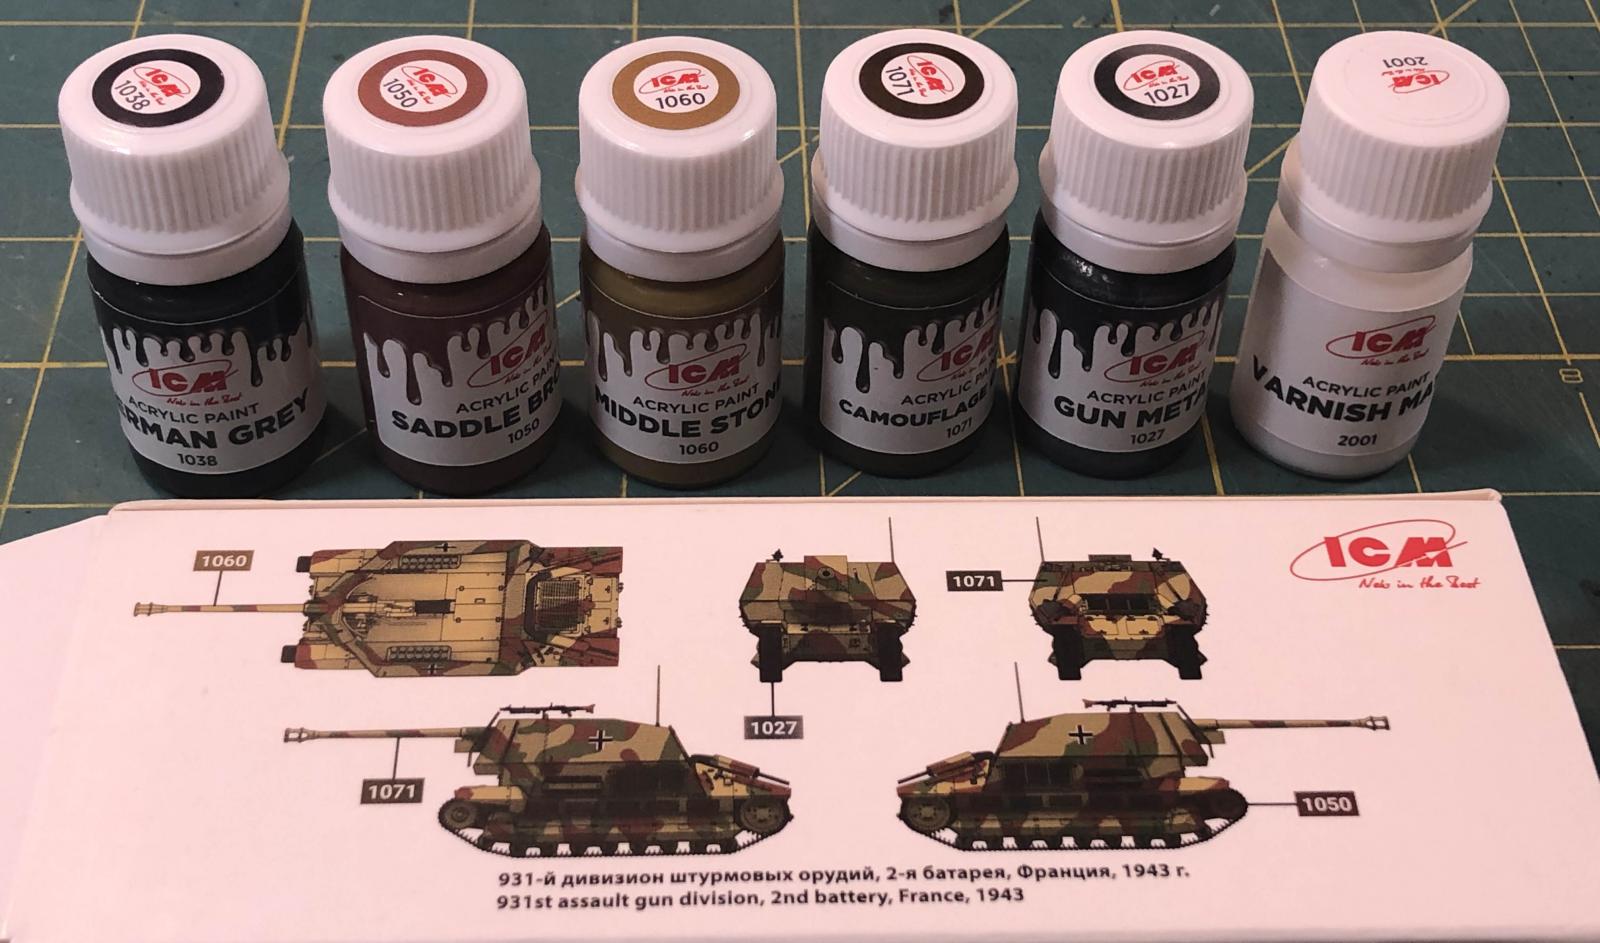
The box set comes with six bottles and a fold-out chart listing 77 colors and three varnishes, as well as a color swatch sheet. The chart compares the color range to the most popular current offerings, including AK Interactive, Tamiya, Humbrol, Vallejo, Gunze/Mr. Hobby, Testors/Model Master, RLM, RAL, FS, Revell, AKI Real Colors, and Citadel. The range being offered is broken into 60 basic colors, 6 clear colors, 11 metallics, plus 3 varnishes (gloss, matte, and satin).
ICM says that “the paint is prepared to be applied directly from the bottle by brush; use an airbrush with 40-60% water or acrylic thinner.” Furthermore, “once dry, the colors are permanent and waterproof. They are resistant to oils, enamels, washes, solvents, or any potentially aggressive technique.” With the varnishes, ICM adds “Most of the colors in the range have a semi-matte texture, for a glossy, satin or matte effect – use our varnishes.”
The only curious thing I can see about the paint is the bottle size – ICM has decided to go with a smaller, 12ml, flat-topped, screw-cap bottle, instead of the ubiquitous 17ml drop-bottles favored by many of their competitors, such as MIG, AK and Vallejo. Time will tell whether or not this decision will pay off for them.
Like everything else produced by ICM these days, the documentation is first-rate - provided using high-quality, full-color glossy paper, and translated into English.
Full Disclosure: I am not a chemist, nor really a very good paint tester. I like to build models, and I airbrush a lot for a person with a day job – perhaps 3-4 times a week. The goal of this review is to describe my experience painting an actual model, as opposed to painting three dozen plastic spoons, using a dozen types of thinners. I hope the information below is helpful.
My Equipment
For this review I used a Grex Tritium TG double-action pistol grip airbrush, with a CO2 tank as an air source, providing a nice, consistent air flow with no vapor condensation. I used the same needle and tip that Grex shipped the airbrush with. The equipment is important since I’ve found that success with acrylic paints relies on an approach that (may) be different from others, and that the settings I use may not work for every situation, starting with air pressure. Most sources recommend 10-12lbs for fine lines, which is a bit too low for me, at least for these paints. My airbrush was set using just over 15lbs, dialing the paint way down and holding the airbrush a little closer to the surface, about an inch or so. Even then, only one of the thinners I used (see below) consistently drew fine lines without encountering tip-dry (which is the true test of an acrylic paint) since the start/stop/start aspect of fine-line work really wants to dry out the tip of the airbrush. I pushed the pressure up to 20lbs for the base coats and primers without any problems whatsoever, regardless of thinner, understandably since the flow of paint was much greater.
Thinning
For straight acrylics (which is what this paint looks and smells most like), my go-to brands are specific to their paint brands - Vallejo Thinner for Vallejo paints, LifeColor Thinner for their paints, and Mission Models for theirs. Since ICM’s paint set did not come with a thinner, I experimented and found that Tamiya X-20A Acrylic Thinner provided the most consistent airbrushing experience, over LifeColor, Vallejo, and distilled water – each having their own issues. All thinners worked well enough to thin the paint for covering large surfaces without tip-dry, only the X-20A consistently gave me fine lines using the equipment and approach described above.
Priming
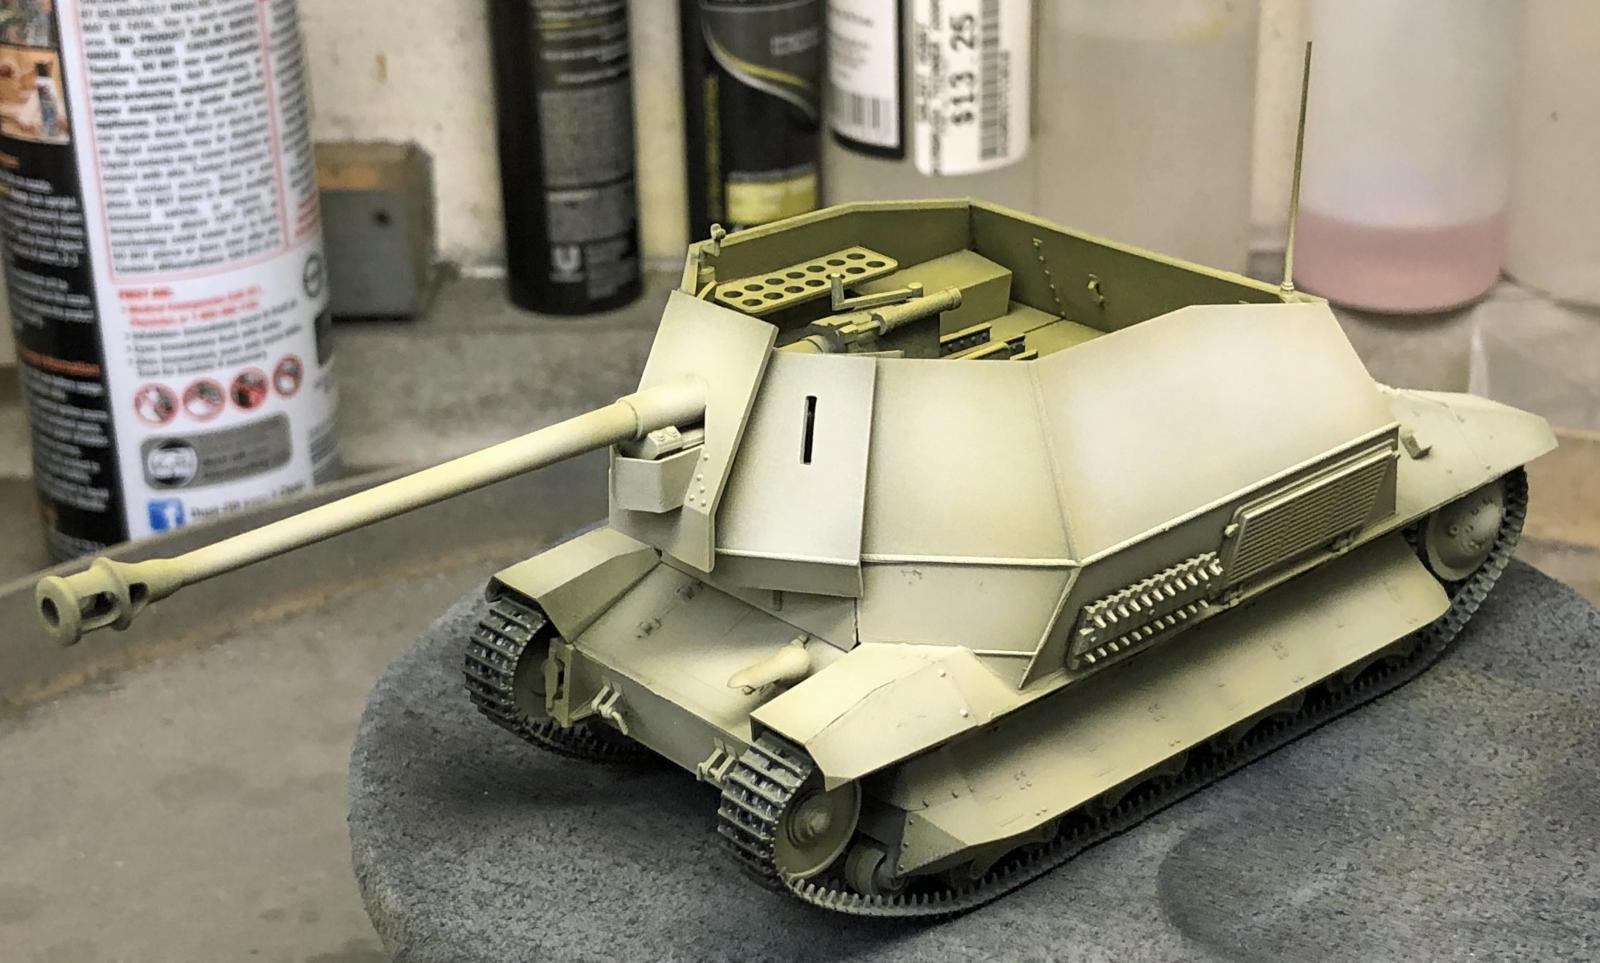
ICM recommends priming the surface before airbrushing. While other modelers may have different experiences, I have tried just about every acrylic primer on the market, and found that they all force me to compromise in some important way. Either they pull up with masking or are too delicate and chip off when used on PE or other metal surfaces, or else they cause me to jump through too many hoops to get the job done. My go-to primer for all of my builds is (either) Krylon rattlecan enamels for larger projects, or Alclad lacquers for smaller projects. For this review, I went with Alclad II (Flat) Black Primer and Microfiller (ALC309) since I wanted to start with a dark primer/pre-shade.
The Paint
The first thing I noticed is that ICM’s paint bottles have a sharp edge along the top, which helps in pouring the paint, since very little accumulates along the edge to dribble down. The next thing I noticed is how thick the paint is - I can see why it works so well with brush painting. For airbrushing, this paint will probably not mix well enough directly in the color cup, as with some other, thinner brands. I have found that mixing thicker paints using a separate plastic container (like a disposable, clear condiment cup) works best, so I can watch the mixed paint flow down the sides and judge the proper opacity for airbrushing. The good news is that with ICM’s thicker paint you don’t need to use as much – the smaller bottles may very well end up competing evenly with their larger 17ml peers.
So, Let’s Get Started
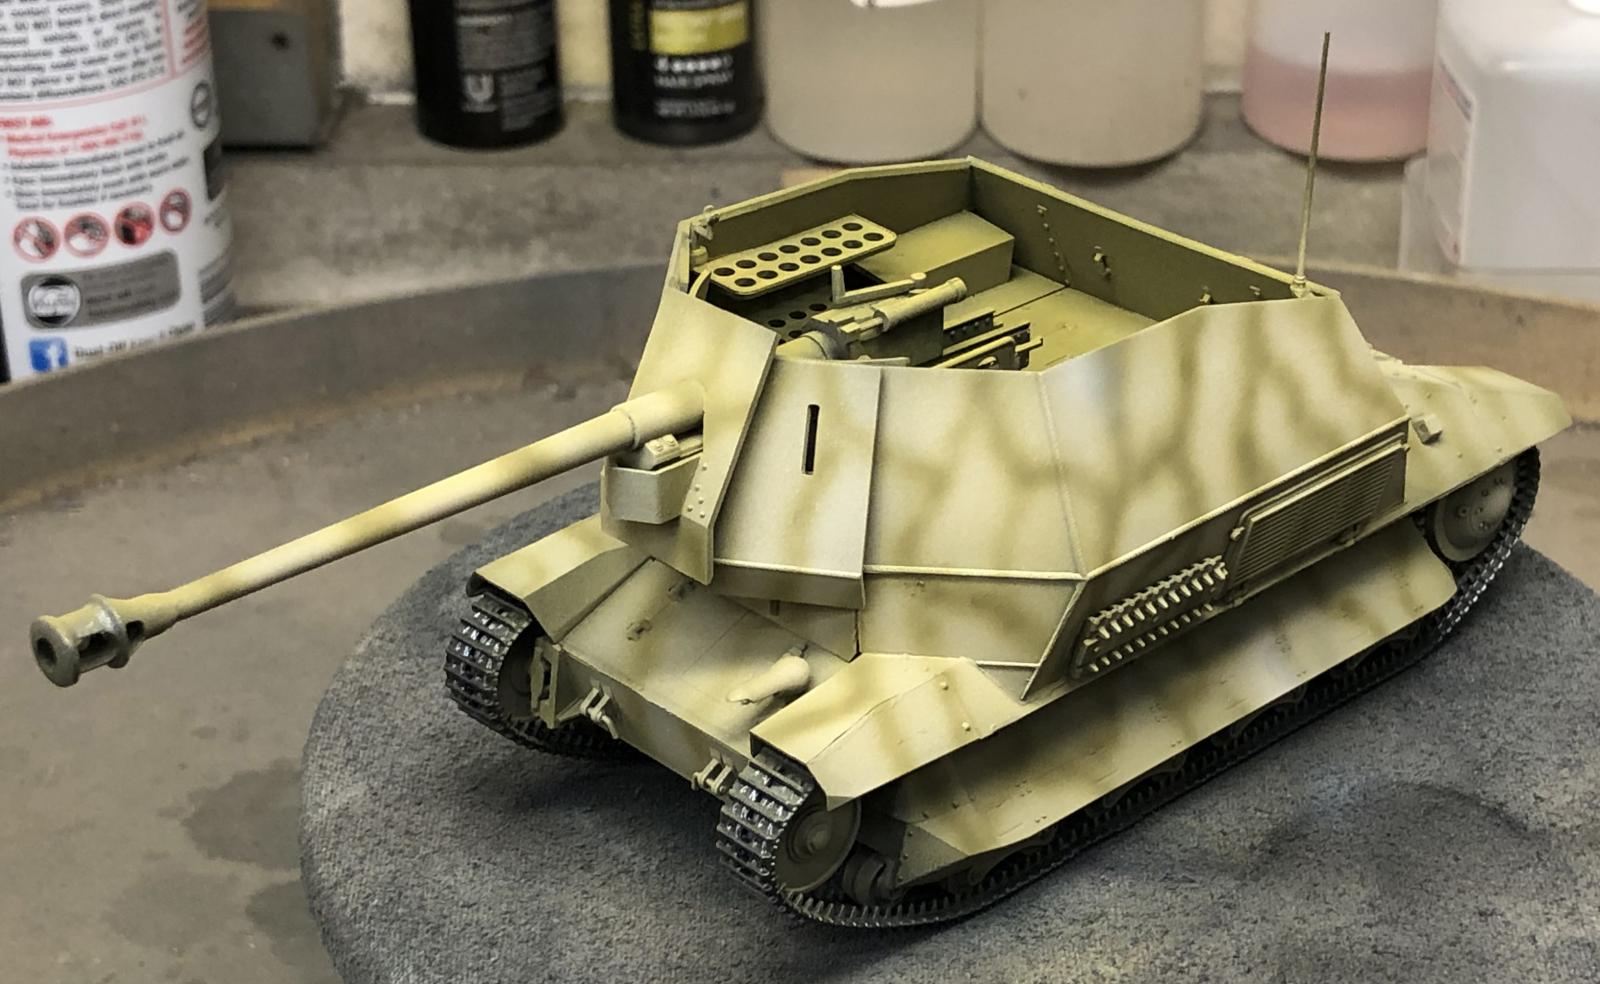
The sealed jar of (1060) Middle Stone, when opened, was not completely full, and relatively thick when compared to other paints (of any type), with a consistency similar to (thick American) pancake syrup. The sealed jar of (1071) Camouflage Green, however, was only 3/4th’s full, and very thick – like dense mustard. I remember hearing the seal break, so I don’t know how the paint could have settled so much. I was able to add thinner to bring each color to the consistency needed for airbrushing acrylics, but in each case the ratio of paint to thinner was different, as expected since the paints were of different thicknesses.
Each color sprayed very nicely and covered well when laying down a base coat or filling in large, outlined areas. When I dialed down the paint flow to create the thin camouflage outlines, however, I ran into tip-dry issues almost immediately with some of the thinners. The addition of Liquitex Flow-Aid and/or Vallejo Paint Retarder had little effect (I suspect this paint already has one of these ingredients in it since it hand-brushes so wonderfully). When I added additional thinner, the paint started to run, as most acrylics do when they are overthinned. No surprise there.
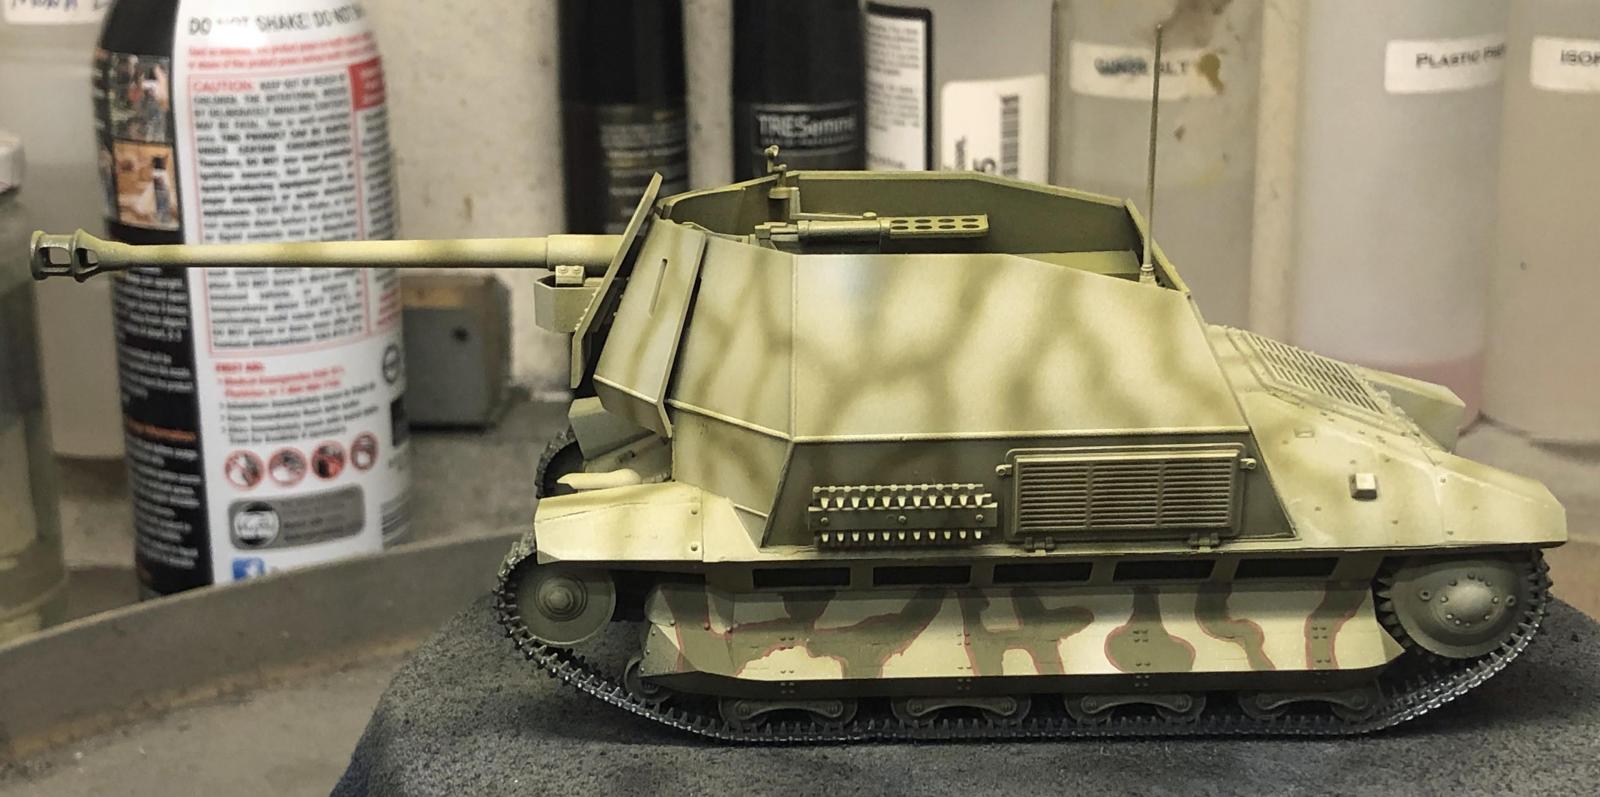
The Middle Stone laid down beautifully over the primer, but I felt the Camouflage Green was too similar in color to use against the dried Middle Stone – I did not feel the two colors were different enough to use in a standard camouflage scheme. I also felt that the Middle Stone, over the black primer, would end up too dark after weathering, so I decided to leave the interior of the model Middle Stone, and lighten the external surfaces with a post-shade coat of Deck Tan (from another paint manufacturer). Once that had dried, I painted a thin-line pattern using ICM’s Camouflage Green, which came out fine.
Next, I tried using Vallejo Airbrush Thinner with the ICM Saddle Brown, but I could not achieve the same fine-line work that I had with the X-20A thinner. I let everything dry, re-sprayed the Deck Tan, and started over – with the X-20A, which resulted in the exact same experience as with the original green lines. Consistency is a critical aspect of airbrushing acrylics.
Chipping
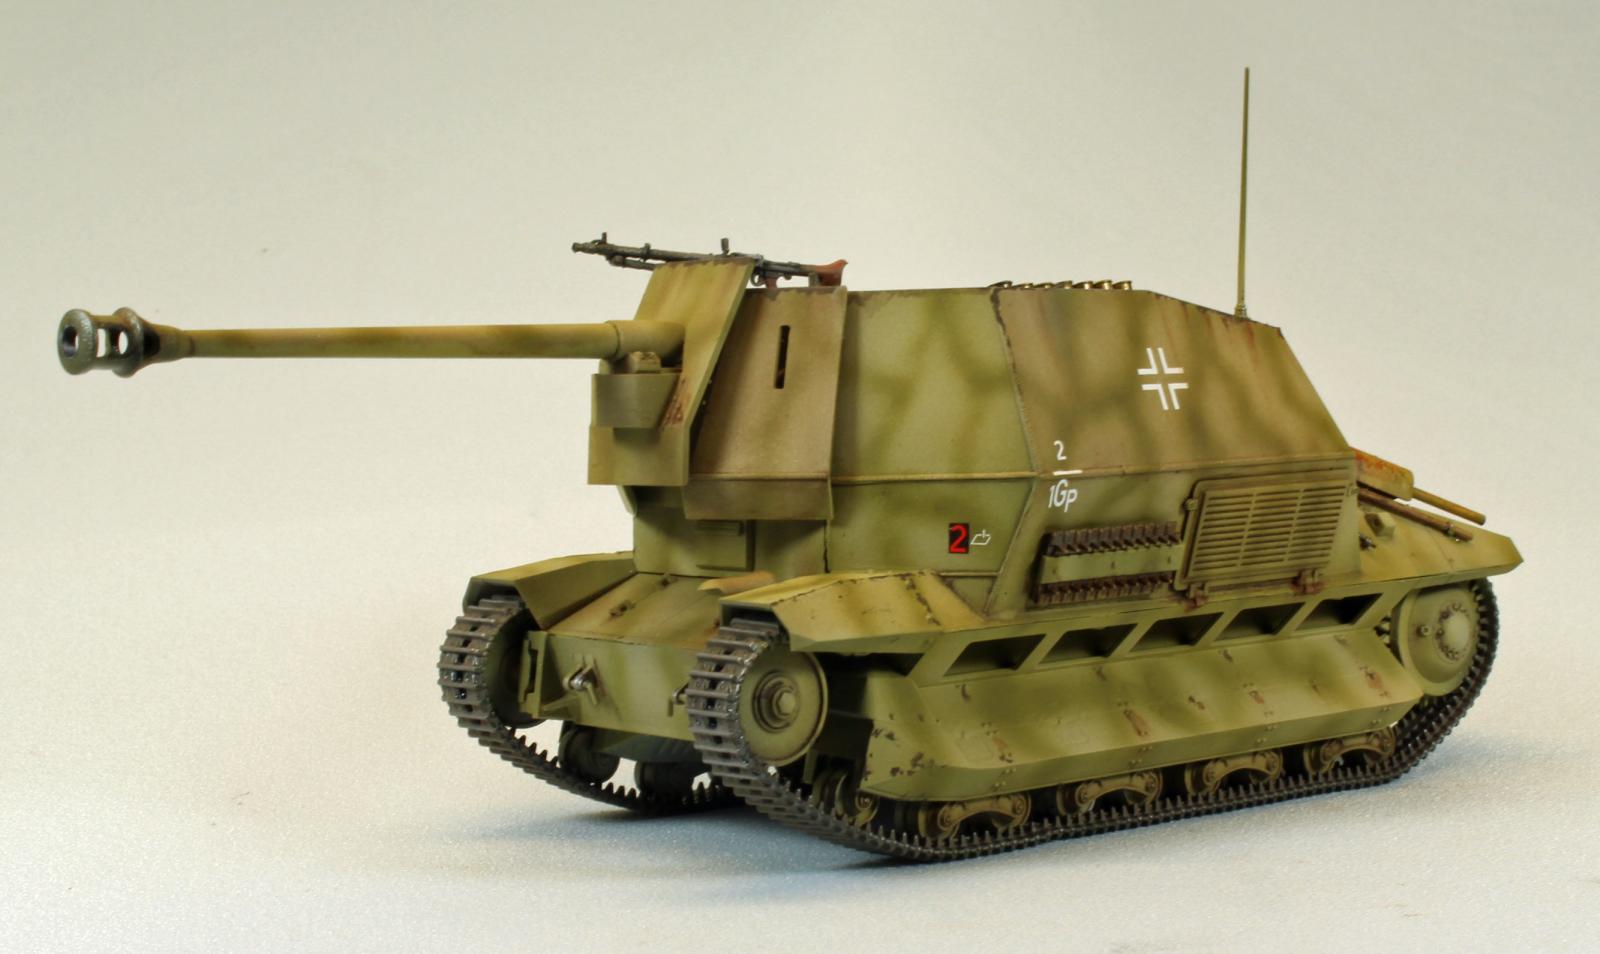
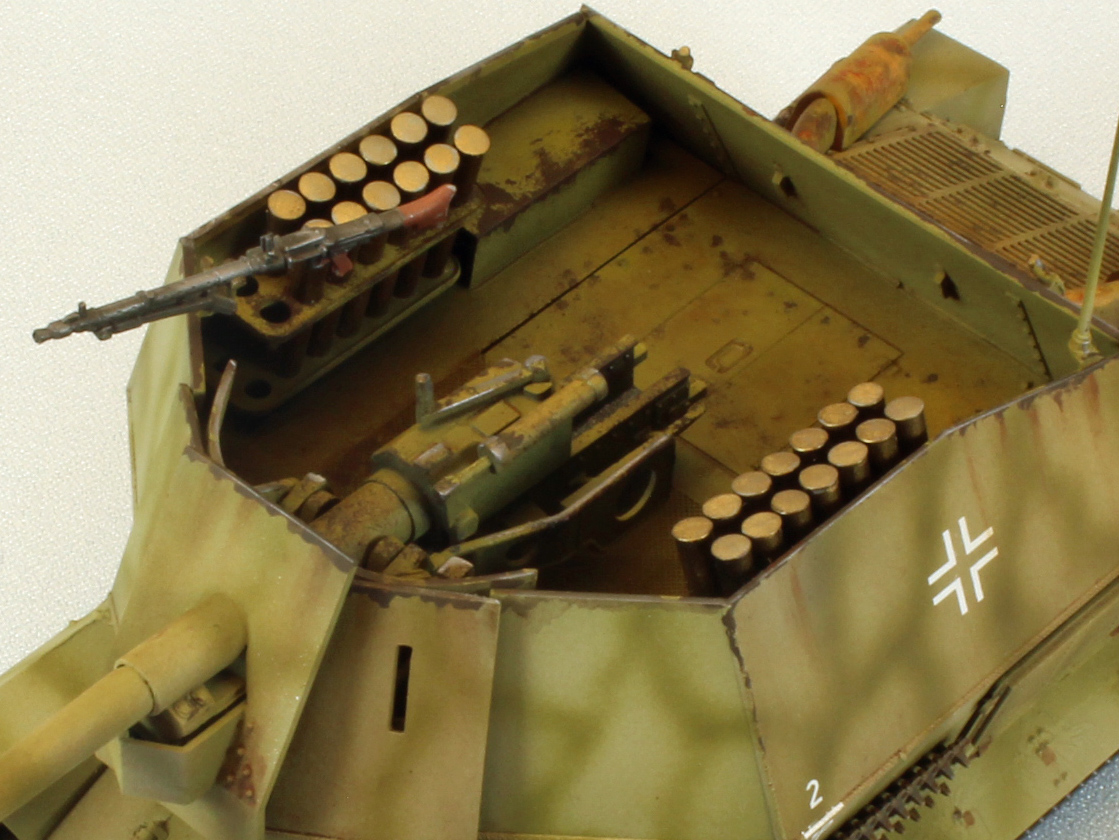
I tried one of my favorite weathering techniques (chipping using hairspray). I hand-painted the exhaust pipes and muffler of the Marder I with Lifecolor 702 and 703 Rust in a random pattern. Once that was dry, I brushed on a layer of MIG Chipping Fluid followed by a coat of ICM’s Middle Stone so that I could work off some of the base coat to show some wear. While the paint chipped effortlessly, it came off in pieces that were larger than I had hoped – which is fine; you’ll just have to be careful using this technique.
Matt Varnish
ICM’s 2001 Varnish Matt is very thick, similar to their paints. The instructions on the bottle say to use the same thinning ratio (40%-60% thinner-to-varnish) as their paints. Having done so and trying it on a small section of the Marder using very light passes, the product went on pebbly at 20lbs, worse so at 15lbs pressure. I upped the ratio to 75% thinner-to-varnish, and while the pebbles did not appear, the area I went over several times still remained somewhat shiny (probably due to the thinner mix). What’s more, after each pass, when I ‘air-dried’ the surface using just air out of the brush, the (heavier mix) dried with noticeable (shiny/flat) patterns on the surface of the Marder. I did not want to try other thinners with the varnish as this was the ‘final’ coat on my Marder, so I used a product from another manufacturer to finish, which thankfully erased the patterns from the heavier mix.
I would be the first to admit that my experience could be explained by my choice of thinner, or air pressure, or the amount of product dialed in, or some other factor. Perhaps with a lot more testing I would have arrived at a perfect combination of the above – I don’t know. But the original look and thickness of the varnish, something akin to Elmer’s (white) glue, concerned me, and would be a challenge to thin down consistently, project to project. I think I would have preferred to see a pre-mixed/pre-thinned varnish, if available, since applying the final coat of anything on a project is already fraught with enough peril to be unsure about the flat coat.
Clean Up (airbrush)
Cleaning up acrylic paints in your airbrush is a breeze if you use the right approach. First, I try not to let the paint run dry if possible – I mix up double the quantity of paint that I need and pour what’s left into its own, labeled, container. This helps a lot because acrylics literally ‘air-dry’ up inside the airbrush if I let it run dry. Next, after wiping out the residue with a cotton earbud, I squirt in a little of the same thinner I am using, mix it around with another earbud, open up the paint flow, and blow that out. I then squirt in a good amount of (50/50 premixed combination) of Windex window cleaner and Denatured Alcohol – (the kind that cleans windows), and blow that through the brush. I follow that with a good squirt of distilled water, which rinses out the ammonia from the Window cleaner. The last step I take is to squirt a bit of Tamiya ‘pink-top’ lacquer thinner in. I blow that through until it is nearly gone, and then leave the remainder in the cup to evaporate away. This simple routine allows me to break down my airbrush perhaps twice a year, and I airbrush 3-4 times a week. It is unusual if I have to break it down more than that. I use this same basic approach for lacquers, enamels, Future (Pledge product) – anything that goes through an airbrush.
Hand Painting
ICM’s paint is very thick, and brushes on that way – easily covering with a single pass. The brushstrokes, streaks and layers of the thick paint even out completely when drying, however, so there must be some kind of leveling additive that ICM is using in the mix. I painted over other ICM paint that had been drying for just a few minutes without affecting the underlying paint. Hand-brushing this paint is effortless and risk-free, if you have the talent – which unfortunately, I don’t. I wasn’t happy with the paint scheme I was trying to portray, even though the paint itself performed flawlessly. I ended up re-spraying the camouflage on the one panel I had hand-brushed (and photographed) and called it a day.
Clean up (paint brushes)
My brushes cleaned easily with tap water.
Conclusion
I am a big fan of ICM model kits, but I had some airbrushing issues with the sample of paints I received for review. The inconsistency of thickness caused me to change my approach and mixing ratios depending on what color I was using. Certainly not something that can’t be overcome, but it points to a possible quality control lapse somewhere along the line. The thick paint lays down beautifully when hand-brushed, and perhaps with more experimentation I would achieve better airbrushing results. As a model builder (and not a chemist), however, consistency is important – I really don’t want to think about my paint very much; I just want it to work like the last time I used it.
The acrylic paint market is very competitive, and I believe ICM has a line of paints that can easily stand up to the very best available, with maybe just a little more work. I will continue to work with these paints on future projects and see if I can dial in the right approach to get them to perform as well as I would like.
ICM paints come in a huge variety, are odor-free, and allow me swap my heavy, uncomfortable vapor mask I use with distillate-based paints for a simple painters (particulate) mask, and that is always a plus!
I would like to thank ICM for providing these paints for review, and to IPMS USA for giving me the opportunity to use them.


Reviewer Bio
Eric Christianson

Eric Christianson is a father to two boys (Reed and Dean), the President of the Seattle Chapter of IPMS, and a long-time Little League umpire. He is also a devoted husband and companion to a wonderful woman named Jackie who enthusiastically supports his passions. Recently retired as a programmer, his home office has been scratch-built into ‘a perfect model room’. Modeling since he was a boy, Eric mostly builds armor these days, but still dabbles in 1/32nd aircraft and other types of models from time to time. He also enjoys presenting seminars on weathering and technique at local shows. Many of Eric’s kit reviews can be found on the IPMS USA website.
Comments
Add new comment
This site is protected by reCAPTCHA and the Google Privacy Policy and Terms of Service apply.
Similar Reviews