FW-190A-8 Engine
What’s in the Box?
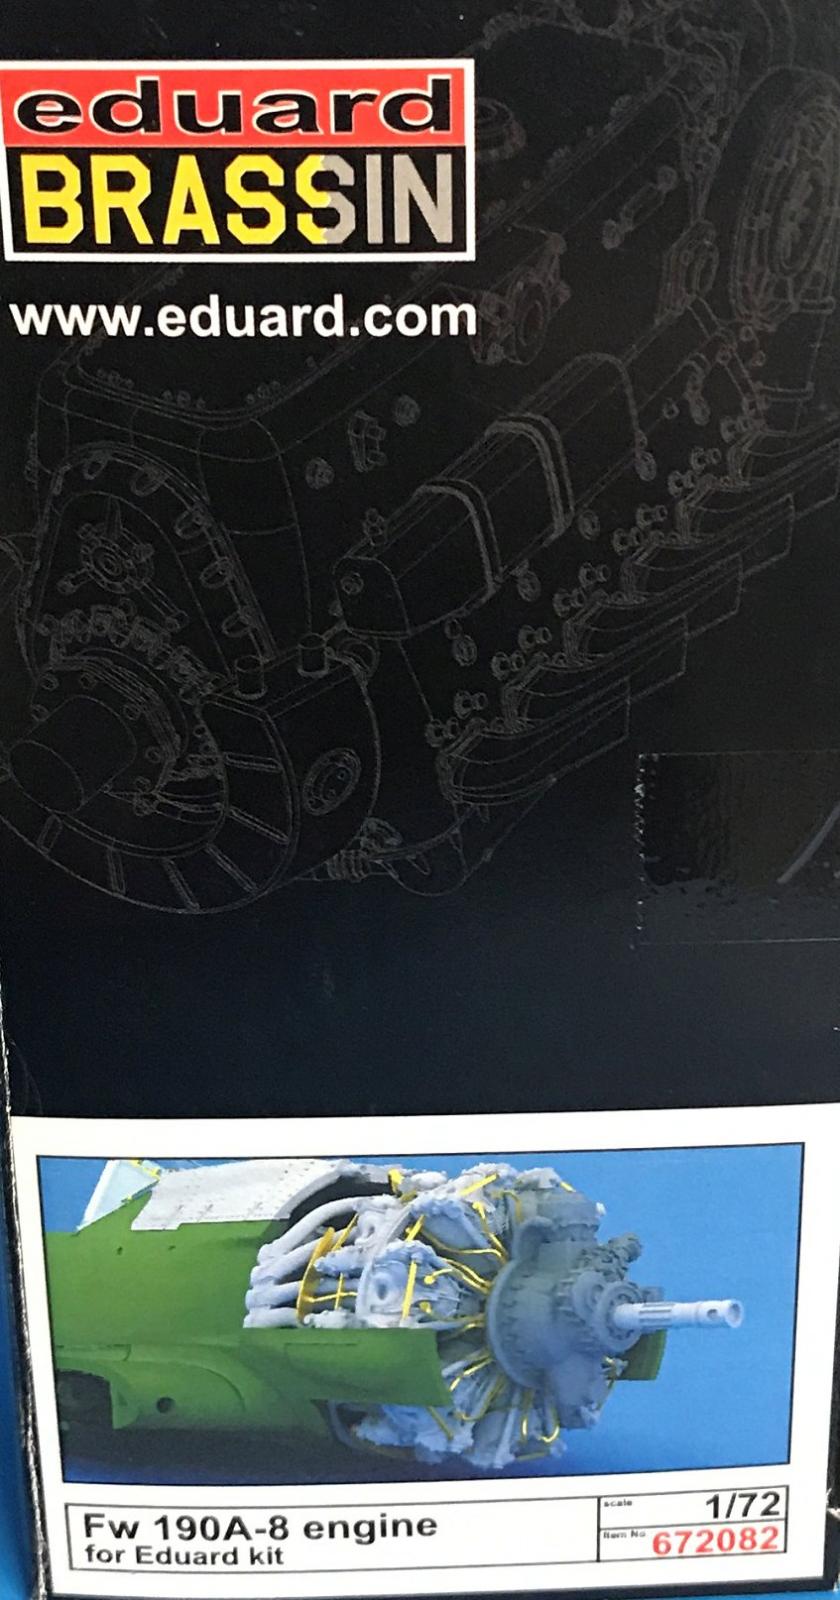
This Eduard Brassin set is for the Eduard Fw 190A-8 kit. The set includes detail parts to add to a highly detailed engine to replace the simple kit piece and make for a very detailed open paneled butcher bird.
The resin and photoetch parts inside the box looked great and are very well molded and even the etched parts, while microscopic, provide an added value and level of detail.
The 20 included items are as followed in this boxing breakdown:
- 5 Main Engine Assembly pieces
- 6 Sub Engine pieces and assemblies
- 8 Replacement panels and propeller cowling
- 1 Photoetched fret to include harnesses, fuel lines, wiring and chain assemblies
The Engine Buildup
The assembly instructions are very clear and detailed but very busy at times and will definitely have you looking at front and backs, and taking this thing apart frequently to test fit.
Steps 1 through to 11 are the main engine assembly. This wasn’t a difficult build but just small and required a lot of patience. I painted the assembly at each bulk stage once I had major assemblies together that used the same color callouts.
Steps 12-15 went into detail the required surgery to make the new engine fit and a give you a good idea of how the new resin replacement engine panels would line up and be positioned. I used a combination of both KMC and JLC razer saws, a #11 and # 15 scalpel blades to trim and cut the required panels.
A good set of files comes in handy as you come to some of the odd and finnicky angles as I did; it made my life easier and cleanup later down the road a whiz.
The next and final few steps consist mostly of the required steps used to shove the little fat engine in place and seal all those panels up, trust me you are almost there and it’s such a relief to see all that guess work paying off and everything falling into place.
Finishing
I used model master enamels for this engine set. For base painting, I used Model Master flat black for the cylinder heads and the bulk of the engine metal assemblies, it was easier to paint the entire engine prior to adding the exhausts on both sides and the rest of the additional engine pieces.
The exhausts stacks where all painted with model master rust enamel and I have to say im very pleased with how it looks on model parts, it gives that deep rust look.
After the cylinder heads and radial blocks where painted I dry brushed some Testors silver to accent the engine detail. Oh, I forgot to mention color callouts for the set call for Mr. Color but hey we all have our opinions and preferences.
The Plug wires where painted silver. After all painting was done I sealed the engine with Testors Dullcote to give it a nice flat finish.
Conclusion
I have a very fond love for the FW 190 series of planes and anytime I can get my hands on something related to such topic I jump on it. Eduard has come a very long way with its 1/72nd revolution and you guys have made a believer out of me for life!
My thanks to IPMS and the reviewer corps along with a big shout out to Eduard for the opportunity to enjoy their wonderful products once again.


Comments
Add new comment
This site is protected by reCAPTCHA and the Google Privacy Policy and Terms of Service apply.
Similar Reviews