
Fokker D.VII (OAW)
Background
Arguably one of Germany’s premier fighters in World War I, the Fokker D.VII quickly became won acceptance by its adoptive aircrews as it began to enter service in the summer of 1918. A well-balanced and stable gun platform, with exceptional maneuverability and reliability, the D.VII demonstrated significant performance improvement over prior Germany types, including its famed older brother, the Fokker Dr.1 triplane.
In order to meet wartime demand, Fokker licensed production of the D.VII to Albatross. Albatross cranked out the D.VII at its Ostdeutsche Albatros Werke (OAW) facility. Multiple models were manufactured, incorporating running changes and three distinct powerplants – two of Mercedes origin and one from BMW.
By war’s end 2,800 D.VII’s rolled off of the production lines.
Kit Overview
Kit 8131 is a re-release of a relatively new kit with updated box art. As with other ProfiPACKs, photo-etch, masks, and multiple marking options are included.
Benign-looking to the casual observer, the kit consists of 5 trees of parts with hefty recessed detail, crisply and cleanly molded in soft, light tan plastic. A small fret of PE and a small sheet of masks are also included along with 4 sheets of colorful decals, (markings for 4 aircraft) and intricate lozenge camouflage, round out the box contents.
Two sets of fuselage halves and engine components are included to give the modeler a choice of Mercedes- or BMW-powered aircraft. Control surfaces are molded separately.
As noted in the Kit Overview, the box full of parts and decals gives the modeler the impression that the kit will be a quick and easy build. As typical to most of Eduard’s offerings, engineering and production quality is superb. Having last completed a biplane nearly 2 decades ago, I was looking for a quality kit from the good folks at Eduard to help ease me back into the world of fabric, wires, and open cockpits.
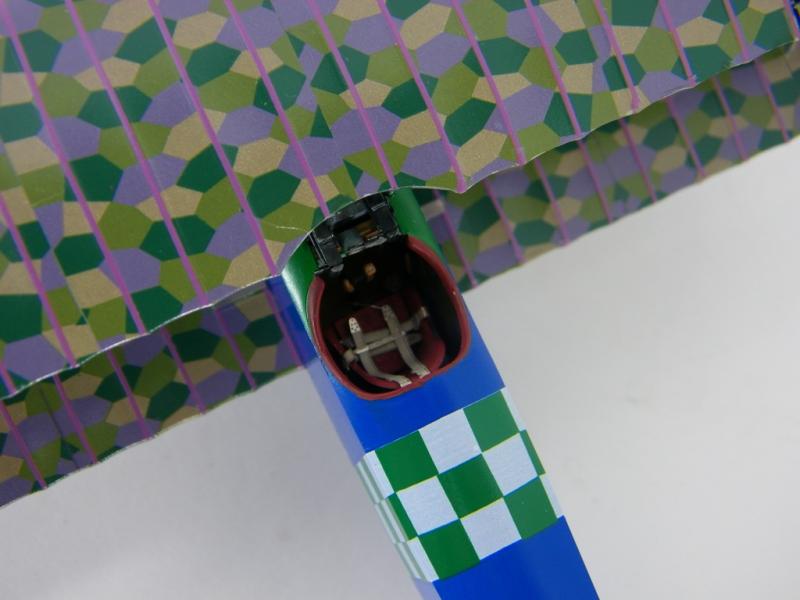
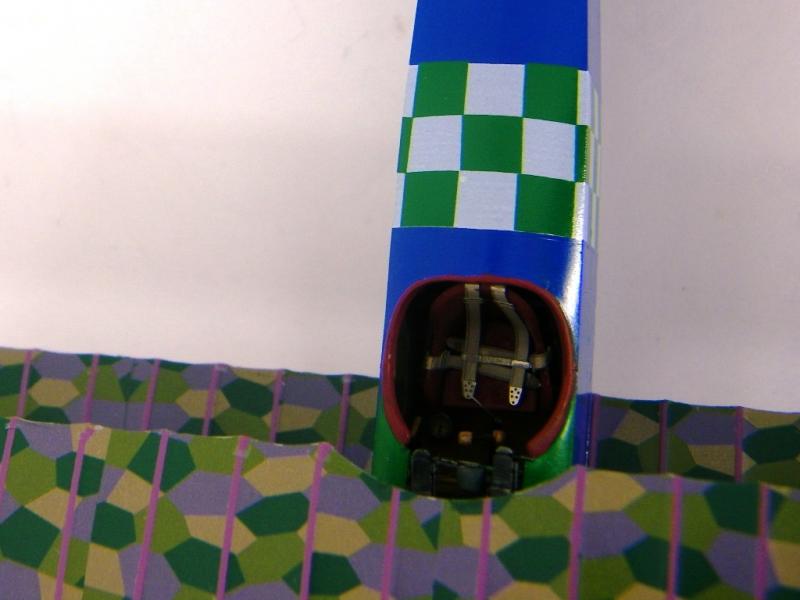
Cockpit, engine, wing, and empennage subassemblies went of without a hitch. Excellent fit of the parts and a little buffoonery on my part required only a couple dabs of putty to fill errant trim marks left by my hobby knife. Eduard includes lozenge camouflage decals for interior walls of the cockpit - way cool (at least for WWII and Jet-Age guy)! A handful of PE gauges and handles, and harnesses make the cockpit really “pop.” Assembly of the fuselage halves was nearly as clean, but did require a couple more dabs of putty. I was disappointed, however, that the cute little 6-banger BMW engine was almost completely hidden when the fuselage halves were glued together. Eduard does provide some sharp color CAD renderings for those brave AMS-stricken souls who wish to do some scratch building around the engine compartment, however.
Modification of the twin LMG machine guns with PE detail was straightforward, but some frustration was encountered with geometry and size of the cartridge discard chutes. I need to trim mine significantly to fit into the tight real estate parceled out for the guns just forward of the cockpit.
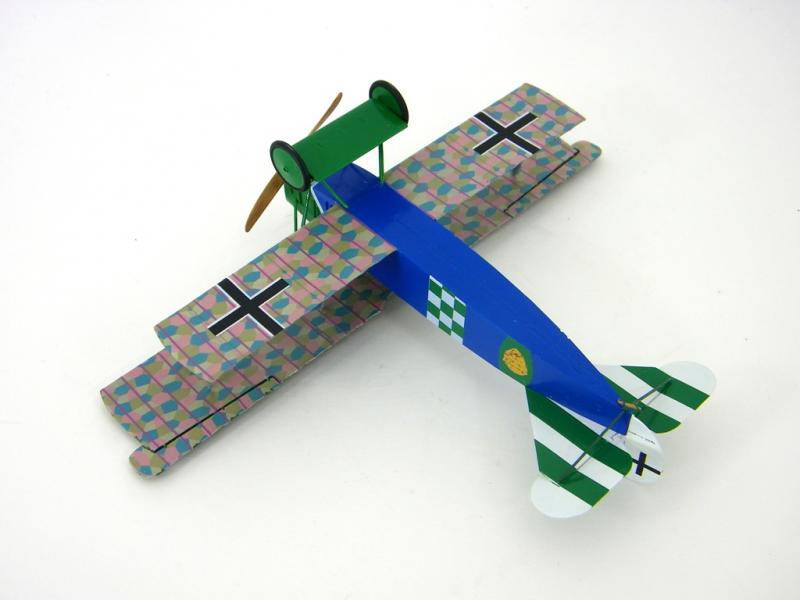
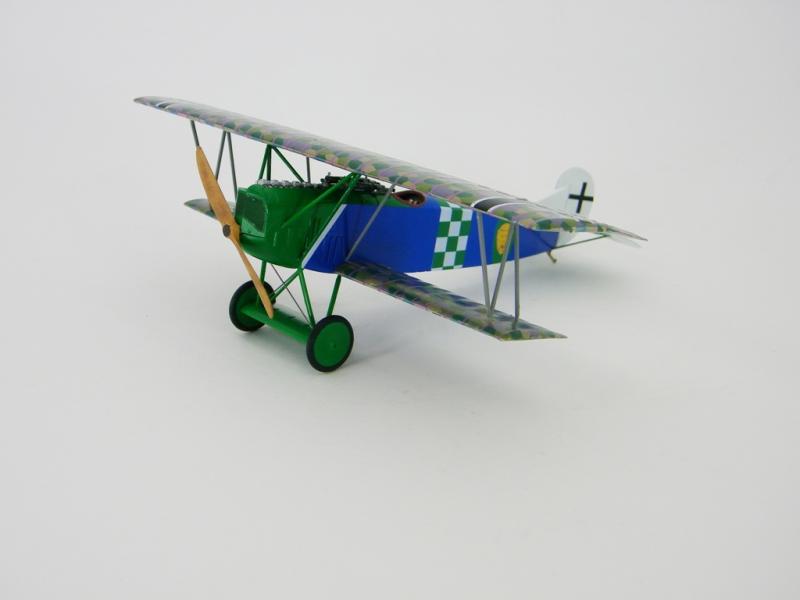
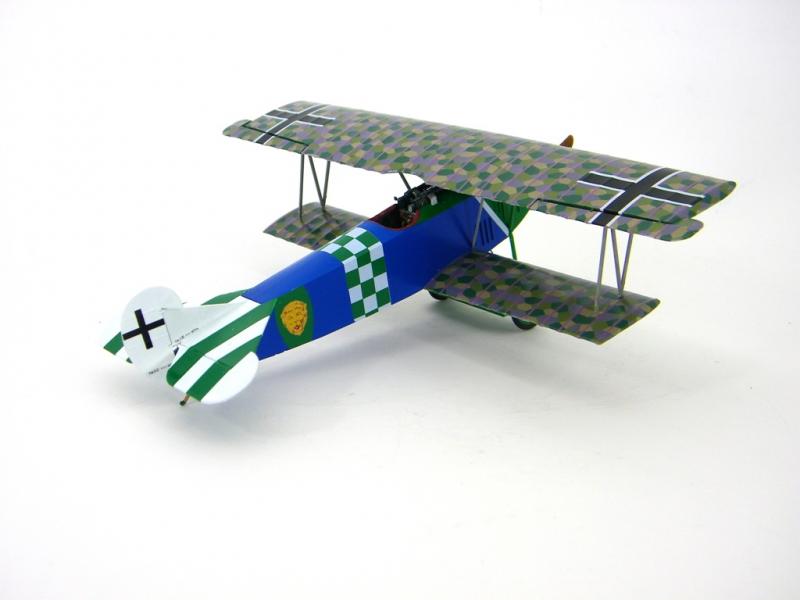
After a quick wipe-down, masking, and a coat of Tamiya primer, I airbrushed my kit with Model Master Acrylics in the “B” scheme – Franz Buchner’s mount from Jasta 13.
After a couple days’ cure time, the decals followed…boy…were there a lot of decals!
Pre-printed lozenge decals lulled me into a sense of complacency and well-being. I didn’t have a clue I’d be applying nearly 100 little stripes on the wings and ailerons – at least not until I got to that step and really understood what the instructions were illustrating. Holy Cow! Fortunately, decals were well-printed and in register, and responded fairly well to the MicroScale system. Nearly 12 hours were invested in marking the plane.
Once the decals had set, I set the interplane struts in their respective lower wing mounts with a couple drops of CA, being careful to ensure they were plumb, and then tacked on the top wing with a couple more drops of CA. Another dozen drops of CA, and the remaining struts were in place, and wobbliness of the wings was gone.
Undercarriage assembly required a bit more TLC and slower-drying cement. I chose to dry fit the undercarriage struts to the airfoil, and then cement them with Tamiya Extra Thin Liquid Cement to allow enough time to nudge and align. When the Tamiya cement was nearly dry, the opposite ends of the struts were CA’d to the fuselage. This provided just enough time to line everything up, hold for a few seconds, and then let it all go to fully cure.
Recommendation
Given the PE, decal intensity, and general delicate nature of the kit, I would strongly recommend this ProfiPACK edition to experienced modelers with recurring AMS (advanced modelers’ syndrome). Beautiful kit!
Thanks to Eduard for providing the sample kit for the review.


Comments
Add new comment
This site is protected by reCAPTCHA and the Google Privacy Policy and Terms of Service apply.
Similar Reviews