
F9F-8 & F9F-8P Cougar
Overview
The F9F-8 Cougar was a carrier based early swept wing jet that was light, fast and had good range and load carrying capacity. It was developed from the F9F Panther which was a straight wing jet. The operational career for the F9F was 1951 to 1974. It was also used as a photo recon and two seat trainer.
The Kit
Kitty Hawks 1/48 scale F9F Cougar is the first 1/48 kit since the Revell kit and a couple resin kits of the 60s and 70s. It seems the Cougar has been like the red headed stepchild of the model world. That has changed now that Kitty Hawk has the F9F-8T trainer and the F9F-8 and -8P Cougars.
Right out of the box the kit looks very good, nice moldings, crisp panel lines, photo etch parts. The instruction sheet is very well laid out and has pictures of the sprues, photo etch, and decals to let you identify the parts. The kit has a big decal sheet to do five different airplanes, three fighters and two photo recon planes. The instruction sheet has very nice color renderings of the five planes with the decal numbers and placement. The only discrepancy was the color of the VF-61 plane. It says FS36622 gray for both top and bottom but it should be gloss white for the bottom.
The Build
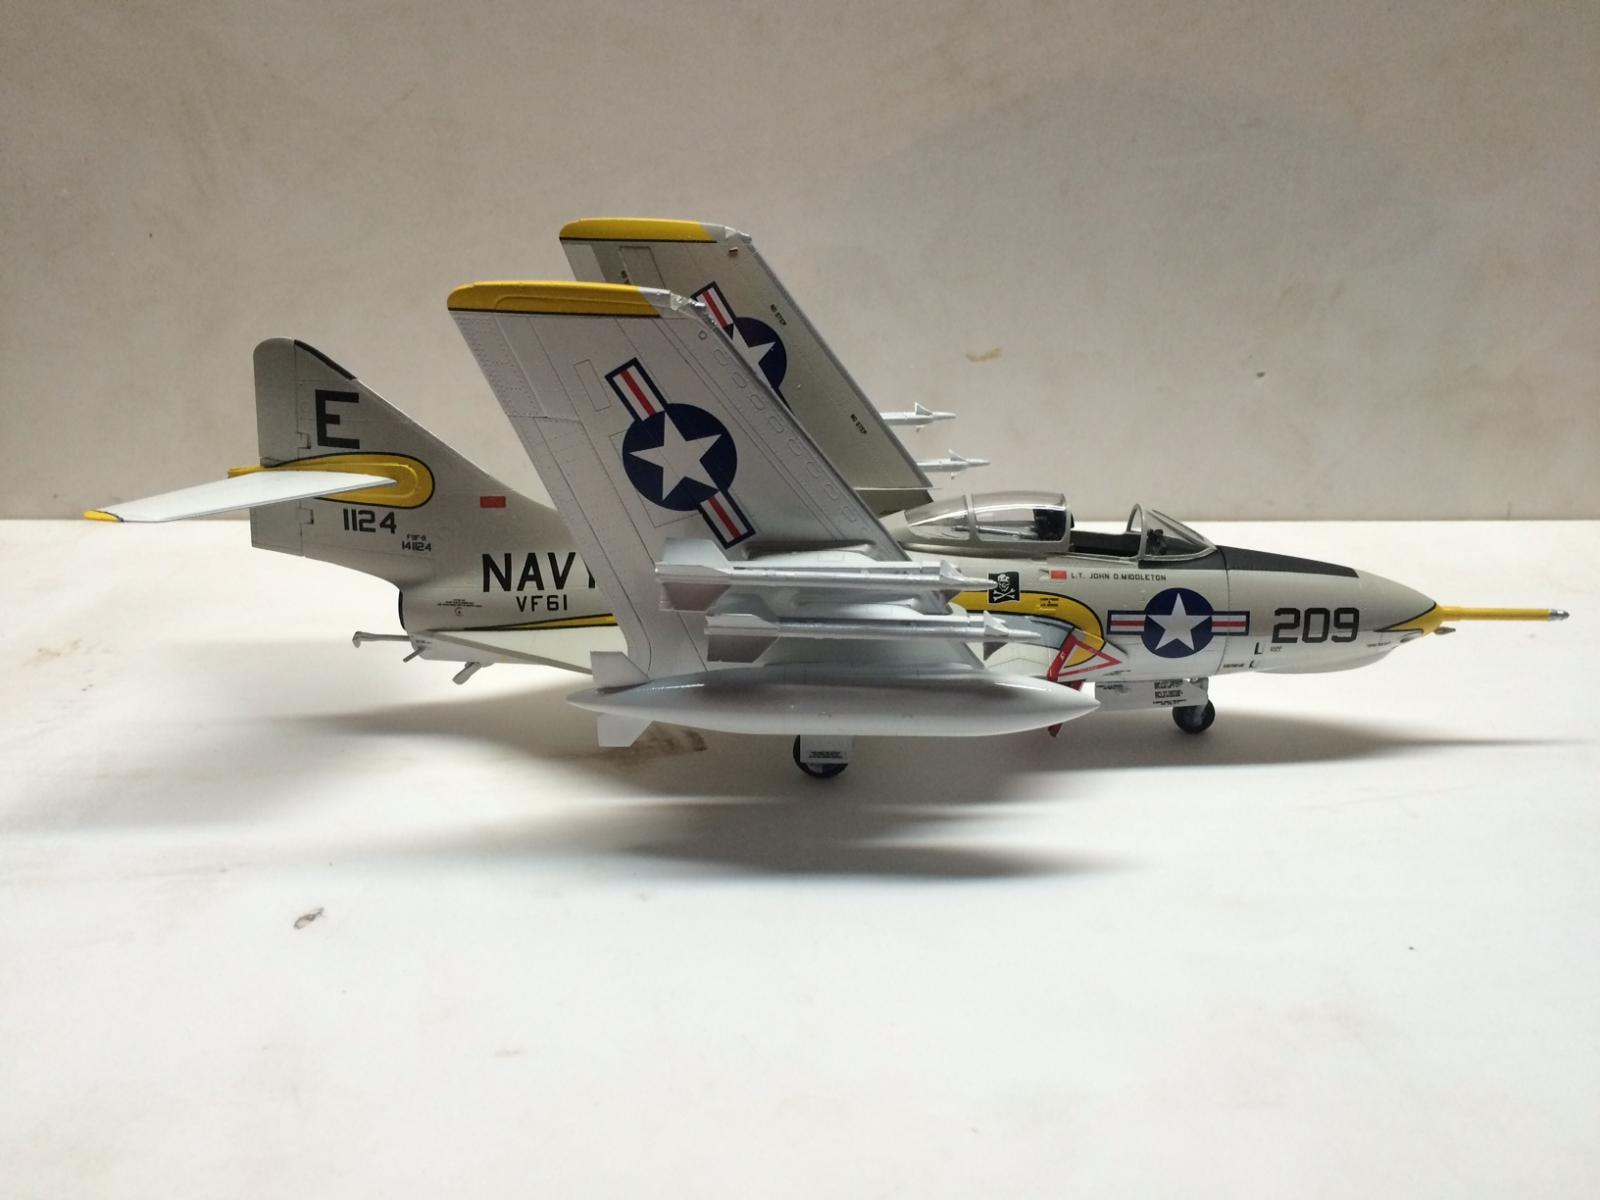
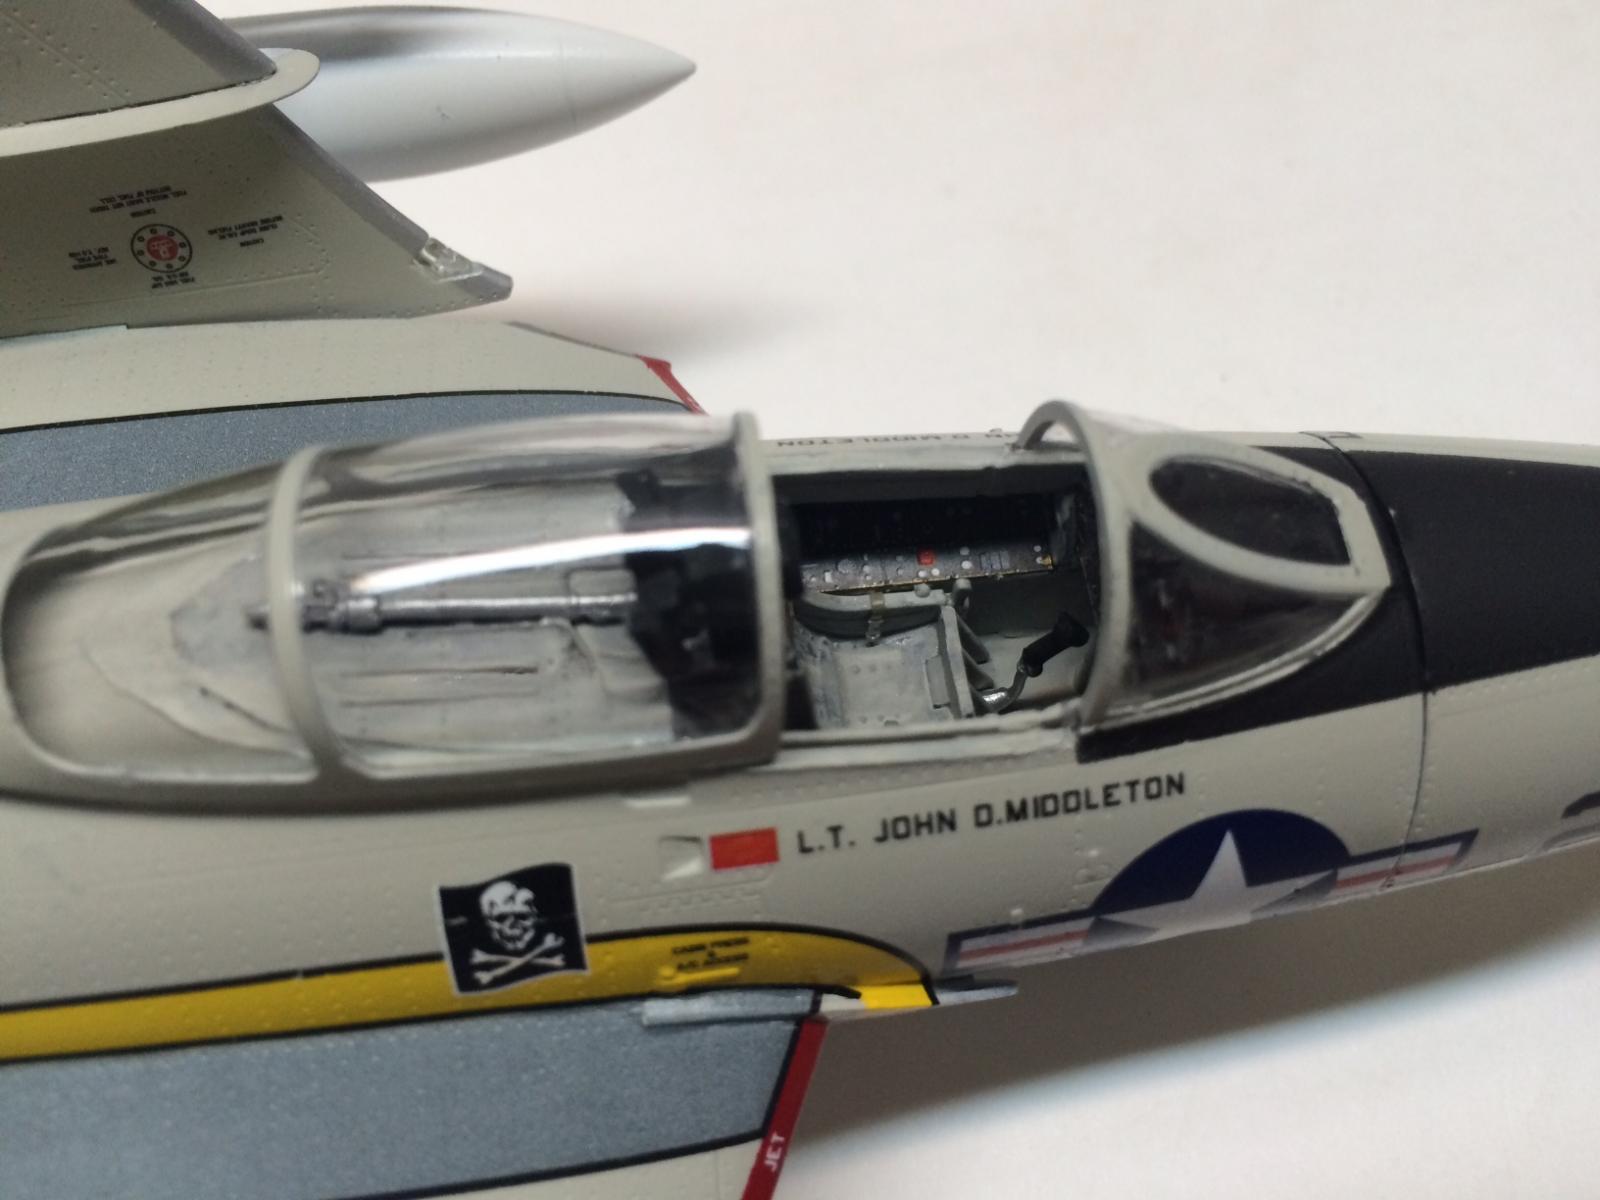
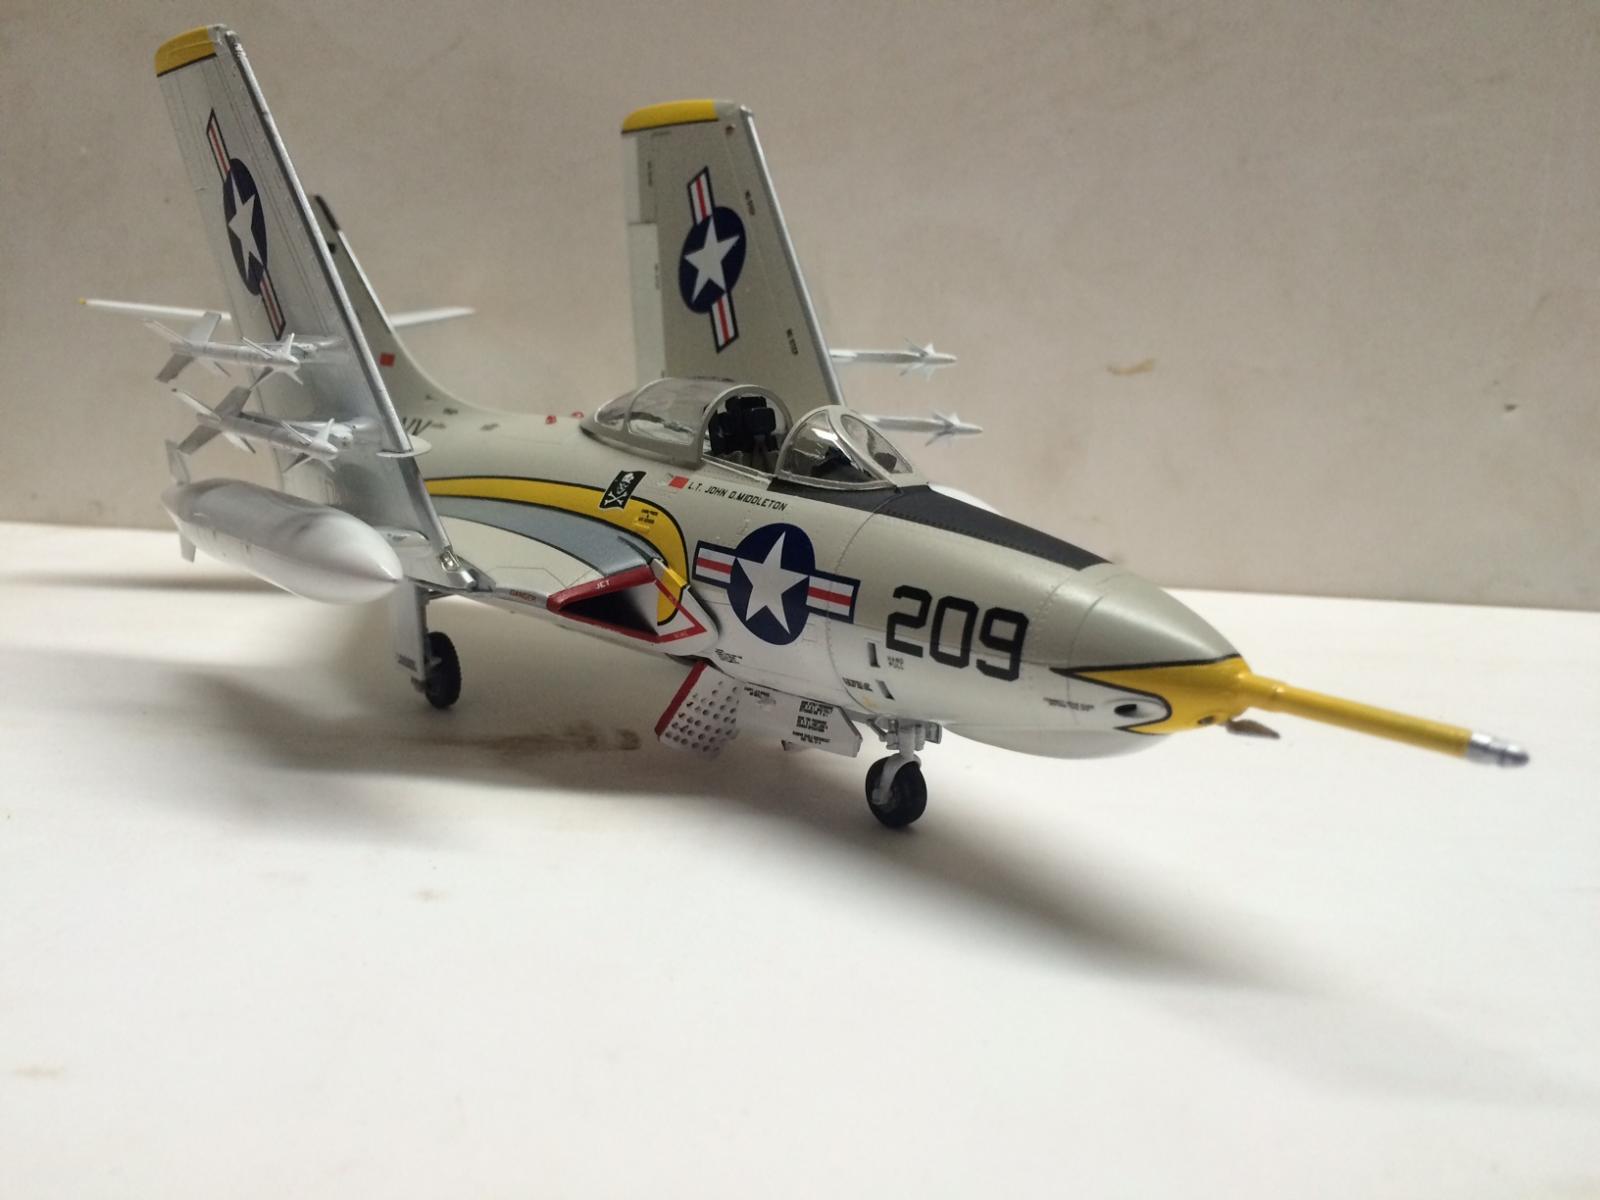
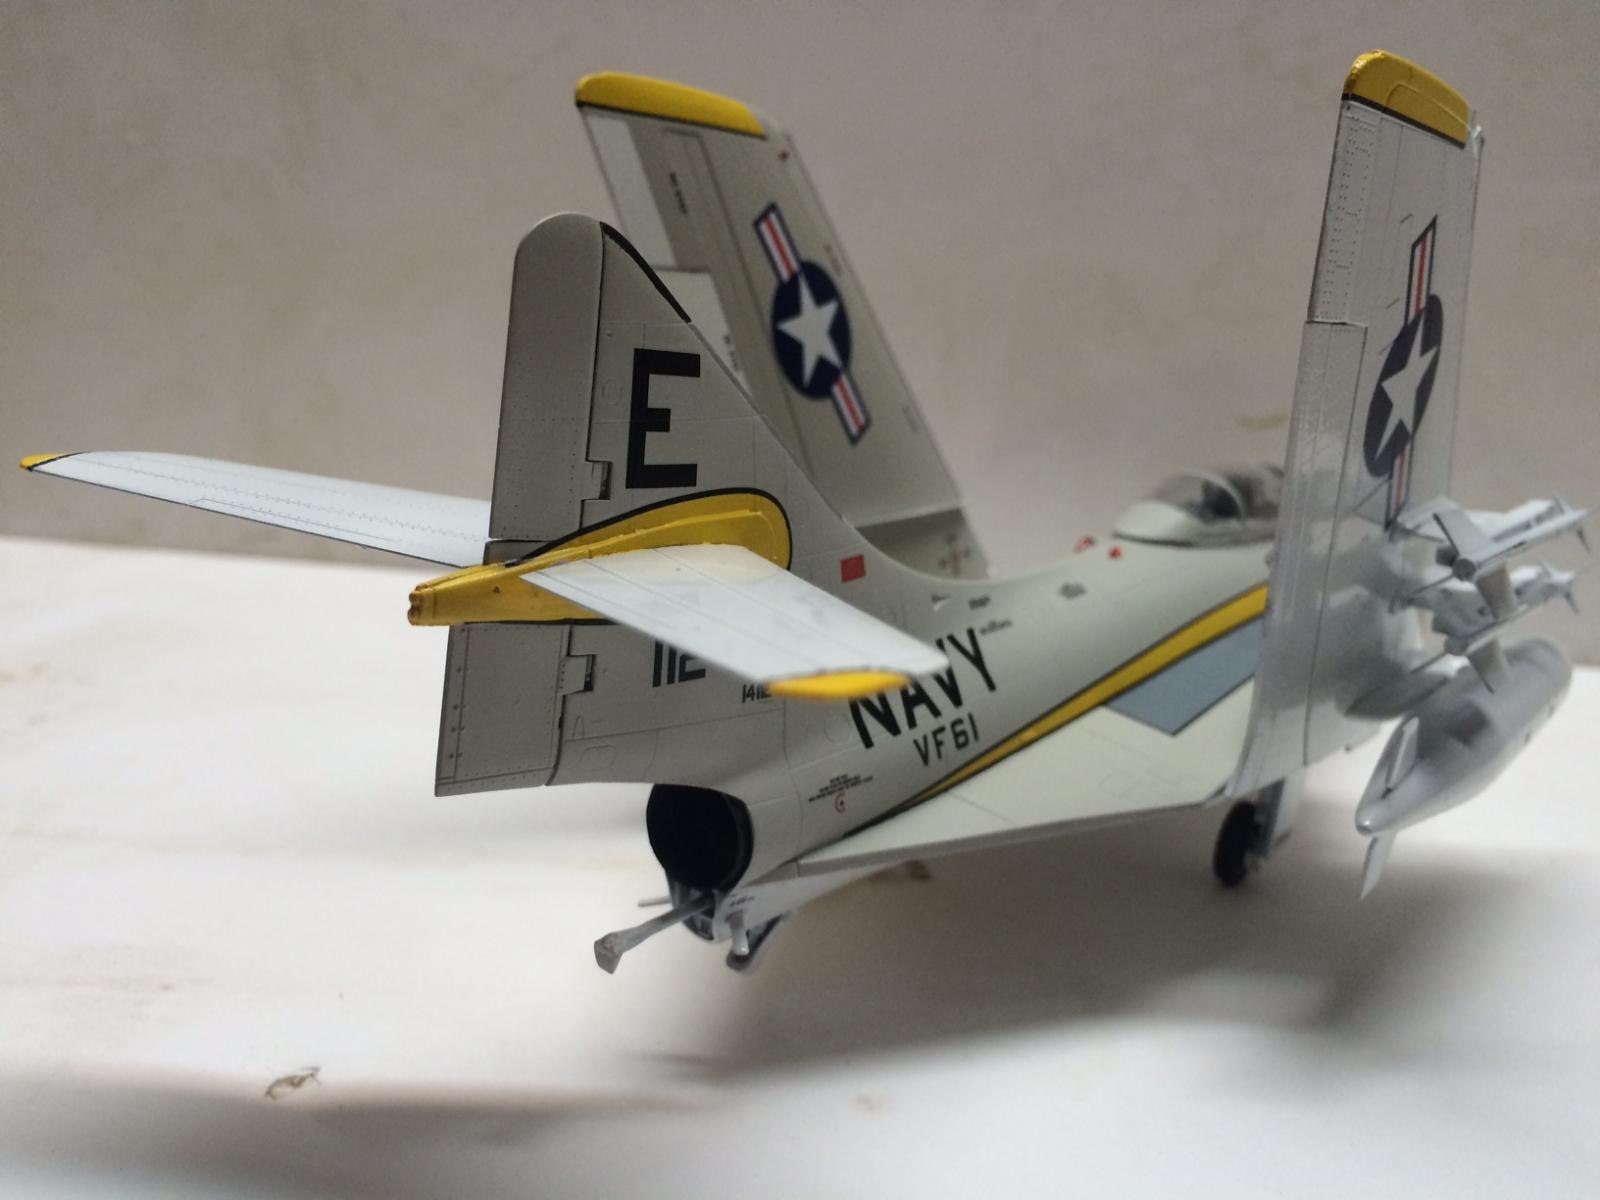
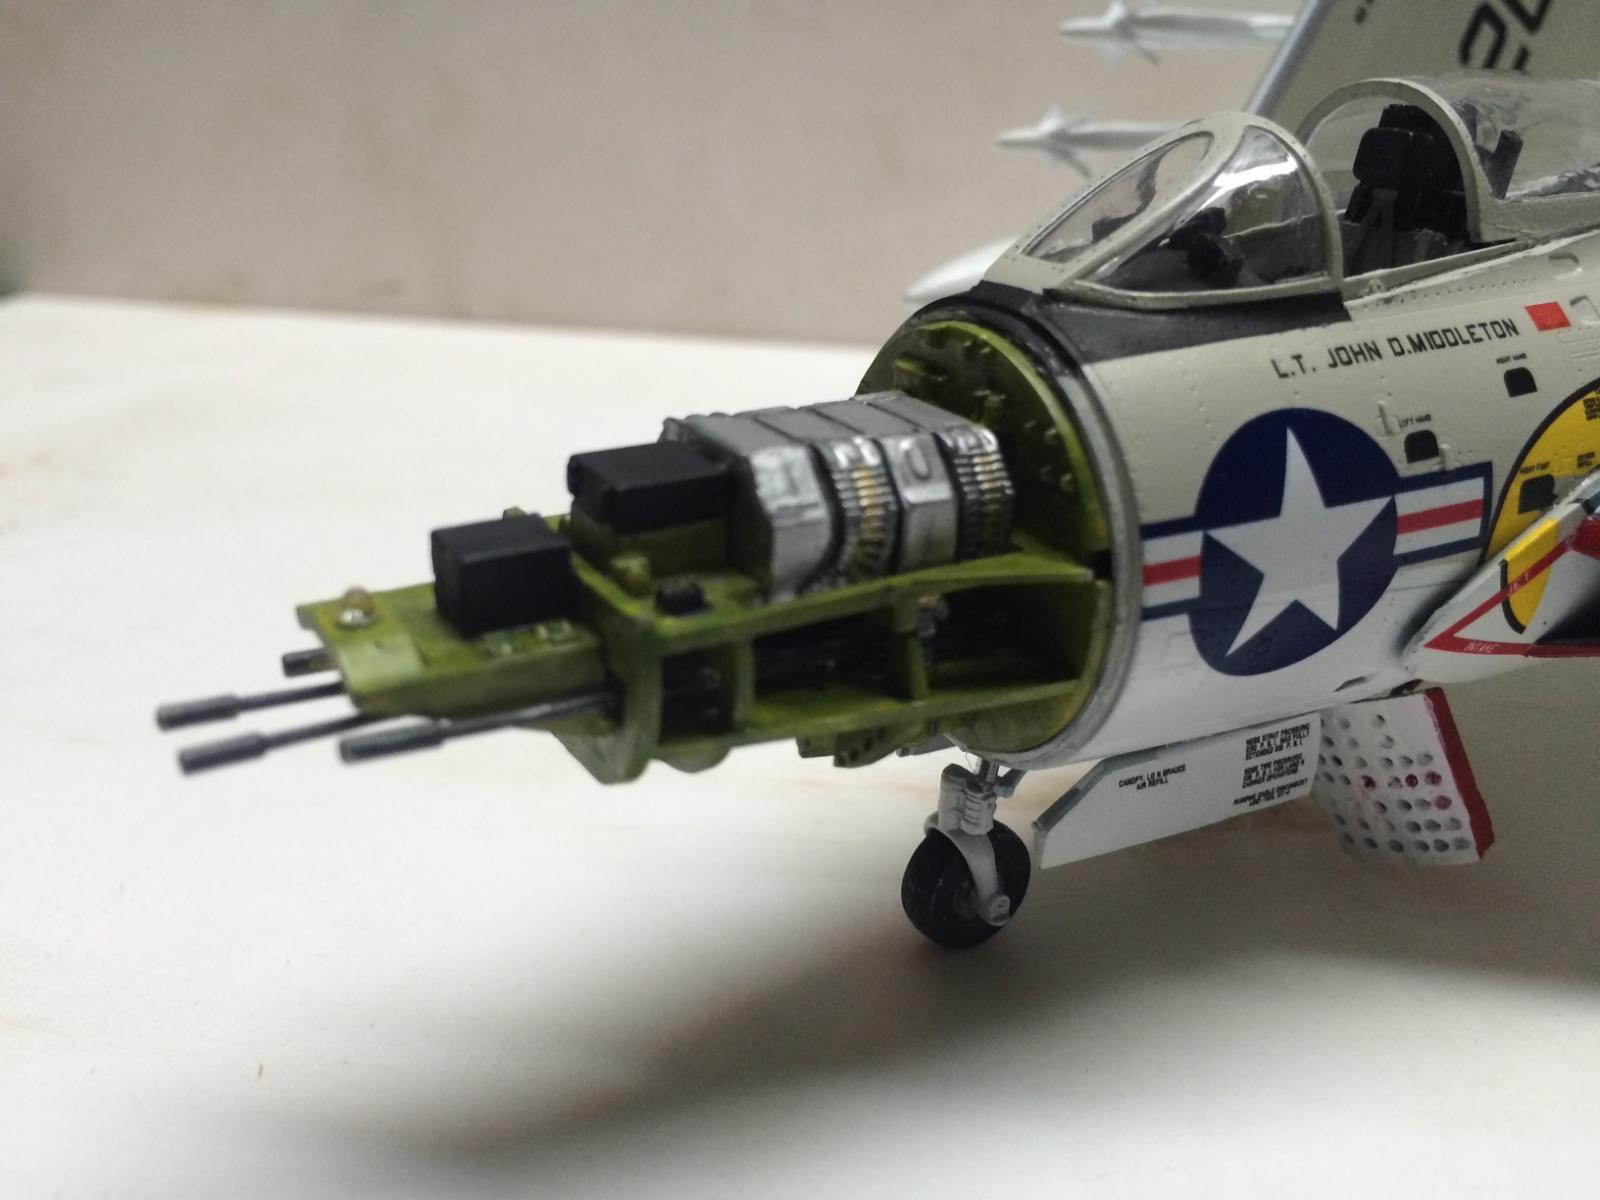
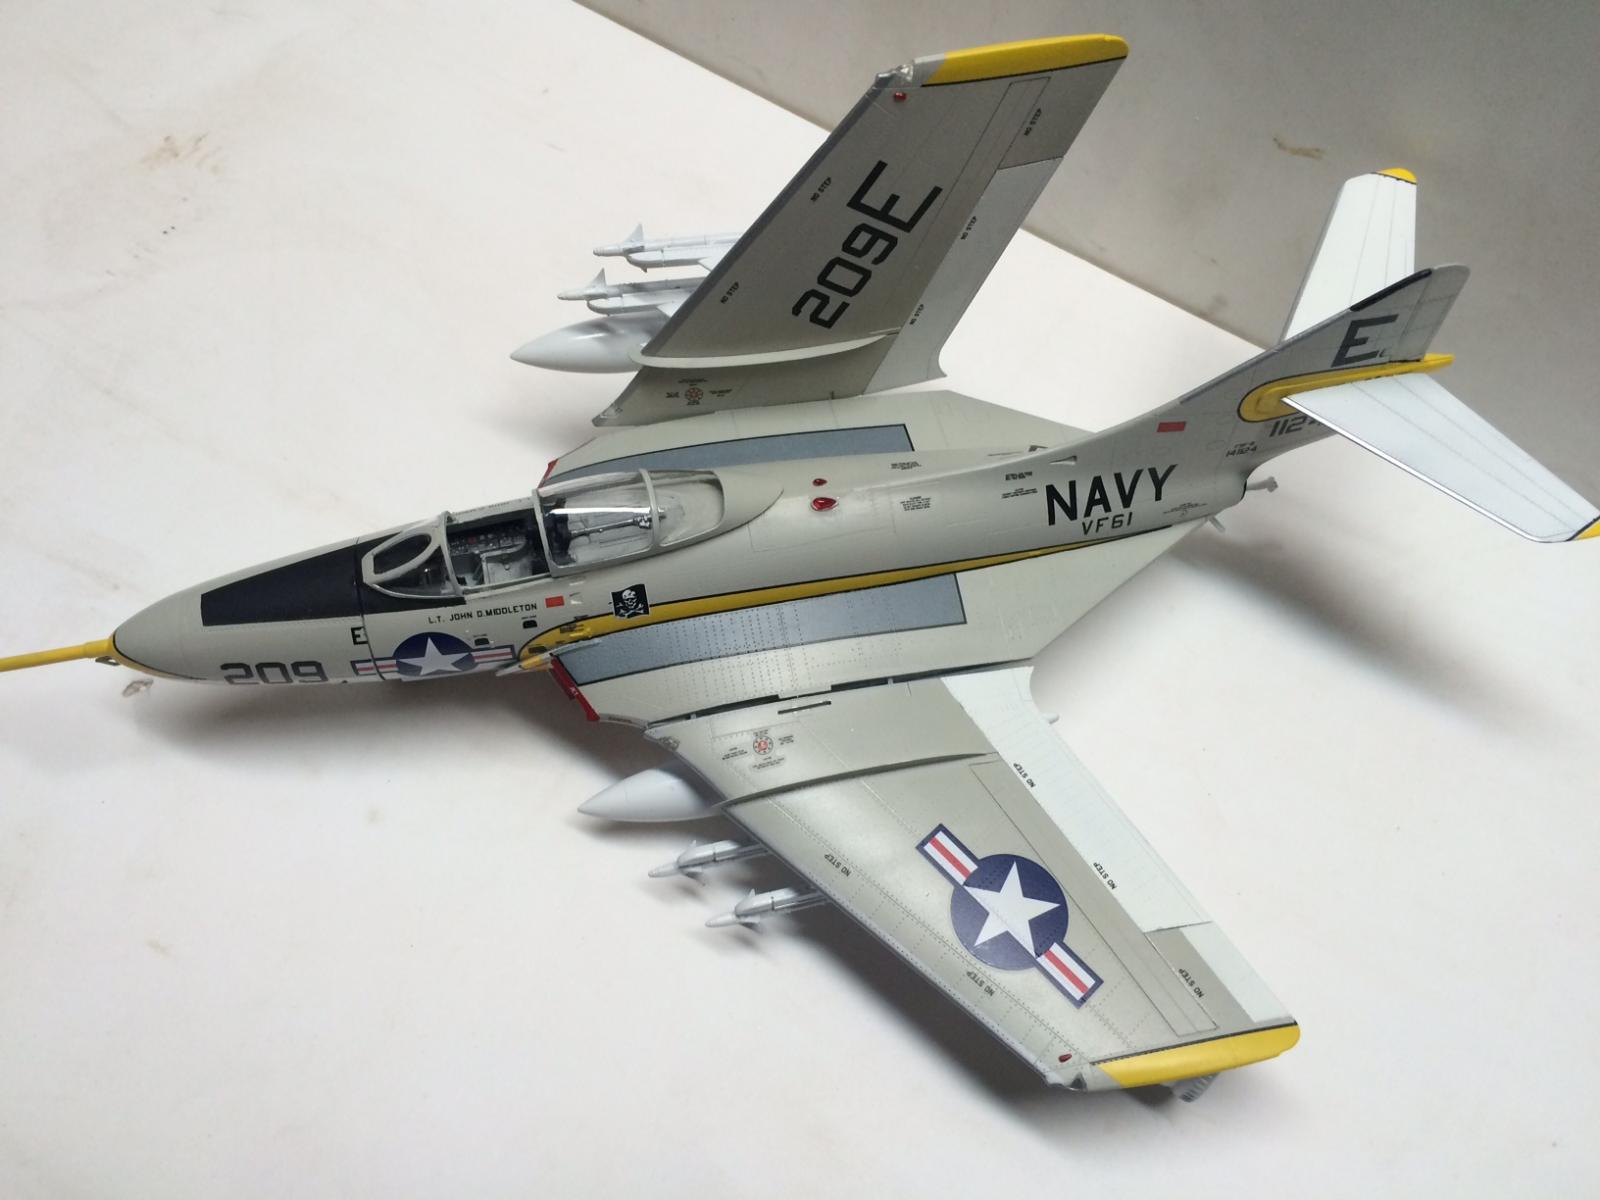
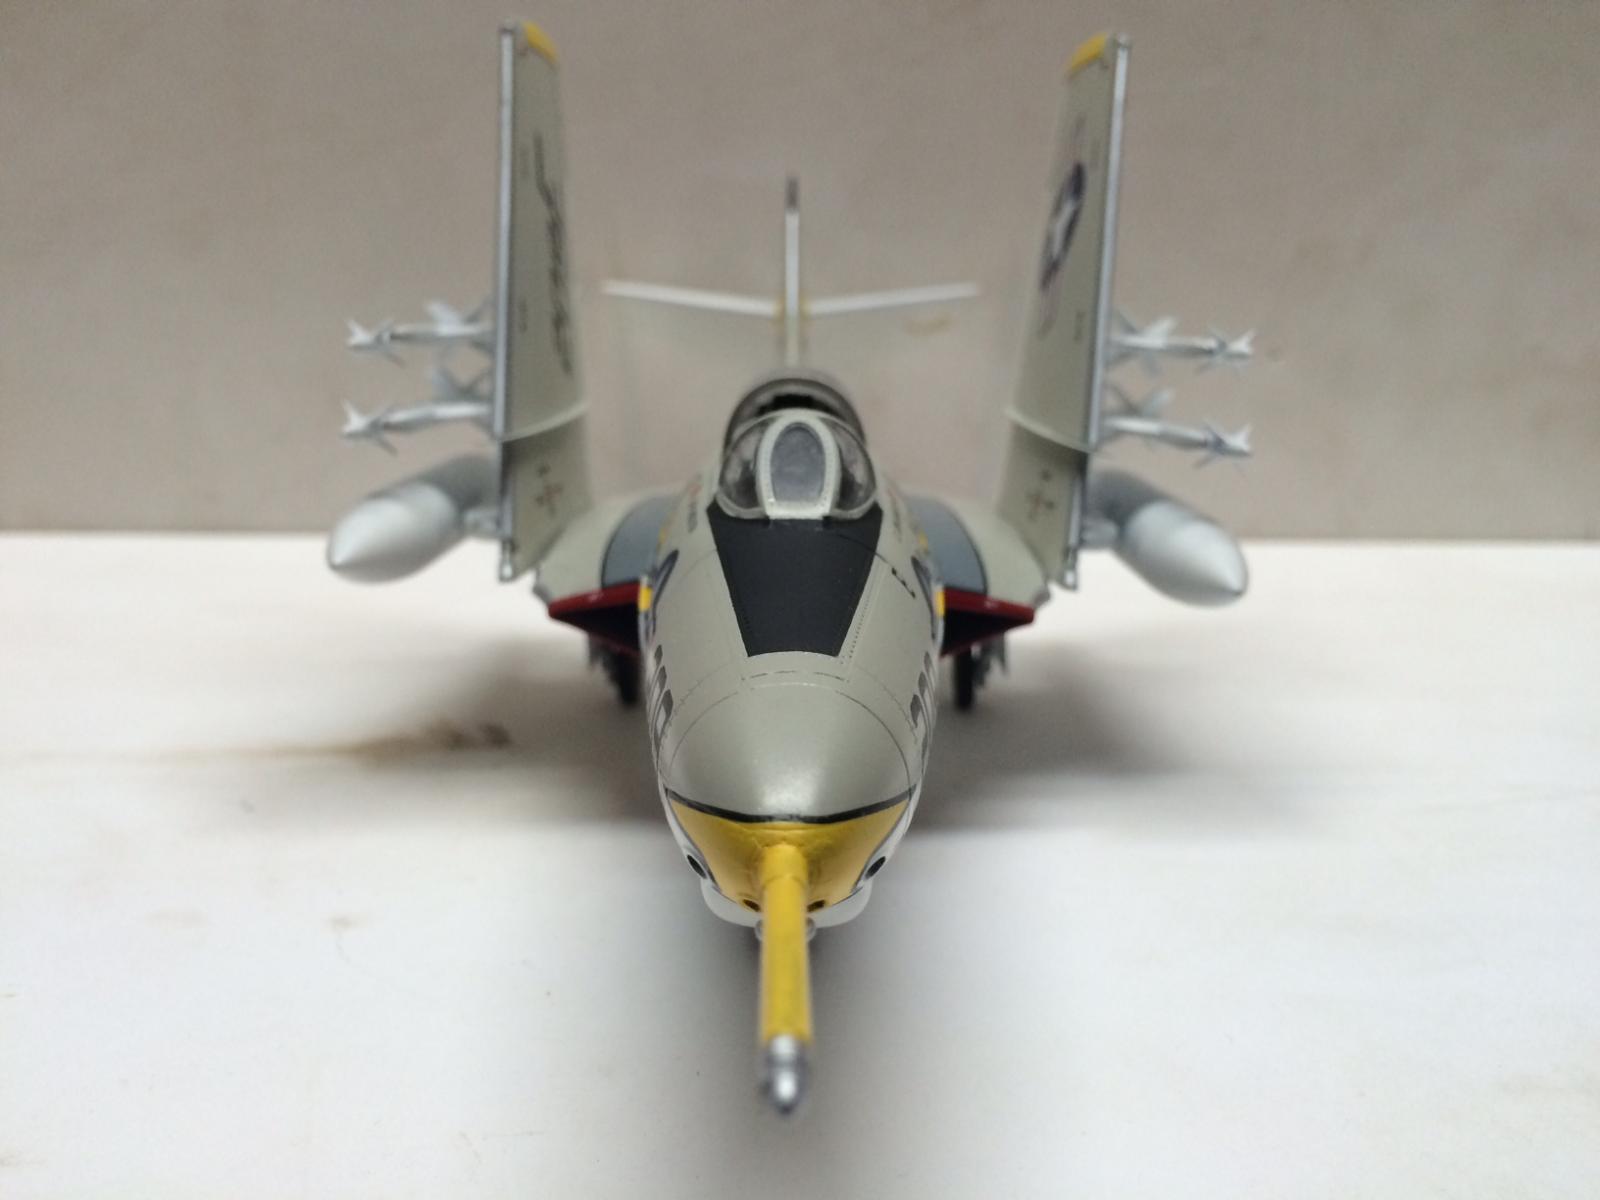
The build starts with the ejection seat and cockpit which has multiple pieces and goes together relatively well. You have two options for the seat depending on which plane you choose. One thing I found was the seat seemed too tight in the cockpit and when I checked some pics I confirmed that there is about 2-3 inches of space on either side of the seat, so either the seat is too wide or the cockpit side walls are too narrow. With the decals the cockpit builds into a nice assembly out of the box. It will be nice to see an aftermarket cockpit for this kit. Also the seat belts seemed too small for the size of the seat. Next was the front landing gear bay. It has some nice detail and went together well. Then the cockpit and gear bay are assembled with the two front halves of the fuselage. Then the nose section with either the gun bay or photo recon camera bay, they both have reasonable detail OOB. I chose the fighter option with gun, but I will build the photo nose just for display. Next was the center section with main gear bays and inner wing section. You have the option of wings folded or not, I chose the folded option. If you choose to not have the wing fold option you will have to cut off a small tab on the wing root and fill in the slot on the inner wing, otherwise everything went together without a hitch. The tail section is last, it has a small section of the exhaust nozzle which looks just fine, when you look inside you can see the rear turbine blades. The horizontal stabilizers are one piece along with the two piece rudder. One thing I would recommend is to wait before installing the horizontals till after decaling. Two of the options have a decal that goes on the tail that needs to go on before installing the horizontals. I made the mistake of gluing on the horizontals, then when decaling I had to modify the decal to go over the horizontal, what a pain. Here is where you start putting all of the components together, there are notches and slots to line everything up correctly, they went together OK but be careful, you will have to do a little pushing and pulling to get everything lined up nice, just take your time and the finished product will look great. Next were the wings, they went together with no fuss, and had some photo etch to apply. I had to cut down the photo etch strip slightly to get it to fit in its spot, just be careful here not to ruin it. Again an option of wings folded or not here. Also you have an option of what under wing stores you want to use or not depending on which plane. The landing gear and tires look relatively good, but again aftermarket would really make a good model better. Finally the canopy, the clear section was a little distorted for my liking, and overall looked good, but again an aftermarket canopy would be better. Masking is a breeze with these jets, and I’m sure there will be a aftermarket mask soon.
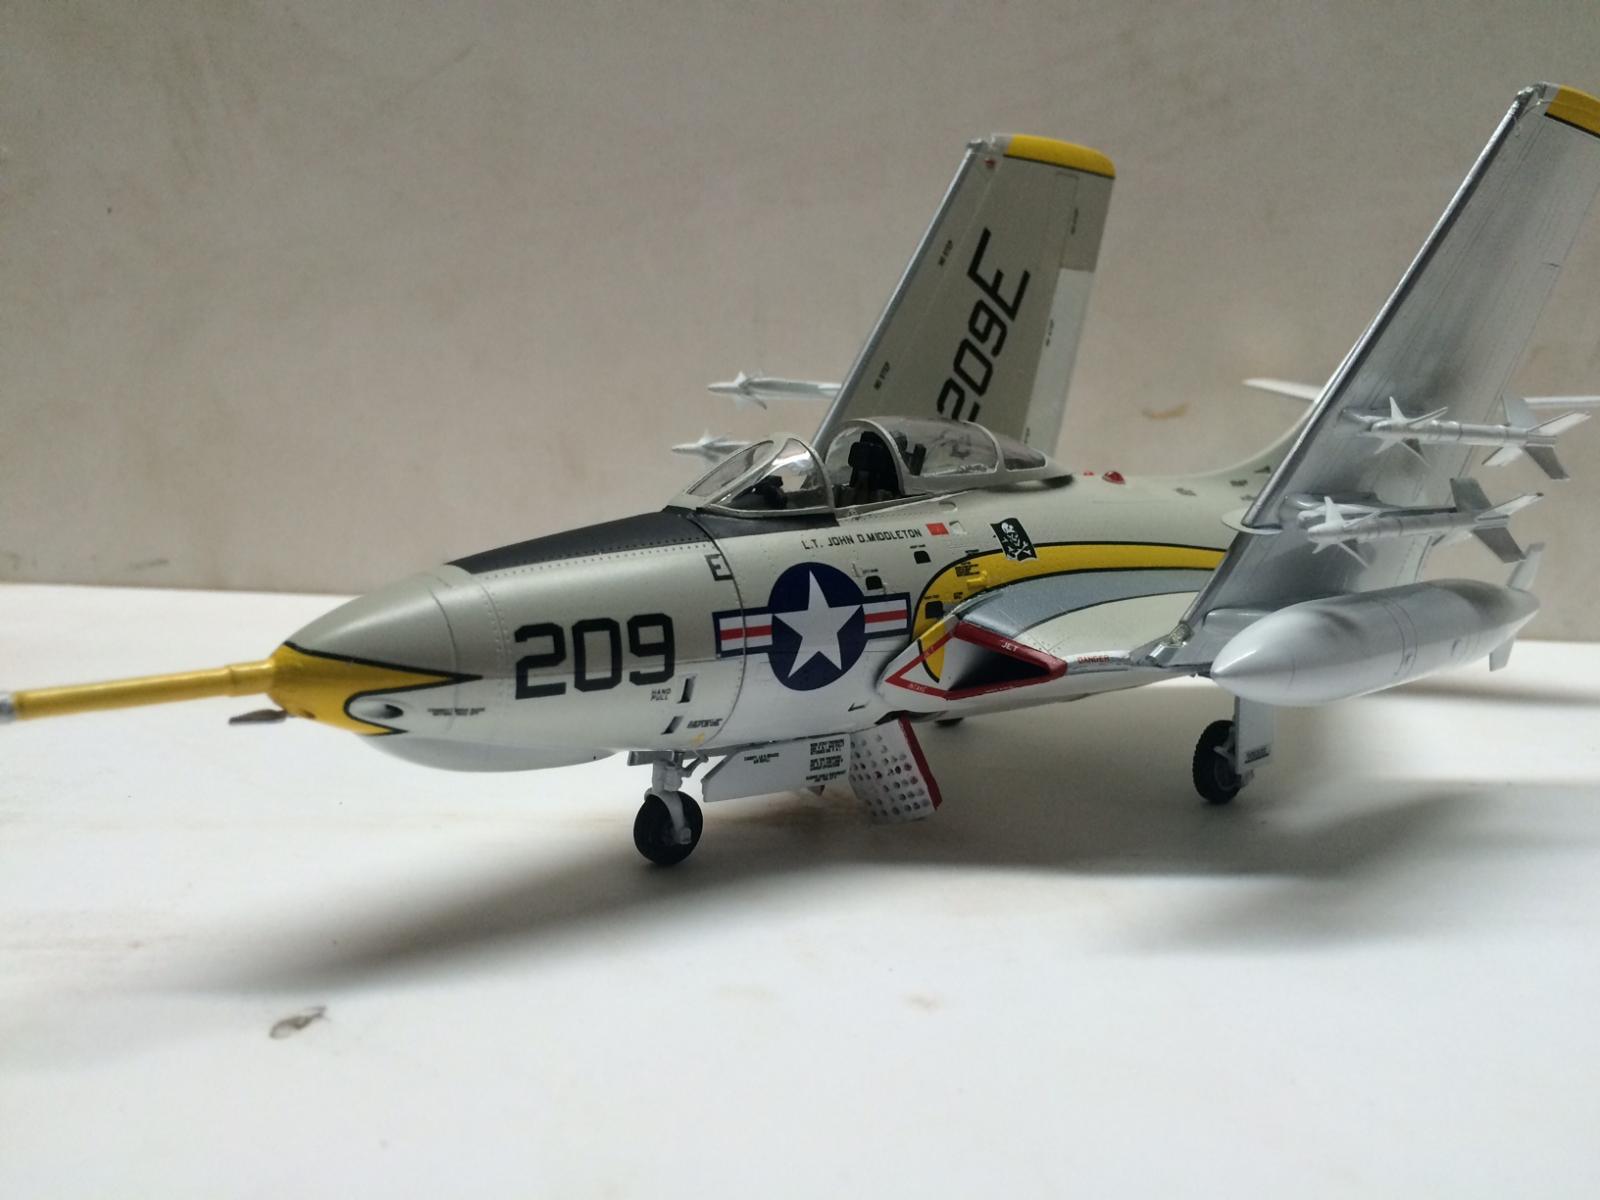
Finally painting and decaling, I chose the box art paint scheme from VF-61 a Cougar flown by Lt. John D Middleton. It is a grey over white paint scheme with yellow accents and looks really good done. The decals went on nicely and laid down great with a little microsol. The other options are a dark Navy blue with red accents from VF-121, the Navy Blue Angels option and two photo recon planes, one grey over white and a white and red.
Conclusion
In conclusion I really enjoyed building this model, most parts went together well with some manipulating but nothing to cry about. I recommend this kit to anyone into early jets, and this one is somewhat rare in 1/48 scale.
Thank you to Kitty Hawk Models and IMPS for the opportunity to review the kit.

Comments
Add new comment
This site is protected by reCAPTCHA and the Google Privacy Policy and Terms of Service apply.
Similar Reviews