
Bf-110D-3 Fighter
Bottom Line
The kit was well engineered, but I thought it had a few too many parts. Short shots with the canopy frame and propellers were an unwelcomed surprise. It had great detail on the whole aircraft, including panel lines. Engines and gun bay were probably overdone as when complete, you can not see all the work you put into them. But it was a great kit to build and very enjoyable because of superb engineering.
History
The Messerschmitt Bf110 originally was designed as three seat strategic fighter that had the task of clearing the way for the bomber formations that followed. Soon to become known as the Zerstörer (the Destroyer), they made their presence felt during the early part of the Battle of Britain when the Luftwaffe began their attacks on the Channel convoys. But even at the hands of handpicked elite aircrew, the Bf110 was to prove no match for the Hurricane or Spitfire and soon started to succumb to heavy losses. Soon, Bf110 formations were to be escorted themselves by Gruppes of Bf109s and even though the elite Erprobungsgruppe 210 had many major successes, the Bf110 which started out as a fighter escort was relegated to the role of just a fighter bomber after the Battle of Britain. The Messerschmitt Bf110 originated from the drawing boards in 1935 and the first Bf110A flew in May 1936. It had a maximum speed of around 290 mph and a range of 1,070 miles (1720kms) and with heavy armament to suit accomplished its task satisfactory. The Bf110D was powered by DB601A-1 fuel injection engines delivering 1,050hp each. The armament of two 20mm MG FF cannon supplemented the four 7.9mm machine guns in the nose and a single 7.9mm machine gun at the rear of the long cockpit was formidable. The Bf110D which had jettisonable wing tanks, a version of this was the U/1 which was designed for night fighting duties and had infra-red sensing equipment. Others were fitted with bomb racks; one variant had a dinghy housing built into the tail, while others were designed for photo reconnaissance.
Kit
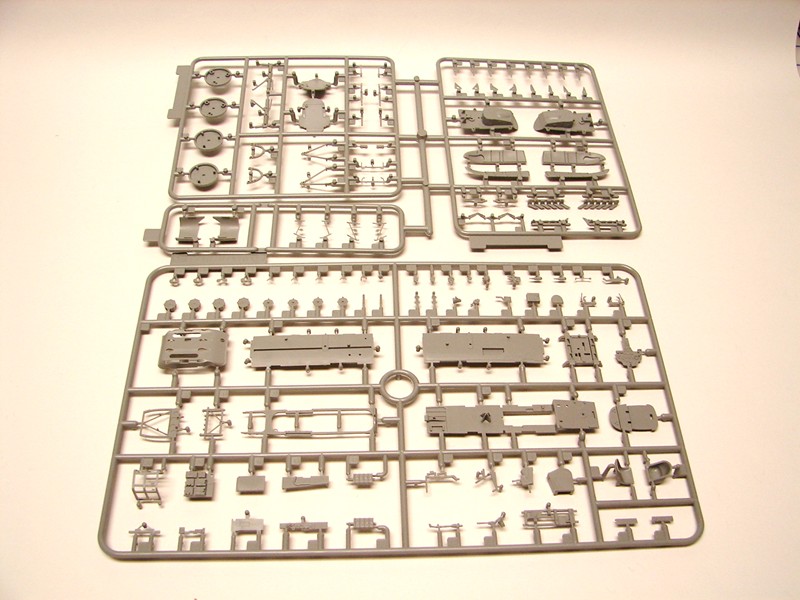
The kit contained over 280 parts: 13 sprues of gray parts, one of clear parts and one photo-etch fret.
Construction
Like all other aircraft models I’ve built recently, the directions started with the cockpit. The detail was excellent and the photo etch seat belts were a surprising plus. There was not a lot of photo etch in the model - only 16 pieces, of which half were seatbelts for the cockpit. These seatbelts were painted and attached to the seats. My first challenge with the directions was that they wanted me to drill a hole in the seat so the seatbelts could come through the seat1/3 of the way down. While there is a little indentation in the seat to mark where the hole needs to be, I feel it would have been easier for the hole to be molded into the seat rather than for me to drill it out. Next was the assembly of the cannons under the seat, which were greatly detailed. But since they’re under the floor and inside the fuselage, it’s a waste of time because they will never be seen. Then was the second challenge of this kit which was the inside of the cockpit frame. The challenge - a short-shot of said canopy frame. Some minor scratch building skills took care of the problem, but with all of the great engineering put into this kit, this quality control problem shouldn’t have happened in my opinion. Next came putting together the fuselage, the two engine nacelles, landing gear bays and radiators (all of which went together beautifully). The landing gear bays were put into the lower wings and the wings glued together. Then the engine nacelles, radiators, flaps, ailerons and finally the wing tips were added. Here’s where probably the best piece of engineering of this kit surprised me the most. The wings attached to the fuselage easier than any model I’ve built in a long time, which was a real pleasure. Next came building the tail which had the added surprise of a position-able rudder and tail surfaces. Again, another outstanding engineering feature of this kit. Last but not least came the tail wheel. The six pieces which made up the tail wheel were not the strongest connections I’ve ever built and are probably a weak link for the weight of an aircraft this big. Be careful with this sub-assembly.
Finishing
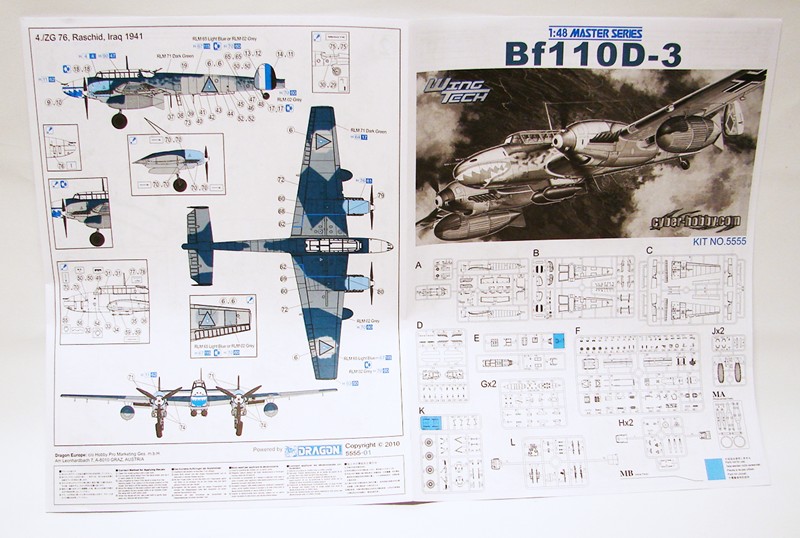
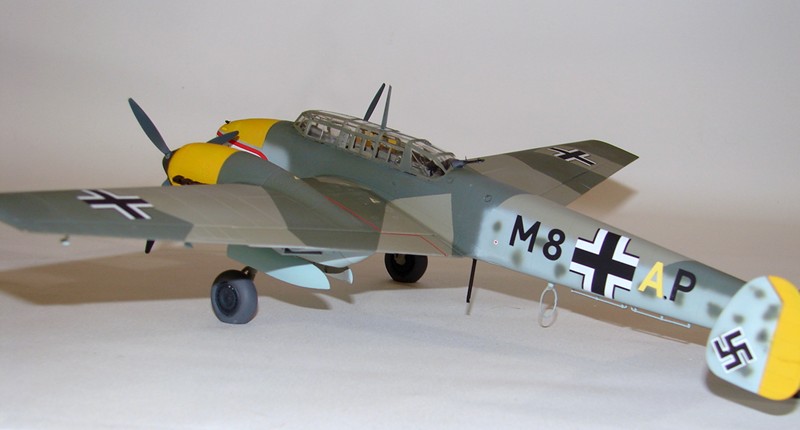
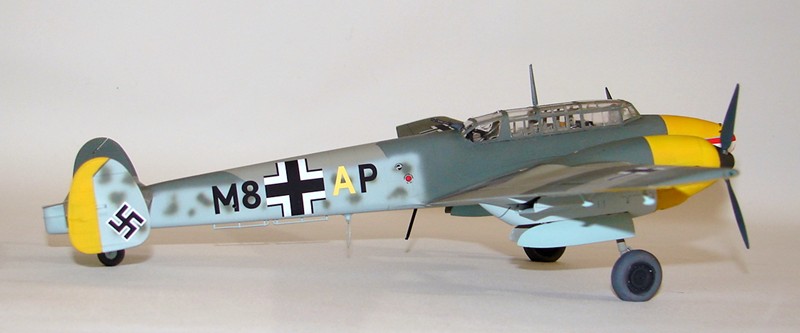
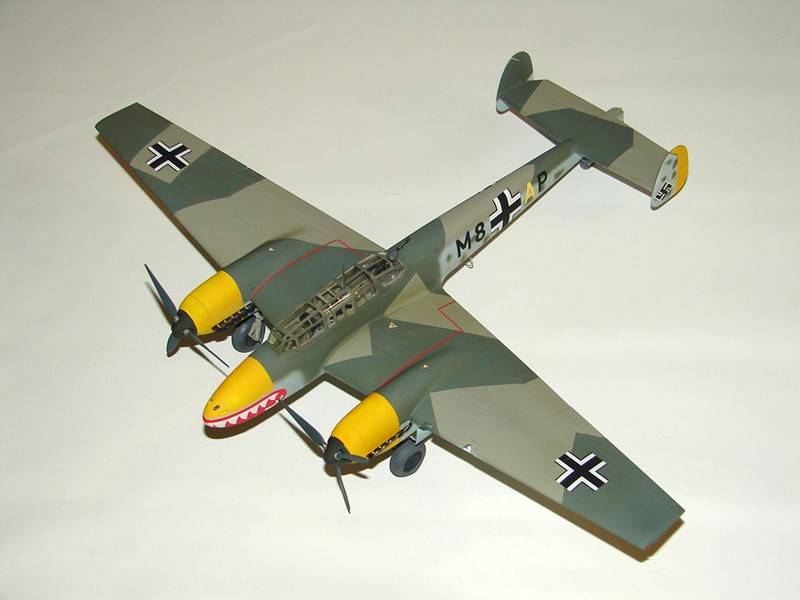
After adding all the little bits and bobs, like gear doors and canopy parts, I usedModel Masters enamel paints for painting the aircraft. Again, the canopy fit was excellent and the hard part was cutting masking for all those windows. Did I mention that there are at least 35 windows? The paint went on great and the instructions called for a standard RML 02/71/65 color scheme of the time period. I decided to make the German plane, as the other choice was an Iraqi version (given to the Iraq government to entice them to see the German point of view). A coat of Future was put on the plane, then the decals themselves, which had no problems going on. Funny, I could not find a swastika on the decal sheet. In the age of PC, I retrieved one from my decal box and moved on. At this point I did not like the look of the wheels and put on some resin ones (I think I am planning a ground scene). A coat of Testors dull coat and we are done for now!!!
Impression
I thought this was a great kit for an adult who has a great deal of patience and some time to complete it. There are a lot of parts!!! I put in a little over 100 hours on this kit. Cutting things out, waiting for them to dry, then painting them, only to cover them up was a little disappointing and did seem like a waste of time. But the engineering was absolutely outstanding, fits were spot on, and the detail was stupendous. The panel lines were great and the wings going together with none of the usual alignment issues to worry about was a pleasure. The short shots on the canopy frame and the propellers were a tad disappointing. The decals were very well done, except for the aforementioned swastika. And the fact that all of the control surfaces were place-able in any position was another great thought from the company. I would highly recommend this kit to anyone who has some patience and a little above-basic modeling skills. If you have these two qualities, you will end up with a beautiful kit in the end. I would like to thank IPMS for letting me build and review this kit. I would also like to thank Cyber-hobby, Dragon and IPMS/USA for providing this kit for a review.


Comments
Add new comment
This site is protected by reCAPTCHA and the Google Privacy Policy and Terms of Service apply.
Similar Reviews