
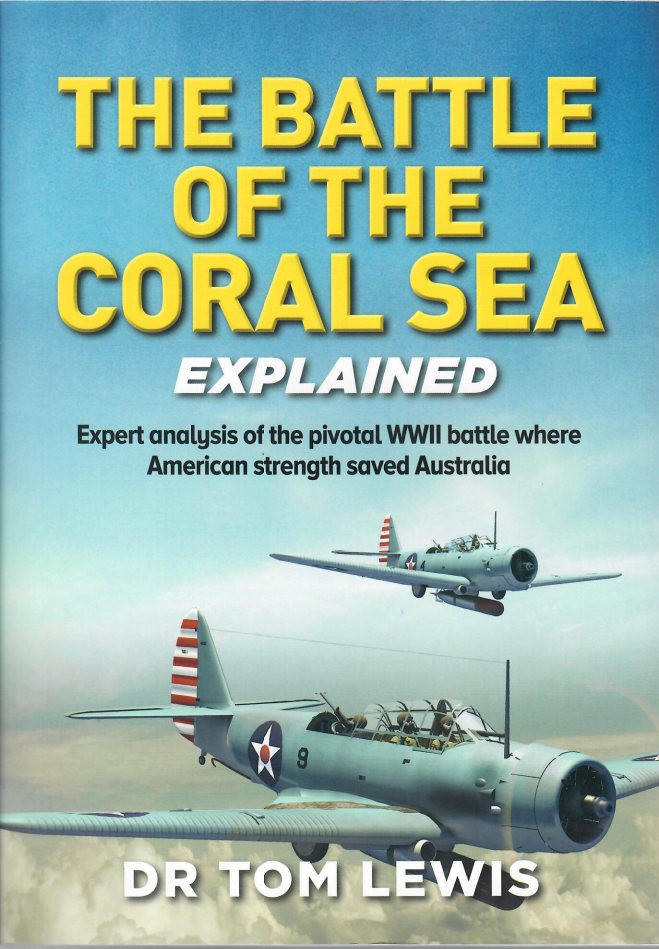
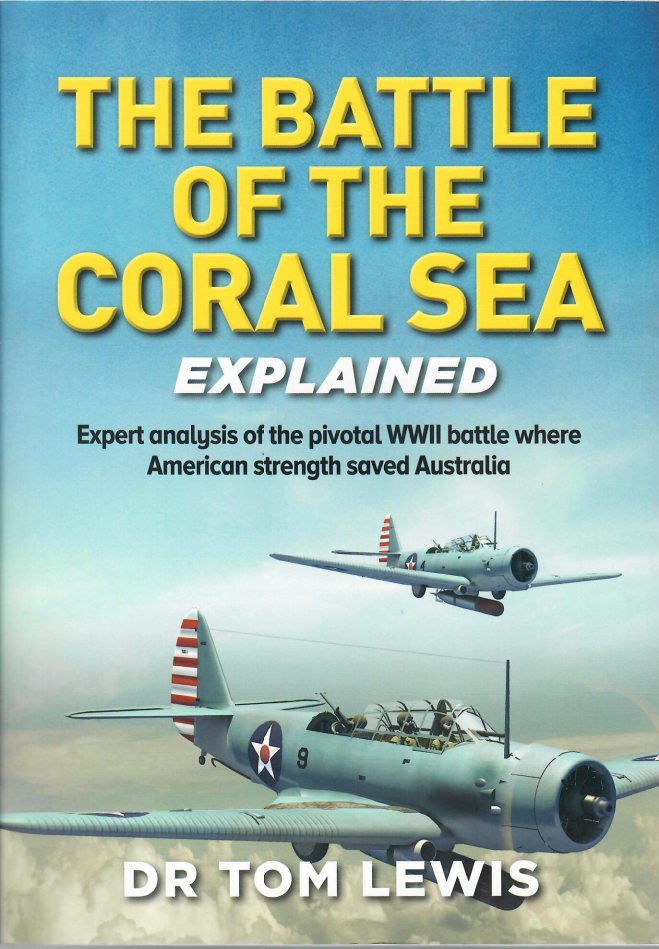
The Battle of the Coral Sea Explained
I believe the Battle of the Coral Sea is vastly underrated and overlooked in its importance, often overshadowed by the imminently more covered Battle of Midway less than a month later. The Battle of the Coral Sea could arguably be more important than Midway, and author Dr Tom Lewis does a fantastic job of not only describing the Battle of the Coral Sea very well, but he also places it where it belongs in history.
Having never read one of Dr Tom Lewis’ over two dozen books before, I wasn’t sure of his writing style. Having been familiar with the Pacific Profiles series, I am happy to report that this book fits in beautifully. Dr Tom Lewis’ background includes serving over twenty years in the Royal Australian Navy, post-graduate degrees in Cold War Politics and Strategic Studies and being awarded the Order of Australia Medal for services to naval history. His research is evident, military service rings true and tells the story well.
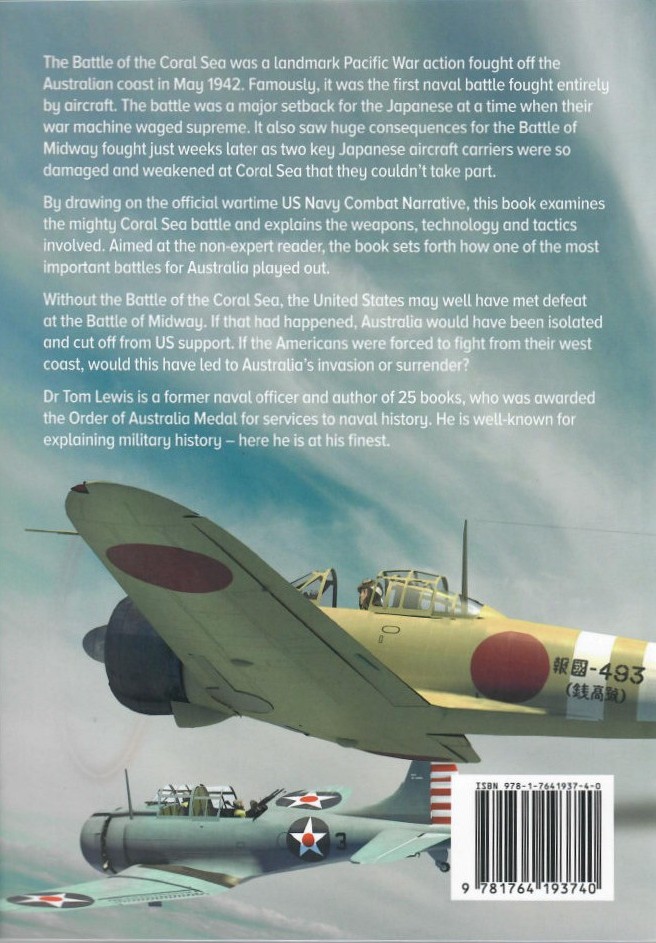
From the book’s back cover:
The Battle of the Coral Sea was a landmark Pacific War action fought off the Australian coast in May 1942. Famously, it was the first naval battle fought entirely by aircraft. The battle was a major setback for the Japanese at a time when their war machine waged supreme. It also saw huge consequences for the Battle of Midway fought just weeks later as two key Japanese aircraft carriers were so damaged and weakened at the Coral Sea that they couldn't take part.
By drawing on the official wartime US Navy Combat Narrative, this book examines the mighty Coral Sea battle and explains the weapons, technology and tactics involved. Aimed at the non-expert reader, the book sets forth how one of the most important battles for Australia played out.
Without the Battle of the Coral Sea, the United States may well have met defeat at the Battle of Midway. If that had happened, Australia would have been isolated and cut off from US support. If the Americans were forced to fight from their west coast, would this have led to Australia's invasion or surrender?
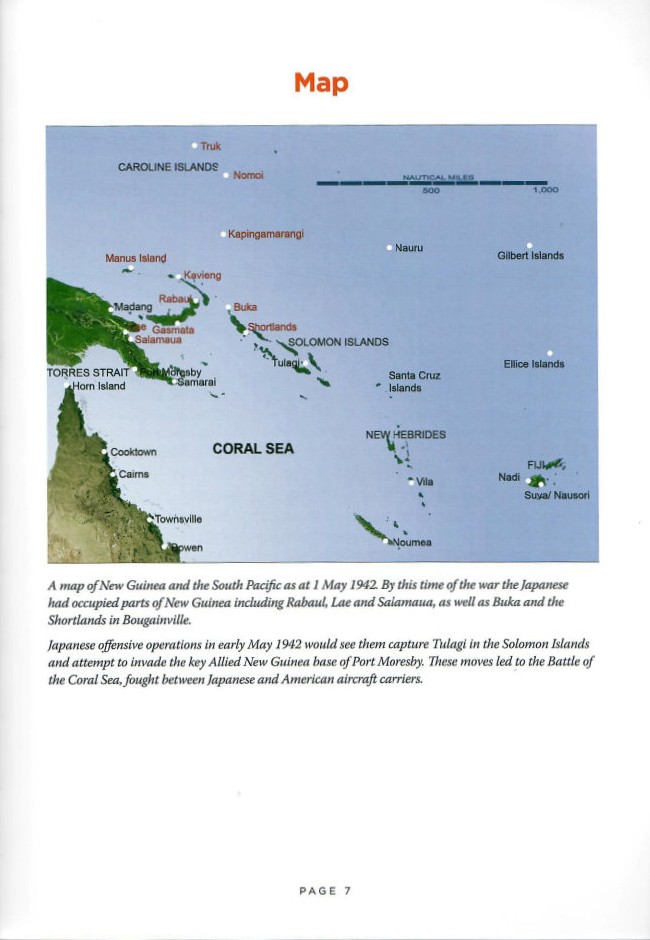
This paperback book is a fascinating and remarkable insight into the Battle of the Coral Sea. The Battle of the Coral Sea Explained - Expert analysis of the pivotal WWII battle where American strength saved Australia contains 144 pages with 37 black and white photographs, seven color photos, six color profiles, two maps, seven illustrations, and 21 tables composing the following chapters and appendices:
- Glossary & Abbreviations
- Explanatory Notes
- Map
- Preface
- Acknowledgments
- Chapter 1 – How had it come to this?
- Chapter 2 – The US Navy goes to war
- Chapter 3 – The Forces Assemble
- Chapter 4 – Life and Death as Carrier Aircrew
- Chapter 5 – The Torpedo Bombers: Kate and Devastator
- Chapter 6 – The Dive-bombers: the Val and Dauntless
- Chapter 7 – The Fighters: Zero and Wildcat
- Chapter 8 – The initial discovery – and the first fight
- Chapter 9 – The sinking of Shoho, Neosho and Sims
- Chapter 10 – Tull Battle and the loss of Lexington
- Chapter 11 – Coral Sea Technological Consequences
- Chapter 12 – Coral Sea Strategic Consequences
- Sources
- Index of Personnel
A feature of the Pacific Profiles book is its balanced views and accounting from both sides of the conflict. In this case, the author relies heavily on the US Navy Combat Narrative, firsthand accounts from the American, Australian and Japanese perspectives. What is lacking is a large portion of the Japanese higher-level information, and that is quickly addressed as a lot of the records were destroyed when it became obvious Japan was losing the war, plus a lot of the senior commanders did not survive the war. With that said, the Japanese side was well represented and described.
In May 1942, the Japanese reigned supreme in the Pacific, their naval and air fleets were manned by the cream of the crop and fresh off numerous victories that had the allies reeling. The author states,
This work is a study of the aircraft and ships involved; the tactics and practices they used in theory, and an analysis of how those were applied on the days the battle took place, and what actually happened. But most importantly, the work seeks to sketch out for the non-expert reader how the huge battle took place off Australia unfolded, and the effect it had.
This was the era of big-gunned ships. On 12 August 1915, the Royal Naval Air Service carried out the first air-dropped torpedo attack that sank a Turkish ship. The Germans perfected dive-bombing in early World War II after learning in the Spanish Civil War. Ironically, the first ship to be sunk by dive-bombing was the German light cruiser Königsberg on 10 April 1940, was again a victim of British naval aviation (Naval Fleet Air Arm). The Japanese and Americans developed their respective naval air arms along remarkably similar lines: fighters, dive bombers and torpedo bombers. The Japanese had perfected their tactics and proved their worth at Pearl Harbor, Darwin, and Ceylon. Ironically, their priority targets at Pearl Harbor were not present – the American aircraft carriers. They would meet in strength for the first time in the Coral Sea.
The Japanese were moving an invasion force to New Guinea, specifically to Port Moresby and reinforcing the Solomon Islands. A light carrier, the Shoho accompanied the invasion fleet, while the Striking Force consisting of the fleet carriers Shokaku and Zuikaku would protect the fleet by seeking battle with the American aircraft carriers. Had the Japanese invasion of Port Moresby succeeded, they would have an air and naval base that could effectively isolate Australia and the vital sea lanes American needed for their long haul to the Japanese Islands. Australia was essential to the strategy of removing the Japanese threat from the Pacific. The Americans were present with the fleet aircraft carriers Lexington and Yorktown, and the Port Moresby blocking force with the Australians with their cruisers, HMAS Australia and Hobart supplementing the American cruiser Chicago and destroyers Perkins, Walke and Farragut.
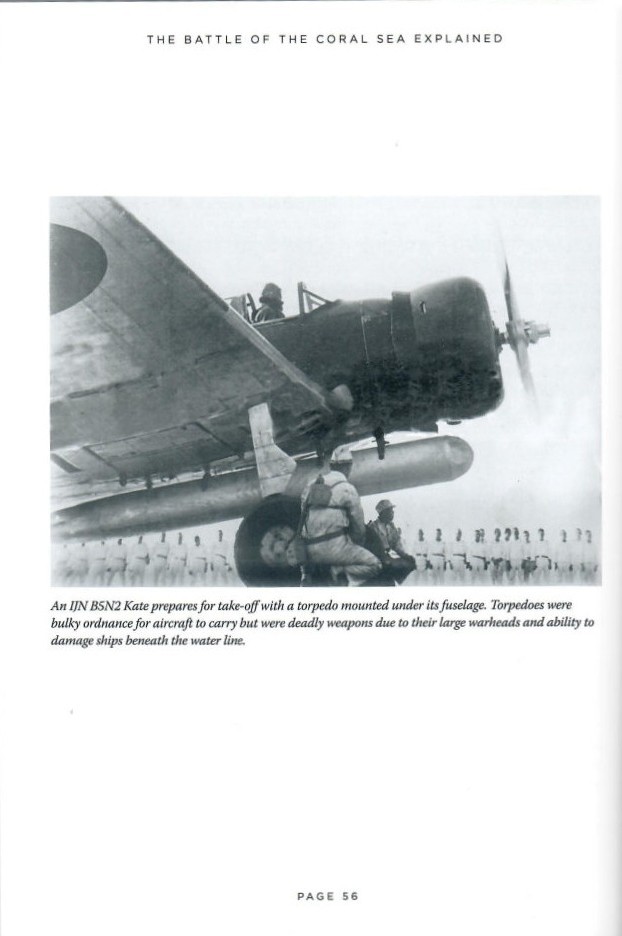
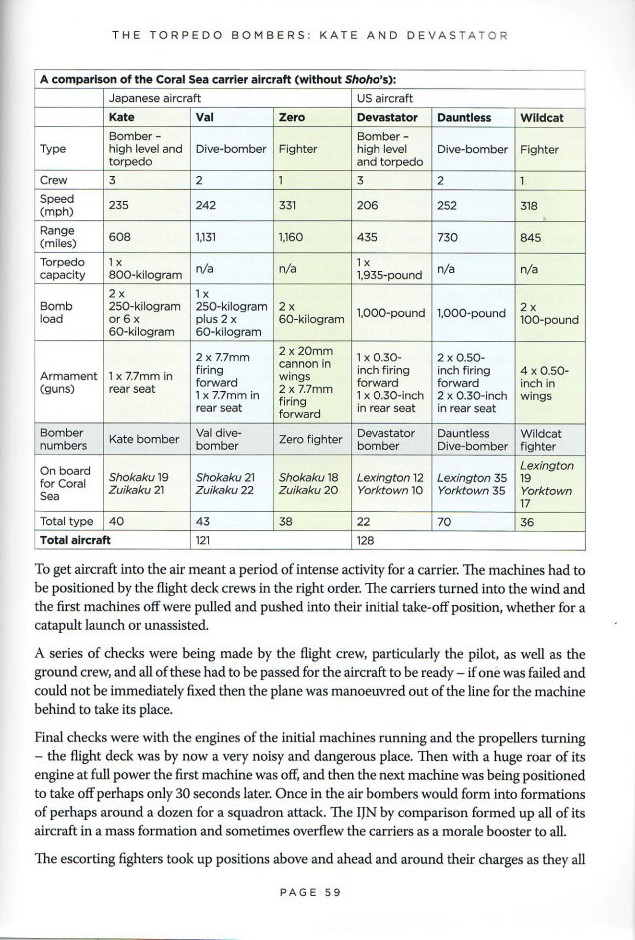
And so, the two sides, one flush with victory and proven tactics and doctrine, the other unproven and looking for revenge, met in the Coral Sea. The Japanese aircraft included Mitsubishi A6M Zeroes (and limited numbers of A5M Claudes – the world’s first low wing monoplane carrier-based fighter), Aichi D3A Val dive bomber, and Nakajima B5N Kate torpedo bomber (also could carry bombs as a horizontal bomber, with both methods employed at Pearl Harbor). The Americans were there with their Grumman F4F Wildcat fighters, Douglas SBD-3 Dauntless dive bombers (used both as scouts and bombers, and sometimes as CAP – Combat Air Patrol), and the Douglas TBD-1 Devastator torpedo bombers.
The author does an amazing job of placing this crucial battle in the context of time. Radar was a new technology that the Allies incorporated, while the Japanese were still relying solely on aircraft reports. The entire fighting took place with aircraft, the ships never being within sight of one another. While the Japanese had proven technology, particularly with their torpedoes, the American Mark 13 torpedoes were woefully ineffective, defective and occasionally worked despite themselves. You can imagine what the pilots were experiencing with the weather and sea conditions, poor radio communications, and lack of experience, particularly on the American side. This battle proved the pivot from naval big guns to aircraft, particularly that a dive bomber could sink a big gun ship (fatefully the dive bomber reached its zenith in 1942 as anti-aircraft capability increased) and really highlighting the American lack of effective anti-aircraft capability.
The days-long Battle of the Coral Sea resulted in the Japanese loss of Shoho, damage to the Shokaku that necessitated it return to Japan for repairs, escorted by Zuikaku, and 105 aircraft (with irreplaceable aircrews), and around 900 sailors. The Americans lost the Lexington and 81 aircraft (33 in action and 35 when the Lexington sank), the fueler Neosho and destroyer Sims (paradoxically moved to a “safer” location for the battle), and 543 sailors. The Yorktown, badly damaged, returned to Pearl Harbor, and due to the miraculous hard work of the repair facilities returned to sea three days later to participate in the Battle of Midway.
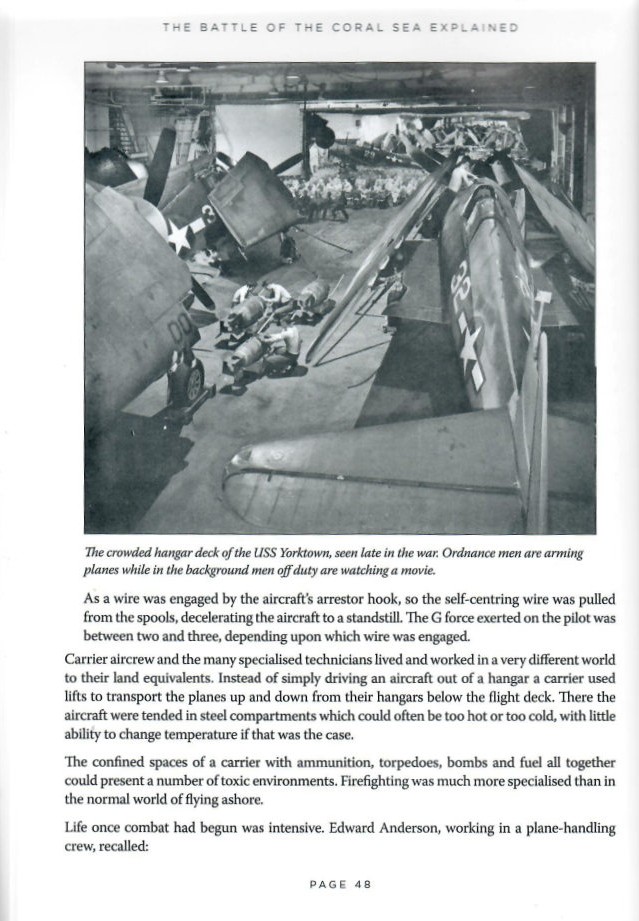
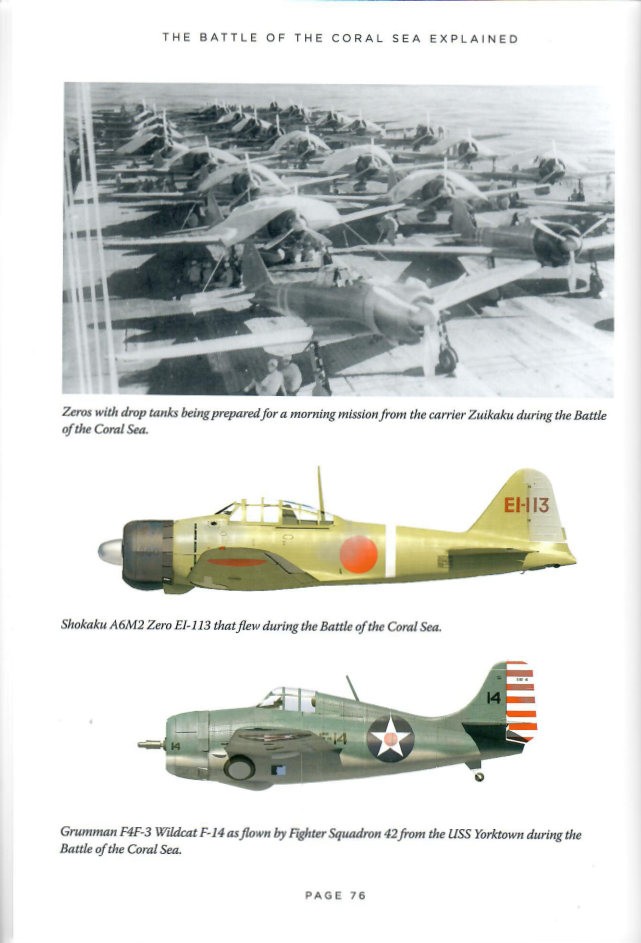
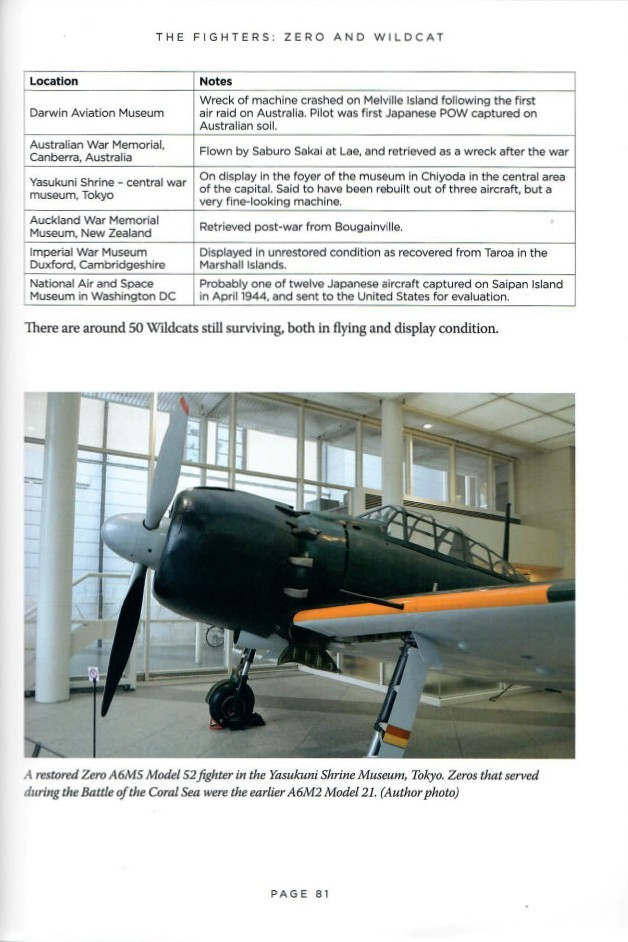
While the chronology of the battle, its tactics, strategical implications and outcome are captivating, particularly as it sets up the Battle of Midway with the Japanese not having a third of their fleet aircraft carriers present, there is a lot more of value of this book for modelers. The black and white photographs are fascinating and show a lot of the aircraft and ships as they were during and after the battle. The color photographs of the aircraft are great reference material, and the author even lists where airframes can be viewed currently (the only addition to the A6M Zero survivors is the Commemorative Air Force Museum in Camarillo that has a flyable A6M).
The author also explains the evolution of aircraft, ships, anti-aircraft as the war progressed, including tables that describe the variants, along with a handy mm and caliber conversion chart for projectiles. One cannot help but be inspired by the aircraft illustrations, photos and stories of these amazing people that held the line. The course of the Pacific War was changed at Midway. It would not have been possible without the Battle of the Coral Sea, and I argue that this battle was more important. If you want an easy to digest book about this pivotal battle, this is a great starting point. It will make you think long after you finish reading it. If that isn’t worth the price of the book, I’m not sure what is.
The Pacific Profiles series continues to fill large gaps in the South Pacific air war knowledge and history. Modelers are well served with this series, and inspiration runs wild with both the black and white and color period photographs and modern color profiles.
Profuse thanks to Casemate and IPMS/USA for providing the review sample.
Comments
Add new comment
This site is protected by reCAPTCHA and the Google Privacy Policy and Terms of Service apply.
Similar Reviews