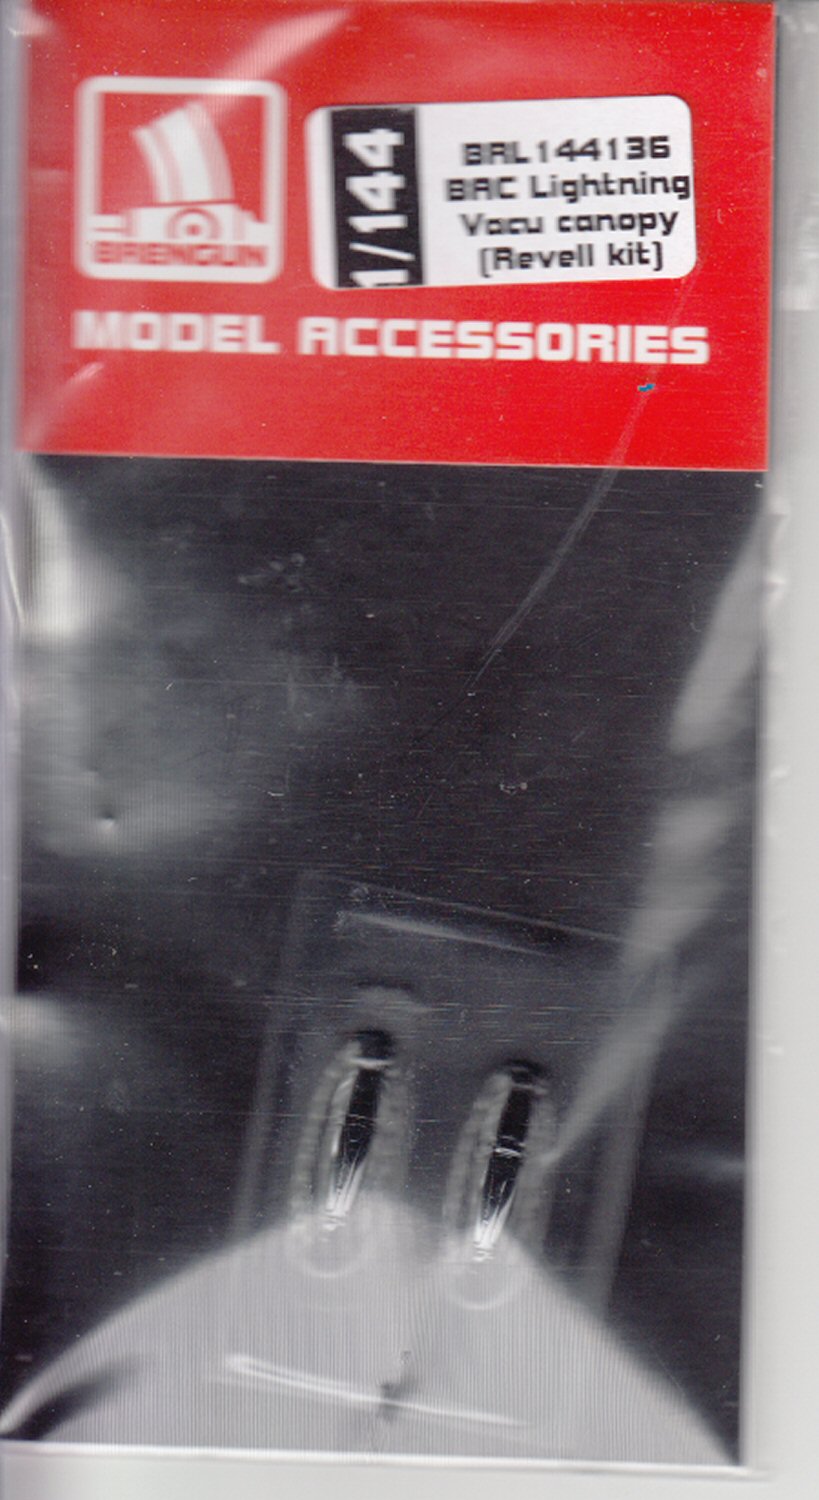
BAC Lightning Vacu Canopy
This is a replacement canopy for Revell’s 1/144 EE Lightning jet fighter.
Everyone has that moment when they realize that the canopy for their model is missing, damaged, or unusable for some reason. As far as unusable, I’ve had canopies for some kits which were so thick and murky that there wasn’t any reason to put detail in the cockpit.
This one was just an exercise in doing a vacuform canopy. The Revell canopy for their EE Lightning F.6 was usable, but this item had been sitting on the list for a while, and I thought we owed Brengun a review.
I built the Revell Lightning pretty much out of the box, except for the markings which I borrowed from aftermarket sheets, modified from the kit decals, and made my own serials and aircraft numbers.
Once I got the decals on, I thought I’d better put the canopy on. I cut the canopy from the sheet using a pair of fine decal scissors. I had to wear a magnifier to see the edge lines, but I was able to cut the sides very close to fitting. The front and rear were a little more problematical, but I only had to cut the front edge down a little to get it to fit in the opening.
After I got the canopy to where it would fit pretty well, I painted the windscreen and canopy edges and frames with a fine brush, using Tamiya acrylic flat black. After the paint had a chance to set up but wasn’t completely dry, I removed the places where the paint had overlapped the clear area with a toothpick. I have found this to be a very workable method for getting canopies painted without spending hours masking them. This method will not work with lacquer paints.
Next came the application of one of those products which saves me tons of work and a lot of headaches, Micro Krystal Kleer. I had to use this as a filler along one of the sides of the canopy, and at the back. Once the Krystal Kleer had dried, I painted the filled parts and the edges of the canopy with the same method as painting the frames.
When the canopy was completely dry, I added all the little parts that I’m usually going to destroy while doing decals, and in this case the canopy, like the refueling probe, the landing gear, and the overwing tanks.
And my Lightning was finished. After I got the gear on, I discovered (too late) that it needed weight in the nose to sit on its nose gear. So I glued it to a square of gray foam core board to simulate a concrete parking area.
Overall Evaluation
Recommended
The canopy was not very difficult to install, not much more than any other 1/144 canopy I’ve done lately, and it looks good.
Many thanks to Brengun for upgrading my Lightning, and to IPMS/USA for the chance to use this nice canopy.


Comments
Add new comment
This site is protected by reCAPTCHA and the Google Privacy Policy and Terms of Service apply.
Similar Reviews